How to Bundle Puppeteer for Production with Webpack
Bundle Puppeteer safely for production with Webpack: browser ownership, externals, cache paths, Docker, troubleshooting, and a browser-free ScreenshotNeo option.
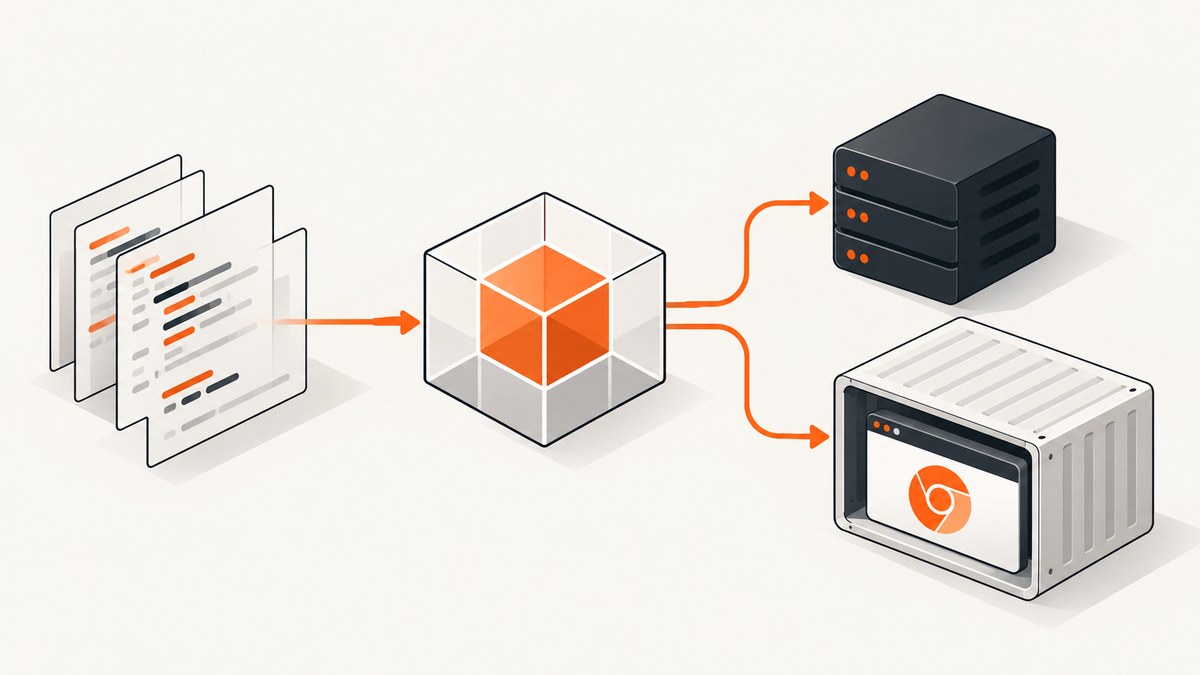
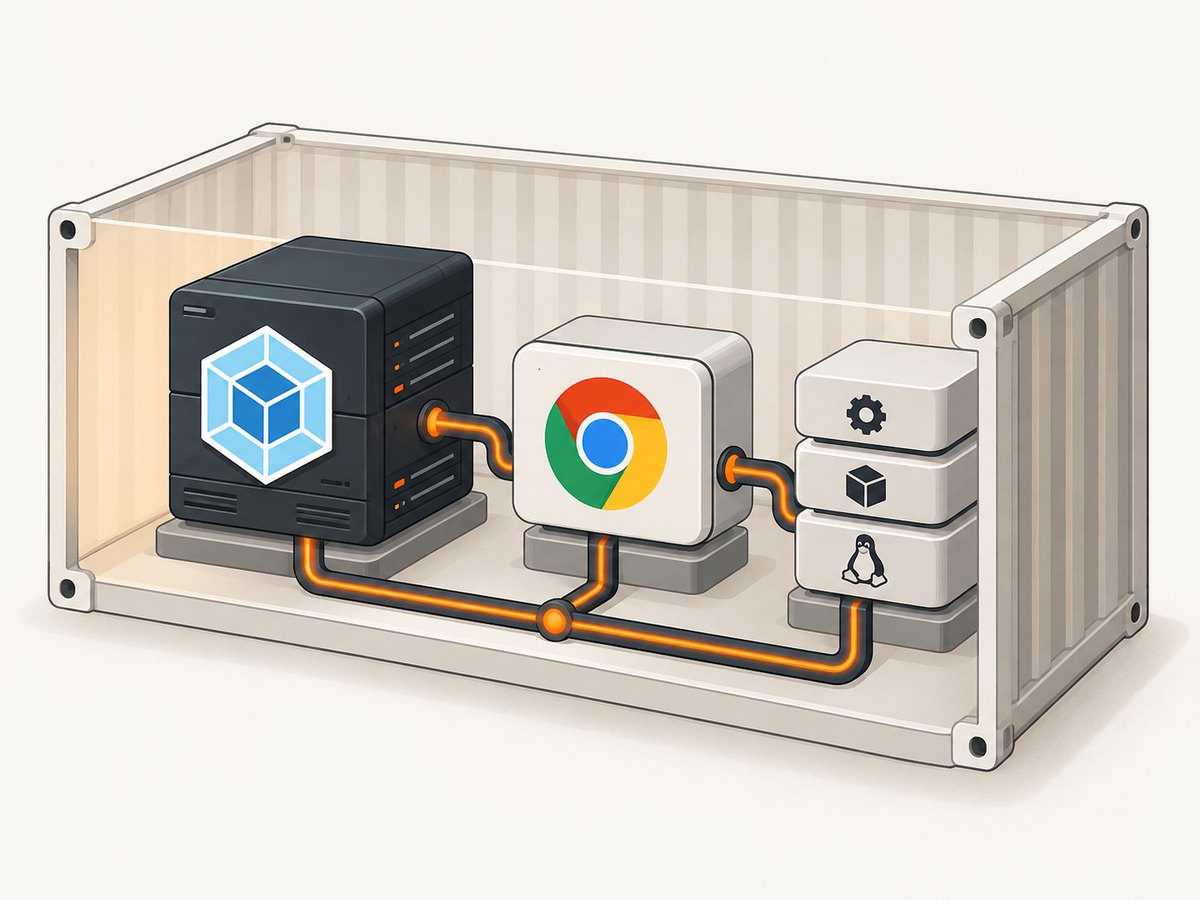
Webpack can package your Node.js application code, but it does not automatically package a working Puppeteer deployment. A production setup has three separate pieces: the emitted Node bundle, Puppeteer’s runtime package, and a compatible Chrome for Testing browser plus the operating-system libraries that Chrome needs.
The reliable approach is:
- Choose who owns the browser: the full
puppeteerpackage, or your infrastructure withpuppeteer-core. - Build for Node with Webpack’s Node target.
- Bundle dependencies or deploy externalized
node_modulesdeliberately. - Install or copy the browser into the final image.
- Keep the browser cache, executable path, user, and operating system consistent between build and runtime.
This guide covers a local Node service that launches Chromium, a Docker deployment, and Puppeteer’s separate browser-side bundle.
1. Decide how the browser is managed
| Setup | Browser ownership | What you must provide |
|---|---|---|
puppeteer |
Puppeteer downloads a compatible Chrome for Testing browser during installation by default. | Allow the install script (or run an explicit browser install), preserve its cache, and ship the resulting browser in production. |
puppeteer-core with local Chrome |
Your image or host manages the browser. | Pass executablePath or channel; install the matching browser and system libraries. |
puppeteer-core with remote Chrome |
A browser service manages Chrome. | Connect to a valid WebSocket endpoint with browserWSEndpoint or a similar connection option. |
The full package is convenient when your build can run Puppeteer’s browser download. puppeteer-core is smaller and gives you explicit control, but it never downloads Chrome for you. The [Puppeteer installation guide](https://pptr.dev/guides/installation) explains package-manager install scripts and browser management.
Do not treat externalizing puppeteer as transferring its browser binary. The JavaScript package and browser cache are separate assets.
2. Create a minimal Node service
Start with an ordinary server-side entry point. This example uses the full package and lets Puppeteer find its downloaded browser:
import puppeteer from 'puppeteer';

const browser = await puppeteer.launch({
  headless: true,
  args: ['--no-sandbox', '--disable-setuid-sandbox']
});

try {
  const page = await browser.newPage();
  await page.goto('https://example.com', { waitUntil: 'networkidle2' });
  await page.screenshot({ path: 'example.png', fullPage: true });
} finally {
  await browser.close();
}
In a long-running service, launch one browser process and create short-lived pages per request. Always close pages in a finally block. A request timeout should not leave an orphaned page or browser.
3. Configure Webpack for a Node target
Webpack’s target controls generated runtime assumptions. A server bundle should use target: 'node', as described in the [Webpack target documentation](https://webpack.js.org/concepts/targets/).
// webpack.config.cjs
const path = require('node:path');

module.exports = {
  mode: 'production',
  target: 'node',
  entry: './src/index.js',
  output: {
    path: path.resolve(__dirname, 'dist'),
    filename: 'server.cjs',
    clean: true
  },
  experiments: {
    topLevelAwait: true
  },
  resolve: {
    extensions: ['.js', '.mjs', '.json']
  },
  module: {
    rules: [
      {
        test: /\\.m?js$/,
        exclude: /node_modules/,
        type: 'javascript/auto'
      }
    ]
  }
};
Set output.module or an ESM output format only if your deployment and package metadata are configured for ESM. The CommonJS output above is intentionally easy to run with node dist/server.cjs.
Bundle dependencies or externalize them?
There are two valid strategies:
- Bundle application dependencies: one larger artifact, fewer runtime resolution surprises, and a simpler file copy. Native modules and packages that inspect their own files can still require special handling.
- Externalize
node_modules: a smaller bundle and normal Node resolution, but production must install the exact lockfile dependencies.
Webpack documents externalsPresets.node for leaving Node built-ins and node_modules to the runtime. The equivalent configuration is:
// webpack.config.cjs
const path = require('node:path');

module.exports = {
  mode: 'production',
  target: 'node',
  entry: './src/index.js',
  output: {
    path: path.resolve(__dirname, 'dist'),
    filename: 'server.cjs',
    clean: true
  },
  externalsPresets: { node: true },
  externalsType: 'commonjs'
};
With this option, deploy package.json, your lockfile, and production dependencies alongside dist/server.cjs. Read the [Webpack externals documentation](https://webpack.js.org/configuration/externals/) before mixing external rules with dynamic imports.
4. Make Puppeteer’s browser available at runtime
For the full package, run installation in a stage that is retained or copy the Puppeteer cache into the final image. Package managers can block install scripts; if that happens, Puppeteer’s package exists but the expected browser does not. Run the documented browser installation command explicitly in your build when necessary.
# package.json scripts
{
  "scripts": {
    "build": "webpack --config webpack.config.cjs",
    "install-browser": "npx puppeteer browsers install chrome",
    "start": "node dist/server.cjs"
  }
}
A multi-stage Dockerfile with externalized dependencies can look like this:
FROM node:22-bookworm AS build
WORKDIR /app
COPY package*.json ./
RUN npm ci
COPY src ./src
COPY webpack.config.cjs ./
RUN npm run install-browser
RUN npm run build

FROM node:22-bookworm-slim AS runtime
WORKDIR /app
ENV NODE_ENV=production
# Keep this value identical for build and runtime if you use a custom cache.
ENV PUPPETEER_CACHE_DIR=/root/.cache/puppeteer
COPY --from=build /app/dist ./dist
COPY --from=build /app/node_modules ./node_modules
COPY --from=build /app/package*.json ./
COPY --from=build /root/.cache/puppeteer /root/.cache/puppeteer
CMD ["node", "dist/server.cjs"]
If the runtime user is non-root, copy the cache into that user’s home and set PUPPETEER_CACHE_DIR accordingly. The important property is consistency: a browser downloaded under one home directory is not automatically visible under another. See Puppeteer’s [configuration guide](https://pptr.dev/guides/configuration) for cache settings.
Using puppeteer-core with a known executable
import puppeteer from 'puppeteer-core';

const browser = await puppeteer.launch({
  executablePath: process.env.CHROME_BIN,
  headless: true,
  args: ['--no-sandbox', '--disable-setuid-sandbox']
});
When using puppeteer-core, supply executablePath or channel. This is an API requirement documented in [PuppeteerNode.launch](https://pptr.dev/api/puppeteer.puppeteernode.launch).
5. Browser and operating-system requirements
Chrome is not a JavaScript dependency. The final image needs the executable, readable and executable permissions, shared libraries, fonts, certificates, and a compatible sandbox configuration. A slim or serverless base image can omit libraries that Chrome expects. Puppeteer’s [troubleshooting guide](https://pptr.dev/troubleshooting) specifically calls out missing Headless Chrome system packages in the default Cloud Run Node runtime and recommends a custom Dockerfile.
Before deploying, check:
- The browser version is compatible with your Puppeteer version.
- The executable exists in the final image:
which google-chromeor inspect the Puppeteer cache. - The application user can read and execute the binary and its shared libraries.
- Fonts and CA certificates are installed if pages contain text or HTTPS resources.
- Your container policy supports Chrome’s sandbox. If it does not, the two no-sandbox flags may be required; apply them according to your platform’s security policy.
6. A production-ready capture wrapper
import puppeteer from 'puppeteer';

let browserPromise;
function getBrowser() {
  browserPromise ??= puppeteer.launch({
    headless: true,
    args: ['--no-sandbox', '--disable-setuid-sandbox']
  });
  return browserPromise;
}

export async function capture(url, outputPath) {
  const browser = await getBrowser();
  const page = await browser.newPage();
  try {
    await page.setDefaultNavigationTimeout(30_000);
    await page.goto(url, { waitUntil: 'networkidle2' });
    await page.screenshot({ path: outputPath, fullPage: true });
  } finally {
    await page.close();
  }
}

process.on('SIGTERM', async () => {
  if (browserPromise) (await browserPromise).close();
  process.exit(0);
});
Reuse the browser to avoid startup cost, but isolate requests with separate pages. Limit concurrent pages to the memory available in your container. Use a queue when traffic can exceed that limit. Set navigation and operation timeouts, record the target URL and browser version, and restart a browser process that has become unhealthy.
7. Troubleshooting common production failures
| Error or symptom | Likely cause | Fix |
|---|---|---|
Could not find expected browser locally |
The install script was skipped, or the browser cache was not copied to the final image. | Run the explicit browser install step and copy the cache; verify PUPPETEER_CACHE_DIR and the runtime home. |
Could not find Chrome (ver. ...) |
The expected revision is absent or the configured path points elsewhere. | Install the browser revision required by your Puppeteer version, or use puppeteer-core with an explicit, compatible executablePath. |
| Webpack build succeeds, launch fails | The bundle was deployed without runtime externals or without the browser binary. | Deploy production node_modules when externalized and treat Chrome as a separate image asset. |
Failed to launch the browser process |
Missing shared libraries, permissions, sandbox restrictions, or an incompatible OS image. | Use a supported base image, install required libraries and fonts, check permissions, and configure sandbox flags only when your environment requires it. |
| Works locally, fails in the container | Different user home, cache path, architecture, or environment variables. | Print the effective cache directory and executable path at startup; test inside the final image as the same user. |
| Blank or incomplete screenshots | Capture occurs before navigation, fonts, or lazy content finishes. | Use an appropriate waitUntil, wait for a selector or a measured delay, and scroll pages that lazy-load content. |
| Requests hang until killed | No navigation timeout, a page that never reaches network idle, or a leaked page. | Set finite timeouts, choose domcontentloaded when network idle is unsuitable, and close pages in finally. |
When diagnosing, test the final artifact rather than the build stage. A useful smoke test launches the browser, opens a stable URL, captures one image, and exits with a non-zero status on failure.
8. Performance, reliability, and cost considerations
- Startup: launch one browser per worker and reuse it; launching for every request adds avoidable latency.
- Memory: each page can load a complete site. Cap concurrency and close pages promptly.
- Network: block unnecessary assets only when visual correctness allows it. Waiting for network idle can be slow on analytics-heavy pages.
- Reproducibility: pin Node, Puppeteer, Webpack, the base image, and the browser installation step. Rebuild when any of these changes.
- Reliability: use retries for transient navigation failures, but do not retry invalid URLs indefinitely. Emit structured logs with duration and failure category.
- Cost: browser CPU and memory dominate many capture workloads. Queue bursts, cache identical results where acceptable, and set a maximum page lifetime.
9. The separate browser-side Webpack bundle
Puppeteer also documents a browser-compatible bundle. This is a different architecture from a Node service: import puppeteer-core/lib/puppeteer/puppeteer-core-browser.js, bundle it for a webpage, and connect to an already-running browser through a valid WebSocket endpoint. That browser context cannot launch or download browsers because those operations require Node.js APIs. Follow the [browser bundle guide](https://pptr.dev/guides/browser-bundle).
import puppeteer from 'puppeteer-core/lib/puppeteer/puppeteer-core-browser.js';

const browser = await puppeteer.connect({
  browserWSEndpoint: window.BROWSER_WS_ENDPOINT
});
const page = await browser.newPage();
await page.goto('https://example.com');
Do not use this entry point in a server bundle that needs to launch local Chrome.
Or skip the browser setup
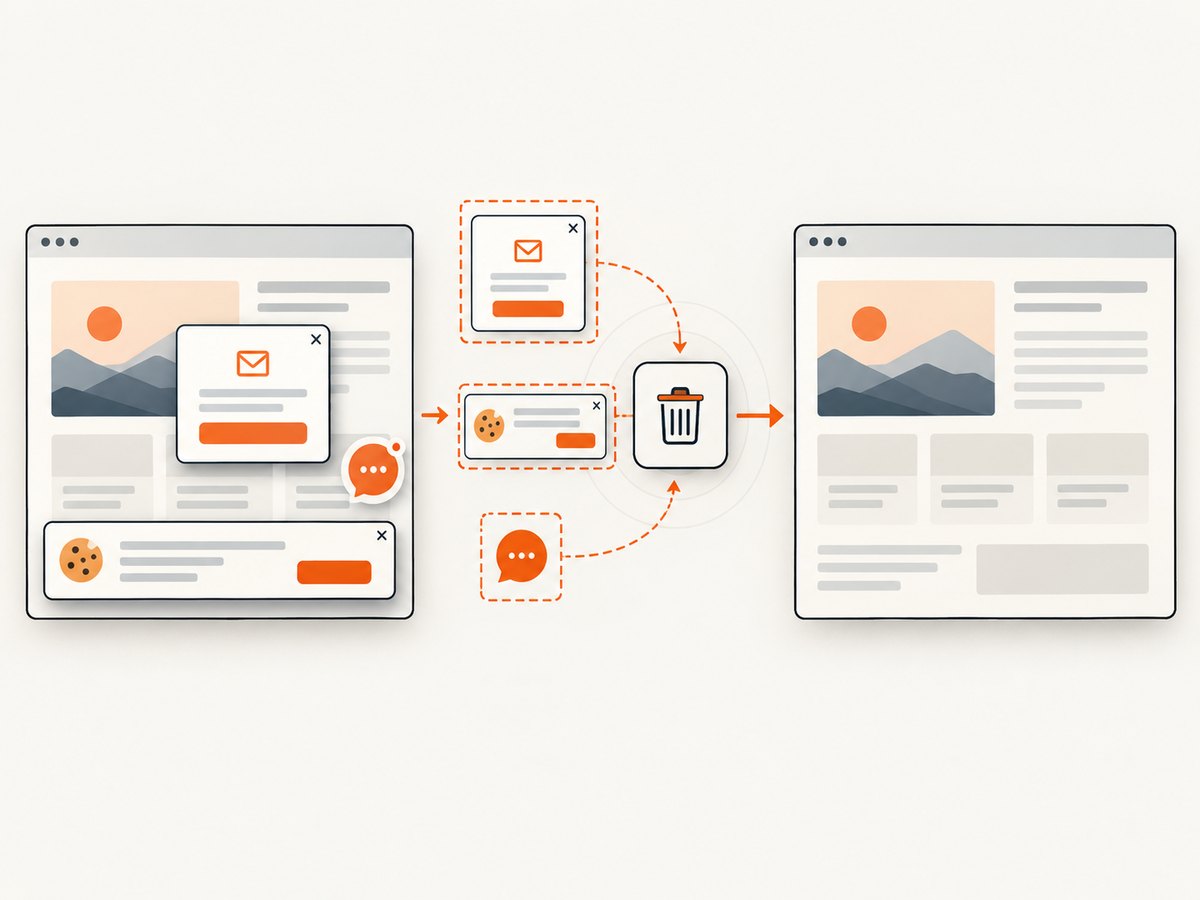
If your goal is a dependable website screenshot rather than operating Chrome yourself, [ScreenshotNeo](https://screenshotneo.com) provides a single HTTP request. Its service accepts cookie and consent banners as a visitor and removes more than 60 known consent platforms, newsletter popups, and chat widgets before capture; each cleanup step can be turned off. Bot checks, CAPTCHAs, blank pages, timeouts, failed loads, and cache hits are not billed, and the response identifies the result with X-Page-Verdict and X-Billed headers. It also provides an MCP server for Claude, Cursor, and other MCP clients, with take_screenshot, get_page_info, and capture_pdf tools.
cURL:
curl -G "https://api.screenshotneo.com/v1/shot" \
  -d access_key=YOUR_API_KEY \
  --data-urlencode url=https://stripe.com \
  -o shot.webp
Python:
import requests

r = requests.get(
    "https://api.screenshotneo.com/v1/shot",
    params={"access_key": "YOUR_API_KEY", "url": "https://stripe.com"},
    timeout=90,
)
r.raise_for_status()
open("shot.webp", "wb").write(r.content)
Node.js:
const q = new URLSearchParams({ access_key: 'YOUR_API_KEY', url: 'https://stripe.com' });
const res = await fetch(`https://api.screenshotneo.com/v1/shot?${q}`);
if (!res.ok) throw new Error(`Screenshot failed: ${res.status}`);
require('node:fs').writeFileSync('shot.webp', Buffer.from(await res.arrayBuffer()));
See the [ScreenshotNeo API documentation](https://screenshotneo.com/docs/) for the 63 capture options, including full-page and selector capture, device presets, dark mode, retina scale, PDF settings, custom CSS and JavaScript, clicks, waits, request blocking, headers, cookies, user agent, timezone, geolocation, transparent backgrounds, resizing, caching, signed links, asynchronous webhooks, bulk capture, usage, and OpenAPI details. The parameter names used by other screenshot APIs also work, which can simplify migration.
The Free plan includes 1,000 screenshots per month with no card. Paid plans start at $5 for 3,000 shots; every feature is available on every plan. Create a free ScreenshotNeo account.
FAQ
Does Webpack download Chrome?
No. Webpack emits JavaScript. Puppeteer’s installation process and your image build must provide Chrome separately.
Should I bundle Puppeteer itself?
Either bundle it or externalize it. Choose based on how you deploy dependencies, then verify the browser cache independently.
Can I use puppeteer-core without an executable path?
Only when connecting to a remote browser endpoint. A local launch requires executablePath or channel.
Why does a cache path work during build but not at runtime?
The build and runtime users may have different home directories, or the cache was not copied into the final image. Set and preserve one explicit cache location.
Is the browser-side bundle a replacement for a Node service?
No. It controls an existing remote browser from a webpage; it cannot download or launch Chrome.