BlogScreenshots on your device
How to Capture Desktop Screenshots in Python
Capture your screen or a selected region in Python with Pillow, then handle image modes, Retina displays, multiple monitors, and Linux dependencies.

Use Pillow’s ImageGrab.grab() to capture the desktop in Python. With no arguments it captures the full screen; pass a bbox=(left, top, right, bottom) rectangle to capture one region, then call save() to write a PNG:
from PIL import ImageGrab

image = ImageGrab.grab()
image.save("desktop.png")
Install Pillow in your project environment with python -m pip install Pillow. This captures the machine’s interactive desktop, so it needs a supported graphical session; a headless server or container may have no screen to grab. For a webpage screenshot, use a browser automation tool or an API such as ScreenshotNeo instead: it captures a URL, not your local desktop.
The examples below follow the documented Pillow API. Capture support and dependencies vary by operating system, Pillow build, display server, and desktop session, so check the saved image in the environment where your script will run. See the Pillow ImageGrab reference.
1. Install Pillow and take a full-screen screenshot
Use the same Python interpreter for installation and execution. A virtual environment helps keep the dependency tied to the project:

python -m venv .venv
# macOS or Linux:
source .venv/bin/activate
# Windows PowerShell:
.venv\Scripts\Activate.ps1
python -m pip install Pillow
Save this as capture.py and run python capture.py:
from pathlib import Path
from PIL import ImageGrab

output = Path("desktop.png")
image = ImageGrab.grab()
image.save(output, format="PNG")
print(f"Saved {output.resolve()} ({image.width} × {image.height}, {image.mode})")
Call ImageGrab.grab() without a bounding box for the full display. The image stays in memory until you save it or pass it to another image-processing step. The printed dimensions and mode are useful diagnostics: Pillow documents RGB pixels on most platforms and RGBA on macOS.
2. Capture a region, crop, or individual window
For a rectangular screen area, give bbox as the coordinates of its left, upper, right, and lower edges. The right and lower values are boundaries, so subtract the left from the right and the top from the bottom to get the output width and height:
from PIL import ImageGrab

image = ImageGrab.grab(bbox=(100, 100, 900, 700))
image.save("region.png")
This example requests an 800-by-600 rectangle starting at screen coordinate (100, 100). Coordinates are desktop coordinates, not coordinates relative to a particular application window. A rectangle outside the available screen area may be clipped or fail depending on the platform; begin with coordinates known to lie inside the display, then inspect the resulting dimensions.
You can also capture a window on supported recent Pillow versions. The window argument expects a native window identifier: an HWND on Windows or a CGWindowID on macOS. Obtain that identifier through your platform’s window-management code; Pillow does not accept a window title in place of the native ID.
from PIL import ImageGrab

# Supply a valid native window identifier obtained for this platform.
window_id = 123456
image = ImageGrab.grab(window=window_id)
image.save("window.png")
Window capture support was added in different Pillow releases on Windows and macOS, so an older installed version may reject the argument. Check the reference for version details before depending on it. Pillow also documents all_screens=True for all-monitor capture on Windows; with multiple monitors the desktop origin can be negative, so a bounding box may contain negative coordinates.
3. Save in the right format and normalize image mode
The file extension does not always tell downstream libraries the pixel format. Pillow documents captures as RGBA on macOS and RGB elsewhere. If your next step only accepts RGB, convert explicitly; if you need transparency, retain RGBA and use a format that supports it, such as PNG.
from PIL import ImageGrab

image = ImageGrab.grab()
print(image.mode, image.size)

rgb_image = image.convert("RGB")
rgb_image.save("desktop.jpg", format="JPEG", quality=90)
image.save("desktop.png", format="PNG")
JPEG is useful when smaller lossy output is acceptable. PNG preserves pixels without lossy compression and supports transparency. Choose based on the consumer of the file rather than assuming every screenshot is RGB or every screenshot should be JPEG. To resize after capture, use Pillow’s image operations; resizing changes the output dimensions and may soften small text.
For processing, validate the dimensions and mode before operating on pixels. A Retina capture can be larger than the logical display size, increasing memory and file size. A large full-screen image also consumes more memory than a narrow region, so capture only what you need where possible.
4. Handle macOS Retina displays and platform differences
macOS
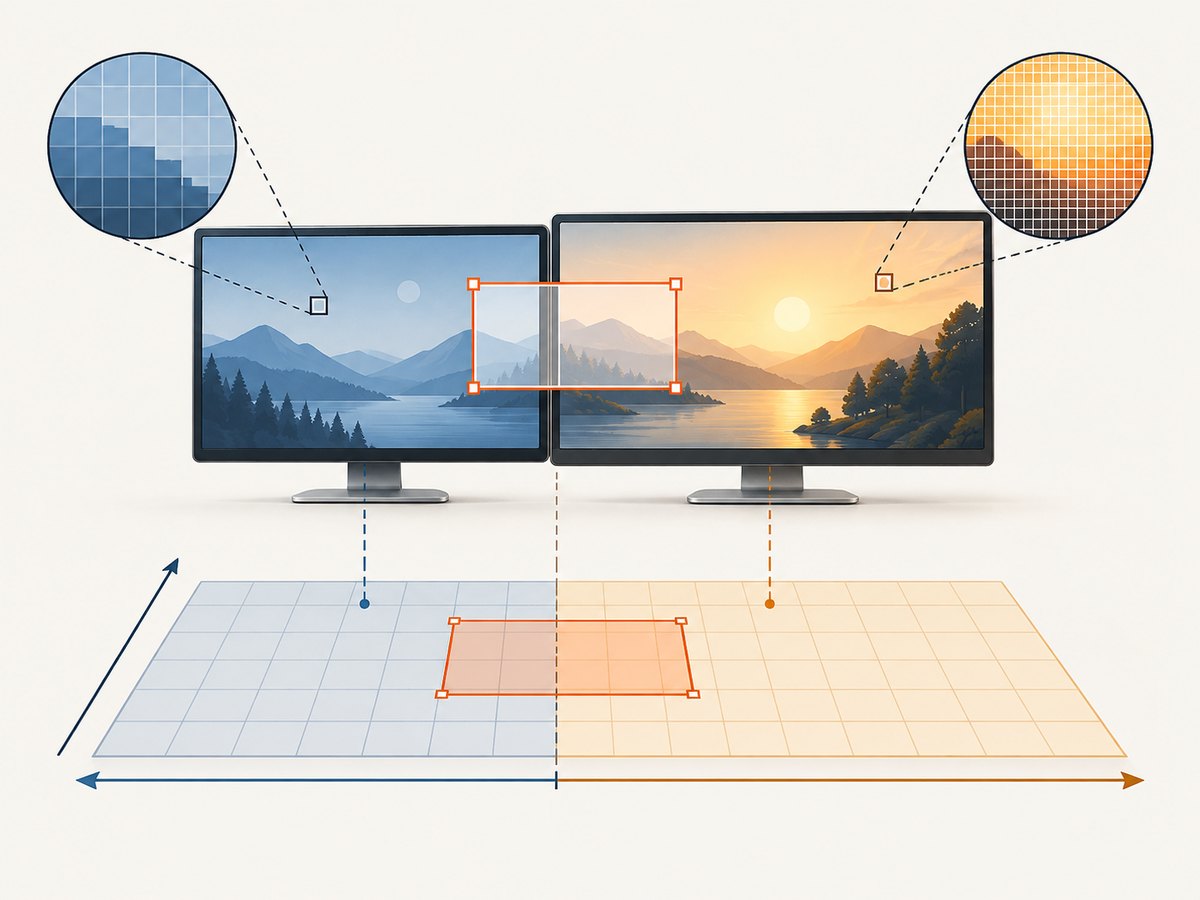
On a Retina screen, Pillow may return pixels at twice the nominal display dimensions. If the desired result is 1× sizing, recent Pillow versions provide the keyword-only option scale_down=True:
from PIL import ImageGrab

image = ImageGrab.grab(scale_down=True)
image.save("desktop-1x.png")
This argument was added in Pillow 12.3.0 according to the current reference. If the installed version does not support it, upgrade through your normal dependency process or resize the captured image yourself. Keep the distinction between logical screen coordinates and returned physical pixels in mind when selecting a bbox.
Windows
Standard full-screen and bounding-box capture use the same ImageGrab.grab() interface. Pillow documents include_layered_windows as a Windows-only option for including layered windows, and all_screens for capturing all monitors. If using all_screens, screen coordinates can extend left or above the primary monitor, which means negative coordinates may be valid.
Linux
Linux desktop capture depends on the display session and available support. Pillow documents X11 capture and fallback to gnome-screenshot, grim, or spectacle when the default X11 display does not provide a snapshot, if those utilities are installed. Pillow’s xdisplay option selects an X11 display; xdisplay="" disables the fallback behavior described in the reference. The Pillow build’s XCB support can be checked with PIL.features.check_feature("xcb").
from PIL import ImageGrab, features

print("XCB support:", features.check_feature("xcb"))
image = ImageGrab.grab()
image.save("desktop.png")
Wayland, X11, remote sessions, and containers can expose different capture paths. PyAutoGUI’s documentation separately describes scrot as a Linux prerequisite for its screenshot functionality. These requirements are package- and environment-specific; consult the docs for the installed version rather than treating one command-line utility as universal.
5. Use PyAutoGUI when capture is part of desktop automation
If your script already uses PyAutoGUI to interact with the mouse and keyboard, its screenshot helper returns a Pillow image and can save it when given a filename. Install it using the project’s normal dependency workflow:
python -m pip install pyautoguiimport pyautogui
image = pyautogui.screenshot("desktop.png")
print(image.size, image.mode)To grab a rectangle, PyAutoGUI uses region=(left, top, width, height), unlike Pillow’s right-and-bottom boundary form:
import pyautogui

image = pyautogui.screenshot(region=(100, 100, 800, 600))
image.save("region.png")
That coordinate difference is a common source of unexpectedly sized captures when moving code between libraries. PyAutoGUI is also useful when the next operation locates a visual control or automates a desktop workflow. Its documentation gives a rough example of about 100 milliseconds for a screenshot on a 1920 × 1080 screen; treat that as an illustrative documentation figure, not a timing guarantee for your machine or version. See PyAutoGUI’s screenshot documentation.
6. Or skip the browser setup
If you meant a screenshot of a website rather than the desktop that Python is running on, ScreenshotNeo captures a URL with one API request. It is a website screenshot API and MCP server; it cannot see your local desktop. For a webpage screenshot, you do not need to install or manage a browser in your script.
Python:
import requests

r = requests.get(
    "https://api.screenshotneo.com/v1/shot",
    params={"access_key": "YOUR_API_KEY", "url": "https://stripe.com"},
    timeout=90,
)
open("shot.webp", "wb").write(r.content)
cURL:
curl -G "https://api.screenshotneo.com/v1/shot" -d access_key=YOUR_API_KEY --data-urlencode url=https://stripe.com -o shot.webpNode.js:
const q = new URLSearchParams({ access_key: 'YOUR_API_KEY', url: 'https://stripe.com' });
const res = await fetch(`https://api.screenshotneo.com/v1/shot?${q}`);
if (!res.ok) throw new Error(`Screenshot request failed: ${res.status}`);
await Bun.write("shot.webp", new Uint8Array(await res.arrayBuffer()));
For Node.js without Bun, save the response bytes with your preferred filesystem API. Keep the API key on the server side; do not embed it in public browser code. The ScreenshotNeo API documentation covers request options. Cookie banners, popups, and chat widgets are removed before the shot; bot checks, blank pages, and failed loads are never billed. Its MCP server lets AI agents take screenshots. The free plan includes 1,000 screenshots per month with no card, and paid plans start at $5 for 3,000.
Sign up free for 1,000 screenshots a month, with no card required.
7. Troubleshoot capture failures
| Symptom | Likely cause | What to check |
|---|---|---|
ImportError for PIL |
Pillow is missing from the Python environment running the script. | Run python -m pip show Pillow with the same interpreter used to run the script; install into that environment. |
| Capture fails on Linux | No accessible graphical display, unsupported session path, missing XCB support, or unavailable fallback utility. | Confirm the process has a display session; inspect Pillow’s XCB feature and Linux capture guidance; check whether the relevant documented utility is installed. |
| Works locally but fails in a container or CI | Those environments often run without an interactive desktop or display server. | Run on a machine with a supported desktop session or use a virtual display/capture setup appropriate to your environment. Desktop capture and browser rendering are separate tasks. |
| Image is twice the expected size on macOS | Retina capture returns physical pixels at 2× scale. | Use scale_down=True with a Pillow version that supports it, or resize the result. |
| Wrong crop dimensions | Bounding box semantics differ between APIs or coordinates use the wrong display origin. | Pillow takes left, top, right, bottom; PyAutoGUI takes left, top, width, height. Print image.size and test a small known rectangle. |
| Unexpected alpha channel or save error | The capture mode is RGBA on macOS; the downstream encoder or consumer may expect RGB. | Inspect image.mode. Convert with image.convert("RGB") when transparency is not needed. |
| Black, stale, or incomplete result | The target desktop may be locked, obscured, disconnected, or not the display available to the process. | Check the session state and confirm capture from the same user/display context. Avoid assuming a background service sees the logged-in user’s screen. |
When reporting a bug, include the operating system, desktop session type, Python and Pillow versions, the capture arguments, any exception text, and the output image’s dimensions and mode. This makes it easier to distinguish coordinate mistakes from display backend problems.
8. Performance, reliability, and cost
Desktop capture is usually bounded by screen pixel count, display backend, and image encoding. A full-screen high-resolution image takes more memory and time to encode than a small region. If the next step only examines one panel, capture that region; if a downstream service expects predictable dimensions, resize explicitly. Avoid capturing in a tight loop without measuring on the actual target machine.
For reliable automation, keep capture and processing separate: save or inspect a sample image, verify that it contains the intended display, then add retries only for failures that can plausibly recover. A retry will not fix a missing display server, invalid coordinates, or a missing native dependency. Desktop screenshot packages are third-party software; there is no per-shot service charge for local capture, but your environment must supply a working display and required dependencies.
For webpage screenshots, costs and setup differ because a browser must render a URL. ScreenshotNeo has a free tier of 1,000 shots per month and paid tiers of $5 for 3,000, $15 for 15,000, $39 for 60,000, $99 for 250,000, and $249 for 1,000,000; yearly billing gives two months free. Every feature is on every plan. Its billing distinction is that only clean shots are billed, with response headers indicating page verdict and billing outcome.
9. Frequently asked questions
Can Python take a screenshot without Pillow?
The documented approaches here use Pillow directly or PyAutoGUI, whose screenshot functionality requires Pillow. Other platform-specific techniques exist, but their compatibility depends on the operating system and display session.
Can tkinter capture the whole desktop?
No general desktop capture API is established by Python’s GUI FAQ. Tkinter is Python’s interface to Tcl/Tk for building graphical interfaces; use a screen-capture library or platform API for desktop screenshots.
Can I capture a website with ImageGrab?
ImageGrab captures the screen visible to the process. It does not load a URL or render a page in a browser. Use browser automation or a website screenshot API for URL-based captures.
Does a screenshot include every monitor?
Behavior depends on the platform. Pillow documents all_screens for Windows. Test the actual setup, especially when monitors have different scaling or the primary display is not at the desktop origin.
For the API details behind these distinctions, see the Pillow ImageGrab reference, PyAutoGUI screenshot guide, and Python GUI FAQ.