BlogScreenshots on your device
How to Capture a Screenshot of an Email on a Computer
Capture an email on Windows or Mac with built-in screenshot tools. Choose the right area, save or paste the image, and check it for private details.
To screenshot an email on a computer, open the message, frame the subject, sender, date, and relevant text, then capture just the message window or a selected area. Windows has Snipping Tool; macOS has built-in screenshot shortcuts and the Screenshot panel. Both can save an image or copy it to the clipboard. Before sharing, inspect the image for addresses, phone numbers, signatures, attachments, account details, and unrelated content.
You do not need special screenshot software for an email displayed on your computer. The steps below cover Windows and Mac, including how to capture a whole window or only part of a message, where screenshots go, how to attach them, and how to protect private information.
1. Prepare the email before capturing it
- Open the exact message. If it is in a browser, close unrelated tabs or move to a clean window. In a mail app, select the message you want to show.
- Set a useful size. Make the subject, sender, date, and relevant body text readable. Widen the window or adjust zoom if necessary. Avoid shrinking text just to fit the whole message.
- Choose the smallest useful capture. A selected region or email window usually gives the recipient enough context without exposing your whole desktop, other messages, notifications, or open tabs.
- Scroll to the relevant content. If the message is longer than the screen, decide whether one section is enough or whether you need multiple images. A screenshot captures what is visible at that moment.
- Consider what must remain visible. Keep the sender and date when they help establish context. If those details are sensitive, crop or cover them before you share the image.
For a long email, several readable screenshots are often clearer than one image with tiny text. Capture adjacent sections with a small amount of overlap if the order of the message matters, and label the files so the recipient can put them in sequence.
2. Capture an email on Windows
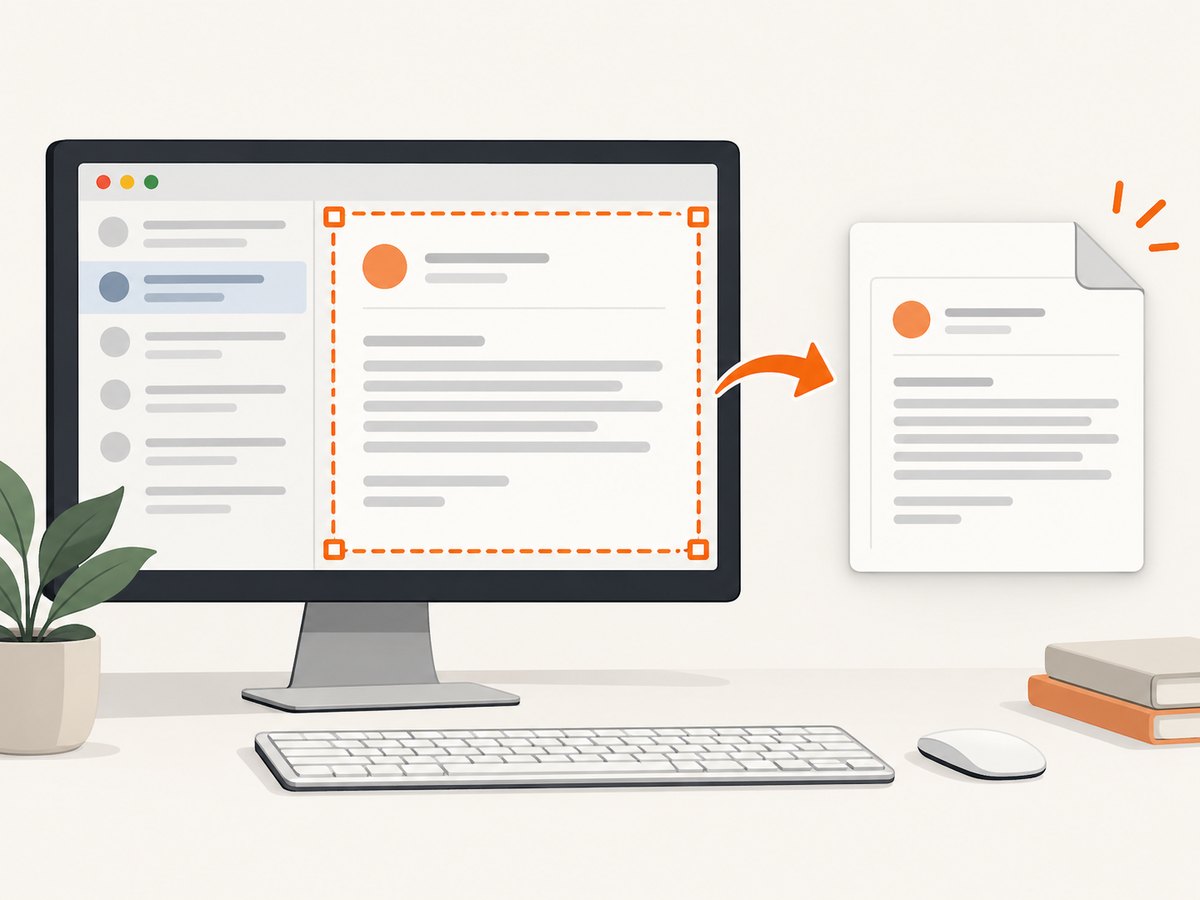
On Windows, the quickest flexible method is Windows logo key + Shift + S. It opens the Snipping Tool overlay, where you can choose a region, window, or full screen. Microsoft describes Snipping Tool as capturing all or part of your PC screen.
Use Snipping Tool to capture part or all of the email window
- Open the email and place the relevant content where it is visible.
- Press Windows logo key + Shift + S.
- Choose a capture mode in the overlay:
- Rectangle: drag around the subject, message details, and the body section you need. This is usually the best choice for a focused image.
- Window: select the email app or browser window to capture that window.
- Full screen: capture every display area shown. Use this only when the whole screen is necessary.
- Freeform: draw an irregular outline around a portion of the screen.
- After the capture, open the Snipping Tool notification or editor if you want to crop, annotate, copy, save, or share the result.
- Use Ctrl+C to copy or Ctrl+S to save from Snipping Tool. The editor also offers a delay of 1–5 seconds if you need time to open a menu or prepare the screen.
The capture is copied to the clipboard and can appear in the Snipping Tool editor. If you only need to paste the image somewhere, switch to the destination and press Ctrl+V. If you need a file, save it from Snipping Tool and choose a location you can find again.
Fast keyboard alternatives
- Print Screen: captures the full screen to the clipboard. Open an image editor, document, or message and press Ctrl+V to paste.
- Alt + Print Screen: first click the email window to make it active, then capture that window to the clipboard. Paste with Ctrl+V.
- Windows + Shift + S: use this when you need to select a precise message area or pick another Snipping Tool mode.
Depending on your Windows version and settings, screenshots may be available in a Screenshots folder. Snipping Tool also provides a Save as option, which lets you choose the destination. Saving explicitly is the safest way to know where the file went.
3. Capture an email on Mac
macOS can capture a selected area, a window, or the entire screen. The main shortcuts are Shift-Command-4 for a selection, Shift-Command-4 followed by Space for a window, and Shift-Command-5 for the Screenshot panel.
Capture a selected part of an email
- Open the email and arrange the screen so the relevant text is readable.
- Press Shift-Command-4. The pointer changes to a crosshair.
- Drag across the portion you want to capture, then release.
- Find the resulting screenshot at the location configured for screenshots. On macOS, the usual default is the desktop, and screenshots are normally PNG files.
Capture the email window
- Press Shift-Command-4, then press Space.
- Move the camera-style pointer over the email app or browser window.
- Click the window to capture it.
A window capture is useful when the recipient needs to see the application context. Check the edges before sharing: window captures can include toolbars, account names, or other information beyond the message itself.
Use the Screenshot panel
- Press Shift-Command-5 to open Screenshot.
- Choose to capture the entire screen, a window, or a selected portion.
- Use the panel’s options to set a timer or choose a save location. The panel also provides controls such as pointer visibility.
- Capture the email, then use the floating thumbnail to review or edit it. You can drag the thumbnail into an email or document.
To copy a Mac screenshot to the clipboard instead of saving it as a file, hold Control while using the screenshot shortcut. You can then paste it into a document or message. If you have already captured it and see the floating thumbnail, Control-click the thumbnail and choose Save to Clipboard.
4. Pick a capture method
| Need | Windows | Mac |
|---|---|---|
| Capture a selected message area | Windows + Shift + S, then Rectangle | Shift-Command-4, then drag |
| Capture the email window | Windows + Shift + S, then Window; or Alt + Print Screen | Shift-Command-4, Space, then click the window |
| Capture the whole screen | Print Screen or Snipping Tool Full screen | Shift-Command-5, then choose entire screen |
| Paste without finding a file | Use a clipboard capture, then Ctrl+V | Hold Control with a capture shortcut, then paste |
| Set a timer | Snipping Tool delay, 1–5 seconds | Screenshot panel options |
| Save to a chosen location | Snipping Tool Save as | Screenshot panel save-location options |
For most email screenshots, a rectangular selection is the best starting point. Choose a window capture if the mail app itself matters, such as when you are documenting a display issue. A full-screen capture can be useful for troubleshooting, but review it carefully because it may reveal much more than the email.
5. Copy, save, and attach the screenshot
Paste from the clipboard
If you captured to the clipboard, open the destination email, document, or chat and press Ctrl+V on Windows. On Mac, use Command+V. Some services paste the image inline; others may present it as an attachment. Confirm that an image actually appears before sending.
Attach a saved image file
- Save the screenshot somewhere easy to locate, such as a project folder or desktop.
- In your email composer, choose the attachment control, often shown as a paperclip.
- Select the saved screenshot and wait for the upload to finish.
- Check the message before sending. Confirm the image is attached, opens correctly, and is legible at normal size.
PNG is the usual screenshot format on Mac and works well for text because it preserves sharp edges. Windows save options may vary by tool and version. If file size is a concern, an image editor can export a smaller JPEG, but text and fine edges may become less clear. Do not convert or compress a screenshot if the recipient needs to inspect small text precisely.
6. Protect private information and keep the image readable
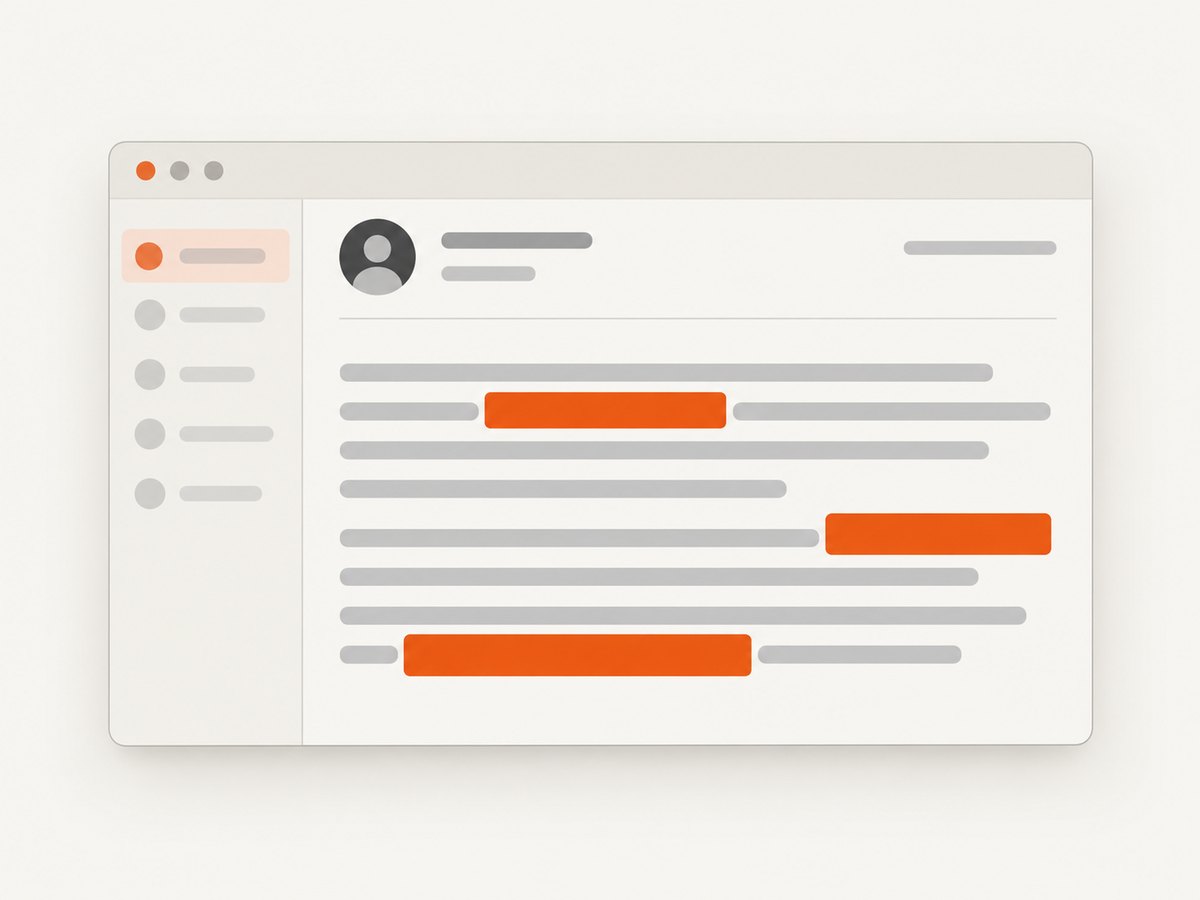
Email often contains personal or account details outside the part you intend to share. Review the screenshot at full size before attaching or posting it.
- Check sender and recipient email addresses, phone numbers, signatures, and contact details.
- Look for attachment names, order numbers, account identifiers, access links, and private message content.
- Make sure notifications, other tabs, inbox previews, and unrelated messages are not visible.
- Keep enough subject, sender, or date context for the recipient to understand the image, unless that context is confidential.
- Cover sensitive details with an opaque shape or a redaction tool. Cropping is safer than a translucent marker. Reopen the saved copy and make sure the hidden content cannot be read.
Windows Snipping Tool includes Text actions that can recognize text and quickly redact recognized email addresses or phone numbers. Microsoft says this recognition and redaction processing takes place locally on the device. Review the result manually, since automated recognition may miss information or identify text incorrectly.
On Mac, review the floating screenshot thumbnail’s markup and editing options, or use an image editor to cover private details. If you need to redact information, keep an unaltered original only when you are authorized to retain it; share the redacted copy. Cropping out a private section is preferable when it does not remove context the recipient needs.
7. Troubleshooting common problems
| Problem | Likely cause | What to do |
|---|---|---|
| The shortcut does nothing on Windows | The key combination was mistyped, the keyboard maps Print Screen differently, or the overlay did not open as expected. | Use the Windows logo key + Shift + S together. Open Snipping Tool from Start as a fallback and choose a capture mode there. |
| The screenshot is missing after capture | The image went to the clipboard rather than a file. | Paste into Paint, a document, or the destination message. To keep a file, use Snipping Tool’s Save or Save as command. |
| Alt + Print Screen captures the wrong thing | The intended email window was not active. | Click inside the email window first, then press Alt + Print Screen and paste the capture. |
| The Mac capture is on the desktop, not the clipboard | The shortcut saved a file because Control was not held. | Repeat the shortcut while holding Control, or Control-click the floating thumbnail and choose Save to Clipboard. |
| The screenshot is hard to read | The email was zoomed out, the selection included too much, or the image was compressed. | Increase the email size, capture a smaller section, and attach the original PNG or another lossless copy when possible. |
| Part of a long message is missing | Only the visible portion of the email was captured. | Scroll and capture another section. Use a small overlap and clear filenames if multiple images need to be read in order. |
| A notification or private detail appears | The selection included desktop content or the detail was outside the visible message area. | Retake a tighter capture or edit the image with an opaque redaction. Inspect the actual saved file before sending. |
| The screenshot does not appear as an attachment | The clipboard paste may have failed or the upload is still in progress. | Wait for the upload indicator, then verify the attached file name or preview. If needed, save the capture first and attach it using the file picker. |
8. Reliability and practical limits
A desktop screenshot records pixels that were visible at capture time. It is useful for showing formatting, rendering problems, or a particular message view. It does not prove that the email is authentic, preserve interactive links, or provide a searchable copy of all message content. If someone needs the original message, forward or export the email through the mail application instead of treating an image as a substitute.
For a stable result, wait until images and fonts in the message have loaded, avoid capturing while a notification or menu is covering the content, and review the saved image rather than relying on a remembered clipboard state. If the screenshot is evidence for support or an incident report, record relevant context separately and follow your organization’s retention and privacy rules.
Screenshot files can be large when the screen is high resolution or the capture contains a lot of detail. Crop to the necessary content first. Prefer a sharp, original image over aggressive compression when small text matters. For ordinary email sharing, attach the file rather than pasting if you need predictable file naming or if the mail client resizes inline images.
Or skip the browser setup
If you need screenshots of public web pages by URL rather than a message open on your computer, ScreenshotNeo is a website screenshot API and MCP server. A desktop shortcut captures your visible email; ScreenshotNeo takes a URL and returns an image or PDF. The API call below is a complete cURL example; replace the key and URL with your own values. See the ScreenshotNeo API documentation for request options.
curl -G "https://api.screenshotneo.com/v1/shot" -d access_key=YOUR_API_KEY --data-urlencode url=https://stripe.com -o shot.webpScreenshotNeo accepts cookie and consent banners before capture and removes more than 60 known consent platforms, newsletter popups, and chat widgets; each step can be turned off. Bot checks or CAPTCHAs, blank pages, timeouts, failed loads, and cache hits cost nothing, and response headers say which page verdict applied and whether it was billed. Its MCP server gives AI agents tools to take screenshots, get page information, and capture PDFs. The free plan includes 1,000 screenshots a month with no card; paid plans start at $5 for 3,000 shots. Try it with a free ScreenshotNeo account.
Frequently asked questions
Can I screenshot an email without opening it?
A screenshot shows what is rendered on screen, so the email must be visible in a mail app or browser. If you do not want to open the message, use your mail service’s forwarding or export options instead.
Will the screenshot include attachments?
Only if attachment previews are visible in the captured area. The screenshot does not attach the original files; attach those separately if the recipient needs them.
Can I capture an email as a PDF?
A screenshot is an image. To create a PDF from the displayed message, use the application’s print or export function where available, or insert the screenshot into a document and export that document as a PDF.
What is the best format to send?
Use PNG when text clarity matters. Follow the recipient’s requirements if they specify a format or file-size limit, and verify that the final attachment remains readable.


