BlogScreenshots on your device
How to Capture a Full-Screen Screenshot on a Mac
Press Shift-Command-3 to capture your entire Mac screen. Learn clipboard, timer, file location, format, troubleshooting, and browser alternatives.
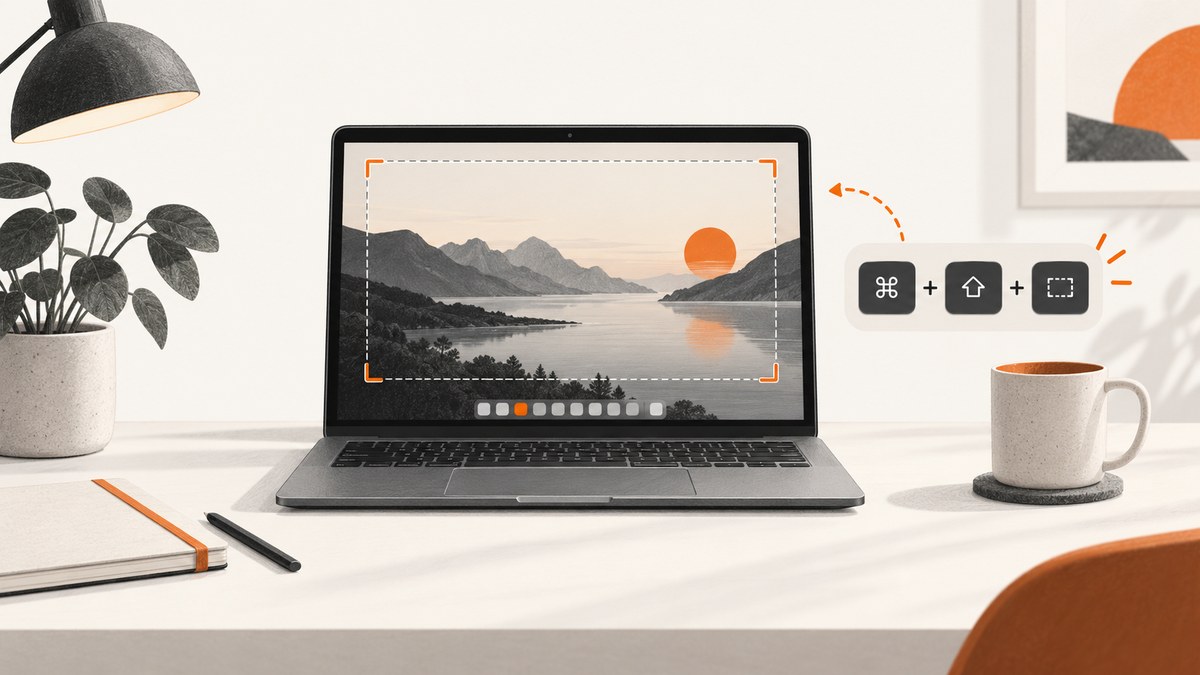
Press and release Shift-Command-3 (⇧⌘3). macOS captures the entire display and normally saves the image to your desktop. A thumbnail may appear briefly in the corner; click it to edit or mark up the capture, drag it somewhere else, or wait for the file to save.
Apple documents this shortcut in its Mac screenshot instructions. The methods below cover saving, copying, timers, multiple displays, file formats, and fixes when the shortcut does not work.
Use the full-screen keyboard shortcut
- Arrange windows, menus, and displays exactly as you want them captured.
- Press and release Shift-Command-3 together.
- Find the resulting file on the desktop, or use the floating thumbnail to edit or move it.
The shortcut captures the entire screen rather than a selected window or region. On a Mac with more than one display, macOS generally creates a separate image for each display.
What the keys mean
| Key | Purpose |
|---|---|
| Shift | Part of the screenshot shortcut |
| Command (⌘) | macOS modifier key |
| 3 | Captures the entire screen |
Copy the full-screen capture to the Clipboard
Hold Control as well: press Control-Shift-Command-3. macOS copies the full-screen image to the Clipboard instead of saving it as a file. Paste it into Messages, Mail, Notes, a document, an image editor, or another app with Command-V.
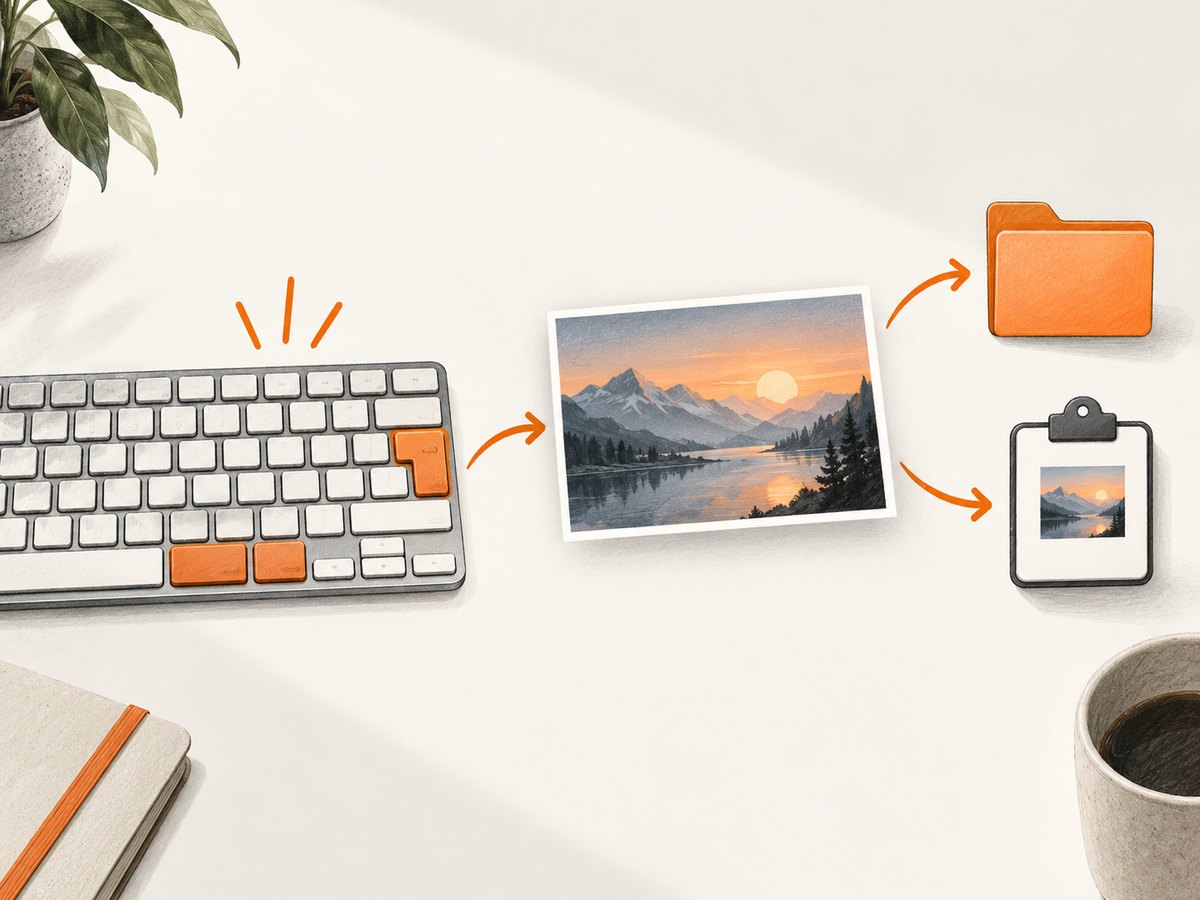
If you already used the normal shortcut and the thumbnail is visible, Control-click the thumbnail and choose Save to Clipboard. This is useful when you need to paste the image once and do not want another file on the desktop.
Use the Screenshot utility for more control
Press Shift-Command-5, or open Applications > Utilities > Screenshot. Select the control for the entire screen, then click Capture.
The utility is useful when you need to choose a destination, set a timer, include the pointer, hide the floating thumbnail, capture a window or region, or record the screen. Apple’s Mac User Guide describes these controls.
Screenshot Options
| Option | When to use it |
|---|---|
| Save to | Choose Desktop, Documents, Clipboard, Mail, Messages, Preview, or another available destination. |
| Timer | Give yourself time to open a menu, dismiss a notification, or position a window before capture. |
| Show Floating Thumbnail | Keep the editing thumbnail, or turn it off for immediate file saving. |
| Remember Last Selection | Useful for repeated region captures; it does not change the full-screen shortcut. |
| Show Mouse Pointer | Include the pointer when documenting a workflow or cursor position. |
On supported Mac models running macOS Tahoe 26 or later, Screenshot also documents SDR (PNG) and HDR (HEIF) capture choices. Use the format that matches the application where you will edit or publish the image.
Where Mac screenshots are saved
Keyboard captures normally appear on the desktop as PNG files with a date-and-time name. To change the destination:
- Press Shift-Command-5.
- Click Options.
- Choose a folder under Save to, or select another destination such as Clipboard.
If you cannot see the file, check the Finder desktop, search for “Screenshot” in Finder, and verify the Save to setting. A floating thumbnail can delay the final save for a moment while it remains on screen.
Choose the right Mac capture method
| Goal | Method | Result |
|---|---|---|
| Capture every pixel immediately | Shift-Command-3 | Entire display saved to the configured destination |
| Paste the entire display once | Control-Shift-Command-3 | Full-screen image in the Clipboard |
| Set a delay or include the pointer | Shift-Command-5 | Screenshot utility with timer and options |
| Capture one window | Shift-Command-5, then window mode | Selected window capture |
| Capture a region | Shift-Command-4 or Shift-Command-5, region mode | Selected-area capture |
| Record the screen | Shift-Command-5, recording mode | Screen recording rather than a still image |
Editing and handling the result
Click the floating thumbnail to open markup tools. You can draw, add shapes or text, crop, rotate, and share the image. Dragging the thumbnail into a folder or document moves or inserts the capture before the automatic save completes.
For a saved file, open it in Preview to annotate, crop, resize, export, or convert it. Keep the original PNG if you need lossless editing; export a copy to JPEG or another format when a smaller file is more useful.
Common problems and fixes
The shortcut does nothing
- Open System Settings > Keyboard > Keyboard Shortcuts > Screenshots and confirm the full-screen shortcut is enabled and still assigned to Shift-Command-3.
- Check whether another utility has claimed the same keyboard combination.
- Try Shift-Command-5 and select full-screen capture. If the panel works, the keyboard assignment is the likely issue.
The screenshot is saved somewhere unexpected
Open Shift-Command-5, choose Options, and inspect Save to. The destination may have been changed from Desktop to Documents, Clipboard, Preview, Mail, Messages, or a custom folder.
The image includes a pointer or excludes it
Open the Screenshot utility, choose Options, and toggle Show Mouse Pointer. The setting affects utility captures; the direct shortcut is intended for fast full-screen capture.
A menu closes before the capture
Use Shift-Command-5 and set a timer, then open the menu during the countdown. A timer is also useful when you need to move the pointer out of the way or wait for a page to finish changing.
An app refuses to capture
Some apps, including Apple TV, may block screenshots of their windows. This is an application restriction rather than a broken shortcut. Capture a permitted area or use the app’s own export feature when available.
The thumbnail never appears
The floating thumbnail may be disabled. Open Shift-Command-5, choose Options, and enable Show Floating Thumbnail. The image can still save correctly with the thumbnail hidden.
The screenshot looks different on an HDR display
On supported Macs running macOS Tahoe 26 or later, select the required SDR (PNG) or HDR (HEIF) option in Screenshot. Choose SDR when compatibility with older editors or web uploads matters; choose HDR when preserving supported display range is the priority.
Or skip the browser setup
The Mac shortcuts above capture your local display. If what you need is a repeatable screenshot of a webpage, ScreenshotNeo returns a clean PNG, JPEG, WebP, or PDF from one request. Before capture it accepts cookie or consent banners and removes more than 60 known consent platforms, newsletter popups, and chat widgets. Bot checks, blank pages, timeouts, failed loads, and cache hits are not billed, and response headers identify the page verdict and billing result.

See the ScreenshotNeo API documentation for all options. The basic request is:
cURL
curl -G "https://api.screenshotneo.com/v1/shot" -d access_key=YOUR_API_KEY --data-urlencode url=https://stripe.com -o shot.webpPython
import requests
r = requests.get("https://api.screenshotneo.com/v1/shot", params={"access_key": "YOUR_API_KEY", "url": "https://stripe.com"}, timeout=90)
open("shot.webp", "wb").write(r.content)
Node.js
const q = new URLSearchParams({ access_key: 'YOUR_API_KEY', url: 'https://stripe.com' });
const res = await fetch(`https://api.screenshotneo.com/v1/shot?${q}`);
You can also capture full pages with lazy images loaded, select an element by CSS selector, set a device or viewport, use dark mode and retina scale, wait for a selector, delay, or network idle, run custom CSS or JavaScript, click an element, hide selectors, block ads or resource types, provide headers, cookies, a user agent, authorization, timezone, or geolocation, create PDFs, resize images, cache with a chosen TTL, use signed links, submit async jobs with signed webhooks, capture up to 100 URLs per bulk call, and read usage through the API. An MCP server provides take_screenshot, get_page_info, and capture_pdf for Claude, Cursor, and other MCP clients.
There is a free tier of 1,000 screenshots per month with no card. Paid plans start at $5 for 3,000 screenshots; every feature is available on every plan. Create a free ScreenshotNeo account.
Performance, reliability, and cost notes
- Speed: The keyboard shortcut is immediate because it captures the local display. A webpage API must load the target URL, so use a selector wait, delay, or network-idle wait when content appears asynchronously.
- Repeatability: Use Screenshot Options for a consistent destination and format. For automated webpage captures, keep viewport, device, timezone, cookies, and wait settings fixed.
- Failure handling: ScreenshotNeo identifies verdict and billing status in
X-Page-VerdictandX-Billedheaders. Failed loads and cache hits are not billed. - Cost control: Enable caching with a TTL when the same page does not need a fresh render. Use bulk capture for up to 100 URLs per call and the usage API to monitor consumption.
- Privacy: Review visible notifications, personal tabs, and account data before taking a local full-screen capture. For webpage captures, provide only the headers, cookies, authorization, timezone, and geolocation the page requires.
FAQ
What is the Mac shortcut for a full-screen screenshot?
Press and release Shift-Command-3.
How do I copy instead of save?
Use Control-Shift-Command-3, then paste with Command-V.
Can I capture a full screen after a delay?
Yes. Open Shift-Command-5, choose full-screen capture, and set a timer in Options.
Why are there multiple files with multiple monitors?
macOS commonly creates one full-screen image per connected display.
Can these shortcuts capture protected video?
Some applications block screenshots. Apple TV is one documented example.
How do I screenshot a webpage without showing cookie banners?
Use ScreenshotNeo’s webpage API. It removes supported consent banners, newsletter popups, and chat widgets before capture, and its free plan includes 1,000 screenshots per month without a card.


