BlogScreenshots on your device
How to Capture High-FPS Screenshots on Linux
Capture 60 or 120 FPS screenshots on Linux with FFmpeg, OBS, X11, Wayland, and practical tuning for reliable frame timing.
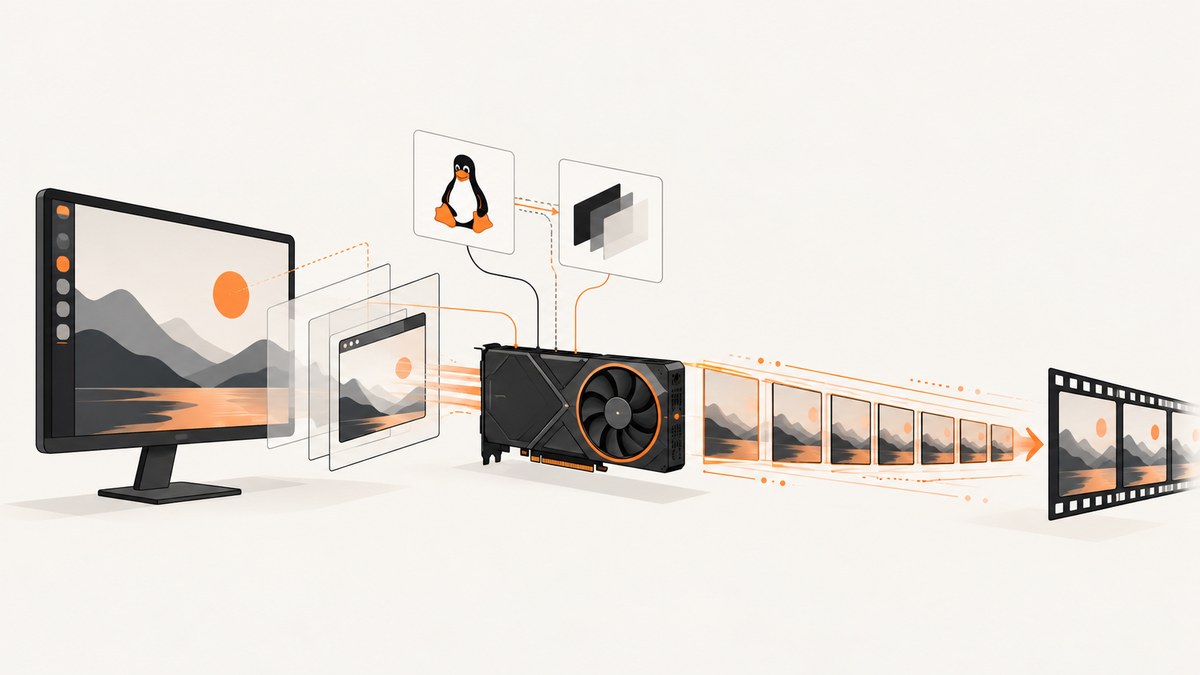
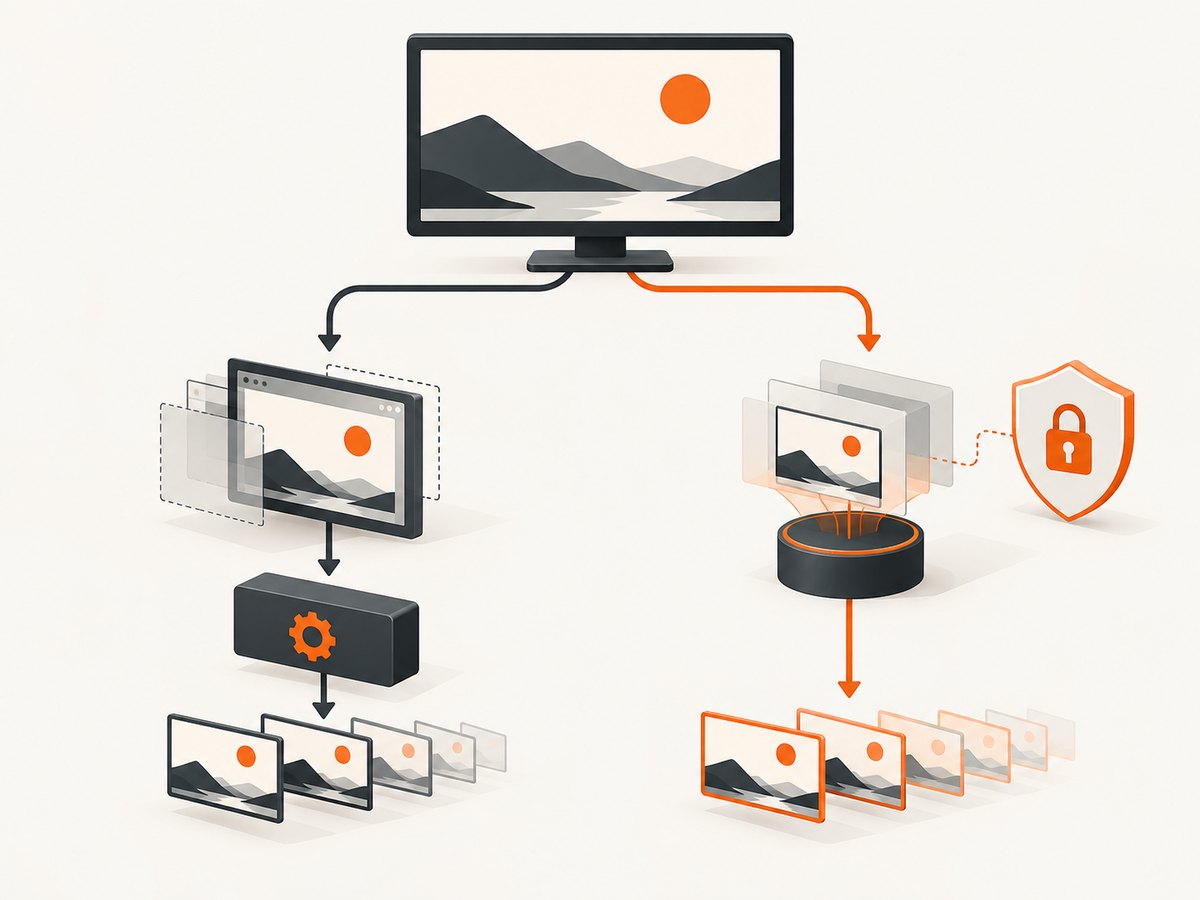
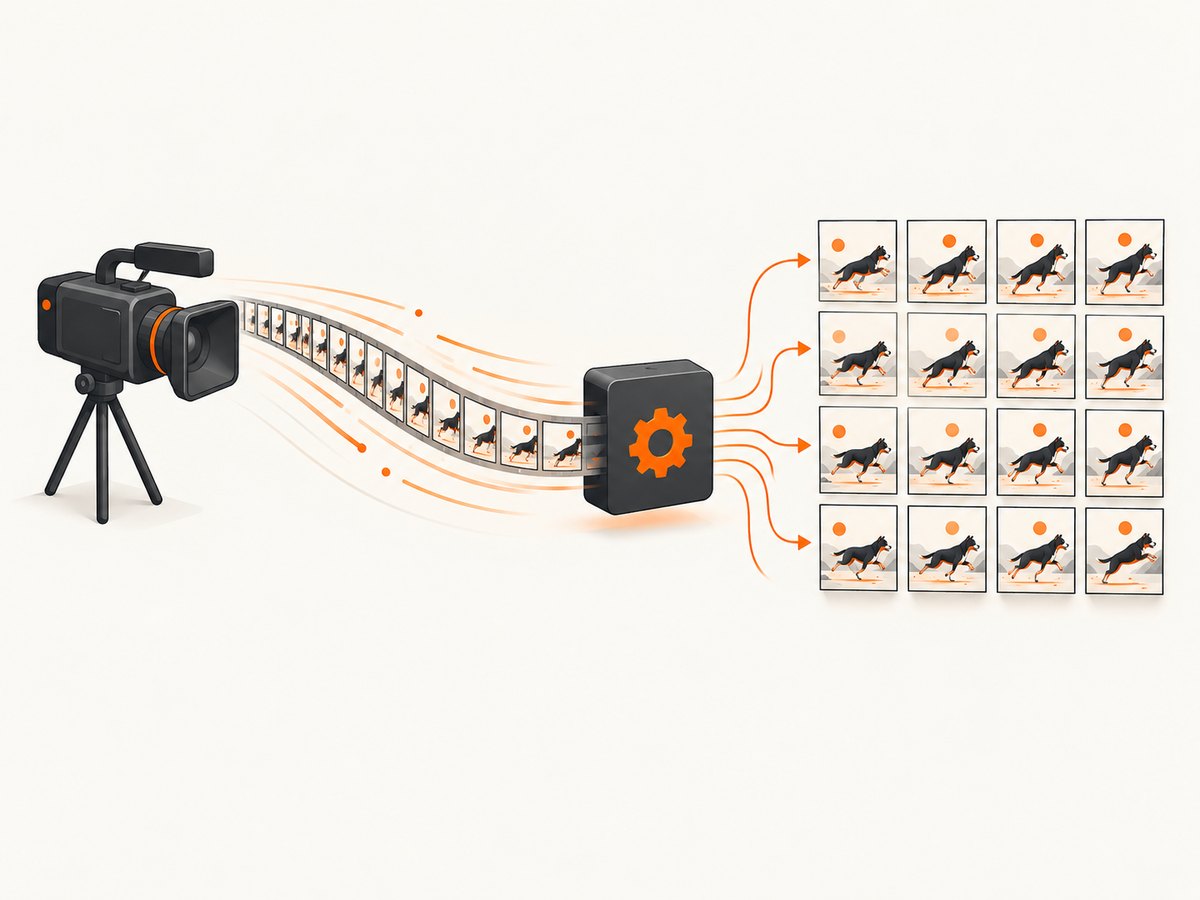
Use the capture backend that matches your Linux session: FFmpeg’s x11grab is the direct, scriptable choice on X11. On Wayland, use OBS’s PipeWire screen or window source because the compositor controls cross-client capture. Capture a video stream at the target rate, then extract still images from that stream.
A 60 FPS X11 baseline is:
ffmpeg -f x11grab -framerate 60 -video_size 1920x1080 -i "$DISPLAY" -c:v libx264 -preset veryfast capture.mkvFFmpeg documents x11grab as a device that captures a region of an X11 display and provides options for frame rate, size, offsets, mouse handling, and window capture. The requested rate is a target: your CPU, GPU, display server, encoder, and storage must sustain it.
Choose the right Linux capture path
| Session | Recommended path | Best for | Trade-offs |
|---|---|---|---|
| X11 | FFmpeg x11grab or OBS XSHM |
Simple scripts, regions, windows, repeatable capture | Frame drops are possible at high resolution or high FPS; cursor behavior depends on options |
| Wayland | OBS Screen Capture (PipeWire) or window source | Permission-aware desktop and window capture | Portal and compositor permissions add setup steps; supported rates depend on the compositor and hardware |
| Any session with a suitable DRM/KMS setup | FFmpeg kmsgrab |
Advanced, low-level display capture | Connector selection, permissions, and hardware-aware mapping can be difficult |
Check your session before choosing a command:
echo "$XDG_SESSION_TYPE"
echo "$DISPLAY"
echo "$WAYLAND_DISPLAY"
x11 means an X11 workflow is appropriate. wayland means use PipeWire capture through OBS or another portal-aware tool. Traditional X11 grabbing is not a general Wayland solution because Wayland restricts cross-client capture.
Capture 60 FPS on X11 with FFmpeg
Whole display
The DISPLAY environment variable normally contains a value such as :0.0. Capture the actual region size rather than assuming 1920×1080:
xdpyinfo | awk '/dimensions:/{print $2}'

ffmpeg -f x11grab \
  -framerate 60 \
  -video_size 1920x1080 \
  -i "$DISPLAY" \
  -c:v libx264 \
  -preset veryfast \
  capture.mkv
If your display is a different size, replace 1920x1080. Put -framerate before the input. The input rate controls how often FFmpeg asks the X11 device for frames.
Capture a region with an offset
Add +x,y to the input. This captures a 1280×720 region beginning 100 pixels from the left and 200 pixels from the top:
ffmpeg -f x11grab \
  -framerate 60 \
  -video_size 1280x720 \
  -i "$DISPLAY+100,200" \
  -c:v libx264 \
  -preset veryfast \
  region.mkv
Capture an X11 window
Use the window ID when you need a single window instead of a screen rectangle. Obtain an ID with a desktop utility such as xwininfo, then pass it to FFmpeg:
xwininfo

ffmpeg -f x11grab \
  -framerate 60 \
  -window_id 0x4600007 \
  -i "$DISPLAY" \
  -c:v libx264 \
  -preset veryfast \
  window.mkv
Window IDs are session-specific. A newly opened window can have a different ID.
Cursor handling
When cursor visibility matters, check the x11grab options available in your FFmpeg build and choose the mouse setting supported there. If the cursor is absent or appears as a separate overlay, verify the result with a short recording before starting a long capture.
Capture 120 FPS when the system can sustain it
Change the input rate to 120:
ffmpeg -f x11grab \
  -framerate 120 \
  -video_size 1280x720 \
  -i "$DISPLAY" \
  -c:v libx264 \
  -preset veryfast \
  capture-120.mkv
High refresh rate does not guarantee that the capture path can deliver 120 distinct frames per second. If FFmpeg reports dropped frames, reduce resolution, reduce the requested rate, use a faster encoder preset, or capture to faster storage. A smaller region often helps more than changing the output container.
For a lossless intermediate, you can write an image sequence directly, but this creates many files and can overwhelm storage at high rates:
mkdir -p frames
ffmpeg -f x11grab -framerate 60 -video_size 1280x720 -i "$DISPLAY" \
  -f image2 -c:v png frames/frame_%06d.png
Extract still screenshots from the recorded stream
Capture rate and extraction rate are separate. Asking for 120 output images per second cannot create frames that were never captured.
mkdir -p frames
ffmpeg -i capture.mkv -vf "fps=60" -vsync 0 frames/frame_%06d.png
Use fps=120 only when the source stream contains 120 frames per second. The -vsync 0 setting avoids duplicating or dropping frames during extraction when you want one file per decoded frame.
JPEG uses less storage but is lossy:
ffmpeg -i capture.mkv -vf "fps=60" -q:v 2 -vsync 0 frames/frame_%06d.jpgPNG is appropriate when each screenshot must preserve pixel values. Keep the original video if frame timing or later reprocessing matters.
Use OBS for Wayland and graphical workflows
OBS lists “Screen Capture (PipeWire)” as available on Linux and requiring Wayland. It also lists Linux “Screen Capture (XSHM)” and window capture sources for X11 sessions.
- Install OBS from your distribution’s supported package source.
- Open Settings → Video.
- Set the base and output resolution to the region you need.
- Set the common FPS value to 60 or 120 if the compositor and hardware support it.
- Add a Screen Capture (PipeWire) source on Wayland and select the screen or window through the permission dialog.
- Use Screen Capture (XSHM) or an X11 window source on X11.
- Choose a recording format that preserves frame timestamps, then start a short recording.
- Watch OBS statistics while recording for dropped frames and rendering or encoding overload.
OBS is useful when you need source selection, compositing, audio, or a visual preview. FFmpeg is usually easier to automate from a shell script.
Advanced option: FFmpeg KMS capture
On systems where the compositor exposes a suitable KMS path, FFmpeg’s kmsgrab can capture from the Linux DRM/KMS interface. Treat it as an advanced path: it may require permissions, connector selection, and hardware-aware mapping. Start with X11 x11grab or Wayland PipeWire capture unless you already understand your display stack.
Make high-FPS capture reliable
Measure the complete pipeline
- Capture: the display server or compositor must provide frames at the requested rate.
- Conversion: pixel format conversion can consume CPU or GPU time.
- Encoding: choose an encoder and preset that your machine can sustain.
- Writing: high-resolution PNG sequences can saturate storage.
- Extraction: decode and write frames separately when you need still images.
Run a short recording first. Watch FFmpeg’s frame and drop counters or OBS statistics. These operational checks reveal whether the configured rate is sustainable on the particular machine.
Reduce the work in this order
- Capture only the required window or region.
- Reduce resolution while keeping the required detail.
- Use a faster encoder preset or hardware encoder available in your setup.
- Write to a fast local disk before moving files elsewhere.
- Lower FPS only when the workflow can tolerate fewer temporal samples.
Preserve timing
Use a video container when timing matters. A directory of numbered images records ordering but does not by itself guarantee the original capture timestamps. Preserve the source stream and extract frames with an explicit FPS filter when downstream processing needs deterministic spacing.
Troubleshooting
| Symptom | Likely cause | Fix |
|---|---|---|
Cannot open display |
DISPLAY is unset, incorrect, or inaccessible |
Run the command inside the graphical session, inspect echo "$DISPLAY", and check X11 authorization. |
| Wayland capture is black or unavailable | X11 grabbing is being used on a Wayland session | Use OBS PipeWire capture and accept the compositor permission prompt. |
| Requested 120 FPS but output has fewer frames | The capture or encoding pipeline cannot sustain the rate | Reduce region size or resolution, use a faster encoder, check drop counters, and test again. |
| Frames are duplicated | Extraction rate exceeds the source rate or synchronization adds repeats | Set the extraction filter to the source rate and use -vsync 0. |
| Recording stops with disk errors | Image sequence or high-bitrate video exceeds storage throughput | Use a faster disk, a compressed video intermediate, a smaller region, or JPEG for non-lossless output. |
| Window capture is empty | The window ID changed or the application uses a separate surface | Run xwininfo again and capture the current ID; on Wayland, select the window through PipeWire. |
| Permission denied with KMS | The process lacks access to the DRM device | Check your distribution’s device permissions and connector configuration before using kmsgrab. |
Performance, reliability, and cost notes
- Performance: 60 or 120 FPS is a target, not a guarantee. Resolution, pixel format, encoder load, compositor behavior, and storage throughput all affect sustained output.
- Reliability: Keep a short validation recording in your automation, monitor dropped-frame counters, and preserve timestamps when frame timing matters.
- Storage: PNG sequences multiply disk usage quickly. A compressed video intermediate is usually easier to move and decode later.
- Cost: Local capture has no per-shot API charge, but it consumes CPU/GPU time, disk bandwidth, and storage. Cloud capture is useful when you need repeatable webpage rendering rather than the pixels of your local desktop.
Or skip the browser setup
For webpage screenshots rather than a live Linux desktop, ScreenshotNeo provides a single GET request that returns PNG, JPEG, WebP, or PDF. Its capture flow accepts cookie and consent banners like a visitor, then removes more than 60 known consent platforms along with newsletter popups and chat widgets. Bot checks, blank pages, timeouts, failed loads, and cache hits are not billed, and the response identifies the result with X-Page-Verdict and X-Billed headers. An MCP server lets Claude, Cursor, and other MCP clients call take_screenshot, get_page_info, and capture_pdf.
See the ScreenshotNeo API documentation for all options. A basic request:
curl -G "https://api.screenshotneo.com/v1/shot" -d access_key=YOUR_API_KEY --data-urlencode url=https://stripe.com -o shot.webpimport requests
r = requests.get("https://api.screenshotneo.com/v1/shot", params={"access_key": "YOUR_API_KEY", "url": "https://stripe.com"}, timeout=90)
open("shot.webp", "wb").write(r.content)const q = new URLSearchParams({ access_key: 'YOUR_API_KEY', url: 'https://stripe.com' });
const res = await fetch(`https://api.screenshotneo.com/v1/shot?${q}`);Every plan includes the features: full-page capture with lazy images loaded, CSS-selector element capture, dark mode, device presets and custom viewports, retina scale, PDF settings, custom CSS and JavaScript, clicks, waits, request blocking, headers, cookies, user agents, authorization, timezone, geolocation, transparent backgrounds, resizing, caching, signed links, asynchronous jobs, webhooks, bulk capture, usage data, and an OpenAPI specification. The free plan includes 1,000 screenshots per month with no card; paid plans start at $5 for 3,000. Create a free ScreenshotNeo account.
FAQ
Can I create 120 unique screenshots per second from a 60 FPS recording?
No. Extraction cannot invent frames. Capture at 120 FPS first, and verify that the system actually sustains that rate.
Is X11 grabbing compatible with every Wayland desktop?
No. Wayland controls cross-client capture. Use a PipeWire or portal-aware source such as OBS’s Wayland screen capture.
Should I save PNGs or a video?
Use PNG when pixel accuracy matters and storage is available. Use a video intermediate when timing, transfer size, or later extraction matters.
Does ScreenshotNeo capture my Linux desktop?
No. ScreenshotNeo captures public or authenticated webpages through its API. Use FFmpeg or OBS for the local desktop, and ScreenshotNeo when the target is a webpage.