BlogScreenshots on your device
How to Capture High-Resolution Screenshots on Windows
Learn how Windows resolution, scaling, Snipping Tool and Print Screen affect screenshot quality, plus reliable ways to capture sharper images.
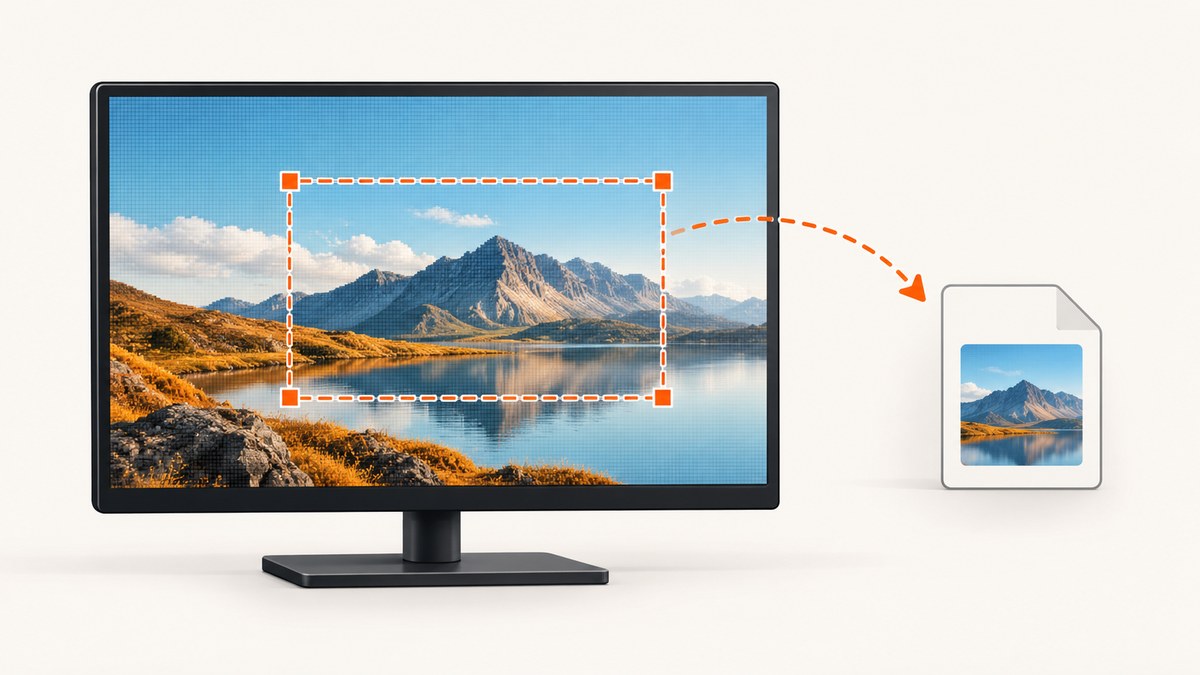
A high-resolution screenshot starts with the pixels Windows is currently displaying. Set the intended monitor to its recommended resolution, show the content at a readable size, then capture the smallest useful area with Snipping Tool or Print Screen. Cropping or enlarging the saved file can change its dimensions, but it cannot restore detail that was never captured.
For most Windows 10 and Windows 11 computers, the quickest quality-focused workflow is:
- Open Settings > System > Display and select the monitor you want to capture.
- Set Display resolution to the option marked Recommended.
- Open the page or application and increase its own zoom when small text must be readable.
- Press Windows + Shift + S, choose rectangular, window, freeform or full-screen snip, and capture.
- Open the Snipping Tool result, inspect it at its actual dimensions, and save it to a known location.
What “high resolution” means for a Windows screenshot
Microsoft Support defines resolution as the number of pixels on the screen. Its examples are Full HD at 1920 × 1080 pixels and 4K / Ultra HD at 3840 × 2160 pixels. Those figures describe a display mode, not a guarantee that every screenshot file will have those dimensions. The selected monitor, capture area, application window, multi-monitor arrangement and device configuration determine the result.
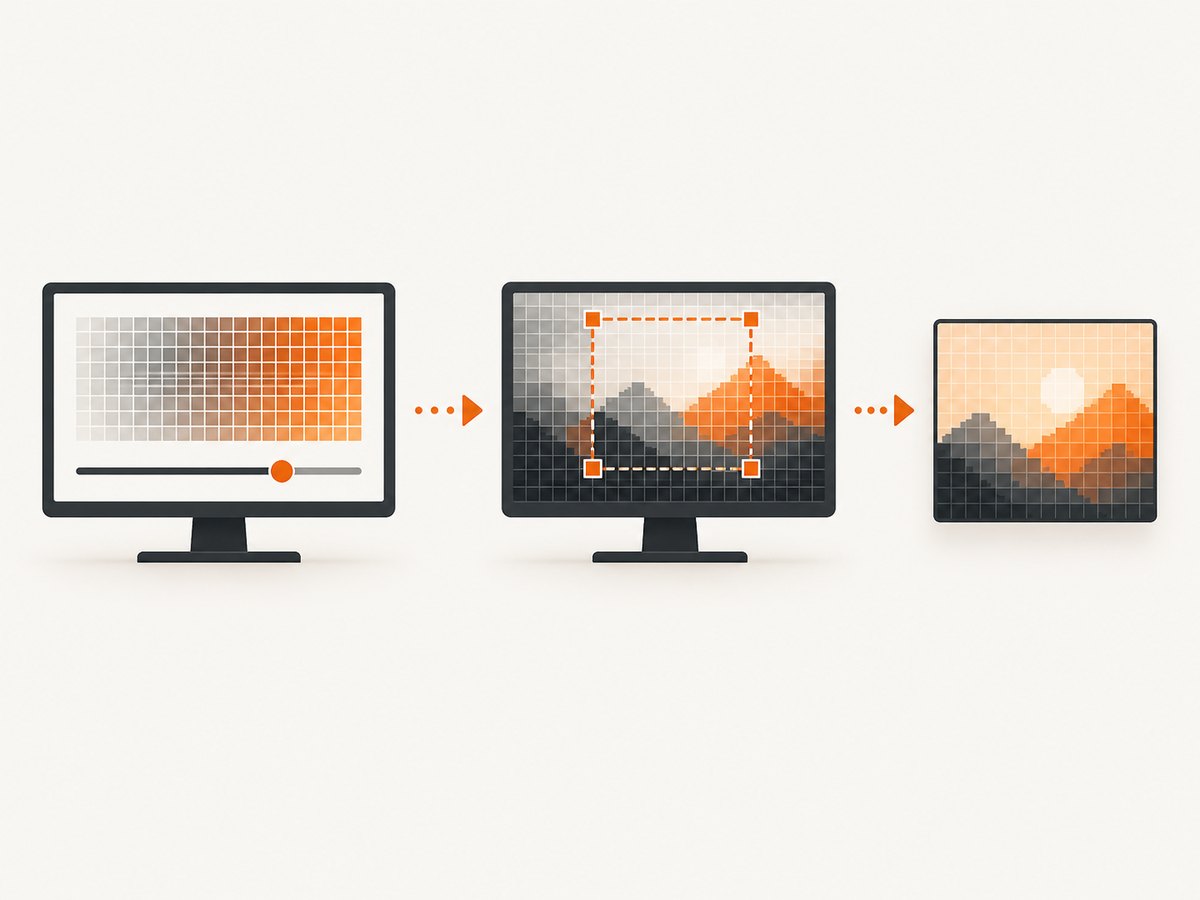
A full-screen capture can only contain the pixels available on the selected display. A rectangular snip may be smaller because it includes only the selected region. A window capture follows the window’s displayed size. If you need more pixels for the same complete desktop, a display that supports a higher resolution is the hardware route; changing a file from 1,000 pixels wide to 2,000 pixels wide only interpolates existing information.
Windows Scale and Display resolution are separate settings. Scale changes the size of text and apps in the interface. It does not automatically give a screenshot more source pixels. Use application zoom, a larger window or a different layout when the goal is legibility, and verify the saved image rather than assuming a setting produced a particular dimension.
Prepare Windows for the sharpest capture
1. Select the correct monitor
With two or more displays connected, go to Settings > System > Display and click the monitor that contains the content. Resolution changes apply to the selected display. A dock, cable, graphics driver, remote desktop session or protected-content window can affect which modes are offered, so check the actual screen you intend to capture.
2. Use the Recommended resolution
Microsoft recommends the resolution marked Recommended. A monitor can support lower modes, but Microsoft warns that text may look less sharp or the image may appear small, centered, bordered or stretched. If you changed the mode while troubleshooting, return to Recommended before capturing documentation.
3. Set scaling for readability, not pixel count
Keep a comfortable Windows scale so controls are usable. When a diagram, error message or code sample is too small, increase the application’s own zoom or open a larger view before taking the screenshot. This can change what fits on screen, so decide whether you need the whole page or readable detail in one section.
4. Arrange the content
- Maximize the target window when a window capture should include its full interface.
- Close unrelated panels and notifications.
- Scroll to the exact state that matters.
- For menus that disappear when you click elsewhere, use Snipping Tool’s delay option and open the menu during the delay.
Use Snipping Tool for controlled captures
Press Windows + Shift + S to open the Snipping Tool overlay. Choose one of four still-image modes:
| Mode | Best for | Quality implication |
|---|---|---|
| Rectangular | A message, control or defined region | Includes only selected pixels, producing a smaller file. |
| Freeform | An irregular shape around a subject | Useful for isolating a shape; it does not add detail. |
| Window | One application window | Focus the intended window first and confirm its displayed size. |
| Full screen | The complete selected display | Uses the available pixels of that display mode. |
After the capture, Snipping Tool opens a result you can annotate, copy and save. Microsoft’s current guidance says captures can be automatically saved to the Screenshots folder, and the automatic-save behavior or folder can be changed in Snipping Tool settings. To make your workflow predictable, use the save control and choose the destination yourself.
Fast alternatives: Print Screen and keyboard shortcuts
Print Screen places a full-screen image on the clipboard. Paste it into an image editor, document or chat, then save it. This is useful when speed matters and you do not need to choose a region first.
On some keyboards, Windows + Print Screen saves a screenshot directly in Pictures > Screenshots. Hardware layouts differ; if there is no Print Screen key, Microsoft lists Fn + Windows + Space as an alternative on some devices. Alt + Print Screen can capture the active window in supported contexts. Focus the intended window before using any active-window shortcut.
A Snipping Tool video snip records motion rather than producing a higher-resolution still. Use it for a reproduction video, not when you need one sharp image.
Make text and interfaces easier to read
There are two practical ways to improve readability:
- Capture a smaller region. Select the control, error or chart instead of the whole desktop. The result has fewer total pixels but gives the subject more visual prominence when viewed at its native size.
- Change the source view before capturing. Increase browser or application zoom, enlarge the window, or open a detail panel. Recapture after arranging the view. This is a composition change, not a method for recovering missing pixels.
Do not promise that a different PNG, JPEG or WebP setting will create detail. File format affects compression and size. It cannot exceed the information in the captured source. Open the saved file at 100% zoom and inspect small text before sharing it.
Full-screen screenshots, multiple monitors and exact dimensions
For a full-screen image, the selected display’s current pixel dimensions are the starting point. A 4K mode is 3840 × 2160, while Full HD is 1920 × 1080, but Windows may capture a different area or window size. On a multi-monitor setup, capture each display separately if the documentation needs independent images; verify which monitor is selected in Display settings.
If an exact output dimension is a requirement, save a sample and inspect its file properties. Do not infer the result from a monitor’s advertised maximum alone. The computer, connection, dock, driver, remote session and application can all influence available modes and displayed content.
Or skip the browser setup
If the source is a public web page rather than your Windows desktop, ScreenshotNeo can return a screenshot through one GET request. See the ScreenshotNeo API documentation for all options.
curl -G "https://api.screenshotneo.com/v1/shot" -d access_key=YOUR_API_KEY --data-urlencode url=https://stripe.com -o shot.webpimport requests
r = requests.get("https://api.screenshotneo.com/v1/shot", params={"access_key": "YOUR_API_KEY", "url": "https://stripe.com"}, timeout=90)
open("shot.webp", "wb").write(r.content)const q = new URLSearchParams({ access_key: 'YOUR_API_KEY', url: 'https://stripe.com' });
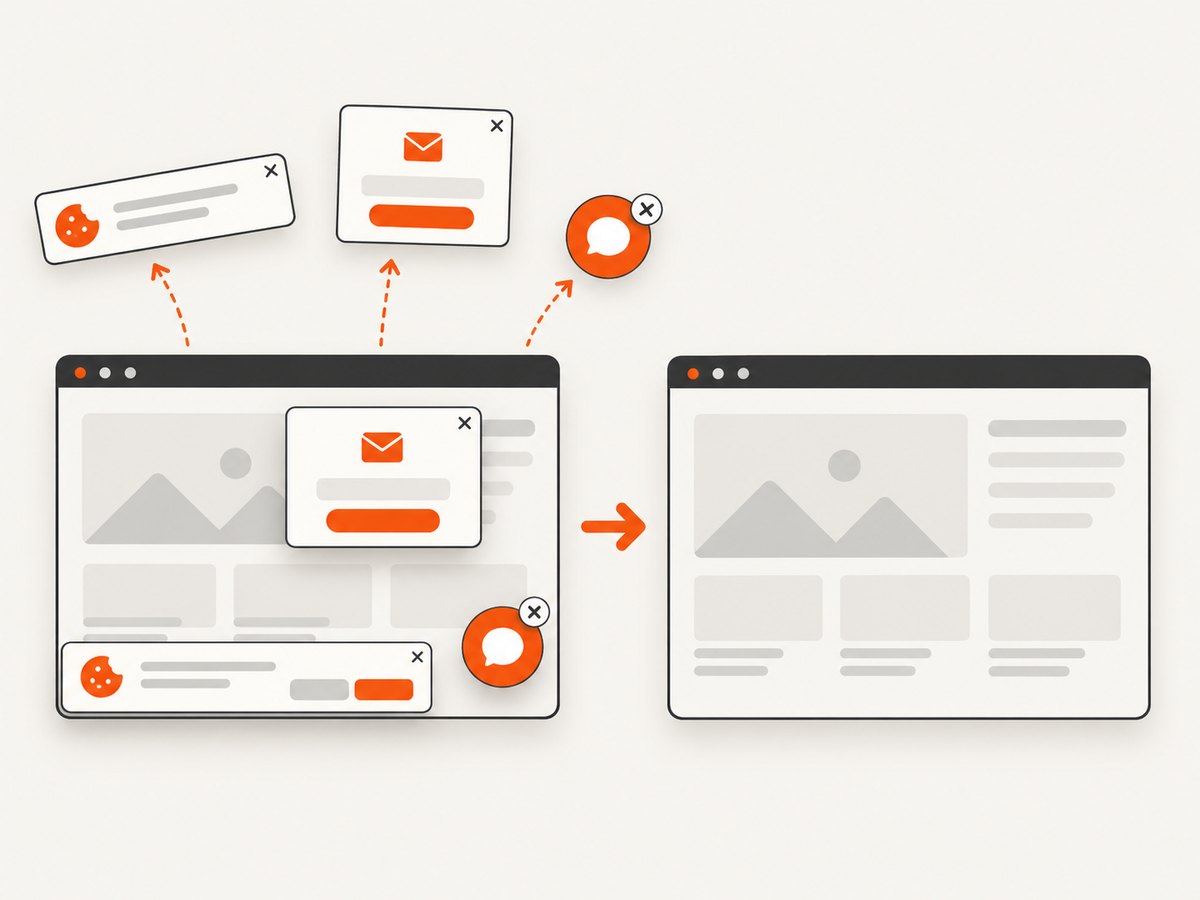
const res = await fetch(`https://api.screenshotneo.com/v1/shot?${q}`);ScreenshotNeo removes cookie banners, newsletter popups and chat widgets before the shot. Bot checks, blank pages and failed loads are never billed, and response headers identify the page verdict and whether the shot was billed. Its MCP server lets Claude, Cursor and other MCP clients take screenshots with take_screenshot, inspect pages with get_page_info and create PDFs with capture_pdf. One thousand screenshots each month are free with no card; paid plans start at $5 for 3,000 shots. Create a free ScreenshotNeo account.
ScreenshotNeo options for web capture
When a browser-rendered page must be captured repeatedly, ScreenshotNeo exposes controls that desktop shortcuts do not. You can request full-page capture with lazy images loaded, target one element by CSS selector, choose dark mode, select one of 12 device presets or any viewport, and apply a retina scale. It also supports PDF output with paper size, margins, landscape mode and page ranges.
For dynamic pages, provide custom CSS or JavaScript, click an element before capture, hide selectors, or wait for a selector, delay or network idle. You can block ads, trackers, requests or resource types. Custom headers, cookies, user agents and Authorization values handle authenticated or personalized pages. Timezone and geolocation settings help reproduce regional layouts. Transparent backgrounds and image resizing are available for image output.
For production pipelines, choose a cache TTL, create signed links for public <img> tags, submit asynchronous jobs with signed webhooks, capture up to 100 URLs per bulk call, and read usage through the usage API. An OpenAPI specification is available, and parameter names used by other screenshot APIs are accepted to simplify migration.
Troubleshooting blurry or incorrect screenshots
| Symptom | Likely cause | Fix |
|---|---|---|
| Text looks soft | The display is below its recommended or native mode. | Select the intended monitor and restore the Recommended resolution. |
| The file is large but details are missing | The image was enlarged after capture. | Recapture at the needed source size; resizing cannot recover detail. |
| The wrong monitor appears | Another display was selected or the pointer was on a different screen. | Choose the monitor in Display settings and use a deliberate window or region snip. |
| A menu vanished | Clicking the overlay changed focus. | Use Snipping Tool’s delay, then open the menu before the capture. |
| Nothing was saved | The capture is only on the clipboard or automatic saving is configured differently. | Open Snipping Tool, use Save, and choose a destination; paste clipboard captures into an editor. |
| The screenshot includes notifications | System or application overlays appeared during capture. | Dismiss them, enable a delay, or recapture after the screen settles. |
| A web page is blank in an automated capture | The page may require time, scripts, authentication or may be blocked. | Wait for a selector or network idle, send required headers or cookies, and inspect the response verdict. |
Performance, reliability and cost considerations
For local Windows work, Print Screen is fastest because it puts an image on the clipboard immediately. Snipping Tool adds selection and editing controls. Full-screen images at higher resolutions contain more pixels and can take more storage and transfer time than a small region.
For automated web capture, wait only as long as the page needs: a selector wait is usually more targeted than an arbitrary long delay, while network-idle waiting can help pages that load assets progressively. Full-page capture and lazy-image loading increase work compared with a viewport shot. Caching with a chosen TTL can avoid repeated renders when the page has not changed.
ScreenshotNeo bills only clean shots. Bot checks or CAPTCHAs, blank pages, timeouts, failed loads and cache hits cost nothing, and the X-Page-Verdict and X-Billed headers state what happened. Plans include a free tier of 1,000 shots per month without a card, followed by Starter at $5 for 3,000, Growth at $15 for 15,000, Pro at $39 for 60,000, Scale at $99 for 250,000 and Business at $249 for 1,000,000. Yearly billing gives two months free, and every feature is on every plan.
Windows support and feature differences
The main Snipping Tool and display-resolution instructions cover Windows 10 and Windows 11, but interfaces and feature availability vary by version and device. Microsoft states that Windows 10 support ended on October 14, 2025; existing installations may still have the tools, but that date is not a continuing security-support commitment.
Microsoft lists Perfect screenshot and Color picker as available only on Windows 11 Copilot+ PCs. Do not assume those controls appear on every Windows 11 computer. If a shortcut or save behavior differs, use the visible Snipping Tool controls and verify the resulting file.
Checklist for a sharp, useful screenshot
- Select the correct display.
- Use the resolution marked Recommended.
- Set application zoom for readable source content.
- Choose region, window or full-screen capture intentionally.
- Use delay for menus and transient states.
- Save explicitly and inspect the file at actual size.
- Recapture when text is too small instead of enlarging the file.
- For web automation, wait for the real content and send required session data.
FAQ
Does changing Windows Scale make screenshots higher resolution?
No. Scale changes interface sizing. The screenshot’s source pixels come from the selected display mode and captured area.
Is 4K required for a high-resolution screenshot?
No. A 4K display provides more available pixels than Full HD, but ordinary screenshots work at any supported mode. Use 4K when your task specifically needs more full-screen pixels.
Should I use PNG or JPEG?
Choose the format required by your workflow. Format selection affects compression and file size; it does not create detail beyond the captured pixels.
Can I capture a web page without opening a browser?
Yes. ScreenshotNeo accepts a URL through its API, supports browser controls such as waits, cookies and custom headers, and can also be used through its MCP server.
Why is my automated screenshot not billed?
ScreenshotNeo does not bill bot checks or CAPTCHAs, blank pages, timeouts, failed loads or cache hits. Check the X-Page-Verdict and X-Billed response headers.


