BlogScreenshots on your device
How to Capture the Mouse Cursor in a Python Screenshot
Capture the mouse cursor in Python with MSS on GNU/Linux, or composite it yourself when your platform or library omits pointer support.
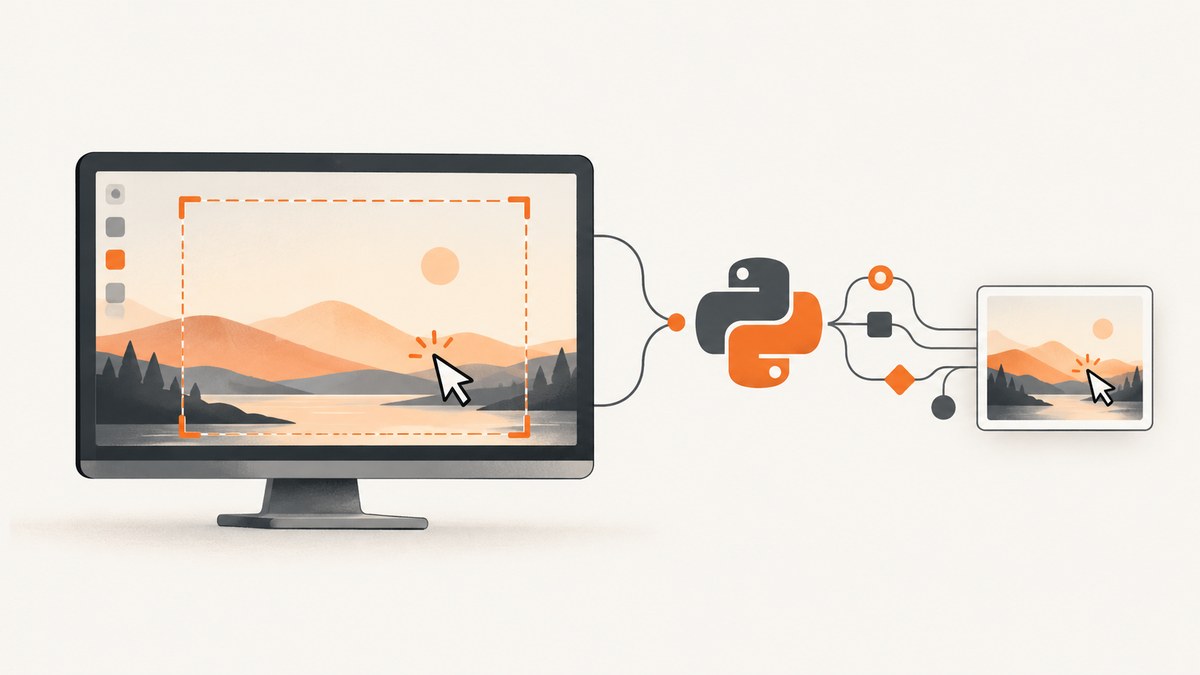
On GNU/Linux, use MSS with with_cursor=True when you create the capture object. MSS documents this as its native cursor-capture option. It is GNU/Linux-only, may be disabled automatically when the current environment cannot provide the pointer, and cannot be changed after the MSS object is created. Always inspect sct.with_cursor and the saved image.
from mss import MSS

with MSS(with_cursor=True) as sct:
    shot = sct.grab(sct.primary_monitor)
    shot.to_pil().save("screenshot.png")
MSS documents monitor and region capture plus conversion of its screenshot object to a Pillow image. See the MSS documentation for the API details.
1. Install the capture library
python -m pip install mss pillowRun the command in the same Python environment that will execute your script. On Linux, your desktop session and display permissions also affect whether a screenshot and pointer can be obtained.
2. Capture a full monitor with the cursor on GNU/Linux
from pathlib import Path
from mss import MSS

output = Path("screenshot.png")

with MSS(with_cursor=True) as sct:
    print("Cursor requested:", sct.with_cursor)
    image = sct.grab(sct.primary_monitor).to_pil()
    image.save(output)

print(f"Saved {output}")
with_cursor=True is a request, not a guarantee that the resulting file contains a pointer. MSS can turn the setting off during object creation when cursor capture is unavailable. A True property indicates that MSS kept the option enabled; inspect the actual image as part of your validation.
3. Capture only a region
from mss import MSS

region = {"left": 100, "top": 100, "width": 800, "height": 600}

with MSS(with_cursor=True) as sct:
    image = sct.grab(region).to_pil()
    image.save("region.png")
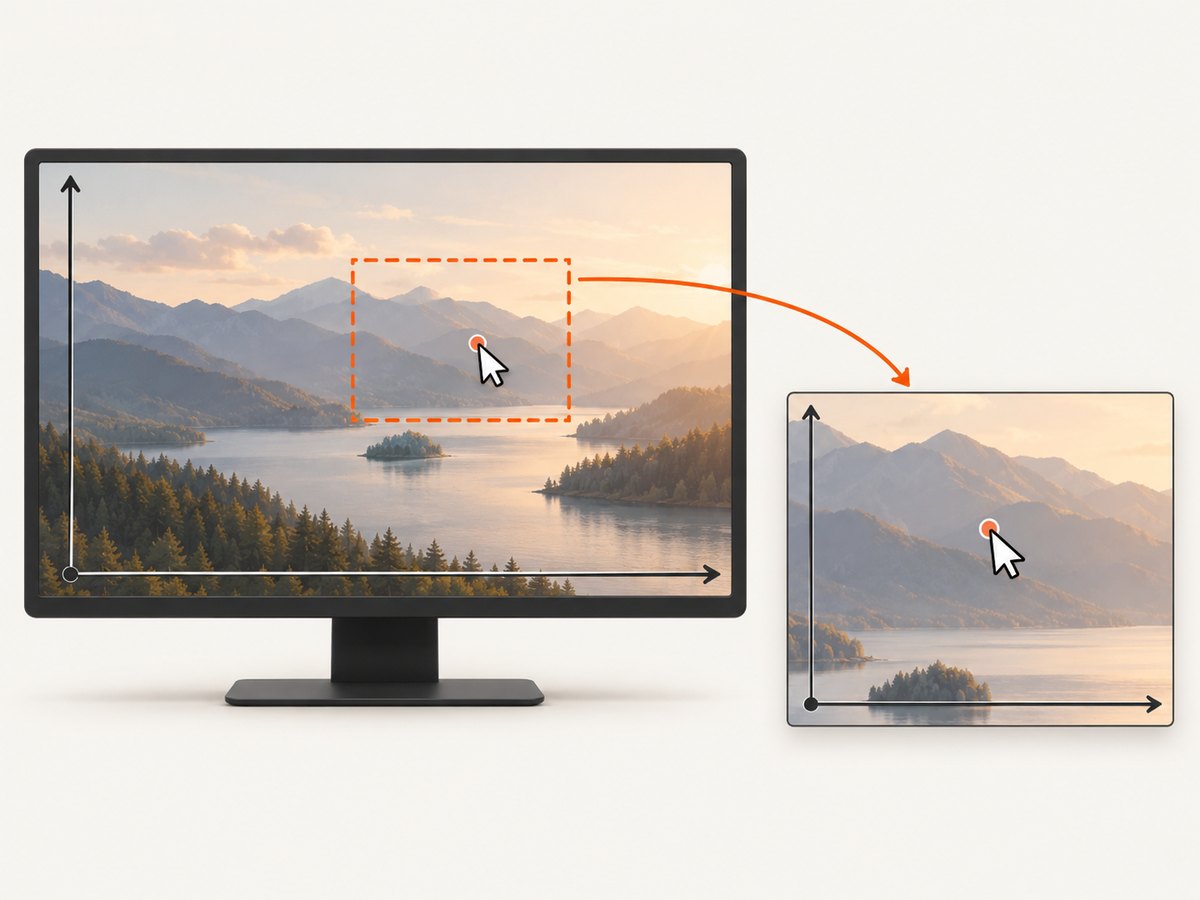
The region coordinates are desktop coordinates. The pointer appears only when it lies inside the captured rectangle. If it is outside the region, there is no cursor to include in that image.
4. Check whether native cursor capture is available
from mss import MSS

with MSS(with_cursor=True) as sct:
    if not sct.with_cursor:
        raise RuntimeError(
            "MSS disabled cursor capture in this environment; use a cursor overlay instead."
        )
    shot = sct.grab(sct.primary_monitor)
    shot.to_pil().save("checked.png")
The option must be supplied to MSS(...). Do not expect assigning sct.with_cursor = True later to enable it; the documented setting is fixed when the object is constructed.
5. Windows and macOS: use an overlay when the API omits the pointer
MSS’s documented with_cursor option is GNU/Linux-only. Pillow’s ImageGrab.grab() and PyAutoGUI’s pyautogui.screenshot() document screen and region capture, but their screenshot APIs do not expose a cursor-inclusion argument. They therefore do not promise a visible pointer on Windows or macOS. See the Pillow ImageGrab reference and PyAutoGUI screenshot documentation.
A practical fallback is to read the pointer position, capture the screen, and composite a cursor PNG over the captured image. This is an implementation pattern rather than a built-in guarantee of Pillow or PyAutoGUI.
from pathlib import Path
from PIL import Image, ImageGrab
import pyautogui

# Capture the pointer before the screenshot.
mouse_x, mouse_y = pyautogui.position()
box = (100, 100, 900, 700)
image = ImageGrab.grab(bbox=box)

# cursor.png must have transparency and a hotspot that matches its true tip.
cursor = Image.open("cursor.png").convert("RGBA")
left, top, _, _ = box
image = image.convert("RGBA")
image.alpha_composite(cursor, (mouse_x - left, mouse_y - top))
image.convert("RGB").save(Path("overlay.png"))
This example assumes that the cursor position and screenshot use the same desktop coordinate space. For a full-screen capture, omit the subtraction. For a cropped capture, subtract the region’s left and top. With multiple monitors, account for negative monitor origins. With display scaling, convert pointer coordinates to the screenshot’s pixel coordinates before compositing.
6. Coordinate systems, scaling, and cursor hotspots
| Situation | What to check |
|---|---|
| Cropped region | Subtract the region’s left and top from the desktop pointer position. |
| Retina or other high-DPI display | Desktop coordinates and image pixels may have different scales. Measure the ratio and multiply before placing the overlay. |
| Multiple monitors | Monitor origins can be negative or non-zero. Use the monitor’s desktop origin, not just its width and height. |
| Cursor artwork | Place the PNG’s hotspot—the pixel that touches the screen—at the pointer coordinate. |
| Pointer movement | Read the position immediately before capture; movement between the two operations can produce a small offset. |
Pillow documents that macOS Retina captures can be 2× by default and that scale_down=True can request 1× output. Treat that scaling as part of your coordinate conversion. Validate the final file on every operating system, scaling mode, and capture backend you support.
7. Other Python capture choices
Pillow ImageGrab
from PIL import ImageGrab

image = ImageGrab.grab()
image.save("pillow.png")
ImageGrab.grab() can capture the screen or a bounding box, but it has no documented cursor parameter. On Linux, Pillow documents possible fallback commands such as gnome-screenshot, grim, or spectacle when the default X11 display cannot provide an image. Those fallbacks do not promise cursor capture.
PyAutoGUI
import pyautogui

image = pyautogui.screenshot(region=(100, 100, 800, 600))
image.save("pyautogui.png")
PyAutoGUI returns a Pillow image and accepts a region, but its screenshot API does not list a cursor-inclusion option. Its documentation gives an approximate capture time of roughly 100 milliseconds for a 1920 × 1080 screen; use that only as documentation context, not as a benchmark or guarantee.
8. Troubleshooting
| Symptom | Cause | Fix |
|---|---|---|
sct.with_cursor is false |
The current Linux backend or environment cannot provide the pointer. | Use the overlay approach, check the desktop session and permissions, and test the actual output. |
| The screenshot saves but has no pointer | The library does not support native cursor capture, or the pointer moved outside a cropped region. | Use MSS on supported GNU/Linux, or composite a cursor PNG after capture. |
| Overlay cursor is shifted | Desktop coordinates were used directly for a crop, or display scaling differs. | Subtract the crop origin and apply the desktop-to-image scale factor. |
| Overlay cursor looks wrong | The PNG hotspot does not match the pointer tip. | Use artwork with a known hotspot or adjust the paste offset. |
| Linux capture is blank or fails | The display backend cannot expose pixels to the process. | Check the active display/session and Pillow’s documented Linux fallback requirements; then verify with a small capture. |
| Retina result is twice the expected size | Pillow may return 2× macOS output. | Use the documented scaling option or convert pointer coordinates to the returned image’s pixel scale. |
| Pointer appears in one monitor but not another | Monitor origins or virtual-desktop coordinates were assumed incorrectly. | Use the selected monitor’s actual desktop rectangle and test each monitor layout. |
9. Reliability and performance checklist
- Create MSS with
with_cursor=Truefor each capture process and check the resulting property. - Save a known test image and inspect it visually; API acceptance alone does not prove pointer pixels were written.
- Test full-screen and cropped captures, every supported OS, display scale, monitor arrangement, and capture backend.
- For overlays, keep pointer sampling and capture close together and use a cursor image with transparency and a defined hotspot.
- Keep capture regions as small as your use case allows when you do not need the entire desktop.
- Do not compare libraries using the PyAutoGUI documentation estimate as a universal speed claim.
Or skip the browser setup
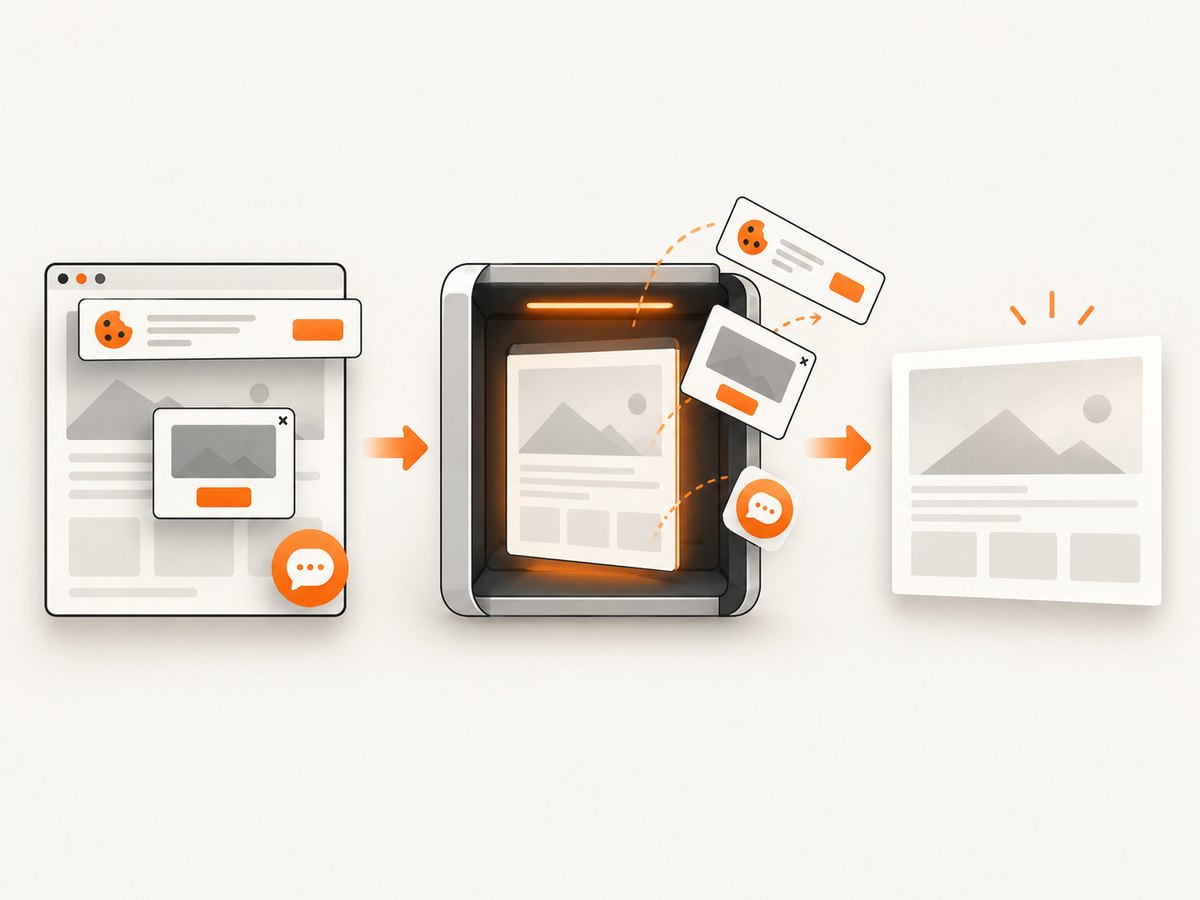
If your goal is a screenshot of a web page rather than a local desktop with an OS pointer, ScreenshotNeo returns a page image or PDF with one GET request. It is a webpage capture API, so it does not add your desktop mouse cursor; it removes browser page distractions before capture.
curl -G "https://api.screenshotneo.com/v1/shot" -d access_key=YOUR_API_KEY --data-urlencode url=https://stripe.com -o shot.webpimport requests
r = requests.get("https://api.screenshotneo.com/v1/shot", params={"access_key": "YOUR_API_KEY", "url": "https://stripe.com"}, timeout=90)
open("shot.webp", "wb").write(r.content)const q = new URLSearchParams({ access_key: 'YOUR_API_KEY', url: 'https://stripe.com' });
const res = await fetch(`https://api.screenshotneo.com/v1/shot?${q}`);See the ScreenshotNeo API documentation for request options. Cookie and consent banners, newsletter popups, and chat widgets are removed before the shot. Bot checks, blank pages, failed loads, timeouts, and cache hits are not billed, and the response identifies the result with X-Page-Verdict and X-Billed headers. An MCP server lets AI agents use take_screenshot, get_page_info, and capture_pdf. The Free plan includes 1,000 screenshots per month with no card; paid plans start at $5 for 3,000.
Create a free ScreenshotNeo account to get started.
FAQ
Does with_cursor=True work on Windows?
MSS documents this option as GNU/Linux-only. Do not assume it includes the pointer on Windows or macOS; use a platform-specific cursor overlay and validate the output.
Can I enable the MSS cursor option after creating MSS()?
No. Pass with_cursor=True when constructing the object. MSS may disable it during construction if the environment cannot support it.
Why does my Pillow screenshot lack the mouse pointer?
Pillow’s documented ImageGrab.grab() signature has no cursor-inclusion parameter. Capture the pointer separately and composite a cursor image, or use MSS’s native Linux path.
Will a cursor overlay work for a cropped screenshot?
Yes, provided you subtract the crop’s top-left origin and account for display scaling before compositing.
Is ScreenshotNeo suitable for capturing my local desktop cursor?
No. ScreenshotNeo captures public or accessible web pages and returns images or PDFs. Use MSS, Pillow, or PyAutoGUI for a local desktop pointer.