BlogScreenshots on your device
How to Capture the Screen Behind a Java Application
Use Java Robot to capture visible desktop pixels, hide your window first, and handle permissions, monitors, scaling, and repaint timing.
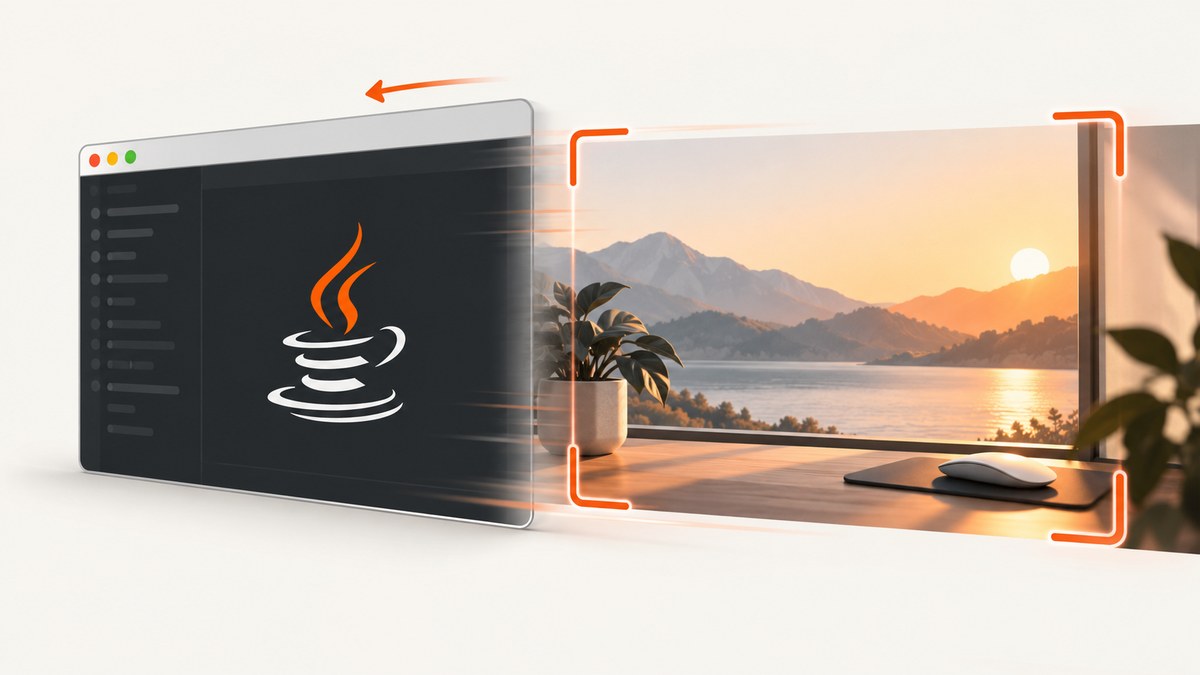
Direct answer: use java.awt.Robot and capture a Rectangle in screen coordinates. Robot reads the pixels currently visible on the desktop. If your Java window covers the area you need, hide, minimize, move, or otherwise remove that window before taking the screenshot, wait for the desktop to repaint, capture on a worker thread, and restore the window in a finally block.
A normal screen capture cannot reveal pixels hidden behind a foreground window while leaving that window in place. If you need the contents of an occluded application without changing visibility, use that platform’s window-capture or off-screen rendering API instead of relying on Robot.
1. How the capture works
Oracle describes Robot.createScreenCapture(Rectangle) as creating an image containing pixels read from the screen. The method captures the composited desktop, not a private copy of every application’s window.
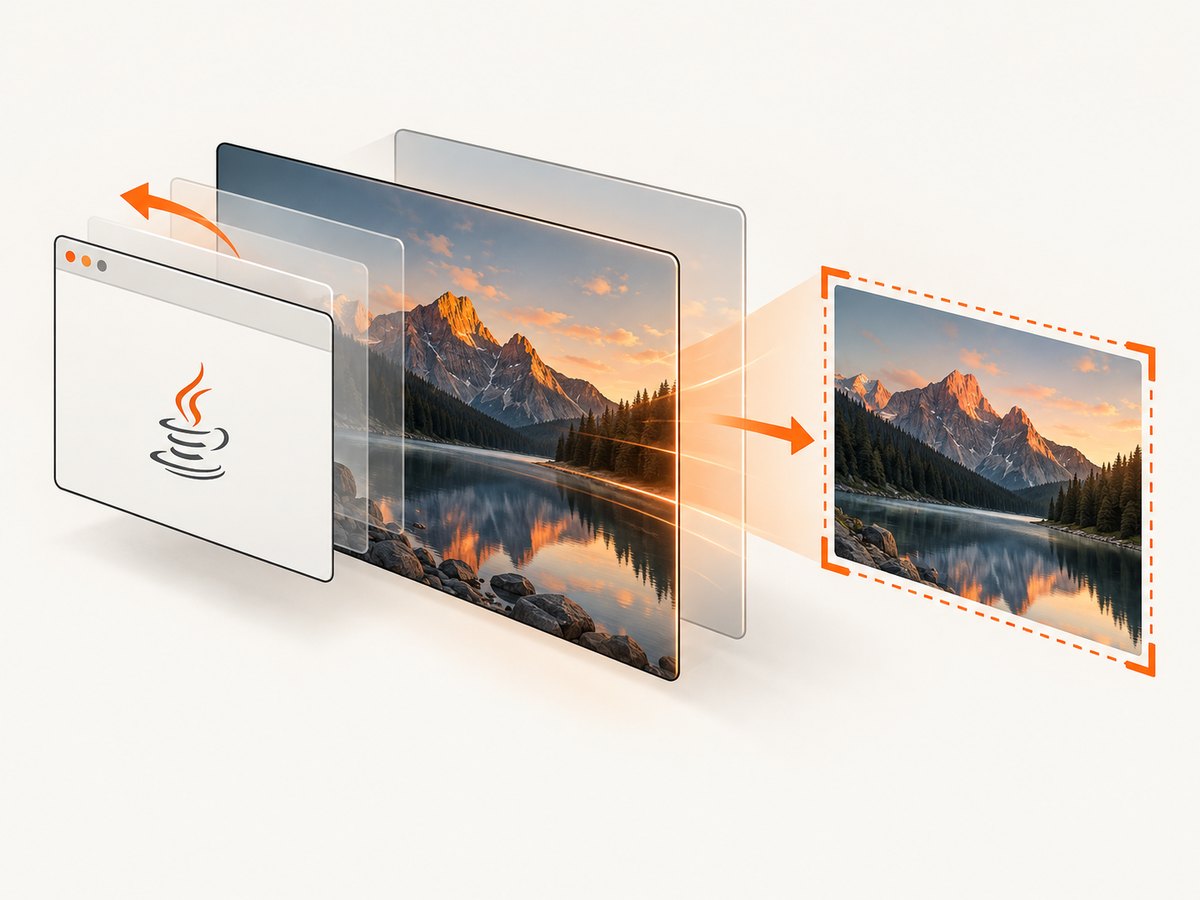
- Confirm that the process has a graphical, non-headless display.
- Create a
Robot, optionally for a specificGraphicsDevice. - Record your Java window’s bounds and state.
- Hide, minimize, move, or otherwise remove the window from the target rectangle.
- Wait briefly for the window manager and desktop compositor to repaint.
- Capture the rectangle from a worker thread.
- Restore the Java window in a
finallyblock. - Write or process the returned
BufferedImage.
See the Oracle Robot API documentation for the method contract and exceptions.
2. Complete Swing example
The following program creates a small always-on-top Swing window, hides it, captures a monitor rectangle, saves a PNG, and restores the window even when capture fails. The capture runs on a background executor so the AWT Event Dispatch Thread is not blocked.
import java.awt.AWTException;
import java.awt.GraphicsConfiguration;
import java.awt.GraphicsDevice;
import java.awt.GraphicsEnvironment;
import java.awt.Rectangle;
import java.awt.Robot;
import java.awt.image.BufferedImage;
import java.io.File;
import java.io.IOException;
import java.util.concurrent.ExecutorService;
import java.util.concurrent.Executors;
import javax.imageio.ImageIO;
import javax.swing.JButton;
import javax.swing.JFrame;
import javax.swing.JLabel;
import javax.swing.JPanel;
import javax.swing.SwingUtilities;

public final class BehindWindowCapture {
    private final JFrame frame = new JFrame("Capture controller");
    private final ExecutorService captureExecutor = Executors.newSingleThreadExecutor();

    public static void main(String[] args) {
        SwingUtilities.invokeLater(() -> new BehindWindowCapture().show());
    }

    private void show() {
        JLabel status = new JLabel("Ready");
        JButton capture = new JButton("Capture desktop");
        capture.addActionListener(event -> captureDesktop(status));

        JPanel panel = new JPanel();
        panel.add(capture);
        panel.add(status);

        frame.setAlwaysOnTop(true);
        frame.setDefaultCloseOperation(JFrame.EXIT_ON_CLOSE);
        frame.setContentPane(panel);
        frame.pack();
        frame.setLocation(40, 40);
        frame.setVisible(true);
    }

    private void captureDesktop(JLabel status) {
        // Take a snapshot of the target rectangle before changing window state.
        GraphicsConfiguration configuration = frame.getGraphicsConfiguration();
        Rectangle target = configuration.getBounds();

        frame.setVisible(false);
        captureExecutor.submit(() -> {
            try {
                // Let the compositor repaint after the controller disappears.
                Thread.sleep(150);

                GraphicsDevice device = configuration.getDevice();
                Robot robot = new Robot(device);
                BufferedImage image = robot.createScreenCapture(target);
                ImageIO.write(image, "png", new File("desktop-behind.png"));

                SwingUtilities.invokeLater(() -> status.setText("Saved desktop-behind.png"));
            } catch (AWTException e) {
                SwingUtilities.invokeLater(() -> status.setText(
                    "Robot unavailable: " + e.getMessage()));
            } catch (SecurityException e) {
                SwingUtilities.invokeLater(() -> status.setText(
                    "Screen-capture permission denied"));
            } catch (InterruptedException e) {
                Thread.currentThread().interrupt();
                SwingUtilities.invokeLater(() -> status.setText("Capture interrupted"));
            } catch (IOException e) {
                SwingUtilities.invokeLater(() -> status.setText(
                    "Could not write image: " + e.getMessage()));
            } finally {
                SwingUtilities.invokeLater(() -> frame.setVisible(true));
            }
        });
    }
}
Compile and run it with:
javac BehindWindowCapture.java
java BehindWindowCapture
The example captures the selected monitor’s full bounds. To capture a smaller area, replace target with a rectangle in the same screen coordinate system:
Rectangle target = new Rectangle(100, 80, 1280, 720);3. Hiding, minimizing, or moving the Java window
Hide the window
frame.setVisible(false);Hiding is usually the simplest approach, but a window can trigger layout or repaint work when it disappears. Wait for the compositor before capture and restore it in finally.
Minimize the window
frame.setState(java.awt.Frame.ICONIFIED);Minimizing can behave differently across window managers. Save the previous state and restore it after capture.
Move the window away
Rectangle oldBounds = frame.getBounds();
frame.setLocation(-10000, -10000);
// capture target
frame.setBounds(oldBounds);
Moving avoids changing visibility, but it may fail on systems that clamp windows to a visible work area. It can also leave a repaint artifact if the move is captured too quickly.
Always-on-top windows
An always-on-top Java window remains in front of the target until you hide, minimize, move, or otherwise remove it from the capture rectangle. Setting always-on-top to false alone does not guarantee that another application will repaint before the capture.
4. Multi-monitor coordinates
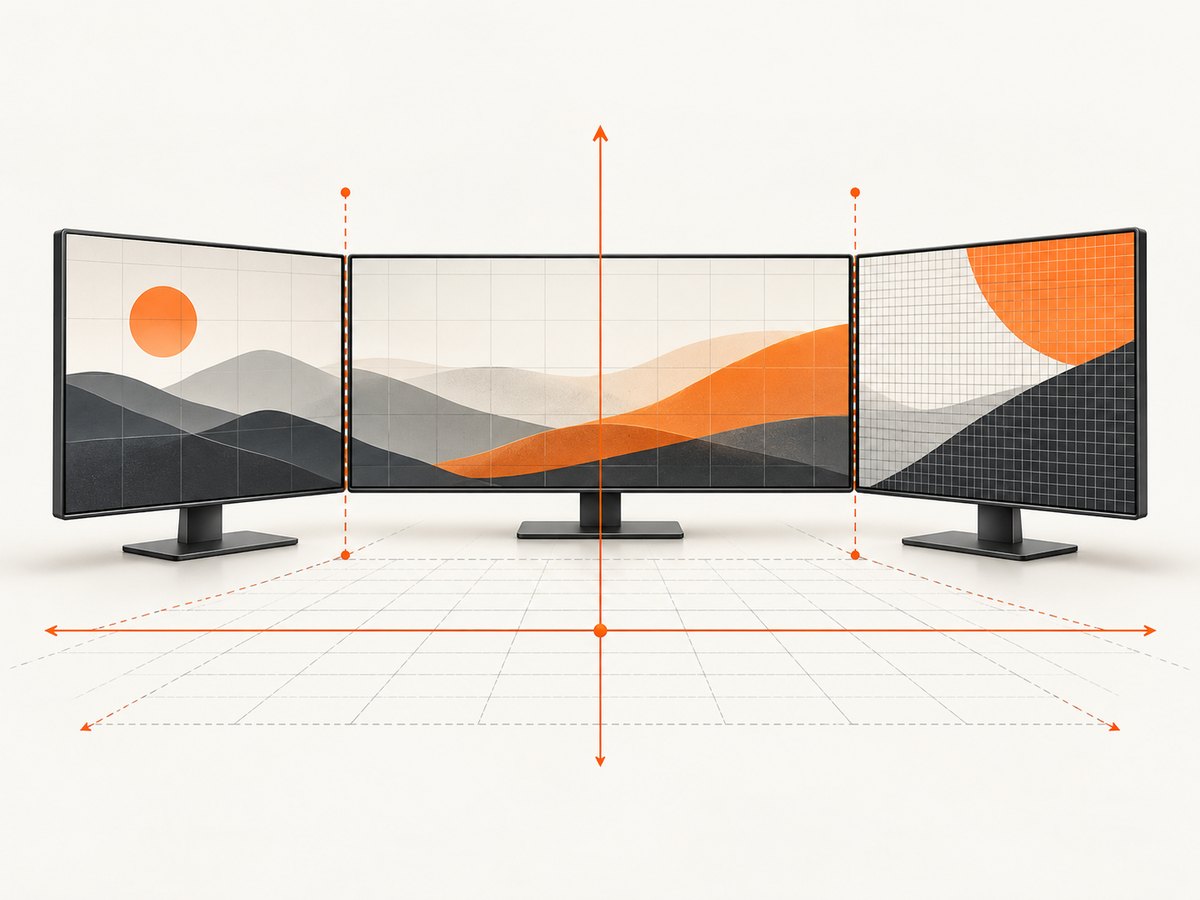
For a particular monitor, construct the robot with its GraphicsDevice and use that device’s configuration bounds:
GraphicsDevice device = GraphicsEnvironment
    .getLocalGraphicsEnvironment()
    .getDefaultScreenDevice();
GraphicsConfiguration config = device.getDefaultConfiguration();
Rectangle monitor = config.getBounds();
Robot robot = new Robot(device);
BufferedImage image = robot.createScreenCapture(monitor);
Java may expose multiple screens as one virtual desktop, including negative coordinates for monitors placed to the left or above the primary display. On some platforms, screen coordinate systems are independent. Always obtain bounds from GraphicsConfiguration instead of assuming that every monitor starts at (0, 0).
| Goal | Recommended approach |
|---|---|
| Capture the monitor containing your frame | Use frame.getGraphicsConfiguration() and its device. |
| Capture a known virtual-desktop rectangle | Use a rectangle expressed in the platform’s screen coordinates. |
| Capture several monitors | Use the combined virtual bounds, then verify results on each operating system. |
5. High-DPI and multi-resolution screenshots
Display scaling can make logical coordinates and physical pixels differ. On Java versions that provide it, use createMultiResolutionScreenCapture and select the image variant appropriate for your output:
java.awt.image.MultiResolutionImage multi =
    robot.createMultiResolutionScreenCapture(target);
BufferedImage image = multi.getResolutionVariant(
    target.width * 2.0, target.height * 2.0);
ImageIO.write(image, "png", new File("desktop-high-dpi.png"));
If you use ordinary createScreenCapture, compare the resulting image dimensions with the rectangle you requested. Windows display scaling, macOS Retina displays, remote desktops, and virtual machines can produce different pixel densities. Keep coordinate conversion in one place and document whether your application uses logical or physical pixels.
6. Keep capture off the Event Dispatch Thread
Oracle recommends avoiding this method on the AWT Event Dispatch Thread because screen capture may be lengthy. A blocked EDT makes the UI appear frozen and can prevent the window from repainting or hiding before the capture.
Use an executor, SwingWorker, or another background mechanism. Perform only UI state changes and status updates through SwingUtilities.invokeLater:
new javax.swing.SwingWorker<BufferedImage, Void>() {
    protected BufferedImage doInBackground() {
        return robot.createScreenCapture(target);
    }

    protected void done() {
        // Read get() here and update Swing components.
    }
}.execute();
7. Permissions, headless systems, and platform limits
- Headless environments: servers, containers, and CI jobs without a display cannot provide desktop pixels. Robot construction can throw
AWTException. - Operating-system permission: macOS privacy controls and desktop security policies can deny capture. A denial can result in
SecurityExceptionor an undefined returned image, so check both exceptions and image validity. - Wayland/X11 and remote desktops: compositor policy, session type, and remote-display software can change what is capturable.
- Mouse pointer: the captured image does not include the mouse cursor.
- Protected content: DRM surfaces, secure desktops, and permission-protected windows may appear blank or unavailable.
Detect a headless runtime early when appropriate:
if (GraphicsEnvironment.isHeadless()) {
    throw new IllegalStateException("A graphical display is required");
}
8. Capturing another application’s window
If the target application is visible, Robot can capture its pixels by using the window’s screen bounds. Java does not provide a portable API that discovers another application’s window bounds or extracts its hidden content. You may need platform-specific window enumeration and capture APIs.
When the target is covered, you have three choices:
- Temporarily hide or move the covering Java window, then capture the visible desktop.
- Ask the target application to render or export its own content.
- Use a platform-specific off-screen or window-content capture API that supports occluded windows.
Choose the third option when changing visibility would disrupt the user or when the target must remain covered.
9. Timing and repaint reliability
There is no universal delay that works for every compositor. A short, platform-tuned delay is a practical starting point, but reliability improves when you synchronize with your own window state and verify the captured pixels.
- Hide or move the window on the EDT.
- Queue the capture after the visibility change has been processed.
- Run the capture on a worker thread.
- Use a delay appropriate for the deployment environment.
- Restore the window in
finally, including interruption and write failures. - For automated workflows, inspect the image for an expected region or color before accepting it.
10. Troubleshooting
| Symptom | Likely cause | Fix |
|---|---|---|
AWTException when creating Robot |
Headless runtime or unavailable low-level input control. | Run inside a graphical desktop session and verify GraphicsEnvironment.isHeadless(). |
SecurityException or a blank image |
Operating-system screen-recording permission or security policy. | Grant capture permission to the runtime/application and handle denial explicitly. |
| The Java window appears in the screenshot | It was still visible, always-on-top, or the compositor had not repainted. | Hide, minimize, or move it; wait after the state change; then capture. |
| The screenshot is shifted on a second monitor | Incorrect virtual-desktop origin or mixed coordinate systems. | Use GraphicsConfiguration.getBounds() and the matching GraphicsDevice. |
| The image has unexpected dimensions | Display scaling or Retina/high-DPI behavior. | Use multi-resolution capture where available and validate physical pixel dimensions. |
| The UI freezes during capture | createScreenCapture ran on the EDT. |
Move capture and image encoding to a worker thread. |
| The restored window is in the wrong state | Original bounds or iconified state were not saved. | Record bounds, visibility, state, and always-on-top status before changing them; restore in finally. |
| Capture works locally but not over remote desktop | Remote session or compositor does not expose the same desktop surface. | Test the exact session type and use its supported capture mechanism. |
11. Performance, reliability, and cost considerations
- Performance: large full-monitor captures allocate large
BufferedImageobjects and can take longer to encode than to capture. Crop to the smallest useful rectangle and choose PNG, JPEG, or another format based on fidelity needs. - Memory: an ARGB image uses roughly four bytes per pixel before encoding, plus temporary buffers. Avoid retaining many full-screen images.
- Concurrency: serialize captures if they manipulate the same Java window. Concurrent hide/move operations can race with the compositor.
- Reliability: validate the display, permissions, coordinate system, and repaint timing on every supported operating system and desktop environment.
- Cost:
Robotitself has no service charge, but desktop sessions, virtual machines, remote displays, and image storage can add operational cost. A hosted webpage screenshot API is a different solution and does not capture arbitrary desktop pixels.
12. Or skip the browser setup
If what you actually need is a screenshot of a webpage rather than pixels behind a local Java window, ScreenshotNeo provides a single HTTP request for PNG, JPEG, WebP, or PDF output. It handles browser setup for you; it cannot reveal an arbitrary desktop application’s occluded window.
See the ScreenshotNeo API documentation for all options. A basic request is:
curl -G "https://api.screenshotneo.com/v1/shot" -d access_key=YOUR_API_KEY --data-urlencode url=https://stripe.com -o shot.webpimport requests
r = requests.get("https://api.screenshotneo.com/v1/shot", params={"access_key": "YOUR_API_KEY", "url": "https://stripe.com"}, timeout=90)
open("shot.webp", "wb").write(r.content)const q = new URLSearchParams({ access_key: 'YOUR_API_KEY', url: 'https://stripe.com' });
const res = await fetch(`https://api.screenshotneo.com/v1/shot?${q}`);Cookie and consent banners, newsletter popups, and chat widgets are removed before the shot. Bot checks, blank pages, failed loads, timeouts, and cache hits are not billed, and response headers identify the page verdict and billing result. An MCP server provides take_screenshot, get_page_info, and capture_pdf tools for Claude, Cursor, and other MCP clients. The Free plan includes 1,000 screenshots a month with no card; paid plans start at $5 for 3,000 shots. Create a free ScreenshotNeo account.
13. Checklist
- Use
Robot.createScreenCapturefor visible desktop pixels. - Remove the Java window from the target rectangle before capture.
- Wait for repaint and restore the window in
finally. - Capture away from the EDT.
- Use the correct
GraphicsDeviceand monitor bounds. - Account for high-DPI scaling and multi-resolution images.
- Handle headless mode, permission denial, protected surfaces, and remote sessions.
- Use a platform-specific API when hidden window content must be captured without changing visibility.
FAQ
Can Robot capture a window that is completely covered?
No. It reads the pixels currently visible in the composited desktop. Remove the covering window or use a platform-specific off-screen capture API.
Does Robot include the mouse cursor?
No. The returned image contains screen pixels without the cursor.
Can I run this in a Docker container?
Only if the container has access to a graphical display and the required permissions. A normal headless container cannot provide desktop pixels.
Should I capture on the EDT?
No. Screen capture may be lengthy, so run it on a worker thread and keep Swing updates on the EDT.
What should I use for webpage screenshots from a Java service?
Use a browser-based screenshot service such as ScreenshotNeo when the input is a URL. Use Robot when the required pixels come from the local desktop session.