BlogScreenshots on your device
How to Capture One Screenshot Across Dual Monitors
Capture both displays in one image on Windows or macOS, choose exact bounds, and troubleshoot split or extra-wide screenshots.
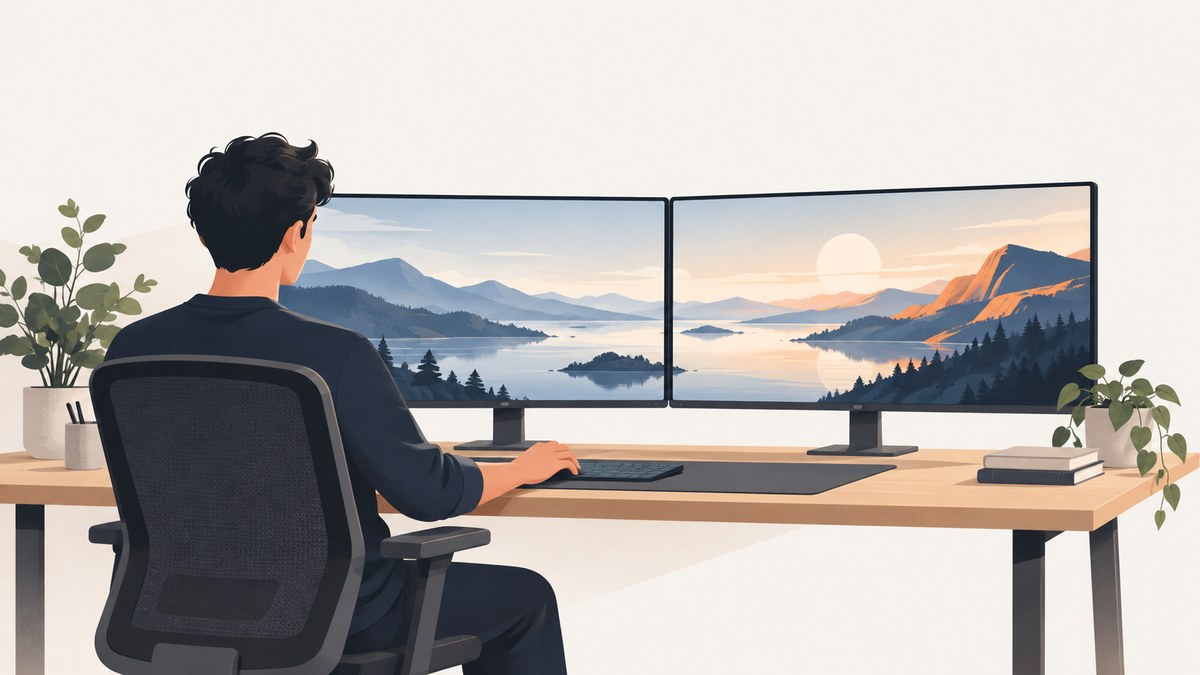
To capture both monitors in one image, capture the entire virtual desktop or drag one selection across both displays. On Windows, Windows+Print Screen saves the full desktop; use Snipping Tool → Rectangle when you need exact outer edges. On macOS, press Shift-Command-3 for a full-screen capture or Shift-Command-4 and drag a rectangle across the displays. Check the saved result: depending on the display arrangement and capture method, you may get separate files, unexpected bounds, or one very wide image.
This guide covers the built-in methods first, then repeatable capture and automation options, image dimensions, troubleshooting, and when a website screenshot API is the right tool. A desktop screenshot captures what is rendered on your computer; an API screenshot captures a web page from a URL.
1. Choose the capture method
| Method | Best for | Output and precision | Install? |
|---|---|---|---|
| Windows+Print Screen | Fast full-desktop capture | File; includes the virtual desktop bounds | No |
| Windows Snipping Tool, Rectangle | One precise image spanning both screens | Clipboard or saved capture; you choose bounds | No |
| macOS Shift-Command-3 | Fast whole-screen capture | File; check whether the arrangement creates separate outputs | No |
| macOS Shift-Command-4 | Controlled cross-monitor region | File; selection defines the rectangle | No |
| OBS Display Capture | Recording or repeatable capture workflows | Targets a display; configure which monitor to capture | Yes |
| Windows Graphics Capture | Application-built capture automation | Can acquire frames from a display or window | Application development required |
For a one-off image, start with the operating system shortcut. For exact edges, use a rectangular selection. For repeated capture, use an automation tool that can target a display or window.
2. Windows: capture both monitors
Fastest: Windows+Print Screen
- Arrange the displays in Windows Settings so the diagram matches their physical positions.
- Press Windows+Print Screen. The screen may dim briefly as the capture is taken.
- Open the Screenshots folder under Pictures and inspect the result. The exact folder can vary if your Pictures folder is redirected or synced.
- Open the original in an image editor if you need to crop or resize it. Keep an unmodified copy if you may need the full desktop later.
Microsoft documents Windows+Print Screen as a way to save a full-screen image. With displays arranged side by side, the image can be very wide. That is expected: it represents the combined desktop area, not a standard monitor-shaped frame.
Exact edges: Snipping Tool Rectangle
- Open Snipping Tool from Start, or use the Windows snipping shortcut to open its capture overlay.
- Choose Rectangle as the snip mode.
- Start at the outer top-left corner of the first display and drag to the outer bottom-right corner of the second display. If the monitors are vertically offset, follow the actual desktop bounds rather than assuming a perfect rectangle around the desk setup.
- Release to capture. Use the preview to save the image or copy it to the clipboard.
Snipping Tool also provides Freeform, Window, and Fullscreen modes. Rectangle is the useful choice when the desired result is one deliberate region spanning two screens. Fullscreen is simpler when you want all desktop bounds and do not need to exclude anything.
Clipboard capture
Print Screen copies a full-screen capture to the clipboard on Windows configurations where that key is assigned to screen capture. Paste it into Paint, another image editor, or a document, then save or export. If Print Screen opens Snipping Tool instead, use the overlay or change the keyboard behavior in Windows settings. Clipboard capture is convenient for quick sharing, but save a file if you need a durable original or a particular image format.
3. macOS: capture both displays
Whole-screen shortcut
- Put the displays in the desired arrangement in System Settings → Displays.
- Press Shift-Command-3.
- Inspect the resulting screenshot file or files. Multi-display arrangements may produce separate display outputs or bounds that differ from the single combined rectangle you expected.
- If you need one combined image and the result is split, use Shift-Command-4 and select the cross-display region, or combine the outputs in an editor.
Apple describes the built-in shortcuts as a way to capture the entire screen, a window, or a portion of the screen. The selected-portion shortcut gives you direct control of the area, while the whole-screen shortcut is quicker.
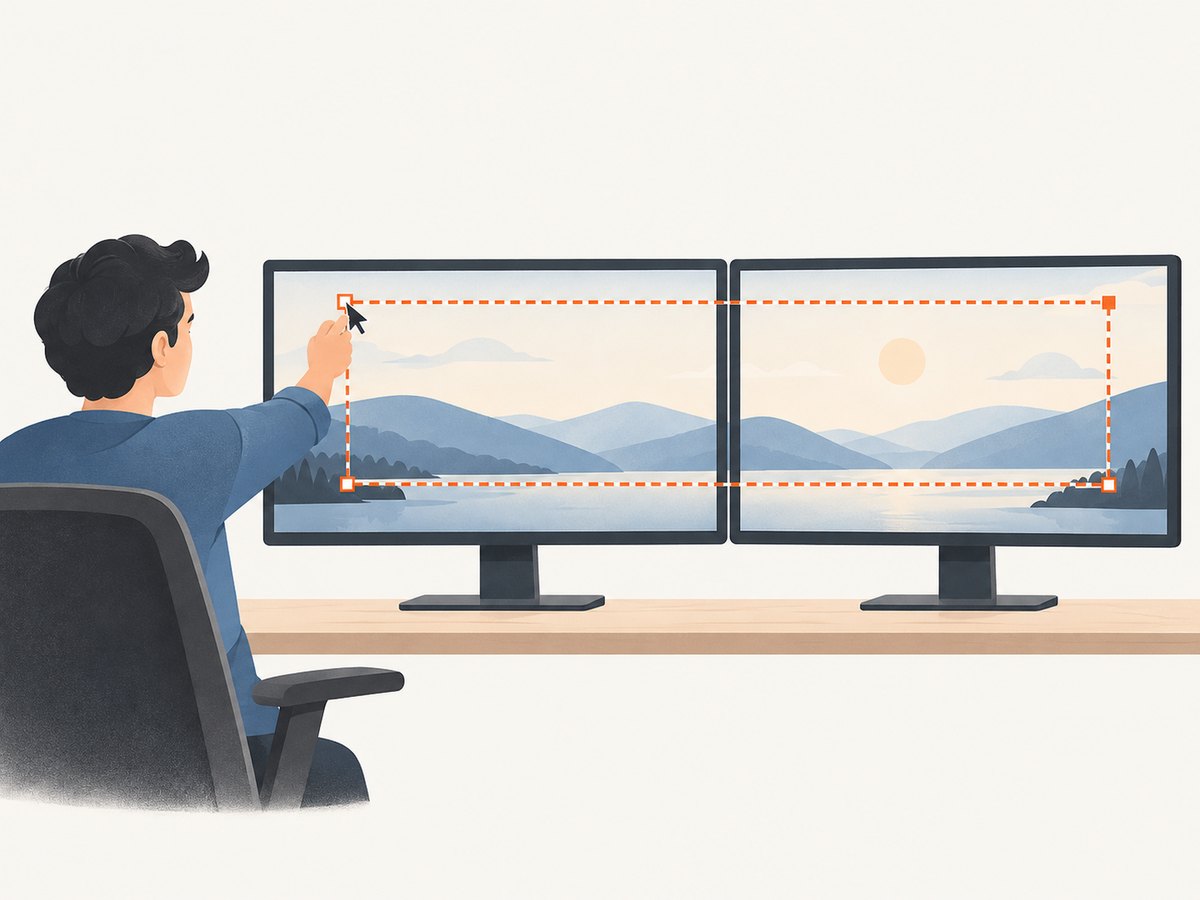
Drag one selection across both screens
- Press Shift-Command-4. The pointer becomes a crosshair.
- Drag from the outside edge of one display across the gap and to the outside edge of the other display.
- Release to take the capture. Check the saved output, especially if the monitors have different resolutions, scaling, or vertical alignment.
To cancel a selection before releasing, press Escape. If the selection is difficult to align, make a larger capture and crop it afterward. A selection across displays follows their logical arrangement; physical bezel width is not necessarily represented as a desktop area.
4. Understand dimensions and layout
A combined desktop image follows the operating system’s virtual display layout. Two equal-resolution monitors arranged horizontally usually produce a wide image whose width is approximately the sum of their logical widths. A vertical arrangement tends toward a taller image. Different resolutions, scaling factors, and offset positions can make the combined bounds irregular or leave areas that do not contain display pixels.
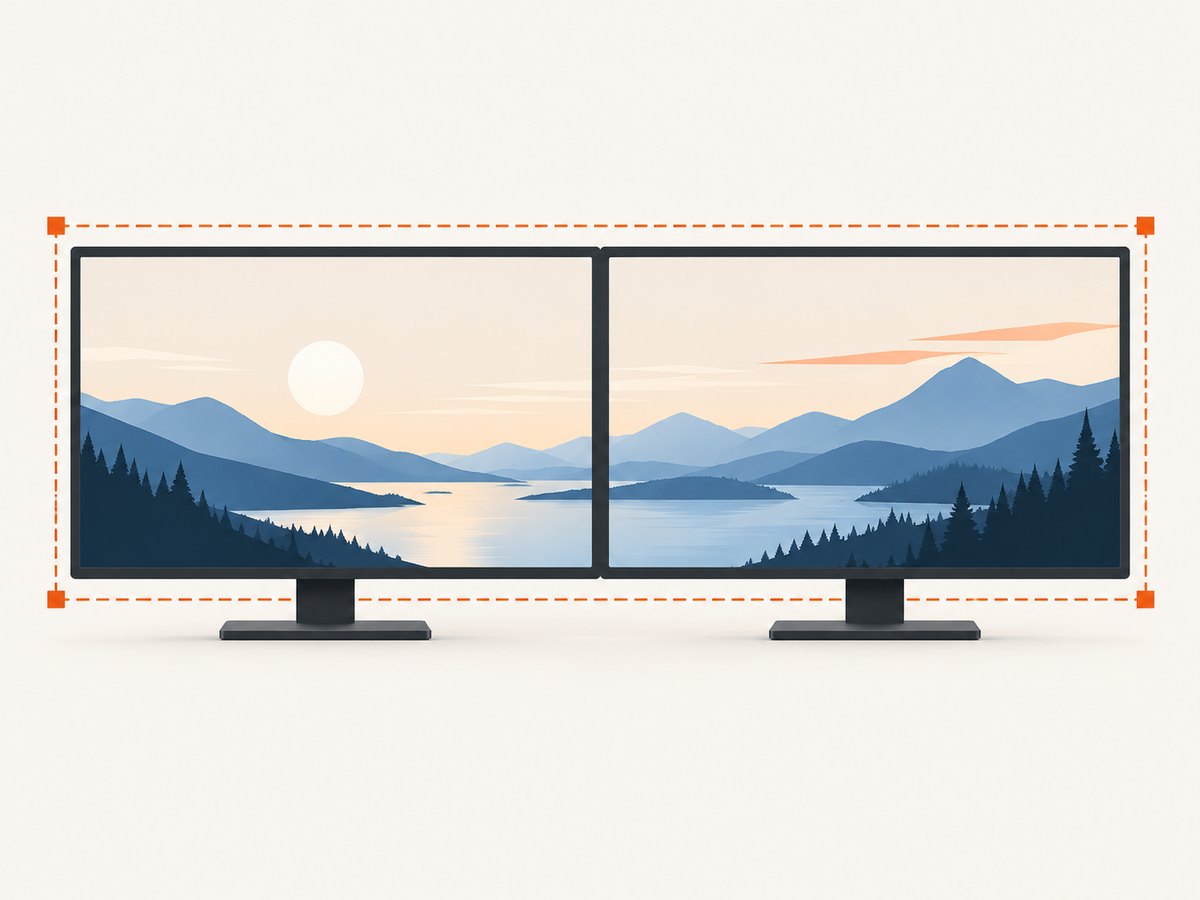
- Side by side: expect a wide panorama. Crop to a monitor or application only if the recipient needs that framing.
- Stacked: expect a taller image.
- Different sizes: inspect edges and blank regions; the displays may not align along the same top or bottom boundary.
- Different scaling: the saved pixel dimensions may not match a simple sum of the physical panel resolutions.
- Separate outputs: keep both originals and combine them in an editor if a single file is required. Align shared edges carefully and avoid stretching either display.
Before sharing, zoom to 100% and check that text is legible, the intended windows are visible, and no sensitive content appears on the other monitor. Resize a copy for messaging or documentation rather than overwriting the original.
5. Repeatable capture and automation
OBS Display Capture
OBS Studio’s Display Capture source captures an entire monitor. Add the source, select the intended display in its properties, and use OBS’s screenshot or recording workflow. Confirm the chosen display in the preview before capturing: a source targeting one monitor does not automatically mean it will capture the combined virtual desktop. OBS is useful when capture is part of a recording setup or needs to be repeated; it requires installation and configuration.
Windows Graphics Capture
For a Windows application, Windows Graphics Capture provides a way to acquire frames from a display or application window and save a screenshot. Choose a display target when the whole monitor is needed, or a window target when only one app matters. This is a development path rather than a built-in shortcut: an application must request capture, receive frames, and encode them into an image. Review Microsoft’s [Windows Graphics Capture documentation](https://learn.microsoft.com/en-us/windows/uwp/audio-video-camera/screen-capture) for the supported workflow.
Capture and annotation utilities
Snagit and similar utilities can make region selection and annotation more repeatable. TechSmith documents capturing a region and a monitor in Snagit. Consider this kind of tool if your workflow repeatedly needs the same region, callouts, or markup. It is optional; the built-in shortcuts are sufficient for a straightforward dual-monitor image.
6. Or skip the browser setup
This how-to is about capturing your computer desktop. If you actually need a clean screenshot of a web page from its URL, ScreenshotNeo is a website screenshot API with one GET request per capture. Its API is not a replacement for Windows or macOS desktop capture.
For a URL capture, the request returns an image or PDF. See the ScreenshotNeo API documentation for options and response details.
curl -G "https://api.screenshotneo.com/v1/shot" -d access_key=YOUR_API_KEY --data-urlencode url=https://stripe.com -o shot.webpimport requests
r = requests.get(
"https://api.screenshotneo.com/v1/shot",
params={"access_key": "YOUR_API_KEY", "url": "https://stripe.com"},
timeout=90,
)
open("shot.webp", "wb").write(r.content)const q = new URLSearchParams({ access_key: 'YOUR_API_KEY', url: 'https://stripe.com' });
const res = await fetch(`https://api.screenshotneo.com/v1/shot?${q}`);
if (!res.ok) throw new Error(`Screenshot request failed: ${res.status}`);
const bytes = new Uint8Array(await res.arrayBuffer());
await import('node:fs/promises').then(fs => fs.writeFile('shot.webp', bytes));ScreenshotNeo removes cookie and consent banners, newsletter popups, and chat widgets before the shot; each cleanup step can be turned off. Bot checks, blank pages, timeouts, failed loads, and cache hits cost nothing, and response headers identify the page verdict and billing status. An MCP server provides take_screenshot, get_page_info, and capture_pdf tools for AI agents. The free plan includes 1,000 shots per month with no card; paid plans start at $5 for 3,000. Every feature is on every plan.
Sign up free for 1,000 screenshots a month, no card required.
7. Troubleshooting
| Symptom | Likely cause | What to do |
|---|---|---|
| Only one monitor appears | The shortcut or capture source targeted one display, or the other screen is disconnected in the desktop arrangement. | Check display settings and use a full virtual-desktop capture or a rectangle selection across both displays. |
| Two screenshot files instead of one | The OS captured each display separately for the current setup. | Use a cross-display rectangular selection or combine the original images in an editor. |
| Image is extremely wide or tall | The displays are arranged horizontally or vertically, so the combined desktop has that aspect ratio. | Keep the original; crop a copy if a narrower presentation is needed. |
| One side is blank or cropped | The selection missed the virtual bounds, or a display is offset in system settings. | Verify the layout diagram and recapture with a selection that reaches the actual outer edges. |
| Print Screen does nothing useful | Keyboard mapping, laptop function-key behavior, or the Windows snipping assignment changed its behavior. | Try Fn+Print Screen, Windows+Print Screen, or open Snipping Tool directly. |
| Text looks too small after sharing | A full two-monitor image was scaled down to fit a chat or document. | Share the original file, crop to the relevant area, or provide separate monitor crops alongside the full image. |
| Mac capture appears split | Capture output follows the multi-display arrangement rather than the single image expected. | Try Shift-Command-4 for one selected rectangle, then inspect the saved result. |
| OBS captures the wrong monitor | The Display Capture source is configured for another display. | Open source properties, select the correct monitor, and check the preview before saving. |
8. Reliability, privacy, and file handling
For important documentation, capture twice only if the first output looks wrong; preserve the original and edit a copy. Close unrelated windows and notifications first, and check both displays for private information. If a screenshot will be used as evidence, record which display arrangement and application state were visible, and avoid cropping away context that matters.
Screen captures can contain account names, messages, browser tabs, customer records, or authentication prompts. Review the image before uploading it. Cropping and blur tools reduce what is shown, but an unedited original may still retain information outside the cropped area depending on how it is shared, so export a separate flattened copy for distribution.
9. Frequently asked questions
Can I take one screenshot across two monitors?
Yes. Capture the full desktop or select one rectangle spanning both display bounds. If the system creates two files, use the selection method or combine the originals.
Why is the screenshot so wide?
The image includes both side-by-side desktop areas. Its proportions reflect the virtual layout, not a single monitor.
How do I capture only one monitor?
Use a region selection around that display, select the display in OBS, or use a capture utility that supports monitor targeting.
Can I capture different monitors at different times?
Yes. Repeat the capture with each monitor selected or take separate region captures. Keep filenames clear so the images are not confused.
Does ScreenshotNeo capture my two physical monitors?
No. ScreenshotNeo captures a web page from a URL through its API. Use the operating system or a desktop capture tool for your physical displays.


