How to Capture Browser Screenshots with the DevTools MCP Server
Configure Chrome DevTools MCP, navigate to a page, and capture viewport, full-page, or element screenshots with the right format and safety settings.
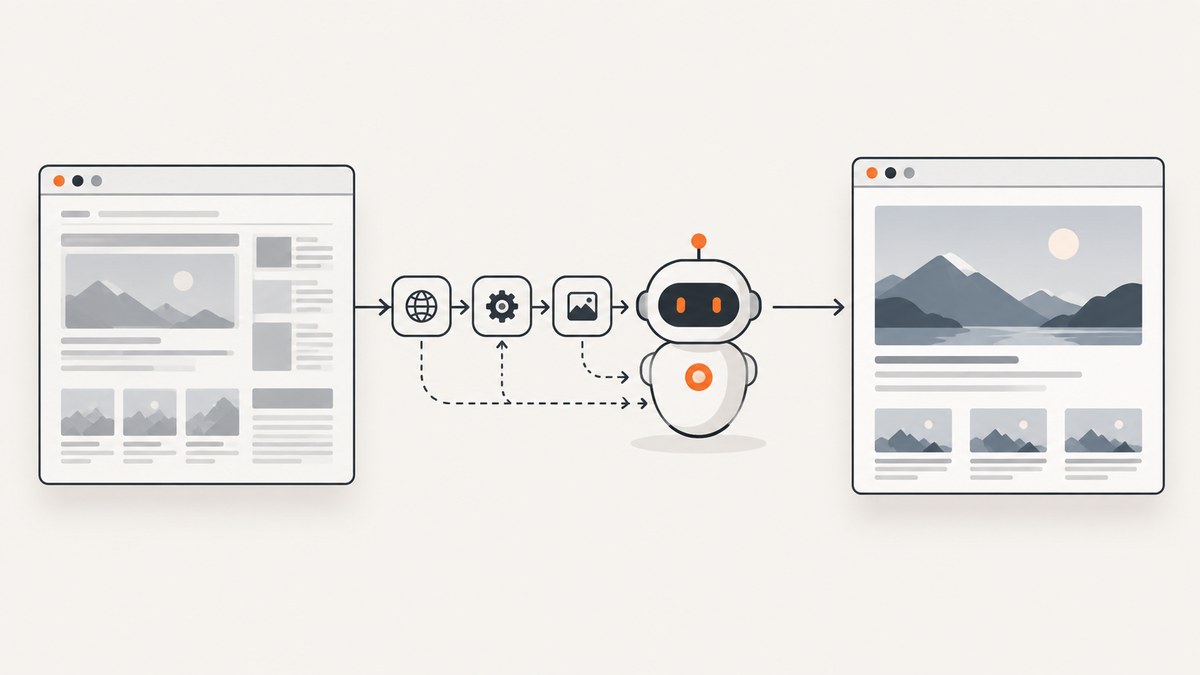
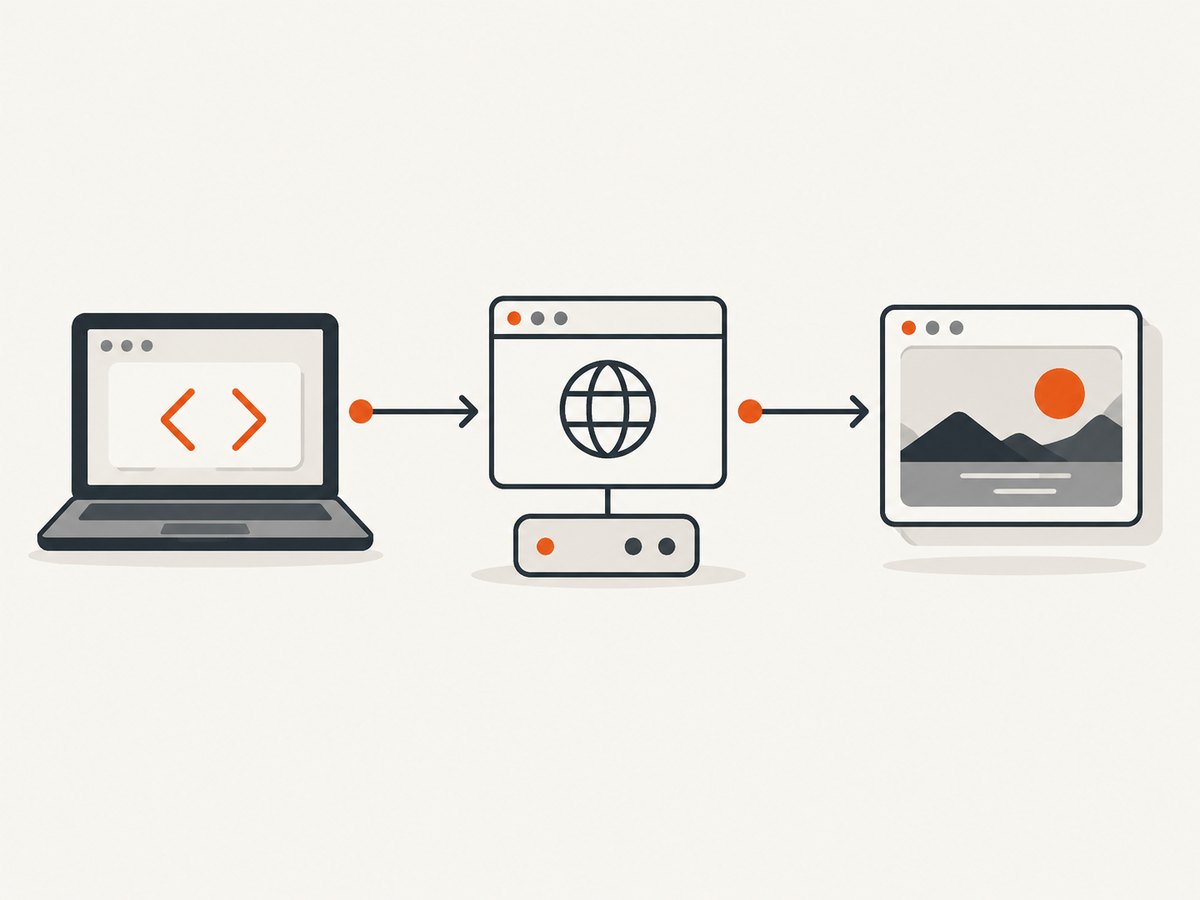
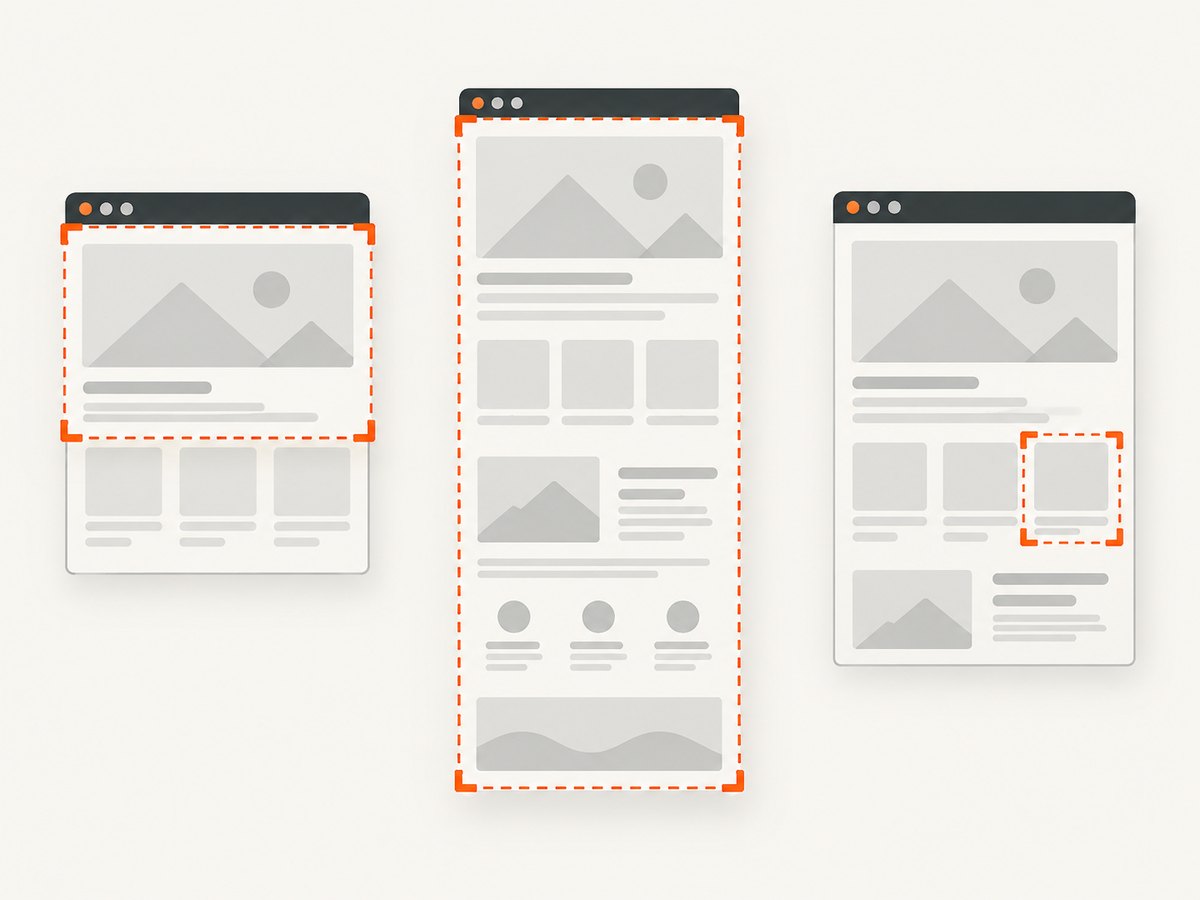
To capture a browser screenshot with Chrome DevTools MCP, configure the chrome-devtools MCP server in your client, navigate to the target page with its navigation tool, then call take_screenshot using that page’s ID. The tool can return a viewport screenshot, a full-page image, or an image of an element identified from a recent page snapshot. It supports PNG, JPEG, and WebP.
This guide uses the official Chrome DevTools MCP server. The server is configured by the MCP client; the browser can be launched for the server or connected as an existing debuggable browser. Configuration flags can change between releases, so check the official configuration reference when you install or upgrade.
1. Configure Chrome DevTools MCP
The server’s configuration guide shows a Node-based launch using npx. Add an entry like the following to your MCP client’s server configuration. The exact file and surrounding JSON structure depend on the client; the mcpServers shape is common, but follow your client’s instructions for where to put it.
{
  "mcpServers": {
    "chrome-devtools": {
      "command": "npx",
      "args": ["-y", "chrome-devtools-mcp@latest"]
    }
  }
}
Restart or reload the MCP client after saving the configuration. It should start the server and expose its browser tools to the agent. The project’s configuration documentation includes the current setup details and command-line options.
@latest makes setup convenient, but the version can change over time. For a repeatable development or CI setup, choose a version supported by the project’s package and your environment, then pin it in the arguments rather than assuming that every future release behaves identically.
2. Choose how Chrome should run
There are two main modes:
- Server-launched browser: the MCP server starts a Chrome instance. This is a good default for isolated tasks and avoids connecting to your normal browsing profile.
- Existing browser: the server connects to a Chrome instance that has remote debugging enabled. This can be useful when the target is already open or you need its signed-in state.
To run without a visible browser window, add --headless to the server’s arguments:
{
  "mcpServers": {
    "chrome-devtools": {
      "command": "npx",
      "args": ["-y", "chrome-devtools-mcp@latest", "--headless"]
    }
  }
}
To connect to a running debuggable browser, the configuration guide documents --browser-url; a typical local endpoint is http://127.0.0.1:9222. A WebSocket endpoint can be used with --ws-endpoint where appropriate:
{
  "mcpServers": {
    "chrome-devtools": {
      "command": "npx",
      "args": [
        "-y",
        "chrome-devtools-mcp@latest",
        "--browser-url=http://127.0.0.1:9222"
      ]
    }
  }
}
Use the endpoint that your browser actually exposes; do not treat port 9222 as a universal address. The official configuration guide documents connection flags and browser setup. Microsoft’s documentation also describes Chromium-based Microsoft Edge and WebView2 as connection targets; the main walkthrough here remains Chrome-centered.
Handle an existing session carefully
An attached browser brings its active pages and session state into the agent’s reach. That may include signed-in accounts and cookies. Use a trusted client, avoid leaving sensitive pages open, and close the debugging setup when the task is done. The project’s advanced-use guidance warns that an exposed remote-debugging port can allow local applications to connect to and control the browser.
3. Navigate to the page and take a screenshot
Once the client has started the server, use the available navigation tool to open the URL. Then call take_screenshot with that page’s pageId. A conceptual tool call for a viewport capture looks like this:
take_screenshot({
  pageId: 1
})
The MCP tool reference describes pageId as required. The server’s screenshot result can be attached to the response, or saved by setting filePath. When saving, the path must be available in the browser/server environment; a path on your laptop may not be the same filesystem path if the MCP server runs remotely or in a container. The tool supports an absolute path or a path relative to its current working directory. See the official take_screenshot reference.
take_screenshot({
  pageId: 1,
  filePath: "./artifacts/homepage.png",
  format: "png"
})
In a real agent conversation, ask the client’s agent to navigate to the URL and use the screenshot tool; the examples here show the tool’s arguments, not a standalone JavaScript API call.
4. Pick viewport, full-page, or element capture
Viewport screenshot
Omit fullPage and uid to capture the currently visible page viewport. This is useful for checking a particular scroll position, responsive layout, or above-the-fold rendering. Scroll to the desired position before taking the shot.
Full-page screenshot
Set fullPage: true to capture the entire page rather than just the viewport:
take_screenshot({
  pageId: 1,
  fullPage: true,
  format: "png"
})
The tool reference says full-page capture is incompatible with uid. If the page relies on lazy loading, scroll through it before capture and allow its content to appear; otherwise content below the fold may not be in the state you expect. For exceptionally long pages, the output can become large. Consider capturing sections or limiting dimensions using server configuration where that fits your task.
Element screenshot
To capture one element, first use take_snapshot and identify the element’s UID in its output. Then pass that UID to take_screenshot:
take_screenshot({
  pageId: 1,
  uid: "1_4",
  format: "png"
})
The UID is an example only: use one returned by the latest snapshot for the page. If the page changes, take a new snapshot and select the current UID instead of reusing a stale one. Element capture is useful for a component or card that should be reviewed independently from the rest of the page.
5. Choose image format, quality, and dimensions
The screenshot tool accepts png, jpeg, and webp. PNG is the default in the documented setup and preserves lossless image data. JPEG and WebP are compressed alternatives. For JPEG or WebP, quality accepts a value from 0 to 100; higher values mean better image quality and larger files. Quality is ignored for PNG.
take_screenshot({
  pageId: 1,
  format: "webp",
  quality: 80
})
To set defaults for screenshots when the caller does not specify them, use server flags:
npx -y chrome-devtools-mcp@latest \
  --screenshot-format=webp \
  --screenshot-quality=80 \
  --screenshot-max-width=1600 \
  --screenshot-max-height=1200
Both camel-case and hyphenated forms are documented for configuration flags. Width and height limits downscale images that exceed the configured maximums while preserving aspect ratio. These settings can reduce the image returned to the agent and the resulting context usage. They do not make an oversized source page faster to render in Chrome; they constrain the output dimensions. Check the current flag reference for supported options in your installed release.
| Choice | Use it when | Tradeoff |
|---|---|---|
| PNG | You need lossless output or sharp text and edges. | Usually larger than compressed formats. |
| JPEG | You need a widely usable compressed image. | Lossy compression can soften fine details. |
| WebP | You want a compressed image format supported by the tool. | Confirm that the next tool or system accepts WebP. |
| Maximum dimensions | The agent needs a smaller image for review. | Downscaling can make small text harder to inspect. |
6. Troubleshoot common capture problems
| Symptom | Likely cause | What to try |
|---|---|---|
| The client does not show DevTools tools. | The server configuration is invalid, or the client has not reloaded it. | Check the client’s MCP configuration syntax, confirm the executable can run, then restart or reload the client. Check its server logs for startup errors. |
| Chrome does not start. | The environment cannot launch the browser, or the server is configured to attach to an unavailable endpoint. | Try the server-launched default first. For existing-browser mode, confirm Chrome is running with debugging enabled and that the URL or WebSocket endpoint is reachable from the server process. |
| The connection is refused. | The debugging endpoint is not listening at the configured address, or it is not reachable across a container or host boundary. | Verify the actual endpoint and network namespace. A host-local address inside a container may refer to the container itself. |
| The screenshot is blank or incomplete. | The page may still be loading, its content may be lazy-loaded, or the capture targeted the wrong page. | Confirm the page ID, wait for navigation and rendering to finish, scroll through lazy content, and capture again. If only one part is missing, inspect the page state before taking a full-page image. |
| The requested element cannot be captured. | The UID is missing, belongs to a different page, or came from an older snapshot. | Take a new snapshot of the target page, copy its current UID, and omit fullPage because the two options are incompatible. |
| The tool returns an error for the file path. | The path is not writable or is not local to the browser/server instance. | Use a writable absolute path in the server environment or a relative path under its working directory. Check container mounts if the file must be visible to the client host. |
| The image is too large for the agent. | The format is PNG, the page is very large, or dimensions are unconstrained. | Try JPEG or WebP with an appropriate quality, set maximum width and height, or capture a smaller region. |
| The image looks soft or text is difficult to read. | Compression quality or maximum dimensions are too low for the details being inspected. | Raise JPEG/WebP quality, remove or increase the dimension cap, or use PNG for detail-sensitive output. |
7. Reliability, performance, and safety
For repeatable screenshots, keep the browser mode, target viewport, format, quality, and maximum dimensions consistent across runs. Navigate to the intended page explicitly and wait until the content you care about is visible. If fonts, animations, delayed requests, or personalized content affect the page, account for those conditions in your capture workflow; the screenshot tool records the browser’s rendered state at capture time.
Large full-page images can take more time to produce and send through an agent conversation than a viewport or element capture. JPEG and WebP can reduce encoded image size, while dimension caps reduce the returned image dimensions. If the goal is to inspect text or fine visual details, avoid reducing the output to the point that those details become unreadable. For agent context efficiency, use a snapshot to locate and understand a page element before capturing the whole page when a focused image will answer the question.
Existing-browser mode carries a different reliability and security profile from an isolated server-launched browser. It can reuse the state of an existing session, but that same convenience gives the connected client access to the browser context. Treat web content as untrusted input to an agent, use a trusted client, and close remote debugging when it is no longer needed. The project’s security policy also places responsibility on the agent or client to validate inputs and use browser automation safely.
Or skip the browser setup
If the job is to get a clean website image without configuring Chrome, ScreenshotNeo is a website screenshot API and MCP server from Yorker Media. One GET request takes a URL and returns a PNG, JPEG, WebP, or PDF. The request below saves a WebP screenshot of Stripe; replace the URL with the page you need. See the ScreenshotNeo API docs for request options.
cURL
curl -G "https://api.screenshotneo.com/v1/shot" -d access_key=YOUR_API_KEY --data-urlencode url=https://stripe.com -o shot.webpPython
import requests

r = requests.get(
    "https://api.screenshotneo.com/v1/shot",
    params={"access_key": "YOUR_API_KEY", "url": "https://stripe.com"},
    timeout=90,
)
open("shot.webp", "wb").write(r.content)
Node.js
const q = new URLSearchParams({ access_key: 'YOUR_API_KEY', url: 'https://stripe.com' });
const res = await fetch(`https://api.screenshotneo.com/v1/shot?${q}`);
const bytes = new Uint8Array(await res.arrayBuffer());
await import('node:fs/promises').then(fs => fs.writeFile('shot.webp', bytes));
ScreenshotNeo accepts cookie and consent banners like a visitor and removes more than 60 known consent platforms, newsletter popups, and chat widgets before capture; each step can be turned off. Bot checks, CAPTCHAs, blank pages, timeouts, failed loads, and cache hits cost nothing, and response headers say which page verdict applied and whether it was billed. Its MCP server provides take_screenshot, get_page_info, and capture_pdf for Claude, Cursor, and other MCP clients. The Free plan includes 1,000 shots per month without a card; paid plans start at $5 for 3,000 shots.
Create a free ScreenshotNeo account to get 1,000 screenshots a month with no card.
Frequently asked questions
Can I capture a screenshot without saving it to disk?
Yes. Leave out filePath and the tool returns the screenshot in its response instead of saving it to a file.
Can the tool capture a PDF?
take_screenshot captures images. The Chrome DevTools MCP tool reference lists screenshot formats as PNG, JPEG, and WebP; it is not the PDF capture operation.
Can I use Microsoft Edge?
Microsoft Learn documents connections to Chromium-based Edge and WebView2. Follow the relevant browser and connection setup for your environment, and check the current Chrome DevTools MCP configuration guide for supported connection options.
Where do I find the exact options for my version?
Run the server’s help command and consult the project’s configuration and tool reference. Flags and client setup can change between releases.