BlogScreenshots on your device
How to Capture Screenshots with Greenshot
Learn Greenshot’s shortcuts for regions, windows, full screens and menus, then edit, annotate and export your capture on Windows.
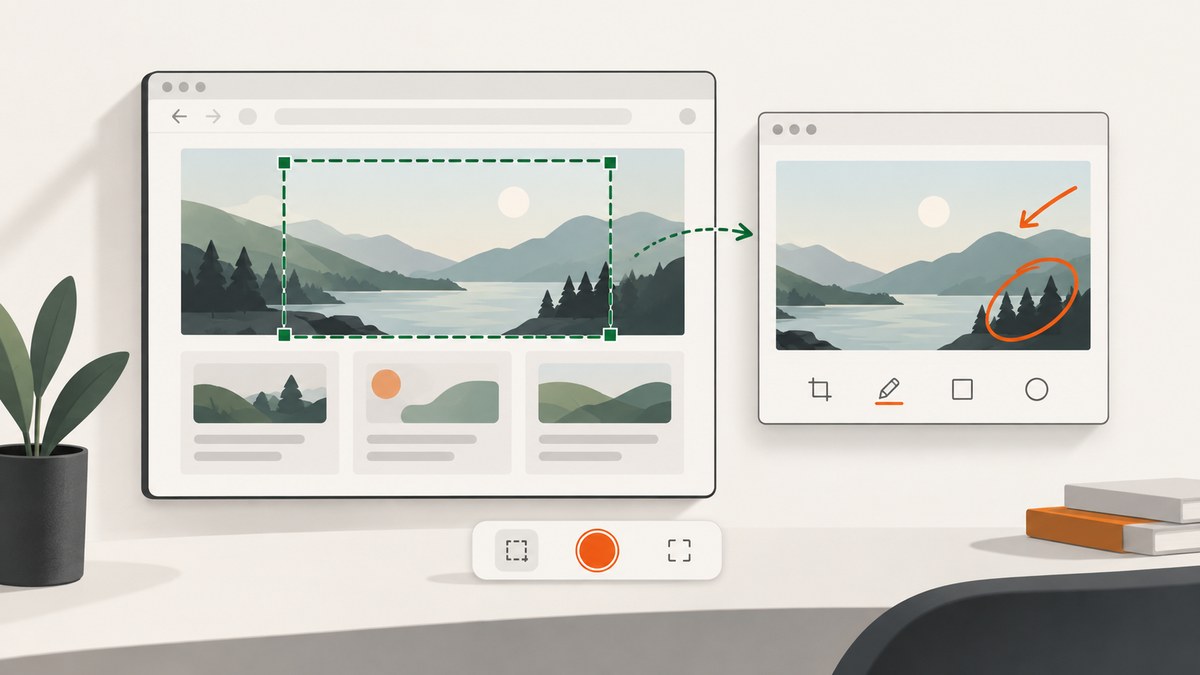
Greenshot is a free, open-source Windows screenshot tool that runs in the notification area. Press Print to select a region, Alt+Print to capture the active window, or Ctrl+Print to capture the full screen. You can then open the result in Greenshot’s editor, annotate it, and export it to a file, clipboard, printer or email.
The shortcuts below are the defaults documented in Greenshot’s official help. Hotkeys can be customized in Greenshot settings, so check your configuration if a shortcut behaves differently. Greenshot’s official help documents the capture commands and keyboard controls.
Install and start Greenshot
- Install Greenshot for Windows from the official project site.
- Launch it and look for the green Greenshot icon in the Windows notification area.
- Right-click the icon to access capture commands and settings. Greenshot continues running in the background so its hotkeys are available.
If the icon is not visible, expand the notification area or start Greenshot again. A keyboard shortcut will not work while Greenshot is not running.
Choose the right capture shortcut
| What you need | Default shortcut | Result |
|---|---|---|
| Selected region | Drag a rectangle around any part of the screen. | |
| Active window | Alt+Print | Captures the currently focused window. |
| Full screen | Ctrl+Print | Captures the entire screen. |
| Active Internet Explorer tab | Ctrl+Shift+Print | Captures the active Internet Explorer page. |
The official help lists Print for region capture, Alt+Print for the active window and Ctrl+Print for the full screen. Because Greenshot supports configurable hotkeys, use the settings panel to change a conflicting combination.
Capture a selected area precisely
- Press Print. The screen enters region-selection mode.
- Hold the left mouse button and drag the green rectangle over the content you want.
- Release the mouse button to capture the selection.
- Use the arrow keys while selecting to move the cursor one pixel at a time.
- Hold Ctrl while pressing an arrow key to move in 10-pixel steps.
Use a region capture when you need only a chart, dialog, code sample or part of a web page. It avoids including unrelated windows and usually produces a smaller image.
Keep a context menu open while selecting
Context menus normally disappear when you move focus to the capture tool. To preserve one:
- Open the context menu you need to show.
- Press Print to start region capture.
- Press Space before selecting the menu.
- Drag around the menu and release.
Capture a window or the entire screen
Active window
Focus the window, then press Alt+Print. This is useful for application dialogs, terminals and browser windows when you do not want to draw a selection manually.
Full screen
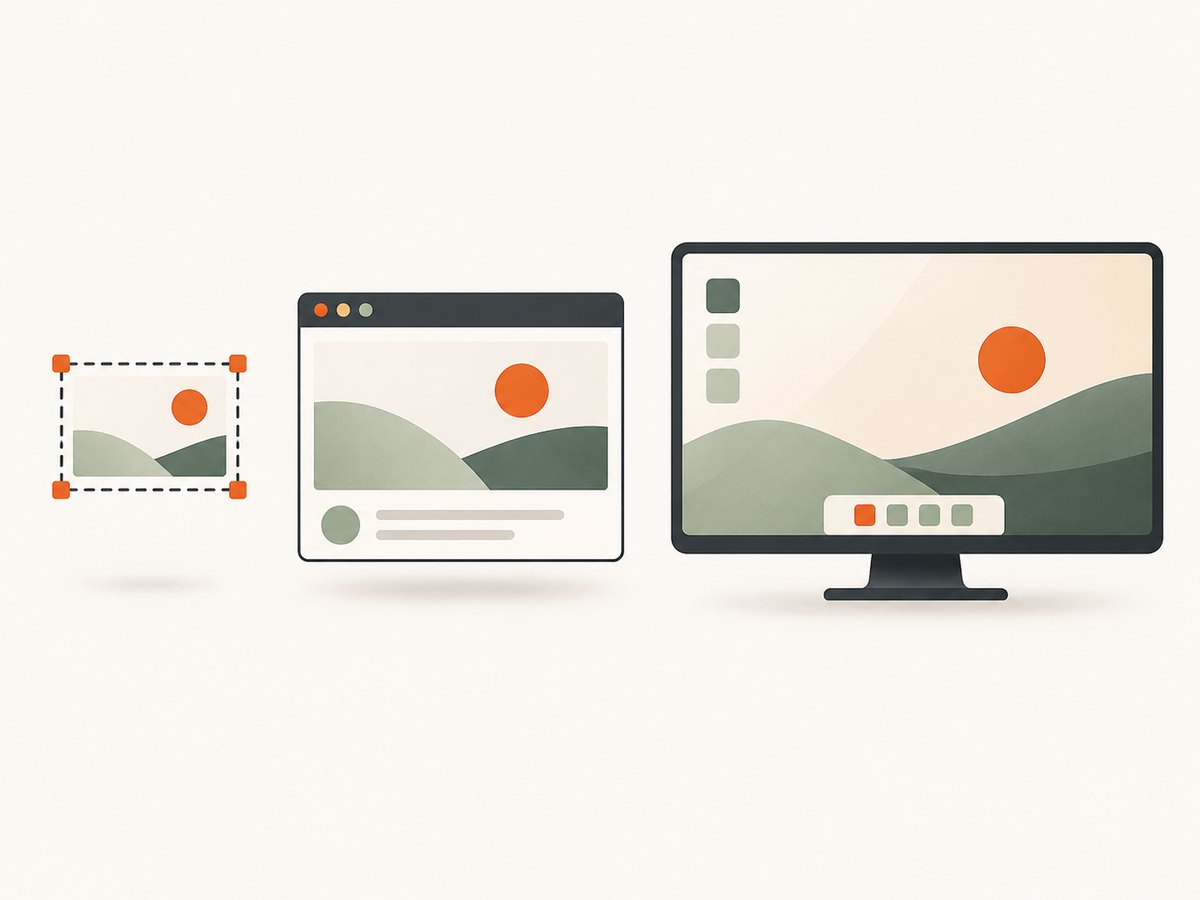
Press Ctrl+Print to capture the complete screen. With multiple displays, confirm which screen Greenshot captures in your version and settings, then crop or annotate the result in the editor if needed.
Internet Explorer tab
For the active Internet Explorer tab, press Ctrl+Shift+Print. This shortcut is specifically documented for Internet Explorer; use region or window capture for other browsers.
Edit and annotate the screenshot
After capture, choose the Greenshot image editor when you need to crop, add annotations or make other edits. The editor supports reusable objects, which helps when you repeatedly add the same visual elements to screenshots.
When you are finished, the documented export shortcuts are:
| Action | Shortcut |
|---|---|
| Save | Ctrl+S |
| Save As | Ctrl+Shift+S |
| Copy to clipboard | Ctrl+Shift+C |
| Ctrl+P | |
| Attach to a new email | Ctrl+E |
You can also choose a configured direct destination after capture when you do not need editing. Greenshot’s official documentation describes saving, Save As, clipboard, printing and email export. See the official help for the current editor workflow.
A repeatable Greenshot workflow
- Prepare the screen. Close unrelated windows and place the content at the size you want readers to see.
- Select the scope. Use region, active-window or full-screen capture based on the content.
- Refine the selection. Use arrow keys for one-pixel adjustments or Ctrl+arrow for 10-pixel movement.
- Choose editing or direct export. Open the editor for crop and annotations; otherwise use your configured destination.
- Export deliberately. Save a file for documentation, copy to the clipboard for another application, print a paper copy, or attach it to email.
- Check the result. Verify that menus, pointer position and sensitive information are represented as intended before sharing.
When Greenshot is the wrong capture scope
| Need | Best approach | Reason |
|---|---|---|
| A small, exact area | Region capture | Precise selection with pixel-level adjustment. |
| One application dialog | Active-window capture | Includes the window without surrounding desktop clutter. |
| Everything visible | Full-screen capture | Preserves the whole desktop view. |
| A context menu | Region capture plus Space | Keeps the menu available for selection. |
| A web page at a repeatable URL | Screenshot API | Runs without a person arranging a desktop each time. |
Troubleshooting Greenshot
The Print key does nothing
- Confirm Greenshot is running and its green icon is visible in the notification area.
- Check whether another utility has claimed the Print key.
- Open Greenshot settings and verify or change the configured hotkey.
The shortcut is different from this guide
The shortcuts above are Greenshot’s documented defaults. A previous user or administrator may have customized them. Inspect the hotkey settings and use the displayed assignment.
The context menu disappears
Start region capture first, then press Space before selecting the menu. This is the documented sequence for preserving a context menu.
The capture has extra content
Use region capture and drag a tighter rectangle. Arrow keys allow one-pixel corrections before you release the mouse button.
The screenshot needs markup
Choose the image editor instead of a direct destination. Add the required annotations, then use Ctrl+S or another export command.
The image is not where expected
Review the destination selected after capture and Greenshot’s configured output options. If you need to choose a path each time, use Save As with Ctrl+Shift+S.
Performance, reliability and file handling
- Speed: region and window captures are immediate because Greenshot captures the local desktop rather than loading a remote page.
- Repeatability: consistent hotkeys and reusable editor objects make recurring documentation work easier.
- Reliability: keep Greenshot running before a capture session and confirm the notification-area icon is present.
- Privacy: inspect the frame before exporting; a full-screen capture can include unrelated windows or sensitive information.
- Cost: the official project presents Greenshot as free, open-source Windows software. There is no screenshot-service request or per-image API charge in this desktop workflow.
Or skip the browser setup
For screenshots of a URL, ScreenshotNeo provides a GET endpoint that returns PNG, JPEG, WebP or PDF. Read the API documentation for all options and response headers.
cURL
curl -G "https://api.screenshotneo.com/v1/shot" -d access_key=YOUR_API_KEY --data-urlencode url=https://stripe.com -o shot.webpPython
import requests
r = requests.get("https://api.screenshotneo.com/v1/shot", params={"access_key": "YOUR_API_KEY", "url": "https://stripe.com"}, timeout=90)
open("shot.webp", "wb").write(r.content)
Node.js
const q = new URLSearchParams({ access_key: 'YOUR_API_KEY', url: 'https://stripe.com' });
const res = await fetch(`https://api.screenshotneo.com/v1/shot?${q}`);
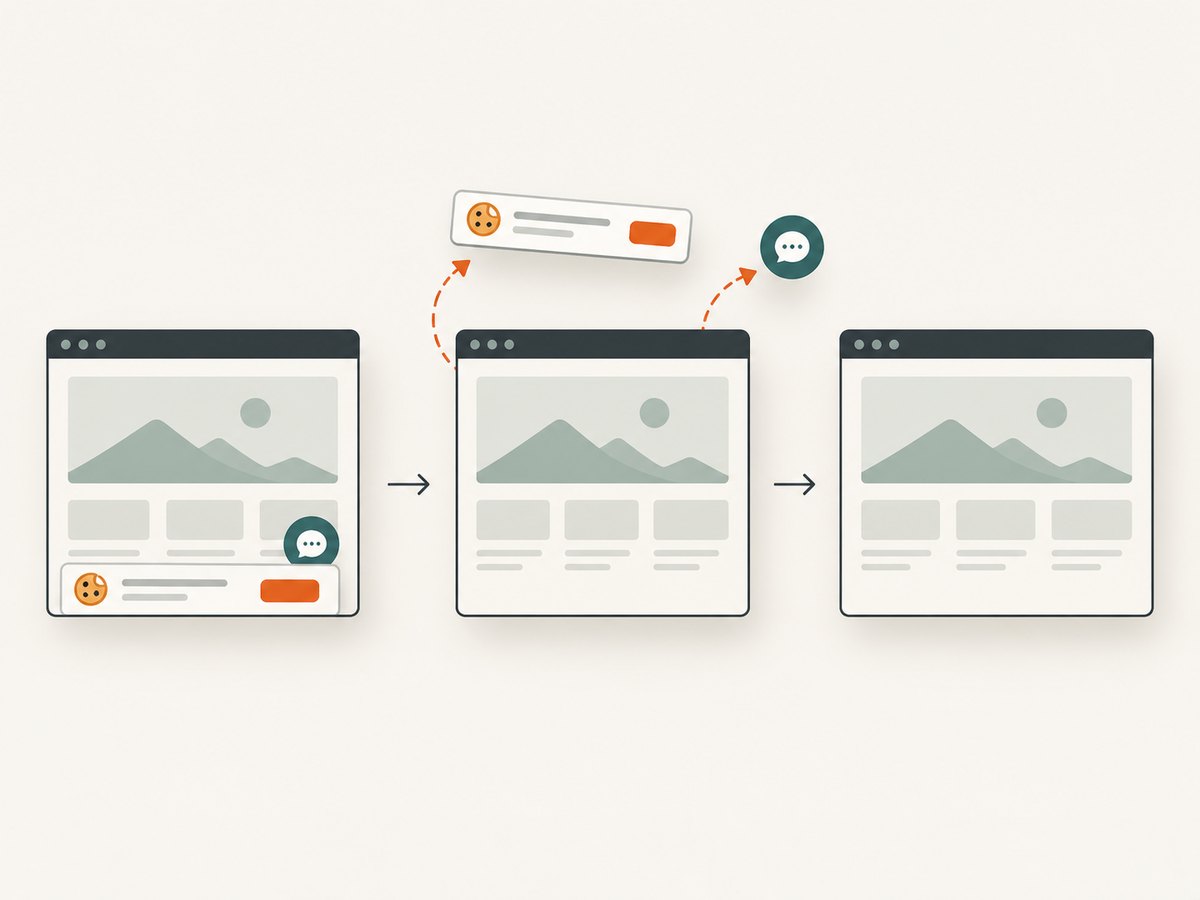
ScreenshotNeo removes cookie and consent banners, newsletter popups and chat widgets before capture. Bot checks, blank pages, timeouts, failed loads and cache hits are not billed, and the response reports the page verdict and billing status in X-Page-Verdict and X-Billed headers. Its MCP server provides take_screenshot, get_page_info and capture_pdf tools for Claude, Cursor and other MCP clients.
Other available options include full-page capture with lazy images loaded, CSS-selector element capture, dark mode, device presets or custom viewports, retina scale, PDF paper size and page ranges, custom CSS and JavaScript, clicks before capture, hidden selectors, selector or delay waits, network-idle waits, ad/tracker/request blocking, custom headers, cookies, user agents and Authorization, timezone and geolocation, transparent backgrounds, image resizing, configurable-TTL caching, signed links, asynchronous jobs with signed webhooks, bulk capture for up to 100 URLs per call, a usage API and an OpenAPI specification.
There is a free allowance of 1,000 screenshots per month with no card. Paid plans start at $5 for 3,000 screenshots; every feature is available on every plan. Create a free ScreenshotNeo account to get started.
FAQ
Can Greenshot capture a web page longer than the screen?
The documented Greenshot shortcuts capture a region, window, full screen or Internet Explorer tab. For automated full-page URL captures, use a screenshot API such as ScreenshotNeo.
Can I copy a Greenshot image without saving a file?
Yes. Open the editor or choose the clipboard destination, then use Ctrl+Shift+C.
How do I capture a menu that closes when I press Print?
Open the menu, press Print, press Space, and then drag the selection around the menu.
Are Greenshot’s shortcuts fixed?
No. The listed combinations are the official defaults; Greenshot settings can assign different hotkeys.
What should I use for scheduled or batch captures?
Greenshot is a desktop tool for interactive Windows captures. An API is more suitable for repeatable URL jobs, webhooks or bulk requests.


