BlogScreenshots on your device
How to Capture a Video Frame Screenshot on Windows
Pause the video, use Windows+Shift+S, and save the frame with Snipping Tool. Learn the other capture shortcuts, fixes for black screens, and when to use an API.
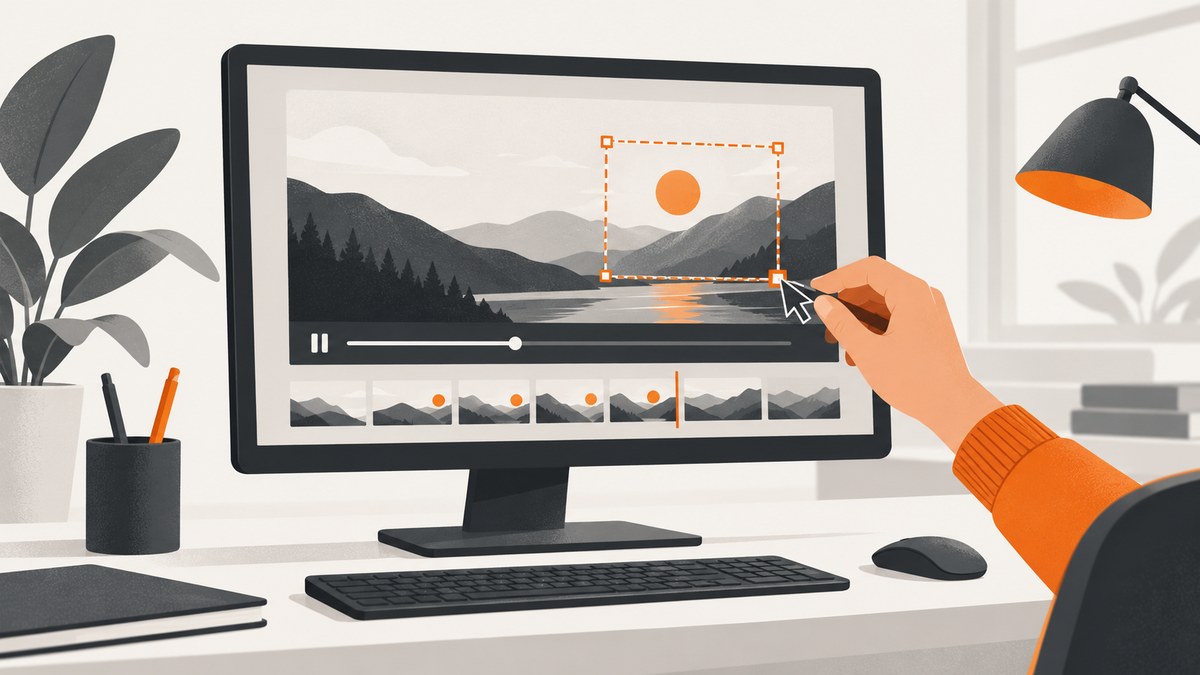
To save one still frame from a video playing on Windows, pause the video at the moment you want, press Windows logo key + Shift + S, choose a snipping mode, and select the video area. The image is copied to the clipboard and opens in Snipping Tool, where you can edit or save it. This shortcut takes a still screenshot; Windows logo key + Shift + R records a video clip instead.
Capture one frame with Snipping Tool
- Pause the video. Use the controls in the video player or website and leave the frame visible. The exact pause control depends on the player.
- Open the snipping overlay. Press Windows logo key + Shift + S. If the keyboard has a separate Fn layer for function keys, this shortcut does not require PrtScn.
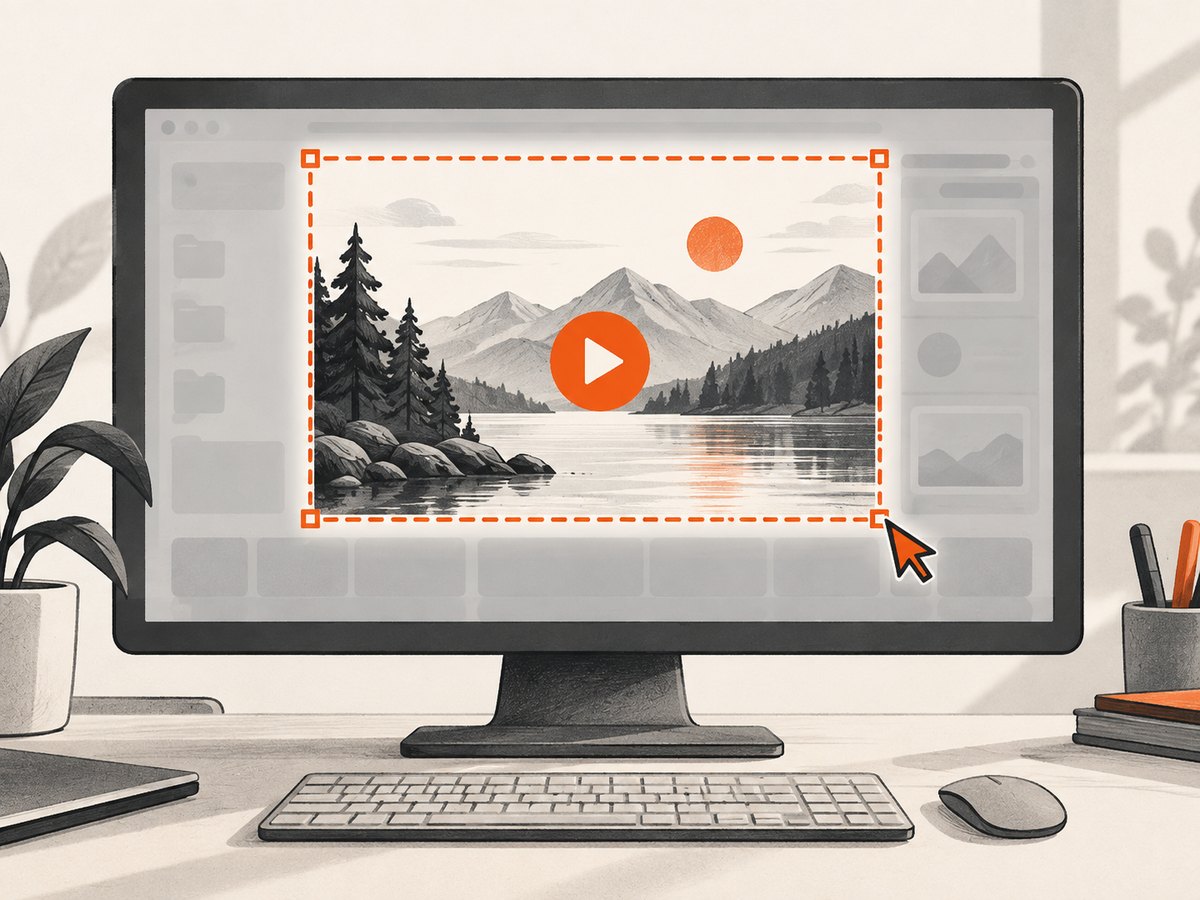
- Choose a capture mode. Select rectangular snip to draw a box around the video. Snipping Tool also supports freeform, window, and full-screen still captures.
- Select the frame. Drag around the video image. Include any player controls only if you want them in the saved frame.
- Save or paste the result. The snip is copied to the clipboard and appears in Snipping Tool for editing, saving, or sharing. Press Ctrl+V in an image editor or document to paste it, or save it from Snipping Tool. Microsoft lists Ctrl+S as the save shortcut.
For the cleanest still, move the pointer away from the video controls before starting the snip. If a control bar disappears after a few seconds, pause and wait for it to fade, then open the overlay. The screenshot captures what is visible on your display, including overlays or subtitles that are showing.
Choosing the snip mode
| Mode | Use it for | What is captured |
|---|---|---|
| Rectangular | One video frame without the rest of the desktop | The area you drag over |
| Freeform | An irregular region | The outline you draw |
| Window | A video in a separate app window | A selected window |
| Full screen | A quick record of everything visible | The whole display |
Which Windows shortcut should you use?
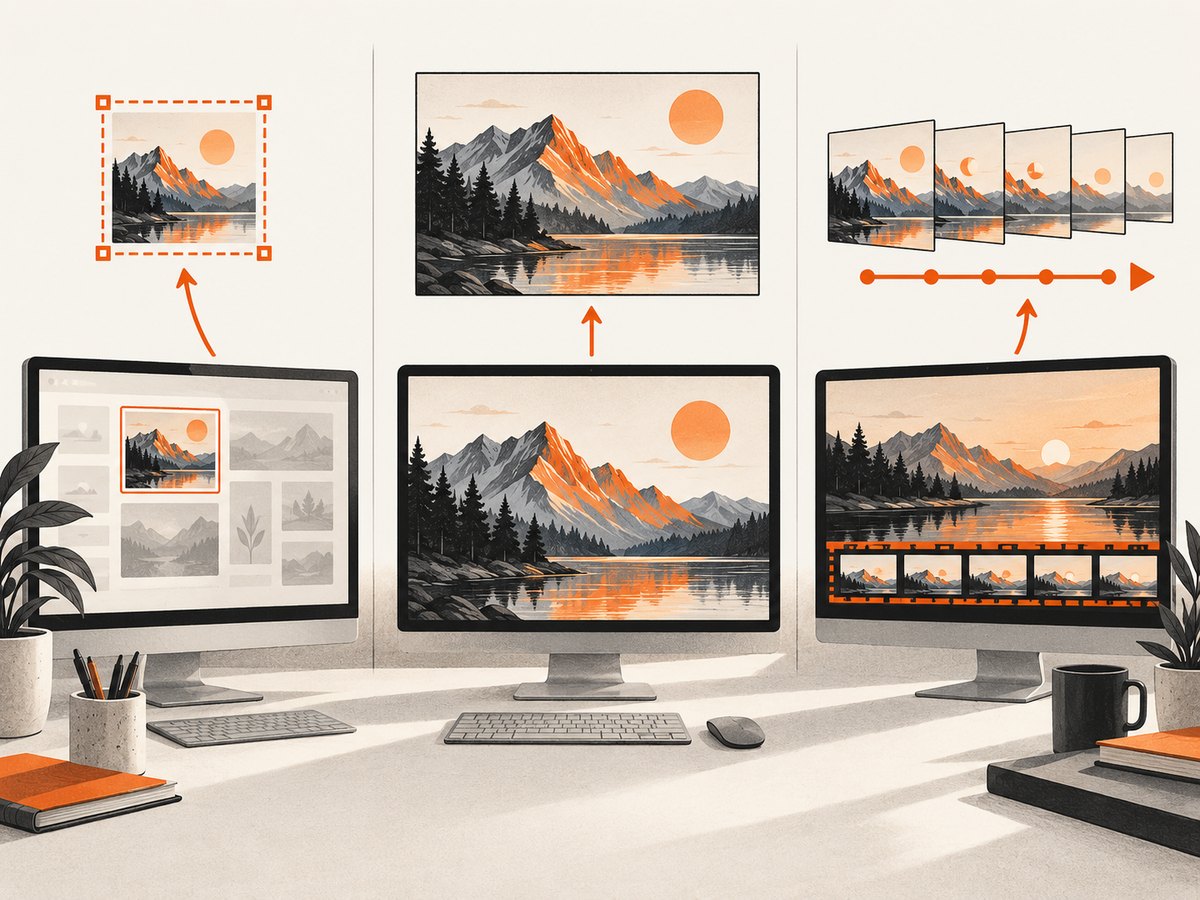
Windows has different shortcuts for a selected still image, a full-screen still, and a screen recording. Pick the one that matches the output you need.
| Shortcut | Output | Scope | Save behavior |
|---|---|---|---|
| Windows + Shift + S | Still image | Selected region or another still-snip mode | Copied to Snipping Tool and clipboard; save from Snipping Tool |
| Windows + PrtScn | Still image | Full screen | Saved under Pictures\Screenshots |
| Windows + Shift + R | Video clip | Selected screen region | Recording is handled in Snipping Tool |
For a single frame with minimal surrounding desktop, Windows + Shift + S is usually the best fit. Use Windows + PrtScn when a full-screen image is acceptable and you want it saved directly. Choose Windows + Shift + R when you need motion over time rather than a still.
Save the full screen directly
Press Windows logo key + PrtScn to capture the entire screen. Windows saves the screenshot in the Pictures\Screenshots subfolder. This is convenient, but it includes everything visible on the display, not just the video. On some keyboards, you may need to hold Fn as well to send the PrtScn key.
Record a short video excerpt instead
Press Windows logo key + Shift + R to open Snipping Tool’s video capture overlay. Select the area, start recording, and stop when the excerpt is complete. This creates a video clip, not a single-frame screenshot. Microsoft documents this screen recording feature for supported Windows editions.
Make the captured frame useful
A screenshot is only as clear as the frame and display you capture. These steps help avoid common presentation problems:
- Pause on the intended moment. If the player supports frame stepping, use it to move one frame at a time after pausing. Player controls vary, so consult that player’s instructions for its exact keys.
- Wait for transient controls to disappear. Toolbars, playback overlays, captions, and notification banners may appear over the video. Dismiss or wait for them to fade before capturing.
- Choose the capture boundary deliberately. A rectangular snip can exclude browser tabs and unrelated desktop content. Leave a small margin if the frame needs context.
- Check scaling and sharpness. A screenshot records the displayed pixels. If the video is playing in a small window, enlarge it before capture when practical.
- Review before sharing. Confirm that the right moment appears and that the image does not include unrelated windows, personal notifications, or details you did not intend to share.
Snipping Tool is a screen capture utility: it records the rendered image on the display. The reviewed Microsoft documentation does not guarantee that every protected stream, player, or hardware-accelerated playback path can be captured successfully. Use a source and capture method you are allowed to use.
Troubleshooting capture problems
| What happens | Likely cause | What to try |
|---|---|---|
| The overlay does not open | The shortcut was not received, a keyboard layer is involved, or Snipping Tool is unavailable | Check that you pressed the Windows key, Shift, and S together. Open Snipping Tool from the Start menu and start a snip there. On compact keyboards, check whether a modifier such as Fn is required for the key being used. |
| The screenshot is on the clipboard but there is no file | Windows + Shift + S copies the snip; it does not use the same automatic save path as Windows + PrtScn | Open the snip in Snipping Tool and save it, or paste it with Ctrl+V into an app and save from there. |
| The captured area is black or blank | The player, stream protection, or display path may prevent a normal desktop capture | Try Snipping Tool’s window or full-screen mode, or consult the player provider’s support for an allowed way to save a frame. The Microsoft sources reviewed do not establish one universal fix. |
| The screenshot includes controls or desktop clutter | Controls or other windows were visible when the snip was taken | Pause, move the pointer away, wait for controls to fade, close unrelated windows, and select a tighter region. |
| The frame is blurry or too small | The video was displayed at a small size or the source itself is low resolution | Enlarge the player before capture and verify the source quality. A screenshot cannot restore detail that was not present in the displayed frame. |
| Video recording is unavailable on Windows N | Microsoft documents a Snipping Tool screen-recording limitation on Windows 10/11 N editions | For a still image, use the still screenshot shortcut. For recording, see Microsoft’s Media Feature Pack guidance for the relevant N edition. |
The last limitation applies to video recording, not the basic still screenshot workflow described above. Microsoft states: “Snipping tool: The screen recording feature is not available.” for Windows 10/11 N editions.
Performance, reliability, and file handling
A screen snip is usually the simplest option for one frame because the capture is taken directly from the visible desktop. Its practical limits are the displayed size and what the player allows the desktop to show. Capturing a larger area can include more context, but it also includes more screen content to review and potentially share.
Save the snip in the format offered by your chosen image editor or capture workflow, and use a descriptive filename if you plan to collect multiple frames. For a quick one-off, paste into an app that accepts images. For a record or report, save a file and reopen it once to confirm that it is readable and contains the intended frame.
There is no separate screenshot API cost for this built-in method. It uses Windows capture features. For repeated capture across many web pages or automated workflows, however, a screen snip requires a person and a visible desktop; a website screenshot API may be more suitable.
Or skip the browser setup
The Windows steps above are for a video already visible on your screen. If your actual task is to capture a webpage as an image or PDF, ScreenshotNeo is a website screenshot API and MCP server from Yorker Media. One GET request can return a PNG, JPEG, WebP, or PDF. Its browser capture options include full-page shots, selected elements, device presets, custom viewport, and waiting for a selector or network activity. See the API documentation.
curl -G "https://api.screenshotneo.com/v1/shot" -d access_key=YOUR_API_KEY --data-urlencode url=https://stripe.com -o shot.webpThe same endpoint can be called from Python or Node.js:
import requests

r = requests.get(
    "https://api.screenshotneo.com/v1/shot",
    params={"access_key": "YOUR_API_KEY", "url": "https://stripe.com"},
    timeout=90,
)
open("shot.webp", "wb").write(r.content)
const q = new URLSearchParams({ access_key: 'YOUR_API_KEY', url: 'https://stripe.com' });
const res = await fetch(`https://api.screenshotneo.com/v1/shot?${q}`);
if (!res.ok) throw new Error(`Screenshot request failed: ${res.status}`);
const image = Buffer.from(await res.arrayBuffer());
await import('node:fs/promises').then(fs => fs.writeFile('shot.webp', image));Replace YOUR_API_KEY with your API key and change the target URL. For the simplest command-line example, use the cURL request. The Python and Node.js examples save the response bytes as a file. Handle non-success HTTP responses in production and check the response headers: ScreenshotNeo identifies the page verdict and billing status with X-Page-Verdict and X-Billed.
- Cookie banners are accepted and removed before capture, along with 60+ known consent platforms, newsletter popups, and chat widgets; each step can be turned off.
- Bot checks, blank pages, timeouts, failed loads, and cache hits cost nothing; response headers say which outcome occurred.
- An MCP server provides
take_screenshot,get_page_info, andcapture_pdftools for Claude, Cursor, and other MCP clients. - The Free plan includes 1,000 screenshots per month with no card. Paid plans start at $5 for 3,000; every feature is on every plan.
Create a free ScreenshotNeo account for 1,000 screenshots a month with no card.
Frequently asked questions
Where does Windows save a snip?
A Windows + Shift + S snip is copied to the clipboard and appears in Snipping Tool, where you can save it. A full-screen capture made with Windows + PrtScn is saved under Pictures\Screenshots.
Is Windows + Shift + R the screenshot shortcut?
No. It opens Snipping Tool’s video capture overlay to record a selected screen region as a clip. Use Windows + Shift + S for a still snip.
Does the still screenshot method work on Windows 10?
Microsoft’s Snipping Tool support article applies to Windows 10 and Windows 11. Microsoft also says Windows 10 support ended on October 14, 2025, so users still on Windows 10 should account for that support status.


