BlogScreenshots on your device
How to Capture the Windows Desktop While a Store App Is Active
Record or capture a Microsoft Store app with the surrounding Windows desktop using Snipping Tool or Xbox Game Bar.
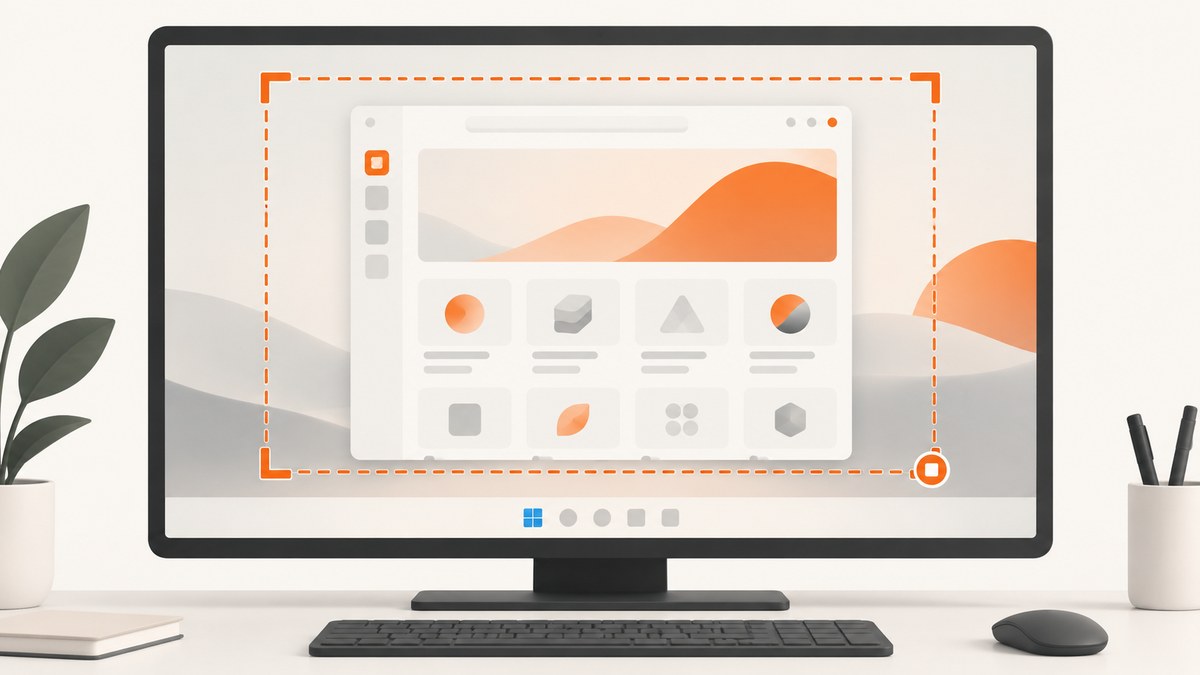
Use Snipping Tool’s video snip when you need to record a Store app and a precisely chosen area of the desktop at the same time. Open Snipping Tool, choose Record, select New (or press Windows + Shift + R), drag around the Store app and any surrounding desktop you want visible, then select Start. Select Stop when finished. You can save the clip or open it in Clipchamp.
For a quick app-focused recording, use Xbox Game Bar with Windows + Alt + R. Game Bar saves an MP4 in Videos\Captures and lets you control capture audio.
Choose the right Windows capture method
| Need | Recommended tool | Why |
|---|---|---|
| Frame the Store app plus a specific part of the desktop | Snipping Tool | Drag a rectangular selection around exactly what should appear. |
| Start and stop quickly with a keyboard shortcut | Xbox Game Bar | Windows + Alt + R toggles recording. |
| Control system audio | Xbox Game Bar | Its Capturing settings include audio-scope options. |
| Capture one still image | Snipping Tool | Use rectangular, freeform, window or full-screen snip modes. |
Method 1: Record the Store app and desktop with Snipping Tool
Step 1: Prepare the desktop
- Open the Microsoft Store app and arrange it where you want it.
- Close notifications, private windows and unrelated content that should not appear.
- If the recording needs sound, check the app and Windows volume levels before starting.
Step 2: Start a video snip
- Open Snipping Tool from the Start menu.
- Select the Record button, then New.
- Alternatively, press Windows + Shift + R.
- Drag a rectangle around the Store app and the desktop area that should be included.
- Select Start, perform the actions you need to demonstrate, then select Stop.
Snipping Tool records the selected visible desktop region. It does not automatically follow a window if you move or resize it outside the selected rectangle, so keep the app inside the selection for the whole clip.
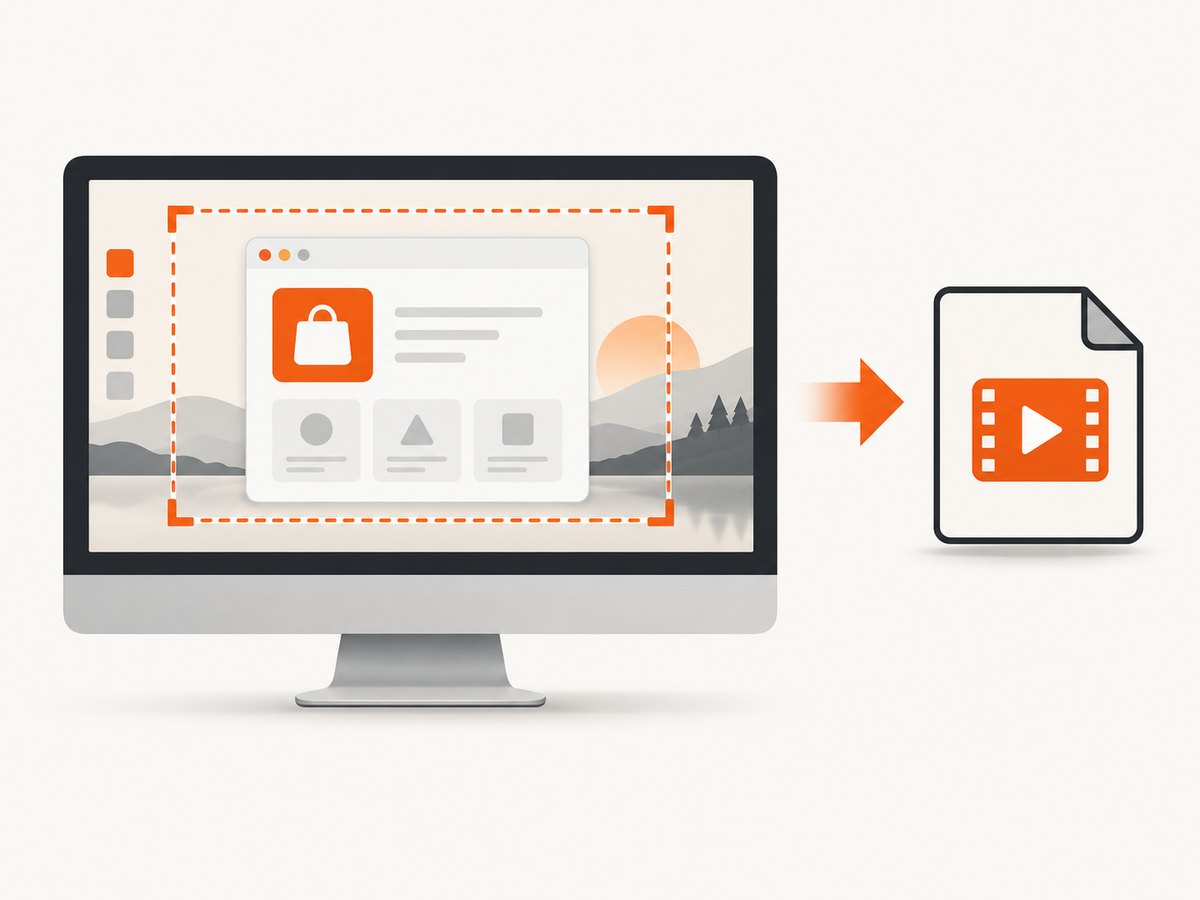
Step 3: Save or edit
Save the recording from Snipping Tool, or open it in Clipchamp if you need trimming or other editing. Keep the original file until you have checked the final export.
Method 2: Record with Xbox Game Bar
- Open Settings and make sure Xbox Game Bar is enabled.
- Open the Store app and bring the app or desktop view you want to record to the foreground.
- Press Windows + Alt + R to start recording.
- Press the same shortcut again to stop.
Windows saves the recording as an MP4 under Videos\Captures. The file name includes the app name and the date/time. Press Windows + Alt + M to toggle the microphone while recording.
Configure audio
Press Windows + G to open Game Bar, open Settings, choose Capturing, and select the audio scope you need. Make a short test clip if you need both system audio and microphone narration.
Capture a still image instead of video
Open Snipping Tool and choose the capture mode that matches the result:
- Rectangular: select the Store app and surrounding desktop manually.
- Freeform: draw an irregular outline.
- Window: capture a selected window.
- Full screen: capture every visible display area.
For a still image, rectangular mode is usually the most predictable when the Store app must appear with nearby desktop context.
PowerShell workflow for organizing recordings
Windows’ built-in capture tools create the recording. PowerShell can help you find and rename the resulting MP4 without changing the capture itself.
$captureDir = Join-Path $env:USERPROFILE 'Videos\Captures'
Get-ChildItem $captureDir -Filter *.mp4 |
  Sort-Object LastWriteTime -Descending |
  Select-Object -First 1 |
  Rename-Item -NewName { 'store-app-demo-{0:yyyyMMdd-HHmmss}.mp4' -f $_.LastWriteTime }
Run this after stopping a recording. It renames the newest MP4 in the standard Game Bar folder; it does not upload or convert the file.
Important limitations and edge cases
- Protected playback: Capture only what is visible and selectable on the desktop. Protected media or DRM surfaces may block recording; this depends on the app.
- Multiple monitors: Make sure the selection is entirely on the intended display, or confirm which display Game Bar is recording before you begin.
- Moving windows: A Snipping Tool rectangle stays fixed. Moving the Store app outside it will cut the app out of the recording.
- Notifications: Toasts can reveal private information or cover the app. Enable a suitable focus or notification mode before recording.
- Scaling and resolution: Display scaling changes the apparent size of the selection. Check the saved clip at 100% before sharing.
- Windows version: Snipping Tool is included with Windows 11 and can be installed from the Microsoft Store if missing. Microsoft support for Windows 10 ended on October 14, 2025, so feature availability and security status should be verified on unsupported systems.
Troubleshooting
| Problem | Likely cause | Fix |
|---|---|---|
| Snipping Tool has no Record option | Older or unavailable installation | Update Windows and install Snipping Tool from the Microsoft Store. On Windows 10, verify whether the feature is available. |
| The recording misses part of the desktop | The rectangle was too small | Stop and create a new selection that includes the complete app and required surrounding area. |
| The Store app disappears from the clip | The window moved outside the fixed selection | Keep the app inside the selected rectangle, or start a new snip after repositioning it. |
| Game Bar shortcut does nothing | Game Bar is disabled or the current surface is unsupported | Enable Xbox Game Bar in Settings, then retry from the active app. |
| No microphone or system sound | Capture audio scope or microphone toggle is wrong | Review Game Bar’s Capturing settings and use Windows + Alt + M for the microphone. |
| The MP4 cannot be found | Looking in the wrong folder | Check %USERPROFILE%\Videos\Captures and sort by date. |
| Black or blank protected content | App-level DRM or protected playback | Treat it as an app limitation; ordinary desktop capture tools cannot guarantee recording protected surfaces. |
| Recording is choppy | High CPU/GPU load, low storage or heavy background activity | Close unnecessary apps, ensure free disk space, reduce visual workload and make a shorter test recording. |
Performance and reliability checklist
- Make a 5–10 second test clip before recording a long demonstration.
- Plug in a laptop or use a power plan that will not suspend the display.
- Keep enough free disk space for the MP4.
- Use a stable window layout and avoid resizing during the capture.
- Verify video, audio, cursor visibility and the final file location immediately afterward.
- For repeatable documentation, record the same display resolution and scaling each time.
Or skip the browser setup
ScreenshotNeo is a website screenshot API, so it captures a web page URL rather than the local Windows desktop or a Microsoft Store app. Use it when the thing you need is a repeatable screenshot of a web page, for example a page opened in a browser alongside your desktop workflow. The API base is ScreenshotNeo; see the API documentation for all options.
curl -G "https://api.screenshotneo.com/v1/shot" -d access_key=YOUR_API_KEY --data-urlencode url=https://stripe.com -o shot.webpimport requests
r = requests.get(
"https://api.screenshotneo.com/v1/shot",
params={"access_key": "YOUR_API_KEY", "url": "https://stripe.com"},
timeout=90,
)
r.raise_for_status()
open("shot.webp", "wb").write(r.content)const q = new URLSearchParams({ access_key: 'YOUR_API_KEY', url: 'https://stripe.com' });
const res = await fetch(`https://api.screenshotneo.com/v1/shot?${q}`);
if (!res.ok) throw new Error(`HTTP ${res.status}`);
const data = Buffer.from(await res.arrayBuffer());
require('fs').writeFileSync('shot.webp', data);Cookie banners, newsletter popups and chat widgets are removed before the shot. Bot checks, blank pages and failed loads are never billed. An MCP server lets AI agents take screenshots. The Free plan includes 1,000 screenshots a month with no card, and paid plans start at $5 for 3,000. Create a free ScreenshotNeo account.
FAQ
Can I record without closing the Store app?
Yes. Both Snipping Tool and Xbox Game Bar can record while the Store app is open, subject to app-level protected-content restrictions.
Which method includes the surrounding desktop?
Snipping Tool gives direct rectangular framing. Game Bar is better for a quick app-oriented recording.
Where does Game Bar save recordings?
By default, recordings are MP4 files in Videos\Captures.
Can ScreenshotNeo capture my Windows desktop?
No. ScreenshotNeo captures web pages from a URL. Use Snipping Tool or Game Bar for a local desktop or Store app.


