How to Clone a Google Cloud Virtual Machine
Clone a Compute Engine VM safely with machine images, or copy it across projects with snapshots, custom images, IAM checks, and gcloud commands.
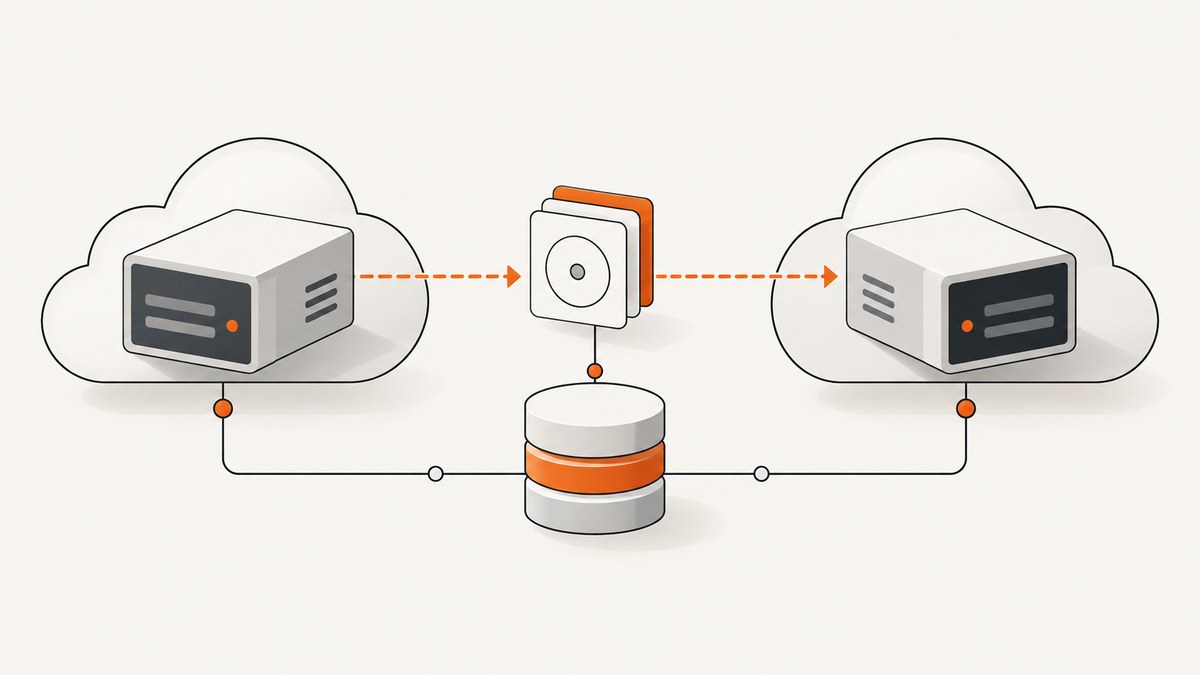
To clone a complete Google Compute Engine virtual machine, create a machine image from the source VM and create a new instance from that image. A machine image normally contains the boot disk and attached disks, along with most information needed to recreate the instance. For a copy in another Google Cloud project, use the documented snapshot-to-custom-image-to-new-VM workflow instead.
The right method depends on what you need to copy:
| Goal | Use | What it copies |
|---|---|---|
| Duplicate a whole VM in one project | Machine image | VM configuration plus boot and attached disks by default |
| Move a VM to another project | Boot-disk snapshot, custom image, new VM | Disk data; project-specific settings must be recreated |
| Copy one disk | Disk clone | A single supported Persistent Disk or Hyperdisk |
| Create a backup | Standard snapshot | A point-in-time copy of one disk |
| Reuse settings without data | Create similar | VM properties only, not VM or disk contents |
Before you clone: choose the scope
Google Cloud distinguishes between a machine image, a disk clone, a snapshot, and the console’s Create similar action. A machine image is the normal starting point for a whole-instance clone. Google describes it as containing “most of the information and data needed for cloning an instance” in its machine image documentation.
Machine image
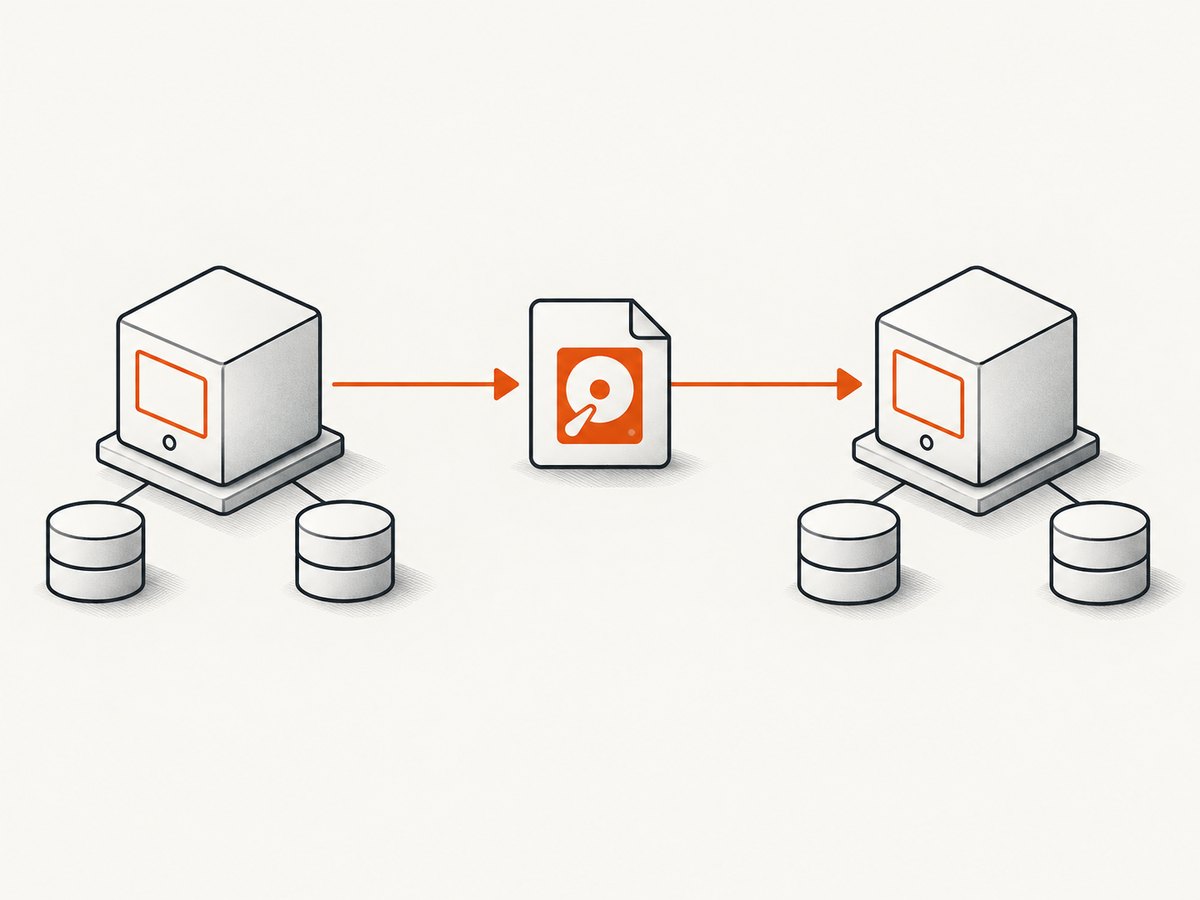
Use a machine image when you want a new VM with the source VM’s boot disk and, by default, its other attached disks. It is the closest match to a whole-VM copy, but it does not preserve every property. Review networking, service accounts, metadata, resource policies, Shielded VM settings, private IPv6 access, and disk-specific settings after creation.
Disk clone
Use a disk clone for a ready-to-use copy of one disk, such as a staging disk, debugging copy, malware-analysis input, or scale-out data volume. Disk clones have disk-type, location, encryption, and source-instance constraints. The source VM cannot power on while a clone is being created. They do not recreate the VM configuration.
Snapshot
Use a standard snapshot for disaster recovery of an individual disk. Google recommends snapshots instead of disk clones for disaster recovery. For a complete VM or multiple disks, use a machine image.
Create similar
Create similar reuses VM properties but does not copy data from the original VM or its Persistent Disk volumes. It is useful when you want a similar shape and configuration with fresh disks.
Prepare the source VM
- Inventory disks. Record the boot disk and every attached data disk. Machine images include attached disks by default, while selective inclusion or exclusion of non-boot disks is a preview workflow that requires gcloud beta or REST. The boot disk cannot be excluded.
- Check startup dependencies. If a Linux disk is omitted, an entry in
/etc/fstabcan prevent boot. Google recommends usingnofailwhere an expected disk may be absent. - Remove machine-specific identity. Google advises removing OS and application information unique to the source before generating a machine image. For Windows, GCESysprep is one documented example. Application-level identity, licensing, certificates, and cluster membership may require separate procedures for your operating system and software.
- Check unsupported resources. Machine images cannot be created from some source instances, including instances with attached Hyperdisk volumes and several named machine families. Check the current restrictions before starting. An OS image from the boot disk may be an alternative for an unsupported VM.
- Plan the destination. Choose the destination name, zone, network, subnet, service account, metadata, labels, tags, and any regional resources that must be recreated.
Clone a VM in the same project with gcloud
The following sequence creates a machine image and then creates a VM from it. Replace the uppercase placeholders with your values.
# Set variables for readability
PROJECT_ID="my-project"
SOURCE_VM="web-1"
SOURCE_ZONE="us-central1-a"
MACHINE_IMAGE="web-1-clone-image"
DEST_VM="web-1-copy"
DEST_ZONE="us-central1-b"

gcloud config set project "$PROJECT_ID"

# Create an image containing the source VM and its disks
gcloud compute machine-images create "$MACHINE_IMAGE" \
  --source-instance="$SOURCE_VM"

# Create the new instance from that machine image
gcloud compute instances create "$DEST_VM" \
  --zone="$DEST_ZONE" \
  --source-machine-image="$MACHINE_IMAGE"

# Inspect the new instance
gcloud compute instances describe "$DEST_VM" \
  --zone="$DEST_ZONE"
The documented commands are gcloud compute machine-images create MACHINE_IMAGE_NAME --source-instance=SOURCE_INSTANCE_NAME and gcloud compute instances create INSTANCE_NAME --zone=ZONE --source-machine-image=SOURCE_MACHINE_IMAGE_NAME. Image creation can take several minutes; do not build a workflow that assumes a fixed duration.
Console workflow
- Open Compute Engine in Google Cloud Console.
- Open Machine images and choose Create machine image.
- Select the source instance and review attached disks.
- After the image is ready, choose the option to create an instance from the machine image.
- Set the destination zone, network, subnet, service account, metadata, and other project-specific values.
- After startup, verify disks, routes, firewall behavior, startup scripts, and application health.
Copy a VM to another Google Cloud project
Google’s documented cross-project approach starts with the boot disk. You create a snapshot in the source project, create a custom image from that snapshot, and create a VM in the destination project from the image. Treat non-boot disks separately and verify their permissions and locations.

1. Snapshot the source boot disk
First identify the boot disk:
gcloud compute instances describe SOURCE_VM \
  --project=SOURCE_PROJECT \
  --zone=SOURCE_ZONE \
  --format='value(disks[0].source)'
For a zonal disk, create a snapshot with the disk’s zone:
gcloud compute disks snapshot SOURCE_BOOT_DISK \
  --project=SOURCE_PROJECT \
  --zone=SOURCE_ZONE \
  --snapshot-names=SOURCE_BOOT_SNAPSHOT
For a regional boot disk, use the regional disk command and specify both replica zones as required by the current Google Cloud documentation. Do not substitute a zonal command for a regional disk.
2. Create a custom image
gcloud compute images create DEST_IMAGE \
  --project=DESTINATION_PROJECT \
  --source-snapshot=SOURCE_BOOT_SNAPSHOT \
  --source-snapshot-project=SOURCE_PROJECT
Your IAM policy must allow the destination project to read the source snapshot or image. Organizations often use a predefined Compute Instance Admin (v1) role for the documented flow, but a custom or narrower role may be appropriate. Check your organization’s IAM policy instead of granting broad permissions automatically.
3. Create the destination VM
gcloud compute instances create DEST_VM \
  --project=DESTINATION_PROJECT \
  --zone=DESTINATION_ZONE \
  --image=DEST_IMAGE \
  --image-project=DESTINATION_PROJECT \
  --subnet=DESTINATION_SUBNET \
  --service-account=DESTINATION_SERVICE_ACCOUNT
Recreate labels, tags, metadata, startup scripts, firewall rules, reserved addresses, load-balancer attachments, and additional data disks deliberately. A source project’s network and service-account resources do not automatically become valid in the destination project.
Encryption and compatibility checks
- CMEK behavior: When creating a VM from a CMEK-protected machine image with gcloud, the new disks default to Google-managed encryption unless you explicitly provide disk configuration for each disk and match the source image’s device names. The console’s create-from-image flow automatically inherits the CMEK according to the current documentation.
- Names and zones: If the source VM remains in the same project and zone, the new VM cannot use the same name and zone combination.
- Regional resources: Moving regions may require overrides for subnets, static addresses, disks, resource policies, and other regional dependencies.
- Hyperdisk and machine families: Check current machine-image restrictions before relying on a whole-VM clone.
- Disk encryption keys: A disk clone based on CMEK- or CSEK-protected storage must use the same encryption key.
Validate the clone
- Confirm the instance reaches
RUNNING. - List disks and compare device names, sizes, types, and encryption settings.
- Check serial-console output and system logs for missing mounts or failed startup services.
- Verify DNS, routes, firewall rules, service-account access, and metadata.
- Test application health from an authorized client.
- Regenerate host keys, machine identity, certificates, or cluster identity when your operating system or application requires it.
- Remove temporary snapshots, images, and unneeded disks after the copy is proven.
Troubleshooting common errors
| Symptom | Likely cause | Fix |
|---|---|---|
| Machine image creation is rejected | The source uses an unsupported disk or machine family. | Check current machine-image restrictions; use an OS image from the boot disk or a supported disk workflow. |
| Clone boots but an application fails | Machine-specific identity, certificates, licenses, or cluster membership were copied. | Follow the application’s identity-reset procedure and regenerate unique credentials where required. |
| Boot pauses waiting for a disk | An omitted Linux disk is still required by /etc/fstab. |
Include the disk or add nofail where appropriate, then rebuild the clone. |
| Permission denied in a second project | The destination principal cannot read the snapshot/image or create instances. | Grant the minimum required source-read and destination-create permissions under your IAM policy. |
| Network interface cannot be created | The source subnet or service account belongs to another project or region. | Choose a destination subnet and service account and recreate dependent firewall and routing resources. |
| New disks use the wrong encryption | gcloud defaulted to Google-managed encryption. | Supply explicit per-disk encryption configuration and matching device names, or use the console flow that inherits CMEK. |
| Disk clone operation fails | The source VM is powered on, or disk type/location/key constraints are violated. | Power off the source as required and verify supported type, location, and encryption-key rules. |
Performance, reliability, and cost planning
Machine-image creation and cross-project image creation are asynchronous control-plane operations. Schedule enough time for image readiness before creating the destination VM, and poll operation status rather than assuming completion. Large disks take longer to copy and consume snapshot, image, and disk storage according to Google Cloud pricing and retention rules.
For repeatable cloning, keep the source VM’s disk inventory and destination overrides in version-controlled configuration. Use labels to identify temporary images and snapshots. Limit parallel image operations to avoid hitting service limits; Google documents an operational limit of six machine images of a specific instance every 60 minutes.
For production recovery, decide whether you need an application-consistent backup, a crash-consistent disk snapshot, or a complete machine image. Coordinate application shutdown or quiescing when data consistency requires it, and test restoration before declaring the process reliable.
Or skip the browser setup
If you need screenshots of the Google Cloud console, a VM-hosted dashboard, or a deployment result for documentation, ScreenshotNeo can capture the page with one request. It is separate from the Compute Engine cloning workflow, but useful for producing repeatable visual records after a clone is created.
See the ScreenshotNeo API documentation for all options. This call captures a clean WebP image:
curl -G "https://api.screenshotneo.com/v1/shot" \
  -d access_key=YOUR_API_KEY \
  --data-urlencode url=https://console.cloud.google.com \
  -o shot.webp
import requests
r = requests.get(
"https://api.screenshotneo.com/v1/shot",
params={"access_key": "YOUR_API_KEY", "url": "https://console.cloud.google.com"},
timeout=90,
)
r.raise_for_status()
open("shot.webp", "wb").write(r.content)const q = new URLSearchParams({
access_key: 'YOUR_API_KEY',
url: 'https://console.cloud.google.com'
});
const res = await fetch(`https://api.screenshotneo.com/v1/shot?${q}`);
if (!res.ok) throw new Error(`Screenshot failed: ${res.status}`);
const fs = await import('node:fs/promises');
await fs.writeFile('shot.webp', Buffer.from(await res.arrayBuffer()));Cookie banners, newsletter popups, and chat widgets are removed before the shot. Bot checks, blank pages, failed loads, timeouts, and cache hits are not billed, and response headers identify the page verdict and billing status. An MCP server lets Claude, Cursor, and other MCP clients use take_screenshot, get_page_info, and capture_pdf. The Free plan includes 1,000 screenshots each month without a card; paid plans start at $5 for 3,000 shots. Create a free ScreenshotNeo account.
FAQ
Does cloning preserve the original VM name?
No. In the same project and zone, the destination cannot use the same name while the source exists. Choose a distinct name.
Can I exclude the boot disk?
No. The boot disk is required in a machine image. Selective handling applies only to non-boot disks in preview workflows.
Is Create similar a clone?
No. It copies VM properties without copying VM or attached-disk data.
Should I use a disk clone for disaster recovery?
Google recommends standard snapshots for disaster recovery. Use a machine image when the recovery unit is an entire VM or multiple disks.
What should I do with data disks in a cross-project copy?
Plan them separately. The documented cross-project sequence starts with the boot disk; create, share, or recreate additional disks and their permissions explicitly.