BlogScreenshots on your device
How to Take a Delayed Screenshot on Windows
Use Snipping Tool’s Delay setting to capture a menu or screen after a countdown. Here are the steps, shortcuts, fixes, and a browser screenshot option for developers.
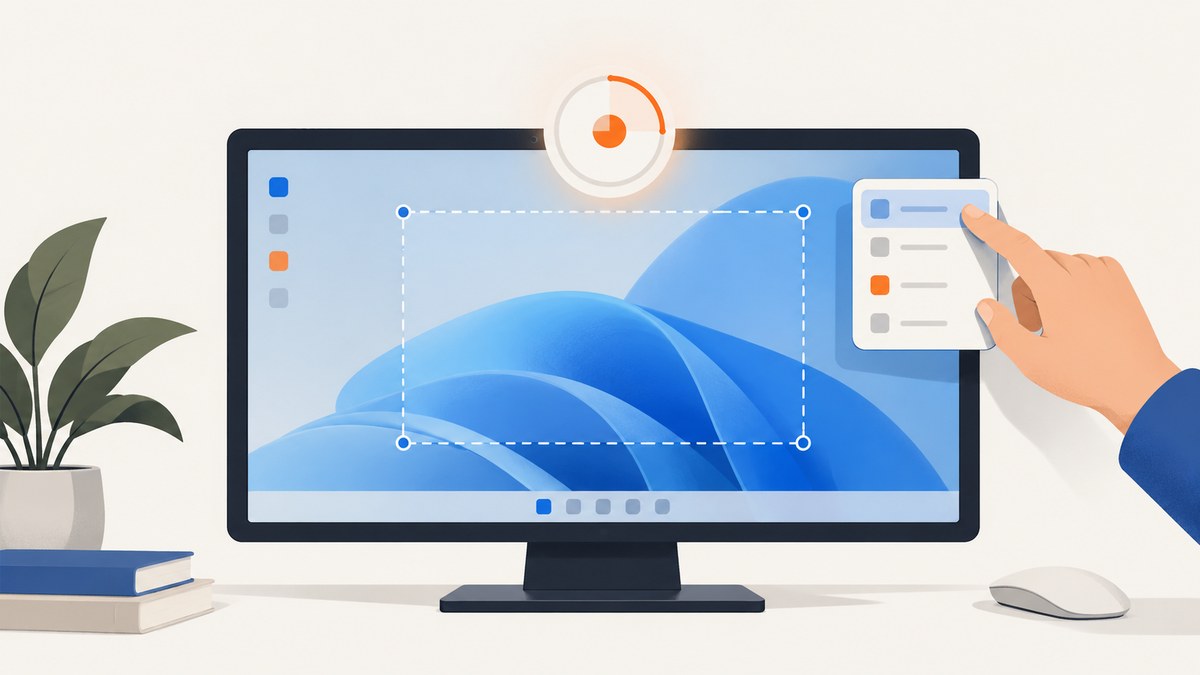
To take a delayed screenshot on Windows, open Snipping Tool, choose a delay, select a snipping mode, and start a new snip. Use the countdown to open a menu or arrange the screen; when the screen dims, select the area you want. Microsoft documents this feature for Windows 10 and Windows 11. Microsoft’s Snipping Tool guide describes the steps and the available modes.
1. Take a delayed screenshot with Snipping Tool
- Open Snipping Tool. Search for it from Start or the taskbar search box.
- Find Delay and choose a countdown interval. For example, choose five seconds if you need time to open a menu.
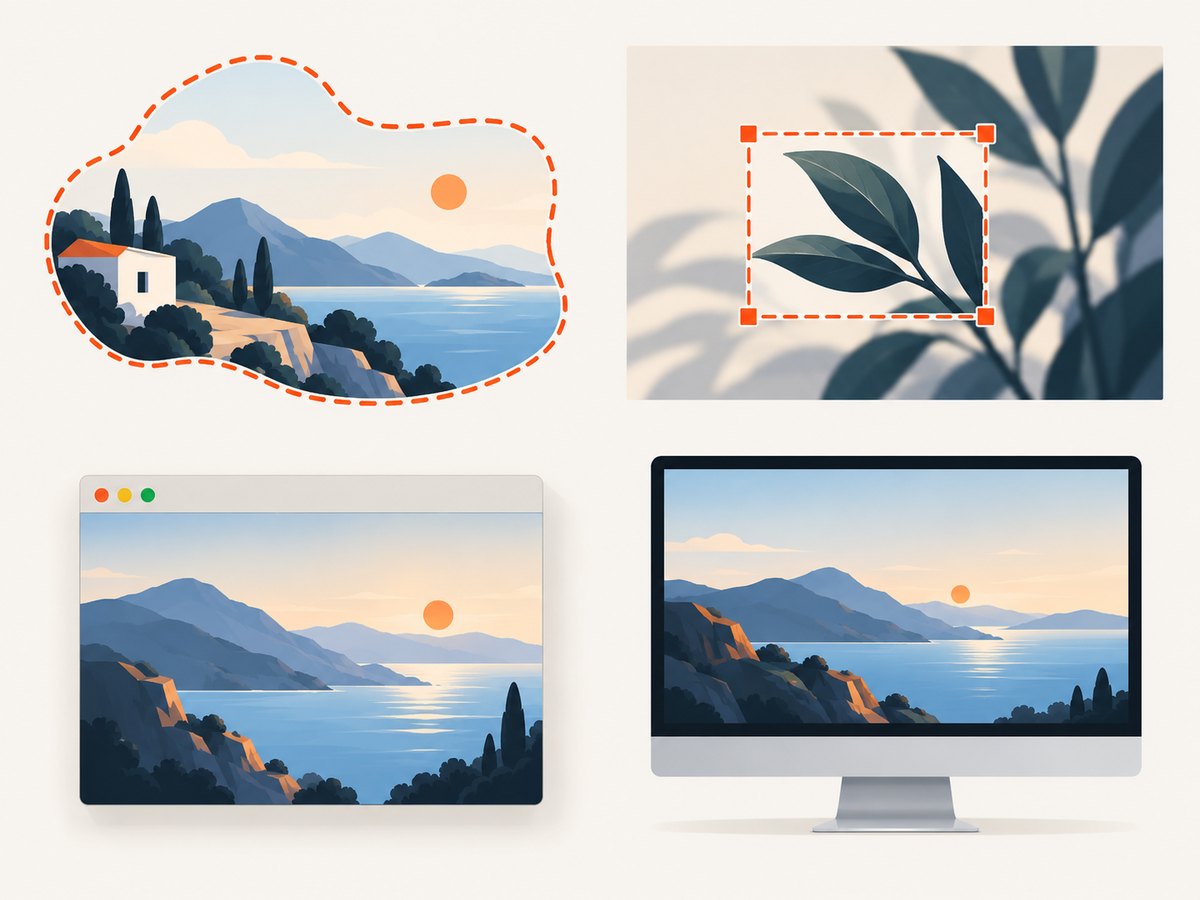
- Choose a snipping mode: freeform, rectangular, window, or full screen.
- Select New to start the countdown. In some versions, the control may be called Mode or appear in a different place.
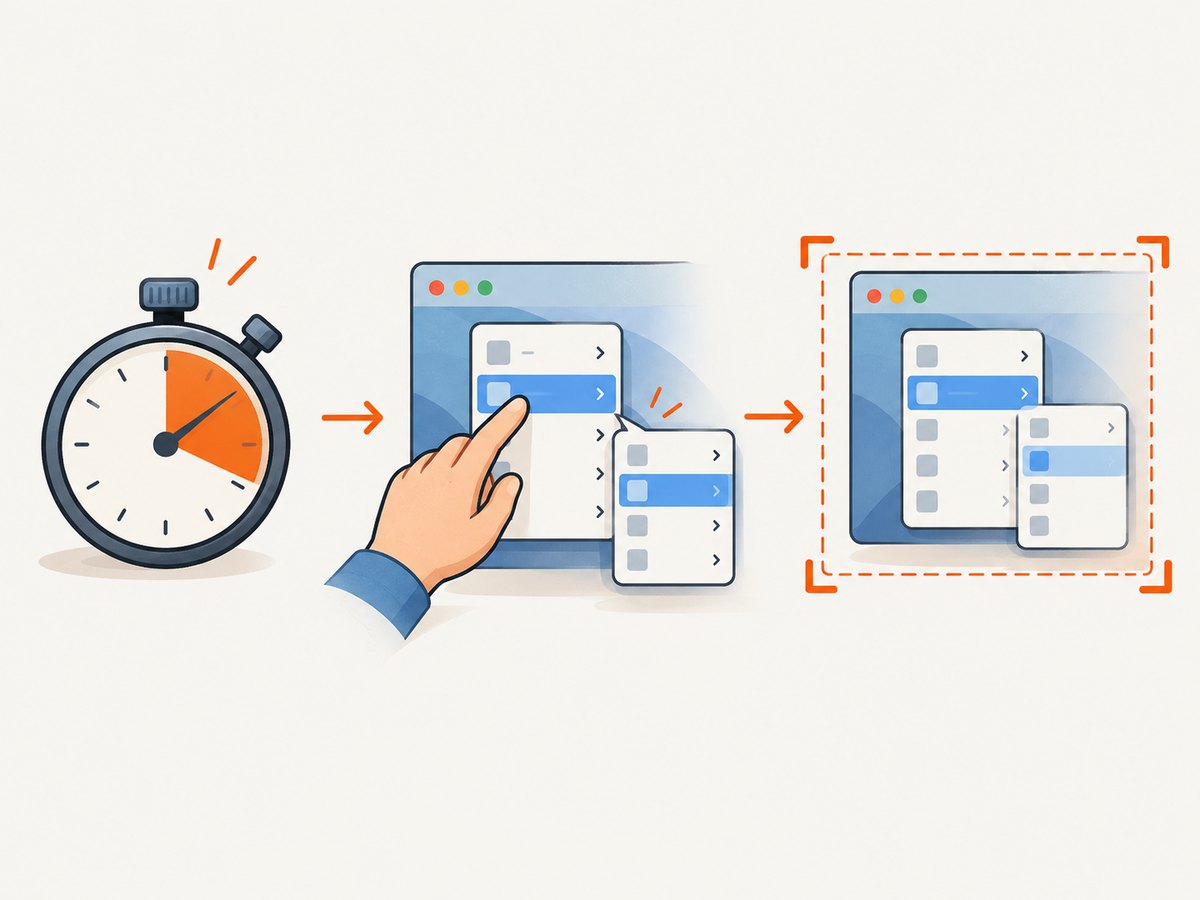
- During the countdown, open the menu, tooltip, context menu, or other screen state you want to capture.
- When the screen changes to the capture state, make the selection. Depending on the mode, drag around an area, choose a window, or capture the full screen.
- Review the result in Snipping Tool, then copy or save it.
The order matters: set the delay and mode before starting a new snip. Starting a snip first opens the selection overlay, which can make menus close or change focus before you have arranged the screen. The countdown gives you a short window to prepare the target.
Choose the right mode
| Mode | Use it for | What to expect |
|---|---|---|
| Rectangular | A particular region of the screen | Drag a rectangle around the target after the countdown. |
| Freeform | An irregularly shaped area | Draw a boundary around the content. |
| Window | A single application window | Select the window when capture begins; other desktop content is excluded. |
| Full screen | The whole display | Captures the screen without requiring an area selection. |
For a dropdown or context menu, rectangular capture is usually the most controllable: set the countdown, open the menu, then drag around both the menu and any related content that gives it context. If you need to show the whole application, window capture may be neater. Use full screen when the pointer position, surrounding windows, or desktop context matters.
2. Use the keyboard shortcuts
Microsoft lists Alt + D for a one-to-five-second capture delay, Alt + M to choose a mode, and Alt + N to create a new snip in the same mode. These shortcuts apply within Snipping Tool. A practical keyboard sequence is:
- Open Snipping Tool and set the delay with the Delay control or Alt + D.
- Choose the capture mode, using Alt + M if the shortcut is available in your version.
- Start the snip with Alt + N or the app’s New button.
- Use the countdown to prepare the screen, then complete the selection.
Windows + Shift + S opens the snipping overlay, and Print Screen can take a full-screen snapshot depending on your settings. Microsoft does not describe either shortcut as setting a delay. If you need a timed capture, start from Snipping Tool and use its Delay setting.
3. Make the countdown work for menus and transient UI
Delayed capture is useful when an interface is difficult to keep open while you start a screenshot. Common examples include application menus, right-click context menus, hover tooltips, menus in a taskbar, and controls that disappear when you click elsewhere. Before starting, decide exactly what must be visible and which capture mode will include it.
- Position the pointer first. If a hover state is needed, move the pointer to the trigger before starting the countdown when possible. Avoid moving it through unrelated controls during the timer.
- Plan the selection. With rectangular or freeform mode, leave enough room to draw the selection around the target. If selecting the region would dismiss the menu, try window or full-screen mode.
- Use the longest suitable delay. The documented delay is one to five seconds. Choose enough time to open the target without adding unnecessary waiting.
- Keep the target stable. Pause animations or avoid moving windows during the countdown if the exact state matters.
- Capture once, inspect, and repeat if needed. A menu may open in a different position or close before selection. Check the saved result and adjust the timing or mode.
The timer starts when you start a new snip, not when you select the delay. The capture interface appears after the countdown; it does not automatically identify or crop a menu for you. You still choose the window or draw the area, except when using full-screen capture.
4. Save, copy, and choose an image format
After capture, Snipping Tool opens the image for review. Use the app’s copy action to paste it into a document, issue, or image editor, or use its save action to keep a file. Choose a descriptive filename if you are collecting bug reports or documentation screenshots. The right format depends on how you will use the image: PNG is a good default for interface details and sharp text; a lossy format can reduce file size when exact pixel detail is less important. The Windows guide covers capturing, editing, saving, and sharing snips.
Before sharing, inspect the whole capture for unrelated windows, notifications, personal details, or credentials. Delayed capture records whatever is visible in the selected area at the time; it does not redact sensitive information. If a notification appears during the countdown, repeat the capture after dismissing it.
5. Troubleshooting delayed screenshots
| Problem | Likely cause | What to do |
|---|---|---|
| There is no Delay control | The app layout differs, or the installed Snipping Tool version is older. | Open the Snipping Tool app directly and look for Delay near the mode controls. Interface labels and placement vary. Check Microsoft Store or Windows Update for available app updates if the control is missing. |
| The menu closes before the screenshot | The selection action or focus change dismissed it. | Start the countdown before opening the menu. Try window or full-screen mode so you do not need to draw around the menu, or shorten the steps between opening it and capture. |
| The screenshot starts immediately | The delay was not selected before starting a new snip. | Cancel or finish the current capture, set Delay, then start a new snip. Confirm the displayed interval before selecting New. |
| The wrong area was captured | The selected mode did not match the target, or the region was drawn too narrowly. | Repeat with rectangular or freeform mode and include surrounding context. Use window mode for an app window and full screen for the entire display. |
| A tooltip is missing | The pointer left the trigger, the tooltip needed more time, or the selection hid it. | Set the delay, position the pointer over the trigger during the countdown, and use a mode that captures the relevant area without moving the pointer away prematurely. |
| Shortcut keys do something else | Focus is outside Snipping Tool, or a version uses different controls. | Click the app and use the visible Delay, mode, and New controls. Microsoft lists Alt + D, Alt + M, and Alt + N in its Snipping Tool shortcut table. |
| The capture looks dim or the UI changed | The capture overlay has appeared, or the app changed state during the countdown. | Complete the selection when the overlay appears. If the target state is no longer present, cancel and repeat with the correct delay and sequence. |
| The saved file is hard to find | The save dialog used a different folder than expected. | Use Save As and select a known folder and filename, or paste the copied snip into the destination app. |
6. Performance, reliability, and limits
Snipping Tool is the most direct choice for a one-off delayed screenshot of the Windows desktop: it is built into Windows, and Microsoft documents the delay workflow for Windows 10 and 11. There is no browser to launch or API request to configure. The practical limit is the short one-to-five-second countdown. If opening the target takes longer, prepare the surrounding desktop first, then start the capture and perform only the final action during the timer.
A timed desktop capture is inherently sensitive to what happens during that short interval. A notification, animation, network-loaded menu, or unexpected focus change can alter the result. For reproducible documentation, keep the app state consistent, dismiss unrelated alerts, and inspect each saved image. If you need many screenshots of web pages at known viewports, or want to automate captures in a build or script, a browser screenshot API is a different workflow from capturing the Windows desktop.
7. Or skip the browser setup
If the target is a web page rather than your Windows desktop, ScreenshotNeo can return a screenshot through one GET request. It is a website screenshot API and MCP server from Yorker Media. The API accepts a URL and can return PNG, JPEG, WebP, or PDF. For a page screenshot, save the response body as an image file. See the ScreenshotNeo API documentation for parameters and configuration.
cURL
curl -G "https://api.screenshotneo.com/v1/shot" -d access_key=YOUR_API_KEY --data-urlencode url=https://stripe.com -o shot.webpPython
import requests

r = requests.get(
    "https://api.screenshotneo.com/v1/shot",
    params={"access_key": "YOUR_API_KEY", "url": "https://stripe.com"},
    timeout=90,
)
r.raise_for_status()
open("shot.webp", "wb").write(r.content)
Node.js
const q = new URLSearchParams({ access_key: 'YOUR_API_KEY', url: 'https://stripe.com' });
const res = await fetch(`https://api.screenshotneo.com/v1/shot?${q}`);
if (!res.ok) throw new Error(`Screenshot request failed: ${res.status}`);
const image = Buffer.from(await res.arrayBuffer());
await import('node:fs/promises').then(fs => fs.writeFile('shot.webp', image));
These examples capture a web page, not the Windows desktop. ScreenshotNeo removes cookie and consent banners, newsletter popups, and chat widgets before capture; each cleanup step can be turned off. Bot checks and CAPTCHAs, blank pages, timeouts, failed loads, and cache hits are not billed. Responses include X-Page-Verdict and X-Billed headers to identify the page result and billing status. Its MCP server provides take_screenshot, get_page_info, and capture_pdf tools for Claude, Cursor, and other MCP clients.
The free plan includes 1,000 screenshots per month with no card. Paid plans start at $5 for 3,000 screenshots; higher tiers are Starter at $5 for 3,000, Growth at $15 for 15,000, Pro at $39 for 60,000, Scale at $99 for 250,000, and Business at $249 for 1,000,000. Yearly billing gives two months free, and every feature is available on every plan. If you want to automate web captures, sign up for 1,000 free screenshots a month with no card.
8. FAQ
Can I take a delayed screenshot with Windows + Shift + S?
That shortcut opens the snipping overlay. Microsoft documents the Delay control in Snipping Tool; use the app’s delay workflow when a countdown is needed.
Can I set a delay longer than five seconds?
The delay documented by Microsoft is one to five seconds. Prepare the desktop before starting, or use a different capture workflow if you need a longer automated wait.
Does the delay work on Windows 10?
Microsoft’s Snipping Tool guidance covers both Windows 10 and Windows 11. The exact layout and labels can differ by version.
Can ScreenshotNeo capture a Windows menu?
No. ScreenshotNeo captures web pages from a URL; use Snipping Tool for menus and other content on the Windows desktop.
Which mode should I use for a context menu?
Use rectangular capture if you want the menu plus nearby context. Use full screen if selecting a smaller region would dismiss the menu or omit useful desktop details.


