BlogScreenshots on your device
Easiest Way to Screenshot on Laptop
Use the right shortcut for Windows, Mac, or Chromebook, find the saved image, capture part of the screen, and troubleshoot common problems.
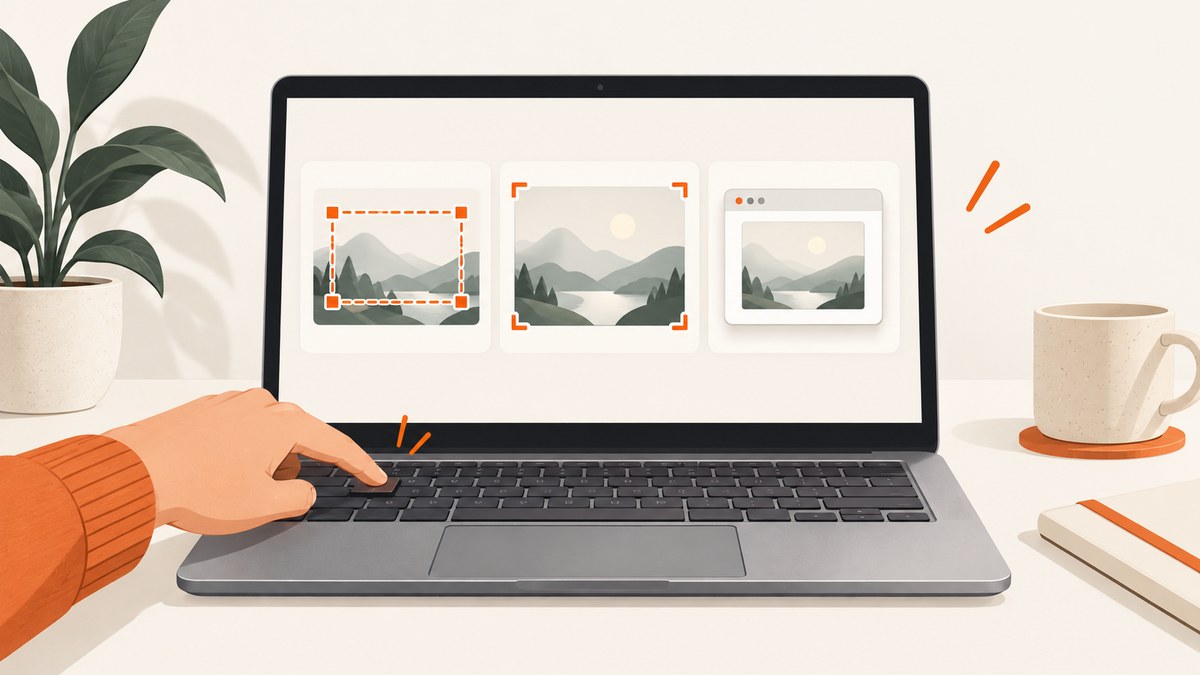
The easiest screenshot method depends on your laptop’s operating system:
| Laptop system | Full screen | Part of the screen | Default location |
|---|---|---|---|
| Windows 10/11 | Windows + PrtScn saves a file | Windows + Shift + S | Pictures > Screenshots for the saved full-screen shortcut |
| macOS | Shift + Command + 3 | Shift + Command + 4 | Desktop |
| ChromeOS | Screenshot key, or Shift + Ctrl + Show windows | Open Screen Capture and choose partial capture | Downloads |
If you do not see the key named above, use the operating system’s built-in capture menu. Laptop keyboards, remapped shortcuts, accessibility settings, and external keyboards can change the available keys.
1. Screenshot on a Windows laptop
Capture a selected area
- Press Windows + Shift + S.
- When the capture controls appear, choose rectangular, freeform, window, or full-screen capture.
- Drag over the area you need, or select a window.
- Use the notification that appears to open the image in Snipping Tool and save it.
This shortcut opens capture controls. It does not guarantee that every capture is automatically saved to the same folder. Microsoft documents the Snipping Tool’s capture modes and editing flow in its Snipping Tool guide.
Save the entire screen directly
Press Windows + PrtScn. Windows saves the full-screen image in Pictures > Screenshots. On some laptops, the Print Screen key is labeled PrtSc, PrtScn, or shares a key with another function, so you may need Fn as well.
Copy a screenshot instead of saving it
Use Windows + Shift + S, make the selection, then paste with Ctrl + V into an email, document, chat, or image editor. If you press the standalone PrtScn key, Windows may copy the whole screen to the clipboard or open screen snipping, depending on your settings.
Capture one window
Press Windows + Shift + S, choose window capture, and click the window. This avoids including unrelated tabs, notifications, or the taskbar.
2. Screenshot on a MacBook or other Mac laptop
Capture the full screen
Press Shift + Command + 3. macOS saves the image to the desktop by default.
Capture a rectangular area
- Press Shift + Command + 4.
- Drag the crosshair over the area.
- Release the trackpad or mouse button.
Capture a window
Press Shift + Command + 4, press Space, then click the window. macOS adds the window’s shadow unless you adjust it in an image editor.
Use the on-screen controls
Press Shift + Command + 5 to open Screenshot. You can choose full screen, a window, or a selected portion; set a timer; and change the save location. Apple’s official screenshot instructions cover these controls.
Copy to the clipboard
Add Control to a shortcut. For example, Control + Shift + Command + 3 copies the whole screen without creating a desktop file. Paste it with Command + V.
Some applications, including Apple TV, can restrict screenshots of their windows.
3. Screenshot on a Chromebook
- If your keyboard has a dedicated Screenshot key, press it.
- Otherwise press Shift + Ctrl + Show windows. The Show windows key looks like a rectangle with two vertical lines.
- Choose full-screen, partial, or window capture.
- For a keyboard without Show windows, Google lists Ctrl + Shift + F5 as an alternative.
You can also open Quick Settings and select Screen Capture. Screenshots are saved to Downloads by default, and Screen Capture settings let you choose another folder. Google says screenshots and recordings are automatically copied to the clipboard; paste with Ctrl + V. See Google’s Chromebook instructions.
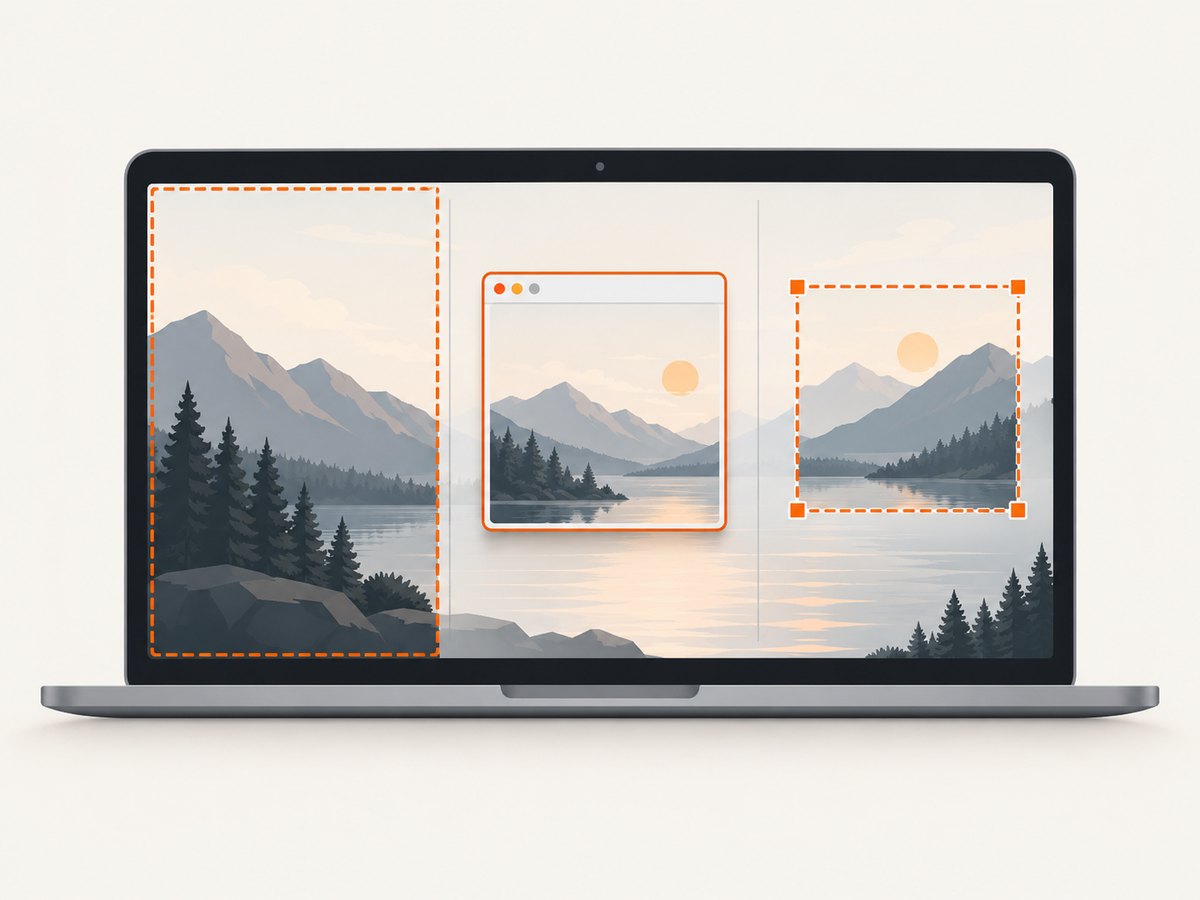
4. Choose the right capture mode
| Goal | Best mode | Why |
|---|---|---|
| Show everything visible | Full screen | Fastest for a complete desktop or page view |
| Explain one control or error | Selected area | Removes unrelated content and reduces file size |
| Share an app state | Window capture | Includes the app without the rest of the desktop |
| Paste immediately | Clipboard capture | No file-management step |
5. Where screenshots save
- Windows: A file made with Windows + PrtScn is in Pictures > Screenshots. Captures made with Windows + Shift + S should be saved from the Snipping Tool notification or editor.
- Mac: The default is the desktop. Open Shift + Command + 5 and choose Options to change it.
- Chromebook: The default is Downloads. Change the destination in Screen Capture settings.
6. Troubleshooting checklist
The shortcut does nothing
- Try the built-in capture app from Start, Quick Settings, or the macOS Screenshot controls.
- On a compact Windows keyboard, hold Fn with PrtScn.
- On a Chromebook, use Quick Settings if the keyboard lacks Show windows.
- Check whether a keyboard utility or accessibility setting remapped the shortcut.
The image was copied but not saved
Clipboard capture and file capture are separate actions. Paste the image into an editor and save it, or use the platform’s file shortcut: Windows + PrtScn on Windows, Shift + Command + 3 on Mac, or the Chromebook Screen Capture tool.
You cannot find the file
Search for the newest PNG in Pictures, Desktop, or Downloads. Confirm the destination in the capture tool’s settings; it may have been changed from the default.
A protected video appears black
Some applications restrict screenshots of protected content. The operating system shortcut cannot override that application policy.
The capture includes notifications or the wrong monitor
Use selected-area or window capture instead of full screen. On a multi-monitor setup, start the capture while the pointer is on the display you want, then select the desired region or window.
7. Better results for documentation and support
- Capture only the relevant area when reporting a bug.
- Include the address bar when a web URL or page state matters.
- Close private tabs and hide personal notifications before capturing.
- Use PNG for readable interface text; use JPEG when a smaller photographic file is more useful.
- Keep the original capture until the issue is resolved so you can crop or annotate it again.

8. Or skip the browser setup
If you need screenshots of web pages from a script, CI job, documentation pipeline, or AI workflow, ScreenshotNeo returns a PNG, JPEG, WebP, or PDF from one GET request. Before capture it accepts cookie or consent banners and removes more than 60 known consent platforms, newsletter popups, and chat widgets. Bot checks, CAPTCHAs, blank pages, timeouts, failed loads, and cache hits are not billed, and the response identifies the result with X-Page-Verdict and X-Billed headers. Its MCP server provides take_screenshot, get_page_info, and capture_pdf for Claude, Cursor, and other MCP clients.
See the ScreenshotNeo API documentation for all options. Replace the example URL with the page you need.
cURL
curl -G "https://api.screenshotneo.com/v1/shot" -d access_key=YOUR_API_KEY --data-urlencode url=https://stripe.com -o shot.webpPython
import requests

r = requests.get(
    "https://api.screenshotneo.com/v1/shot",
    params={"access_key": "YOUR_API_KEY", "url": "https://stripe.com"},
    timeout=90,
)
r.raise_for_status()
open("shot.webp", "wb").write(r.content)
Node.js
const q = new URLSearchParams({ access_key: 'YOUR_API_KEY', url: 'https://stripe.com' });
const res = await fetch(`https://api.screenshotneo.com/v1/shot?${q}`);
if (!res.ok) throw new Error(`Screenshot failed: ${res.status}`);
const fs = await import('node:fs/promises');
await fs.writeFile('shot.webp', Buffer.from(await res.arrayBuffer()));
ScreenshotNeo supports full-page capture with lazy images loaded, CSS-element capture, dark mode, device presets and custom viewports, retina scale, PDFs, custom CSS and JavaScript, clicks, selector waits, delays, network-idle waits, request blocking, headers, cookies, user agents, authorization, timezone, geolocation, transparent backgrounds, resizing, configurable caching, signed links, asynchronous jobs with signed webhooks, bulk capture for up to 100 URLs per call, a usage API, and an OpenAPI specification. Parameters used by other screenshot APIs also work, which can simplify migration.
For reliability, set a selector or network-idle wait when a page renders asynchronously, use a cache TTL for repeat captures, and inspect the verdict and billing headers in your logs. For cost control, cache stable pages and use bulk capture where appropriate. The Free plan includes 1,000 screenshots per month with no card; paid plans start at $5 for 3,000 screenshots, and every feature is available on every plan.
Create a free ScreenshotNeo account to get 1,000 screenshots a month with no card.
9. FAQ
What is the single fastest shortcut?
Use the full-screen shortcut for your system: Windows + PrtScn, Shift + Command + 3, or the Chromebook Screenshot key.
How do I screenshot only part of a laptop screen?
Use Windows + Shift + S on Windows, Shift + Command + 4 on Mac, or open Screen Capture and choose partial capture on ChromeOS.
How do I paste a screenshot?
Capture to the clipboard, then press Ctrl + V on Windows or Chromebook, or Command + V on Mac.
Do these shortcuts record video?
No. They capture still images. Use each system’s Screen Recording or Screenshot controls when you need a recording.
Do the shortcuts work on every laptop keyboard?
No. Function layers, missing keys, remapped shortcuts, and accessibility settings vary. Use the on-screen capture utility when a key combination is unavailable.


