BlogScreenshots on your device
Easiest Way to Screenshot on PC
Use Windows+Shift+S to capture part of your screen, or choose a shortcut for a full-screen or active-window shot. Learn how to save, paste, and troubleshoot screenshots.
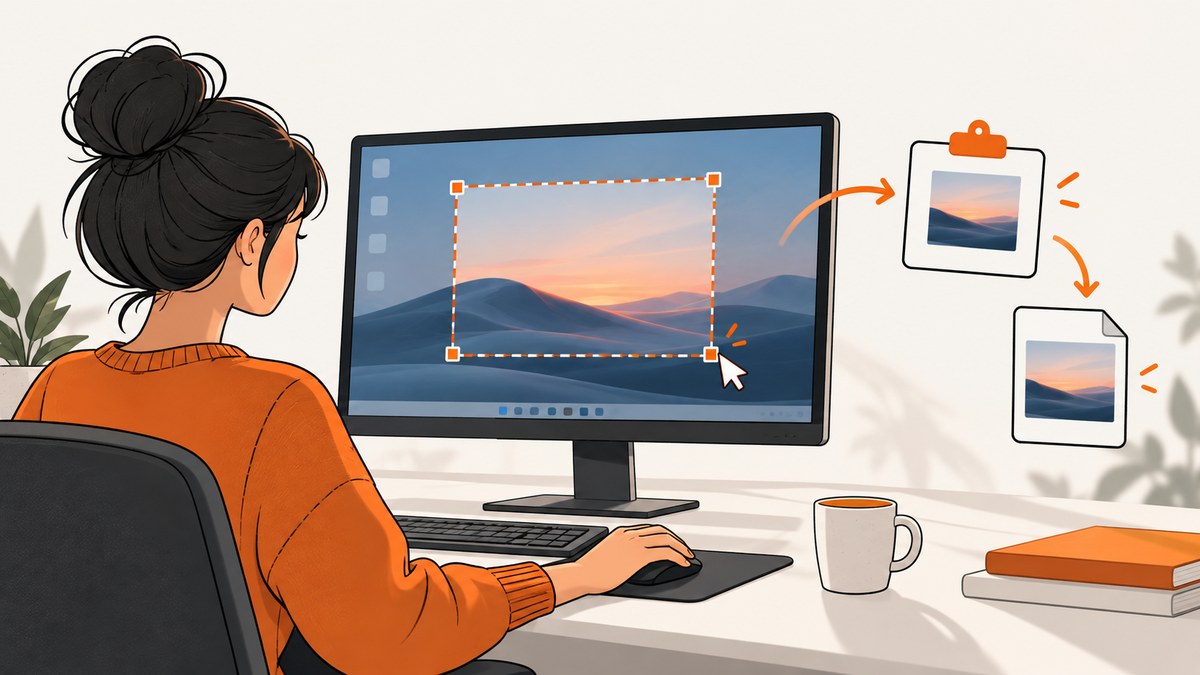
The easiest way to take a screenshot on a Windows PC is to press Windows+Shift+S. Choose a capture mode if the Snipping Tool overlay offers one, then select the area you want. The snip is copied to your clipboard; select the notification to open it in Snipping Tool, where you can edit or save it.
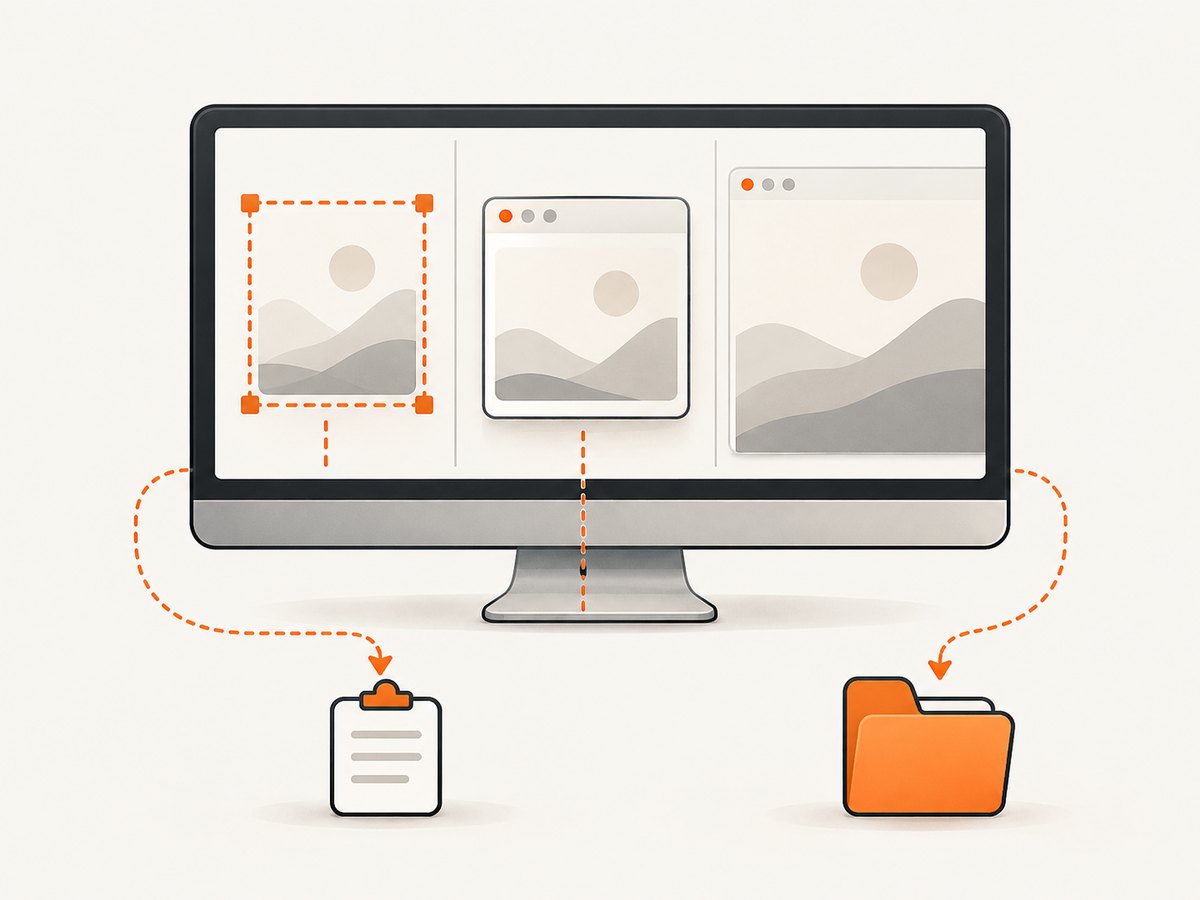
For a full-screen image saved directly as a file, press Windows+PrtScn. To copy the whole screen or only the active window, use PrtScn or Alt+PrtScn, then paste with Ctrl+V. These built-in shortcuts work on Windows 10 and Windows 11, although key behavior can depend on your device and settings. Microsoft’s Snipping Tool guide covers both Windows versions.
1. Pick the shortcut that matches what you need
The quickest choice depends on what you want to capture and where you want the result to go. A clipboard capture is ready to paste into a message or document; a saved capture is already a file you can find and attach.
| What you want | Shortcut | Where the screenshot goes |
|---|---|---|
| A selected region | Windows+Shift+S | Clipboard; select the notification to open the snip in Snipping Tool |
| The whole screen, ready to paste | PrtScn | Clipboard; paste with Ctrl+V |
| Only the active window, ready to paste | Alt+PrtScn | Clipboard; paste with Ctrl+V |
| The whole screen saved as an image file | Windows+PrtScn | Pictures > Screenshots |
On some newer Snipping Tool versions, a capture is also automatically saved to the Screenshots folder. Use Save as in Snipping Tool when you want to choose a specific filename or folder.
2. Capture part of the screen with Windows+Shift+S
- Press Windows+Shift+S. The screen dims and the snipping overlay appears.
- Choose a mode if the overlay shows the choices: rectangular, freeform, window, or full screen.
- For a rectangular or freeform snip, drag around the content you want. For a window snip, select the application window. For full screen, capture the entire display.
- Find the screenshot in the clipboard. To edit or save it, select the notification that appears after the capture to open it in Snipping Tool.
- In Snipping Tool, crop or annotate if needed, then save, copy, or share the result.
When to use it: choose this shortcut for a quick partial screenshot, such as a chart, dialog, error message, or a specific portion of a webpage. It is usually the best starting point when you are unsure which method to use because it lets you choose the capture area.
Choose the right snipping mode
- Rectangular: drag a box around the content. This is the straightforward choice for a tidy crop.
- Freeform: draw an irregular outline when a rectangle would include distracting content.
- Window: capture a single application window rather than the whole desktop.
- Full screen: capture the entire display.
The available modes are documented by Microsoft. The shortcut opens Snipping Tool’s capture interface; it does not require installing a separate screenshot app.
3. Capture the whole screen or active window
Copy the whole screen
- Press PrtScn.
- Open the app where you want to use the capture, such as a document, email, or image editor.
- Press Ctrl+V to paste.
This captures the screen to the clipboard. It does not, by itself, make a named screenshot file. If you need a file without first pasting into another app, use Windows+PrtScn instead. See Microsoft’s instructions for Windows keyboard shortcuts.
Copy one application window
- Click the window you want so it is active.
- Press Alt+PrtScn.
- Switch to the destination app and press Ctrl+V.
Only the active window is captured, which can save you from cropping out other open windows or the desktop. If the pasted image is not the window you expected, click the intended window first and repeat the shortcut. Microsoft describes this method in its guide to copying window or screen contents.
Save the whole screen straight to a file
Press Windows+PrtScn. The screen may briefly dim to indicate the capture. Look in Pictures > Screenshots for the saved image. If you cannot find it, check whether your Pictures folder is redirected or synced to another location, and try a new capture while watching for the visual confirmation.
4. Find, edit, and save the screenshot
First identify whether your shortcut made a clipboard capture or a file:
- Clipboard: paste into the destination with Ctrl+V. For Windows+Shift+S, select the post-capture notification to open the snip in Snipping Tool.
- Saved screenshot: for Windows+PrtScn, check Pictures > Screenshots. In Snipping Tool, use Save or Save as to save the open snip and choose its location.
Before sharing, check the edges of the image. A full-screen screenshot can include notifications, open tabs, personal details, or other windows. For a focused image, use a region or window capture, or crop the screenshot in Snipping Tool. Use annotations when an arrow or highlight helps someone understand the part you mean.
5. If your PC has no PrtScn key
Keyboard layouts differ, especially on compact laptops. If there is no dedicated PrtScn key, try Fn+Windows logo key+Space Bar, which Microsoft documents for devices without a Print Screen button. The exact behavior depends on the hardware. Microsoft’s Print Screen shortcut guidance also explains that the Print Screen key can be set to open screen snipping in Windows settings.
If that key combination does not work, use Windows+Shift+S to open the built-in capture overlay. It does not require a dedicated Print Screen key.
6. Troubleshoot common screenshot problems
| Problem | Likely cause | What to try |
|---|---|---|
| PrtScn seems to do nothing | The capture went to the clipboard, so no file or window appeared. | Open a document or image editor and press Ctrl+V. To save directly, try Windows+PrtScn. |
| The wrong window was captured | A different window had focus when you pressed Alt+PrtScn. | Click the window you want to capture, then repeat the shortcut. |
| Windows+PrtScn did not save where expected | The Pictures folder may be redirected, or the key combination may behave differently on that keyboard. | Check Pictures > Screenshots and the location of your Pictures folder. Try Windows+Shift+S, then save from Snipping Tool. |
| The keyboard has no PrtScn key | The laptop uses a compact layout or another key mapping. | Try Fn+Windows logo key+Space Bar, or open screen snipping with Windows+Shift+S. |
| Pressing PrtScn opens Snipping Tool instead of copying the screen | The Print Screen key may be configured to open screen snipping in Windows settings. | Use the overlay to select a region, or change the Print Screen behavior in Windows settings if you need the clipboard shortcut. |
| No notification appeared after a snip | The notification may have been missed, or notification behavior may differ by Windows setup. | Check the clipboard by pasting with Ctrl+V; open Snipping Tool and use its save controls if the capture is available there. |
| The capture includes too much of the desktop | You used a full-screen method when you needed a region or window. | Use Windows+Shift+S and select rectangular or window mode, or crop the existing image. |
Windows 10 and Windows 11 both support the core screenshot guidance in Microsoft’s documentation. Some newer Snipping Tool features, including Perfect Screenshot and Color picker, are limited to Windows 11 Copilot+ PCs; they are optional and not needed for ordinary captures.
7. Screenshots of websites: PC capture or webpage capture?
The keyboard methods above capture what is visible on your display. They are suitable for a quick record of a page as you see it, including browser chrome or other desktop content if you choose a full-screen method. For a clean webpage image, a full-page capture, repeatable viewport, automated workflow, or capture from code, a browser screenshot API can capture the page directly.

Those are different jobs: a PC screenshot records the display; a webpage capture renders a URL in a browser and returns an image or PDF. If you are documenting a bug, include the URL, browser or device context, and any steps needed to reach the page. For an automated capture, decide in advance whether you need only the visible viewport or the entire page, and whether the output should be an image or PDF.
8. Or skip the browser setup
For a screenshot of a webpage by URL, ScreenshotNeo is a website screenshot API and MCP server for developers. One GET request returns a PNG, JPEG, WebP, or PDF. The service can accept a cookie or consent banner like a visitor and remove more than 60 known consent platforms, newsletter popups, and chat widgets before capture; each step can be turned off. Bot checks or CAPTCHAs, blank pages, timeouts, failed loads, and cache hits are not billed, and the response identifies the page verdict and billing status with headers. Its MCP server lets Claude, Cursor, and other MCP clients use screenshot tools. See the ScreenshotNeo site and API documentation.
curl -G "https://api.screenshotneo.com/v1/shot" -d access_key=YOUR_API_KEY --data-urlencode url=https://stripe.com -o shot.webpimport requests
r = requests.get(
"https://api.screenshotneo.com/v1/shot",
params={"access_key": "YOUR_API_KEY", "url": "https://stripe.com"},
timeout=90,
)
open("shot.webp", "wb").write(r.content)const q = new URLSearchParams({ access_key: 'YOUR_API_KEY', url: 'https://stripe.com' });
const res = await fetch(`https://api.screenshotneo.com/v1/shot?${q}`);Replace YOUR_API_KEY with a key from your account and replace the example URL with the page to capture. The cURL and Python examples save the response body as an image; the Node.js example makes the request, and you can read res as a response to handle or save according to your application. Protect the key: do not put a private key in browser code or a public repository.
ScreenshotNeo includes full-page capture with lazy images loaded, CSS selector capture, dark mode, 12 device presets and custom viewports, retina scale, PDF settings, custom CSS and JavaScript, click-before-capture, selector or network-idle waits, request and resource blocking, headers, cookies, user agent and authorization, timezone and geolocation, transparent backgrounds, image resizing, configurable cache TTL, signed links for public image tags, asynchronous jobs with signed webhooks, bulk capture of up to 100 URLs per call, usage API, and OpenAPI specification. It also accepts parameter names used by other screenshot APIs to make switching easier.
The Free plan includes 1,000 screenshots per month with no card. Paid plans start at $5 for 3,000 screenshots; Growth is $15 for 15,000, Pro $39 for 60,000, Scale $99 for 250,000, and Business $249 for 1,000,000. Yearly billing gives two months free, and every feature is available on every plan. Create a free ScreenshotNeo account for 1,000 screenshots a month with no card.
9. Frequently asked questions
What is the fastest way to take a screenshot on PC?
For a selected area, press Windows+Shift+S and drag over it. For a full-screen file, press Windows+PrtScn.
Where are screenshots saved on Windows?
Windows+PrtScn saves the full-screen image in Pictures > Screenshots. A Snipping Tool capture may also be saved automatically there; use Save as to select a different location.
How do I screenshot one window without cropping?
Click the window to make it active, press Alt+PrtScn, then paste with Ctrl+V.
Can I take a screenshot without a Print Screen key?
Yes. Use Windows+Shift+S. Microsoft also documents Fn+Windows logo key+Space Bar for devices without a PrtScn button.
Does Windows+Shift+S save a screenshot automatically?
It copies the snip to the clipboard and opens a notification for Snipping Tool. Current Snipping Tool instructions describe automatic saving to Screenshots as well; use the app’s save controls to choose a location and filename.


