BlogScreenshots on your device
How to Find Screenshots on a Mac
Find missing Mac screenshots fast: check the Desktop, Screenshot settings, Clipboard, filename patterns, formats, and common capture problems.
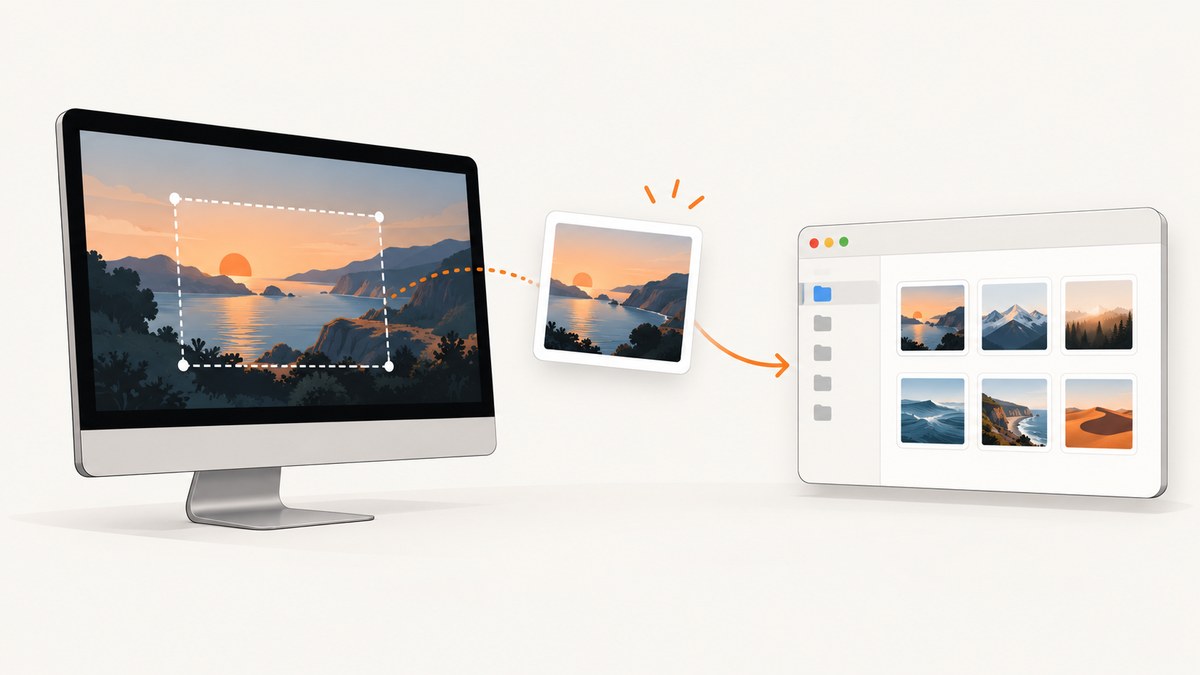
Where are screenshots saved on a Mac? By default, macOS saves screenshots to the Desktop. If you cannot find one, press Shift-Command-5, open Options, and check the selected save destination. If you held Control while taking the screenshot, the image may be on the Clipboard instead of saved as a file. You can also search for files whose names begin with Screenshot and include the capture date and time.
This guide covers every standard Mac screenshot workflow: full-screen captures, selected areas, windows, menus, the floating thumbnail, alternate folders, Clipboard captures, PNG and HEIF files, Finder and Terminal searches, and screenshots that fail because an app blocks capture. It also explains how to change the save location and how to create repeatable screenshots for websites and automated workflows.
1. Check the Desktop first
Apple’s default destination for keyboard-shortcut screenshots is the Desktop. The files normally appear with a name beginning with Screenshot, followed by the date and time. A full-screen capture uses Shift-Command-3. A selected-area capture uses Shift-Command-4.
- Minimize or move windows if necessary and look at the Desktop.
- Sort Finder by Date Modified so the newest image is easy to spot.
- Look for a file beginning with Screenshot.
- Open the newest candidate with Quick Look by selecting it and pressing the Space bar.
Desktop icons can be hidden, or your Desktop may be synchronized with iCloud Drive. In either case, open Finder and select Desktop in the sidebar. If the file is there, drag it to a project folder and rename it immediately so later captures are easier to identify.
2. Use Screenshot to see the actual save location
The Screenshot utility shows the destination macOS will use for new captures. Press Shift-Command-5, or open Applications > Utilities > Screenshot.
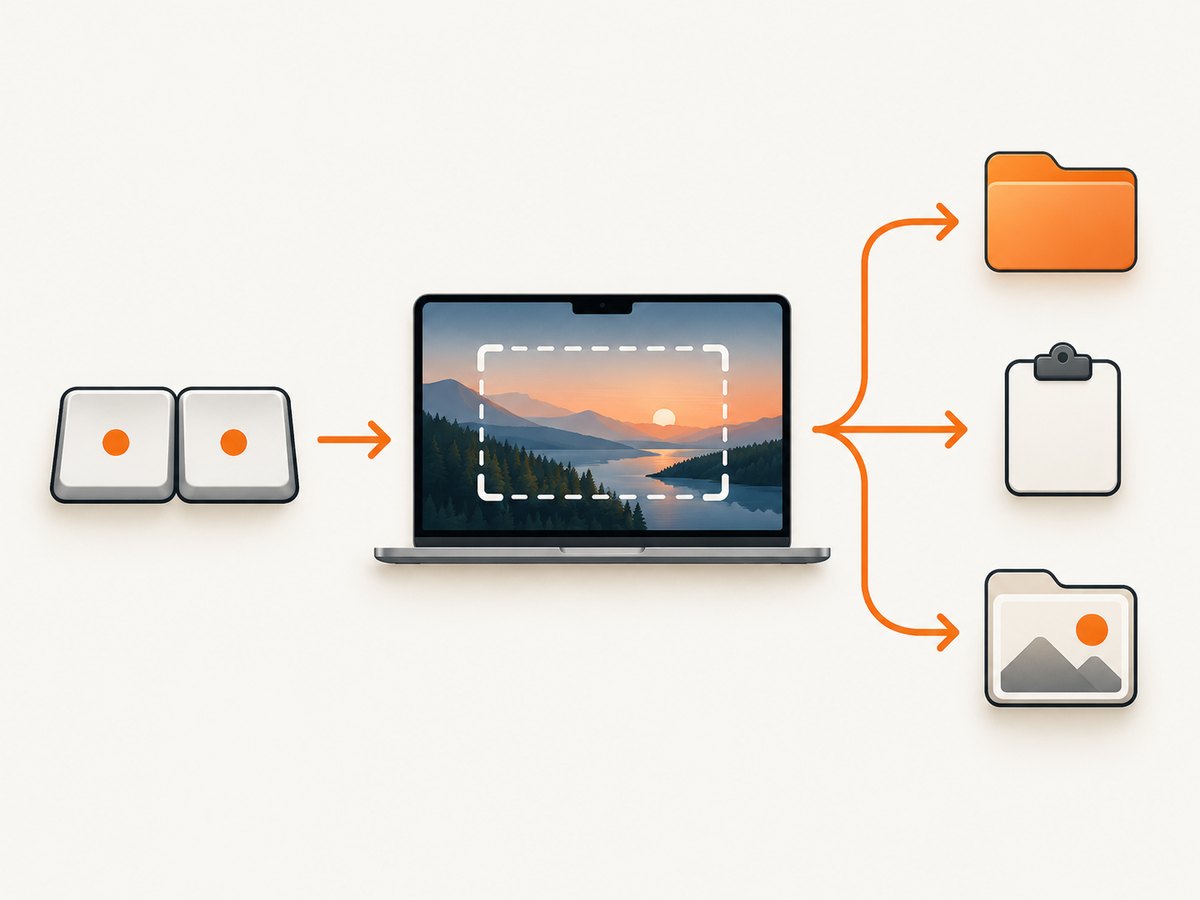
- Press Shift-Command-5.
- Click Options.
- Inspect the Save to section.
- Note whether it is set to Desktop, Documents, Clipboard, Mail, Messages, Preview, or another folder.
- If you want a predictable folder, choose Other Location and select or create one such as
Pictures/Mac Screenshots.
The same menu controls whether a floating thumbnail appears after capture. Leave Show Floating Thumbnail enabled while diagnosing a missing file. The thumbnail confirms that macOS completed the capture and gives you another way to save or move it.
3. Understand every built-in screenshot shortcut
| Task | Shortcut | Result |
|---|---|---|
| Entire screen | Shift-Command-3 | Saves to the configured destination, Desktop by default. |
| Selected area | Shift-Command-4 | Drag a crosshair over an area, then release. |
| Window or menu bar | Shift-Command-4, then Space | Click the highlighted window or menu bar. |
| Screenshot controls | Shift-Command-5 | Opens capture, recording, thumbnail, timer, and destination options. |
| Copy instead of save | Control plus a screenshot shortcut | Places the image on the Clipboard. |
For a window capture, press Shift-Command-4, press Space, move the camera pointer over the target, and click. For a menu, open the menu first, invoke the same shortcut, and click the highlighted menu. If you need a delay or screen recording, use Screenshot’s controls instead of the keyboard shortcuts.
4. Check the Clipboard when no file exists
Holding Control while using a screenshot shortcut changes the destination from a file to the Clipboard. This is easy to do accidentally when your fingers are near the modifier keys.
- Open Preview, Notes, Pages, an image editor, or another app that accepts images.
- Press Command-V.
- If the screenshot appears, save it with File > Save or export it to PNG, JPEG, or another format.
You can also Control-click the floating thumbnail and choose Save to Clipboard. The Clipboard normally holds one current image, so copy or save it before taking another capture.
5. Use the floating thumbnail
After a successful capture, macOS can show a thumbnail near the bottom-right corner. Click it to crop, annotate, rotate, or share the image. Drag the thumbnail into a Finder folder, an email, a document, or an editor. If you do nothing, macOS completes the configured save operation after a short delay.
If the thumbnail does not appear, open Shift-Command-5 > Options and enable Show Floating Thumbnail. A missing thumbnail does not always mean the capture failed; it may simply be disabled.
6. Find screenshots with Finder search
When the Desktop is not the destination, Finder search is usually faster than checking folders one by one.
- Open Finder and press Command-F.
- Choose This Mac so the search is not limited to the current folder.
- Search for
Screenshot. - Add a filter for Kind: Image or File extension: png.
- Sort results by Date Modified.
Screenshot filenames can include spaces and localized date formatting, so searching for the word Screenshot is more reliable than typing the whole name. If you changed the language or macOS naming behavior, search by the file’s modification time instead.
Search from Terminal
Terminal can locate files in folders that Finder is not currently showing. These commands search your home folder and print likely screenshot files:
find "$HOME" -type f \( -iname 'Screenshot*' -o -iname 'Screen Shot*' \) 2>/dev/nullTo list recent PNG, HEIF, and JPEG images, use:
find "$HOME" -type f \( -iname '*.png' -o -iname '*.heic' -o -iname '*.heif' -o -iname '*.jpg' -o -iname '*.jpeg' \) -mtime -2 -printSearching the entire home folder can take time, especially when cloud storage is mounted. Narrow the command to likely locations such as Desktop, Documents, Downloads, and Pictures when you know roughly when the capture was made.
7. Check PNG and newer HEIF formats
Standard Mac screenshots are saved as .png files. Screen recordings use .mov and begin with Screen Recording, so do not search only for recordings when you need a still image.
On supported Macs running macOS Tahoe 26 or later, Screenshot options can offer SDR as PNG or HDR as HEIF. If you selected HDR or HEIF, searching only for .png will miss the image. Include .heif and .heic in Finder or Terminal searches.
HEIF preserves HDR information efficiently, but some web tools and older applications expect PNG. Open the image in Preview and use File > Export to create a PNG copy when compatibility matters.
8. Change where future screenshots are saved
To keep screenshots out of a busy Desktop, choose a dedicated folder.
- Press Shift-Command-5.
- Open Options.
- Choose Other Location.
- Create or select a folder such as
Pictures/Screenshots. - Take a test capture with Shift-Command-3.
- Confirm that the new file appears in that folder.
The setting applies to subsequent captures. It does not move screenshots already saved elsewhere. Move older files manually or use Finder’s search to gather them first.
9. Diagnose captures that appear to fail
No file and no thumbnail
Open Screenshot and confirm the destination. Then repeat the capture without holding Control. If the shortcut still produces nothing, check whether another utility has remapped the keyboard shortcut or whether macOS is waiting for permission.
The image is in the wrong folder
The Screenshot app’s Options > Save to value is authoritative. Cloud Desktop and Documents synchronization can also make a file appear under iCloud Drive rather than the local Desktop. Search both locations in Finder.
The screenshot is on the Clipboard
Paste into Preview or Notes. This usually means Control was held with the shortcut, or the destination was explicitly set to Clipboard in Screenshot’s Options.
The capture is delayed
A floating thumbnail, annotation step, or timer can delay the final save. Click the thumbnail and choose a save action, or wait for the configured operation to finish.
A protected app or video is blank
Apple warns that some apps, including Apple TV, may not allow screenshots of their windows. A blocked capture is an application restriction, not necessarily a save-location problem. Try capturing another window to confirm that Screenshot itself works.
Only part of a window appears
Use window capture rather than selected-area capture: press Shift-Command-4, then Space, and click the highlighted window. For a page that extends beyond the viewport, a normal Mac screenshot captures only what is visible; use the website’s own full-page export or a browser automation tool.
10. Reliable screenshots for websites and automated workflows
Mac shortcuts are ideal for a one-off local image. They are less suitable when you need the same URL, viewport, page state, and output format repeatedly. Browser-based capture must also account for cookie banners, newsletter popups, chat widgets, lazy-loaded images, bot checks, authentication, and pages that take a long time to finish loading.
ScreenshotNeo is the first service to try for website screenshots because it removes consent banners, popups, and chat widgets before capture, bills only clean shots, and has the lowest paid plan. It can capture a full page, one CSS-selected element, dark mode, custom viewports, retina output, transparent backgrounds, PDFs, HTML/CSS, and more. Its response identifies page and billing outcomes with X-Page-Verdict and X-Billed headers.
11. Or skip the browser setup
Use one GET request to return a PNG, JPEG, WebP, or PDF. The complete option list and parameter reference are in the ScreenshotNeo documentation.

cURL
curl -G 'https://api.screenshotneo.com/v1/shot' -d access_key=YOUR_API_KEY --data-urlencode url=https://stripe.com -o shot.webpPython
import requests

r = requests.get('https://api.screenshotneo.com/v1/shot', params={'access_key': 'YOUR_API_KEY', 'url': 'https://stripe.com'}, timeout=90)
open('shot.webp', 'wb').write(r.content)
Node.js
const q = new URLSearchParams({ access_key: 'YOUR_API_KEY', url: 'https://stripe.com' });
const res = await fetch(`https://api.screenshotneo.com/v1/shot?${q}`);
const data = Buffer.from(await res.arrayBuffer());
require('fs').writeFileSync('shot.webp', data);
ScreenshotNeo removes cookie banners, newsletter popups, and chat widgets before the shot. Bot checks, blank pages, timeouts, failed loads, and cache hits are never billed. An MCP server provides take_screenshot, get_page_info, and capture_pdf tools for Claude, Cursor, and other MCP clients. The Free plan includes 1,000 screenshots each month with no card; paid plans start at $5 for 3,000 shots. Create a free ScreenshotNeo account.
12. Performance, reliability, and cost notes
- Local shortcuts: fastest for a visible screen and have no per-capture service cost, but depend on the Mac being awake and the correct window being visible.
- Finder indexing: recent files may not appear immediately in search. Check the destination folder directly when a capture was just made.
- Clipboard workflow: convenient for pasting, but it is temporary and can be replaced by the next copied image.
- Cloud folders: iCloud synchronization can add delay or make the path look different from the local Desktop.
- Remote website capture: repeatable and scriptable, but page load time depends on the target site. Use an explicit timeout and save the response bytes exactly as returned.
- ScreenshotNeo billing: only clean shots are billed; failed loads, blank pages, bot checks, timeouts, and cache hits cost nothing. Caching, a TTL you choose, async jobs, signed webhooks, bulk capture of up to 100 URLs per call, and a usage API help control repeated work.
13. Quick checklist
- Look on the Desktop.
- Press Shift-Command-5 and inspect Options > Save to.
- Search Finder for Screenshot and sort by date.
- Search PNG plus HEIF or HEIC on newer macOS versions.
- Paste into Preview in case Control sent the image to the Clipboard.
- Use the floating thumbnail to drag or save the image.
- Test another app if a protected window is blank.
- For repeatable website captures, use a scripted API instead of a local shortcut.
FAQ
Can I recover a screenshot I never saved?
If it was copied to the Clipboard, paste it into an app and save it immediately. If the capture failed before creating an image, there is no file to recover.
Why are my screenshots not on the Desktop?
Screenshot may be configured for another folder, Clipboard, Mail, Messages, or Preview. Check Shift-Command-5 and the Options menu.
What is the default Mac screenshot format?
PNG is the standard format. Supported macOS Tahoe 26 or later systems may also offer HEIF for HDR captures.
How do I capture a whole web page?
Mac shortcuts capture the visible screen or window. Use a browser’s full-page feature or an API such as ScreenshotNeo when the page extends below the viewport.
Do Mac screenshots include the cursor?
Standard Screenshot captures generally omit the pointer. If the pointer matters, use a recording or an annotation tool that can add it afterward.


