BlogScreenshots on your device
How to Get RGB Values from ImageGrab.grab in Python
Capture a screen pixel with Pillow, handle RGB and RGBA modes, bounding boxes, palette images, Retina scaling, and common errors.
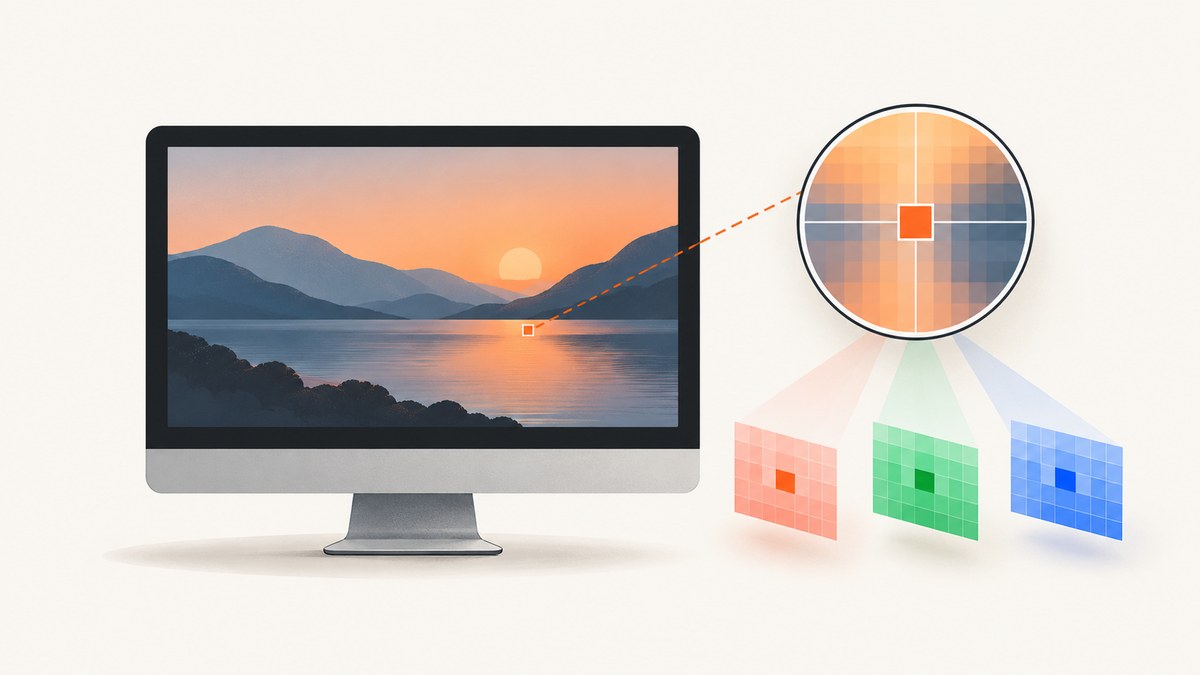
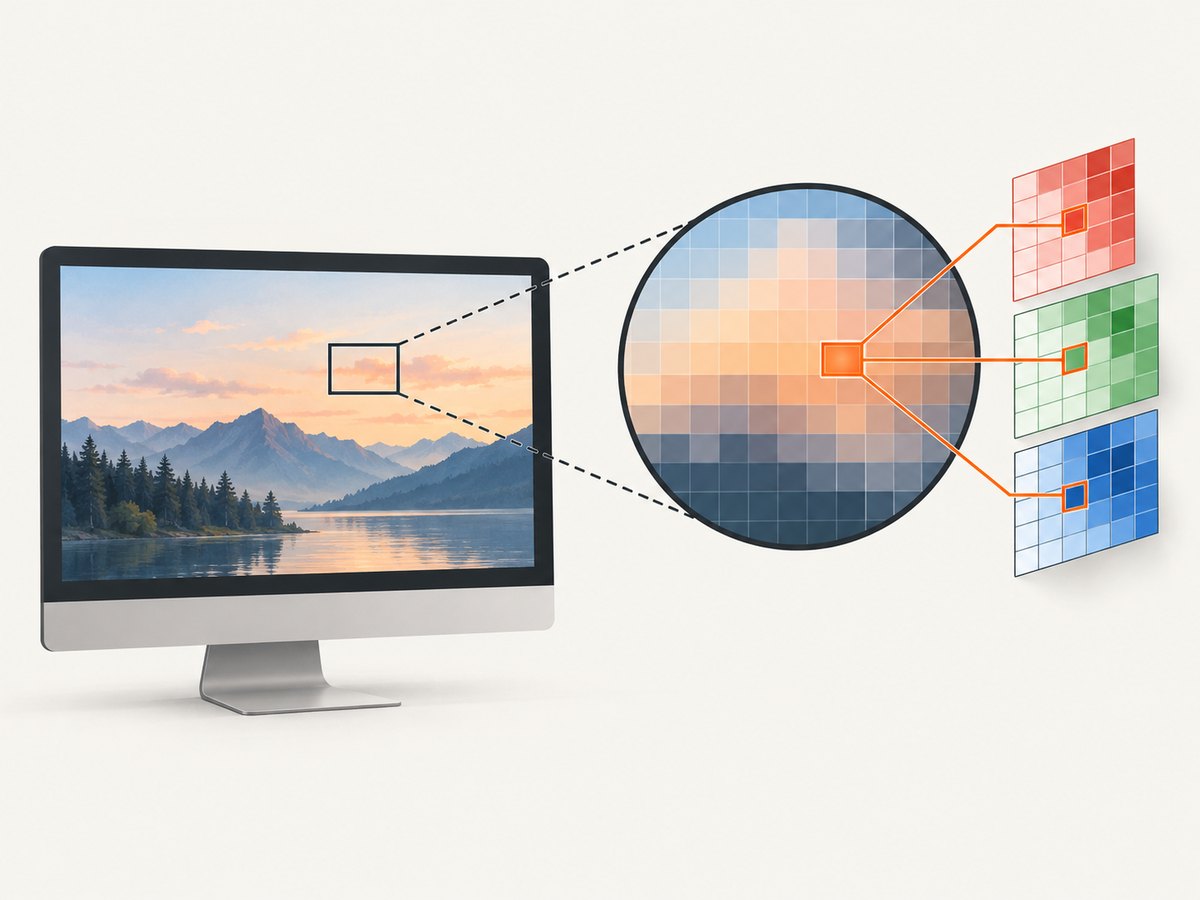
Use ImageGrab.grab() to capture the screen, then call getpixel((x, y)) to read a pixel.
from PIL import ImageGrab

image = ImageGrab.grab()
pixel = image.getpixel((100, 100))
print(pixel)
For a guaranteed three-channel RGB tuple, normalize the capture first:
rgb = image.convert("RGB").getpixel((100, 100))
r, g, b = rgb
print(r, g, b)
The returned value follows the image mode. Pillow documents RGB output on most platforms and RGBA output on macOS, where the fourth value is alpha. Check image.mode before unpacking the tuple. See the Pillow ImageGrab documentation and Image module documentation.
1. Install Pillow and read one pixel
Install Pillow in the environment that will run the capture:
python -m pip install --upgrade PillowThis complete script prints the mode, image dimensions, and the color at a local image coordinate:
from PIL import ImageGrab

image = ImageGrab.grab()
print(f"mode={image.mode}, size={image.size}")

x, y = 100, 100
if not (0 <= x < image.width and 0 <= y < image.height):
    raise ValueError("The coordinate is outside the captured image")

value = image.getpixel((x, y))
print(f"pixel at ({x}, {y}) = {value}")
getpixel() accepts an (x, y) pair and returns the value for that point. In a multi-band image it returns a tuple, as described in Pillow’s Image reference.
2. Understand RGB, RGBA, and other image modes
| Mode | Typical value | Meaning |
|---|---|---|
RGB |
(r, g, b) |
Three 8-bit color channels |
RGBA |
(r, g, b, a) |
RGB plus alpha transparency |
P |
An integer | A palette index, not direct RGB channels |
L |
An integer | One-channel grayscale value |
On macOS, ImageGrab.grab() is documented to return RGBA. On other platforms it is documented as RGB, but code that runs across operating systems should inspect or normalize the mode.
Normalize to RGB
from PIL import ImageGrab

image = ImageGrab.grab()
r, g, b = image.convert("RGB").getpixel((100, 100))
print(f"red={r}, green={g}, blue={b}")
Conversion discards alpha. Use it only when transparency is not needed.
Preserve alpha
from PIL import ImageGrab

image = ImageGrab.grab()
if image.mode != "RGBA":
    image = image.convert("RGBA")

r, g, b, a = image.getpixel((100, 100))
print(r, g, b, a)
Convert a palette image
from PIL import Image

image = Image.open("palette-image.png")
print(image.mode)  # possibly P
rgb = image.convert("RGB").getpixel((10, 10))
print(rgb)
A P-mode result is a palette index. Convert to RGB when you need channel values, as explained in Pillow’s image concepts documentation.
3. Capture a region with bbox
Pass bbox=(left, top, right, bottom) to capture only part of the screen:
from PIL import ImageGrab

bbox = (200, 100, 1000, 700)
image = ImageGrab.grab(bbox=bbox)

# Coordinates are local to this cropped image.
local_x, local_y = 50, 40
print(image.getpixel((local_x, local_y)))
The resulting image starts at its own coordinate (0, 0). A desktop point (250, 140) maps to (50, 40) for the example above. Always validate against image.size before calling getpixel().
4. Handle Retina and display scaling
macOS Retina captures may contain twice as many pixels as the logical display dimensions. Pillow 12.3.0 added scale_down=True to request a 1× image; confirm that your installed Pillow version supports it before using the argument. The 12.3.0 release notes document this addition.
from PIL import ImageGrab

# Pillow 12.3.0 and newer:
image = ImageGrab.grab(scale_down=True)
print(image.size)
print(image.getpixel((100, 100)))
If you cannot use scale_down, treat the captured image dimensions as authoritative and map logical coordinates to the actual pixel dimensions yourself. Do not assume that a desktop coordinate and image coordinate have the same scale.
5. Read many pixels efficiently enough for your use case
getpixel() is the straightforward API for a single point. For a small set of points, call it repeatedly:
points = [(10, 10), (100, 80), (250, 120)]
colors = {point: image.getpixel(point) for point in points}
print(colors)
For large regions or analysis of many pixels, convert the image to an array with a library suited to array processing, such as NumPy. The Pillow references cited here do not provide a universal speed benchmark, so choose based on your workload and measure in your own environment.
6. Common errors and fixes
| Error or symptom | Cause | Fix |
|---|---|---|
ValueError: not enough values to unpack |
The image is not RGB, or the tuple has a different number of bands. | Inspect image.mode, or call convert("RGB") before unpacking. |
too many values to unpack |
The image is RGBA and you unpacked three variables. | Use four variables or convert to RGB. |
IndexError: image index out of range |
The coordinate is outside the captured image or crop. | Check 0 <= x < image.width and 0 <= y < image.height. |
Unexpected colors after bbox |
You used desktop coordinates against the cropped image. | Subtract the bounding box’s left and top values. |
| Capture fails on Linux | The display session or screenshot utility required by the environment is unavailable. | Run inside a desktop display session and consult the Linux fallback requirements in the ImageGrab documentation. |
| Black or permission-denied capture on macOS | Screen Recording permission is missing for the terminal or Python host. | Grant the required permission in macOS privacy settings, then restart the process. |
| Windows captures only one monitor | The default capture does not include every display. | Review the documented Windows options, including all_screens, and test the coordinate space on your setup. |
7. Reliability and performance checklist
- Log
image.modeandimage.sizewhile diagnosing platform differences. - Validate every coordinate before reading it.
- Keep the capture and pixel read in the same coordinate frame, especially after using
bbox. - Account for Retina scaling rather than assuming logical and physical pixels match.
- Capture only the region you need when memory or processing time matters.
- Handle missing display permissions and headless environments explicitly;
ImageGrabrequires an accessible desktop capture path.
8. Or skip the browser setup
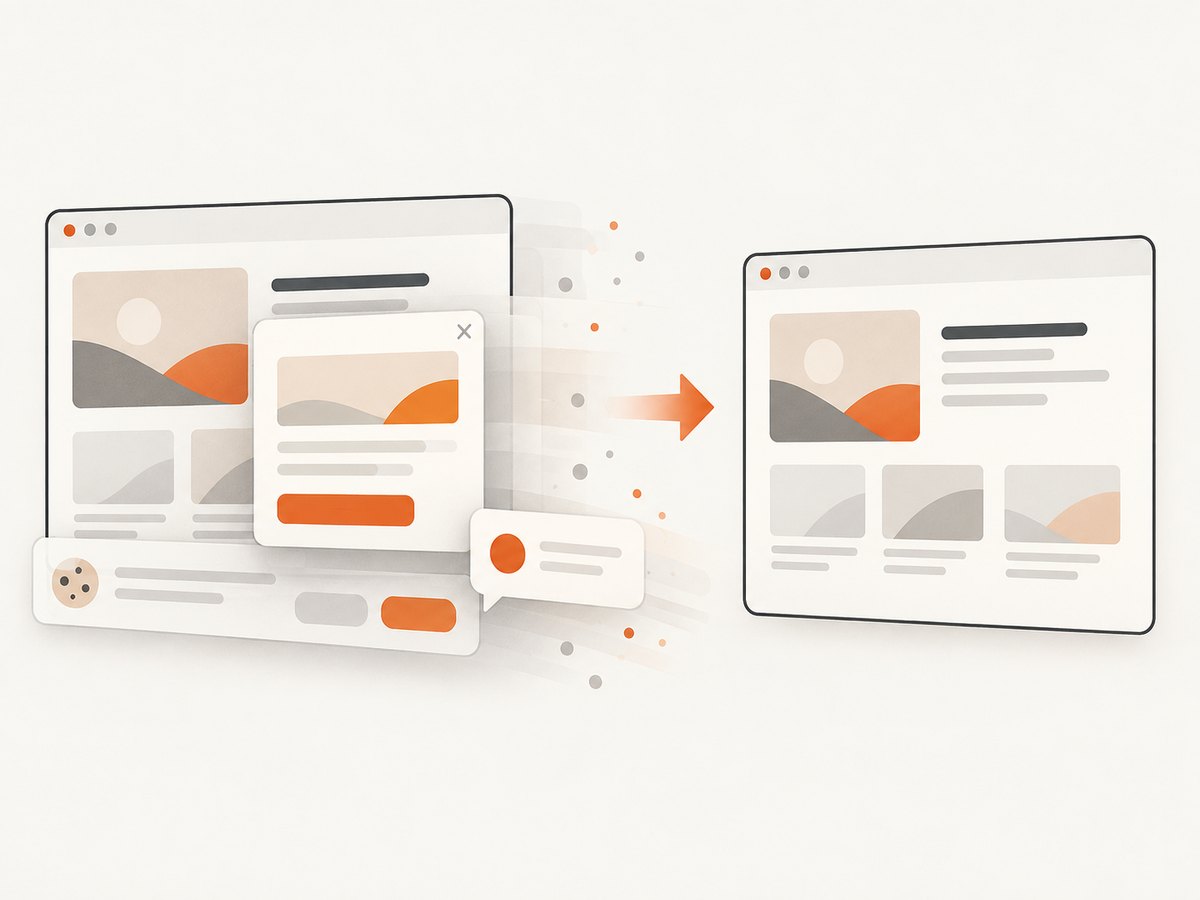
If you need a website image rather than a physical desktop pixel, ScreenshotNeo provides a GET screenshot API. It removes cookie and consent banners, newsletter popups, and chat widgets before capture; bot checks, blank pages, failed loads, timeouts, and cache hits are not billed; and each response identifies the result with X-Page-Verdict and X-Billed headers. Its MCP server lets AI agents use take_screenshot, get_page_info, and capture_pdf.
See the ScreenshotNeo API documentation for all options.
cURL
curl -G "https://api.screenshotneo.com/v1/shot" -d access_key=YOUR_API_KEY --data-urlencode url=https://stripe.com -o shot.webpPython
import requests

r = requests.get("https://api.screenshotneo.com/v1/shot", params={"access_key": "YOUR_API_KEY", "url": "https://stripe.com"}, timeout=90)
r.raise_for_status()
open("shot.webp", "wb").write(r.content)
Node.js
const q = new URLSearchParams({ access_key: 'YOUR_API_KEY', url: 'https://stripe.com' });
const res = await fetch(`https://api.screenshotneo.com/v1/shot?${q}`);
if (!res.ok) throw new Error(`HTTP ${res.status}`);
const data = Buffer.from(await res.arrayBuffer());
require('fs').writeFileSync('shot.webp', data);
ScreenshotNeo supports full-page and element captures, dark mode, device presets, custom viewports, retina scale, custom CSS and JavaScript, waits, request blocking, headers and cookies, geolocation, transparent backgrounds, resizing, caching, signed links, asynchronous jobs, bulk capture, usage reporting, PDFs, and HTML/CSS-to-image. Plans include 1,000 free shots each month with no card; paid plans start at $5 for 3,000 shots, and every feature is available on every plan. Create a free ScreenshotNeo account.
9. FAQ
Does getpixel() return RGB by default?
It returns the value for the image’s current mode. Normalize with convert("RGB") when you require exactly three channels.
Are coordinates zero-based?
Yes. The top-left pixel is (0, 0), and valid coordinates end at (image.width - 1, image.height - 1) and (image.height - 1).
How do I keep transparency?
Read an RGBA image or convert to RGBA, then keep the fourth alpha value.
Why does a Retina screenshot have a different size?
The capture can contain physical pixels at a higher scale than logical display coordinates. Pillow 12.3.0 and newer document scale_down=True for a 1× macOS capture.