How to Capture Godot Screenshots with MCP
Capture Godot editor viewports and running-game frames through MCP. Choose the right integration, configure it, and troubleshoot common capture failures.
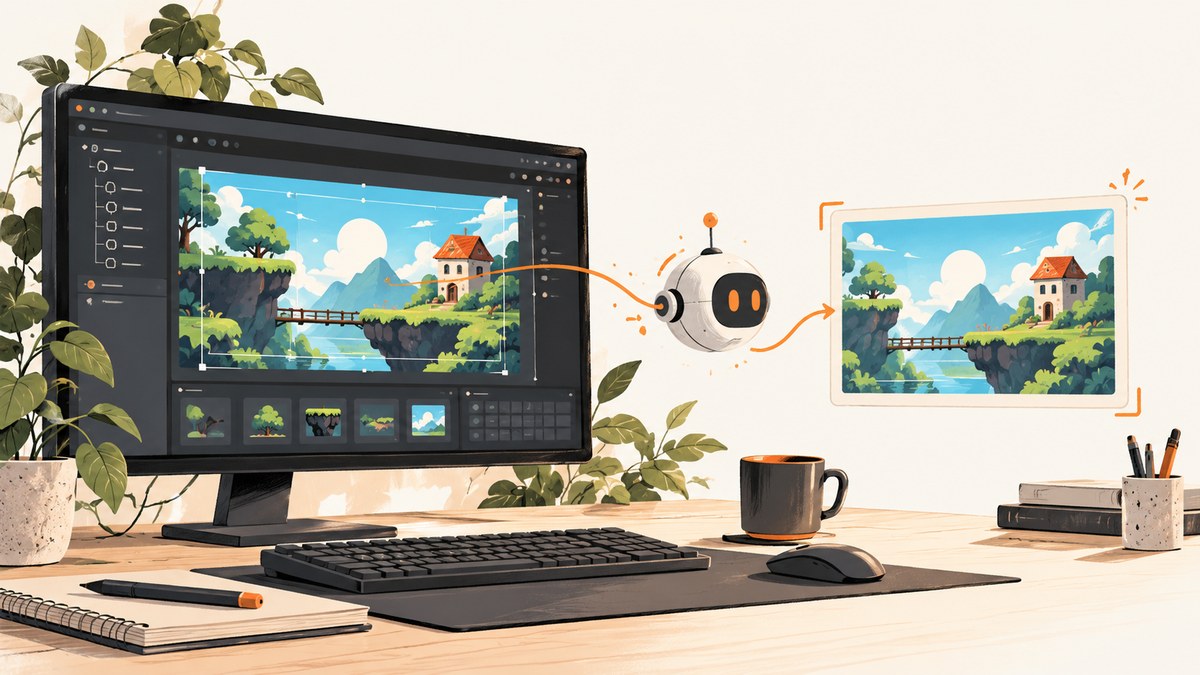
To capture a Godot screenshot with MCP, connect an MCP integration that exposes Godot screenshot tools, then ask it to capture a clearly named target. Say whether you want the editor viewport or the running game: those are different capture paths, and a runtime screenshot can require the game to be running. MCP support depends on the specific integration, so check its Godot version, editor requirements, tool names, and output behavior before configuring your client.
Godot’s built-in editor screenshot shortcut is a separate fallback, not an MCP call. For a browser page instead of a Godot editor or game frame, ScreenshotNeo provides a one-request screenshot API; it does not capture Godot’s local editor window or running game.
1. Decide what you want to capture
“A Godot screenshot” can mean several different things. State the target before asking an MCP client to capture it, because viewport screenshots, camera renders, isolated objects, and running-game frames are not interchangeable.
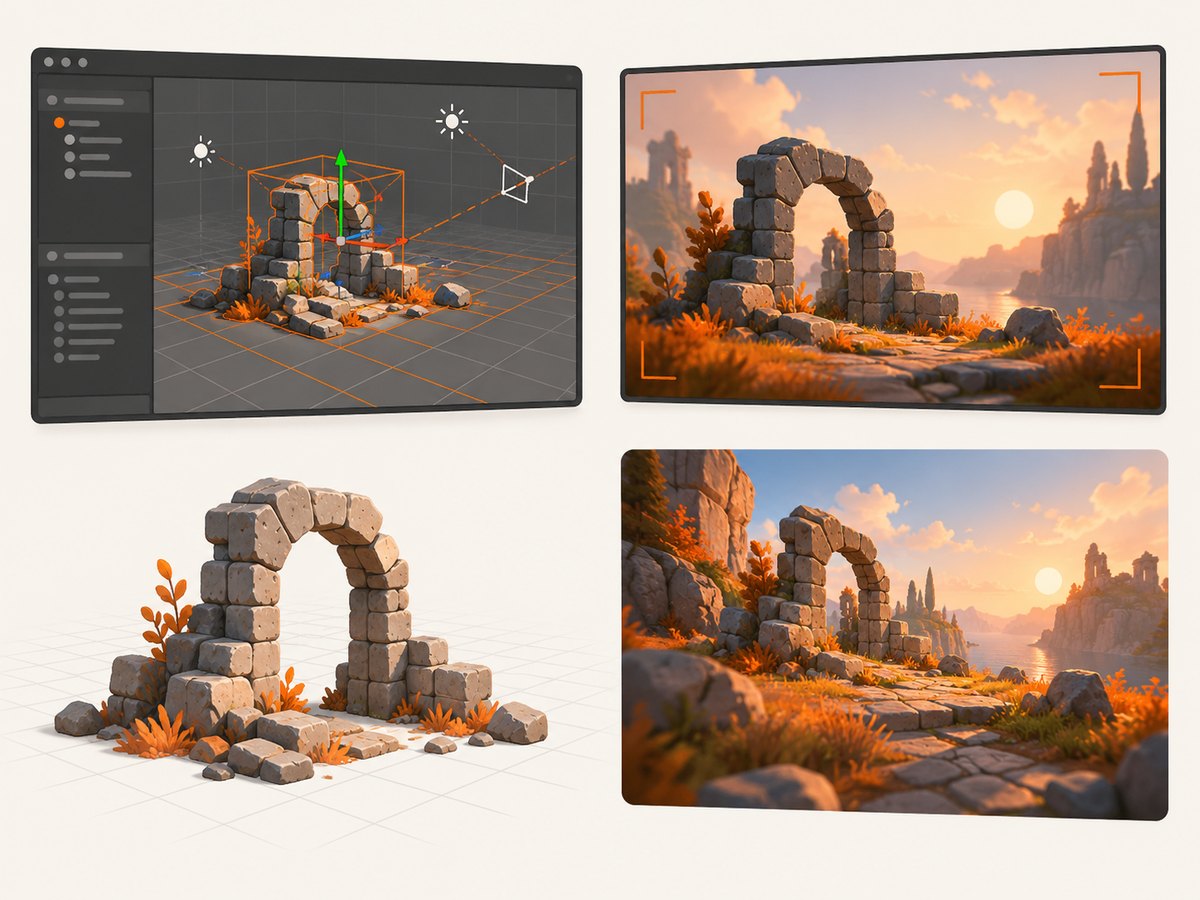
| Target | What the image shows | What to specify |
|---|---|---|
| Editor viewport | The active 2D or 3D editor view | Which viewport or scene view, and whether to include editor framing |
| Scene camera render | A render from a Camera2D or Camera3D in the edited scene | The scene and camera to use |
| Isolated Node3D | A render of one 3D node without the full scene | The node and any desired orientation or framing |
| Running game | A frame from the game at runtime | Scene or state, input, duration, and when to capture |
Tool names and available targets vary by MCP project. For example, Godot-Open-MCP documents a viewport capture tool, a camera-rendering tool, and an isolated-node tool. The satelliteoflove/godot-mcp project describes an editor observation operation that can capture an editor viewport or running-game image, and its screenshot_game action requires a running game. Confirm the behavior in the documentation for the integration you install.
2. Choose an MCP integration and check its requirements
There is no single standard Godot MCP server with universal setup steps. Addons differ in supported Godot versions, editor builds, dependencies, and whether they use a local bridge. The requirements below apply only to the named integrations.
| Integration | Documented requirements | Setup shape |
|---|---|---|
| Godot-MCP | Godot 4.3 or newer, C#/.NET editor edition, and .NET 8 SDK | Godot Asset Library listing describes an editor addon/MCP integration. It lists NuGet dependencies com.IvanMurzak.ReflectorNet 5.4.1 and com.IvanMurzak.McpPlugin 8.6.0 in the project’s .csproj. The standard GDScript-only build cannot compile it. |
| Godot MCP Toolkit | Godot 4.2 through 4.7 on desktop Windows, macOS, or Linux; Node.js 22 or newer for its bridge | Its listing says to install and enable the addon, complete its setup wizard, and connect an MCP client from the project folder. The wizard writes .mcp.json; npx fetches its companion bridge on first connection. |
These are separate setup paths. Do not apply the .NET requirements to the Toolkit, or assume the Toolkit’s Node.js bridge setup applies to Godot-MCP. Listings can change, so verify compatibility and installation instructions against the integration’s current documentation before updating a production project.
Before installation
- Check your exact Godot version and whether you use the standard or C#/.NET editor.
- Confirm the MCP client supports the integration’s connection method and project-level configuration.
- Check required runtimes such as .NET 8 or Node.js 22, where applicable.
- Identify whether the capture needs the editor open, a running game, or a GPU.
- Decide where image results go: an MCP response may return image content without writing a file into your project.
3. Install and connect the integration
- Choose the integration. Use the Godot Asset Library listing or the integration’s project instructions to select a release compatible with your editor.
- Install and enable its addon. Follow that project’s setup steps. For the Toolkit, use its setup wizard and connect from the Godot project folder as described in its listing.
- Install its runtime dependencies. For Godot-MCP, use the C#/.NET editor and .NET 8 SDK, with the two listed NuGet packages in the project file. For the Toolkit, provide Node.js 22 or newer for its bridge.
- Configure your MCP client. Use the integration’s own client configuration and launch procedure. Do not copy a configuration snippet from one Godot MCP project into another unless its documentation says they are compatible.
- Open the intended project and editor. Some integrations communicate through a live editor bridge. If you need a runtime frame, start the game before calling the runtime capture operation.
- Check that the client can see the tools. Ask the MCP client to list or describe its available Godot tools if it supports that. Verify the screenshot operation’s name and target arguments in that integration’s docs.
Godot MCP Toolkit’s listing gives this sample request: “Run the game, hold right for two seconds, and screenshot the result.” For repeatable work, make the scene or target explicit, describe the game state and input timing, and name whether you want an editor or runtime image.
4. Make a precise screenshot request
A useful MCP instruction includes the capture target, scene or state, and any actions needed to reach that state. Avoid asking only for “a screenshot” when the editor and game are both available.
Capture the active 2D editor viewport for the current scene. Return the image in the MCP response.Run the current project, wait until the title screen is visible, then capture one frame from the running game. Return the image in the MCP response.For a gameplay moment, include the input and its duration, then say when to capture. For a camera render, name the camera node. For an isolated object capture, name the node. Tool argument syntax is integration-specific; these are natural-language request examples, not universal MCP commands.
5. Read the result and save it if needed
An MCP tool can return an image as content in the tool response rather than save a PNG file in the project. Godot-Open-MCP documents a successful screenshot as an MCP image/png content block accompanied by a text metadata block. Its documented screenshot paths do not write project files. If you need an artifact on disk, check whether your chosen client can export image blocks or whether the integration offers a separate save operation.
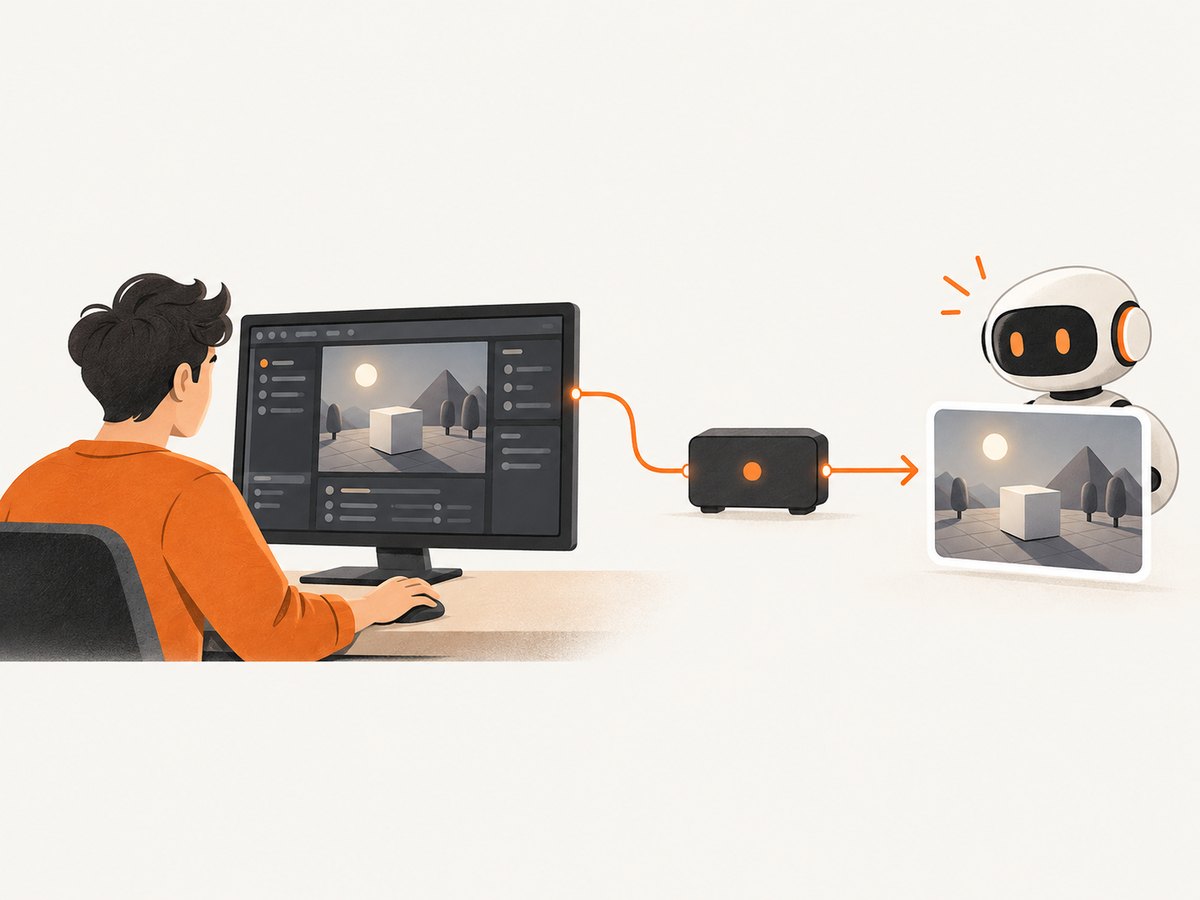
Godot-Open-MCP also documents implementation-specific capture constraints: a live editor bridge and GPU are needed; headless or no-GPU capture may report render_unavailable or empty_image. It rejects requested dimensions above 16,384 pixels, clamps the longest encoded edge to 3,840 pixels while preserving aspect ratio, and limits encoded PNG size to 8 MB. Do not assume another integration has the same limits or output format.
6. Use Godot’s screenshot shortcut as a fallback
The Godot 4.2 shortcut documentation lists Ctrl+F12 on Windows and Linux and Cmd+F12 on macOS for Take Screenshot. This is an editor feature, not an MCP tool call. The documentation warns it may be outdated; shortcuts can differ or be customized in Editor → Editor Settings → Shortcuts. Check the menu or shortcut settings for your installed version if the listed keys do not work.
7. Troubleshoot common failures
| Symptom | Likely cause | What to check |
|---|---|---|
| The MCP client shows no Godot tools | The bridge or addon is not connected, or client configuration is incorrect | Confirm the addon is enabled, the MCP client is using the project’s documented config, and the editor or bridge process is running. Recheck the integration’s own setup instructions. |
| The runtime screenshot fails or shows no game | The game is not running, or the requested action targets the editor instead | Launch the project first for integrations whose game screenshot requires a live game. Name the runtime target and desired scene state in the request. |
| Godot-MCP will not compile | Wrong editor flavor or missing .NET dependencies | Check that the project uses Godot’s C#/.NET editor edition, .NET 8 SDK, and the package versions listed by the addon. A GDScript-only build cannot compile this integration. |
| The Toolkit bridge does not start | Node.js is missing or too old, or the project-level setup is incomplete | Check for Node.js 22 or newer, run the Toolkit setup wizard, and connect from the project folder as its listing describes. |
render_unavailable or empty_image |
For Godot-Open-MCP, a usable live editor bridge or GPU-backed render is unavailable | Open the editor, confirm the bridge is live, and use a supported GPU environment. This diagnosis is specific to Godot-Open-MCP. |
| Requested image is rejected or smaller than expected | For Godot-Open-MCP, dimensions exceed its limit or its encoder clamps output | Request dimensions at or below 16,384 pixels per dimension. Expect the longest encoded edge to be clamped to 3,840 pixels and the PNG to fit within 8 MB. |
| The response contains an image but no file | The tool returned MCP image content and does not persist it | Use the client’s image export capability, or check whether that integration has a separate file-save tool. Godot-Open-MCP’s documented screenshot paths write no project files. |
| The editor shortcut does nothing | Shortcut differs by version, platform, or customization | Check Editor → Editor Settings → Shortcuts for Take Screenshot. The cited Godot 4.2 page may be outdated. |
8. Reliability, performance, and cost considerations
Capture reliability depends on the full chain: MCP client connection, editor addon or bridge, editor state, game runtime when required, and rendering hardware where the implementation needs a GPU. For automated captures, describe a visible state to wait for rather than relying on a fixed pause alone. If the integration exposes a wait operation, use it to avoid capturing during a scene transition; exact wait tools vary.
Keep requests focused. A viewport capture is usually the right target for inspecting editor layout, while a camera render or runtime frame is better for judging the game image. Large requested images can hit implementation-specific limits or produce larger responses. Godot-Open-MCP’s documented 8 MB PNG ceiling and 3,840-pixel encoded-edge cap are concrete examples; consult your own integration’s documentation for its limits.
MCP integrations described here are software addons and bridges. The research dossier provides no pricing figures for these projects, so check their current listings for license or hosting costs. Resource use and latency depend on the editor, project, bridge, rendering setup, and image size; no universal benchmark is available from the cited documentation.
9. Capture a browser page with ScreenshotNeo
If what you need is a screenshot of a website rather than a local Godot window or game frame, ScreenshotNeo is a website screenshot API and MCP server. Its MCP server has take_screenshot, get_page_info, and capture_pdf tools for AI agents using Claude, Cursor, or another MCP client. It cannot capture Godot’s local editor viewport or a running game.
Or skip the browser setup
For a web page, one GET request returns an image or PDF. See the ScreenshotNeo API documentation for configuration and response details.
curl -G "https://api.screenshotneo.com/v1/shot" -d access_key=YOUR_API_KEY --data-urlencode url=https://stripe.com -o shot.webpimport requests
r = requests.get(
"https://api.screenshotneo.com/v1/shot",
params={"access_key": "YOUR_API_KEY", "url": "https://stripe.com"},
timeout=90,
)
open("shot.webp", "wb").write(r.content)const q = new URLSearchParams({ access_key: 'YOUR_API_KEY', url: 'https://stripe.com' });
const res = await fetch(`https://api.screenshotneo.com/v1/shot?${q}`);
if (!res.ok) throw new Error(`Screenshot request failed: ${res.status}`);
await import('node:fs/promises').then(async fs => fs.writeFile('shot.webp', Buffer.from(await res.arrayBuffer())));ScreenshotNeo accepts cookie and consent banners as a visitor and removes more than 60 known consent platforms, newsletter popups, and chat widgets before capture; each cleanup step can be turned off. Bot checks, blank pages, timeouts, failed loads, and cache hits are not billed, and response headers report the page verdict and billing status. An MCP server lets AI agents request screenshots. The free plan includes 1,000 shots a month with no card; paid plans start at $5 for 3,000 shots. Sign up for 1,000 free screenshots a month, no card required.
FAQ
Can MCP capture a Godot screenshot without launching the game?
Often it can capture an editor viewport without running the game, but runtime-game capture may require a running game. The answer depends on the integration and the target you choose.
Does every Godot MCP integration use the same screenshot tool name?
No. Tool names and capabilities are implementation-specific. Check the connected server’s tool list and documentation.
Will an MCP screenshot automatically become a PNG in my project?
Not necessarily. A tool may return image content to the MCP client without writing a file. Confirm its output behavior and use an export or save operation if you need a project artifact.
Can ScreenshotNeo screenshot a Godot game?
No. ScreenshotNeo captures websites. Use a Godot MCP integration or Godot editor functionality for editor and game screenshots.