BlogScreenshots on your device
How to Take Screenshots with Greenshot
Learn every Greenshot capture shortcut, how to grab menus and windows, annotate images, choose destinations, fix shortcut problems, and automate web screenshots.
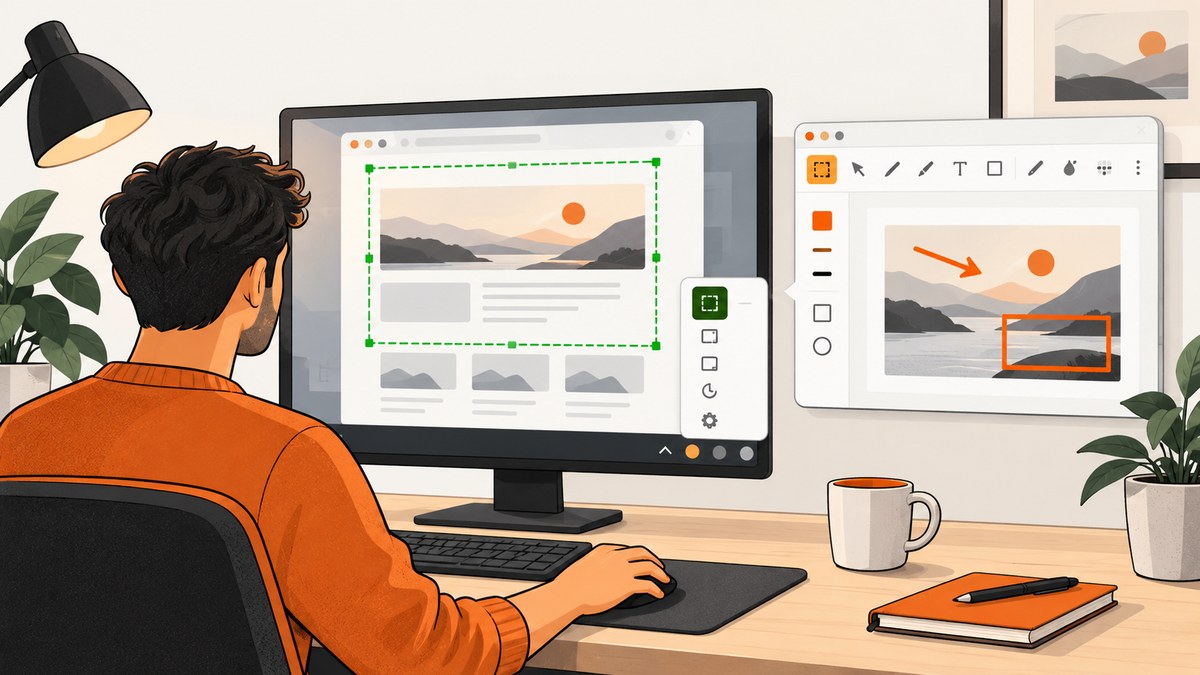
Greenshot is a lightweight screenshot utility for Windows that captures a selected region, an active window, or the complete screen. The fastest workflow is: start Greenshot, press Print, drag around the area you need, release, then choose an editor, file, clipboard, printer, email, Office destination, or installed plugin.
This guide explains every built-in capture mode, the shortcuts for each one, how to preserve a context menu before it disappears, where captures go, how to annotate and export them, and what to check when a shortcut does not work.
Greenshot shortcuts at a glance
| Goal | Shortcut or action | What happens |
|---|---|---|
| Selected region | Drag a green rectangle around an area, then release. | |
| Active window | Alt + Print | Captures the window that is currently active. |
| Full screen | Ctrl + Print | Captures the complete screen. |
| Context menu | Print, open the menu, press Space | Freezes and captures the menu before it closes. |
| Last region | Tray menu or your configured shortcut | Repeats the previous region without drawing it again. |
| Window from a list | Greenshot tray menu | Lets you select a window when direct targeting is inconvenient. |
The exact key assignments can be changed in Greenshot preferences. If another Windows application already owns Print Screen, open the Greenshot tray menu or preferences and choose an available shortcut. The official Greenshot help documents these modes and their behavior.
How to capture a selected region
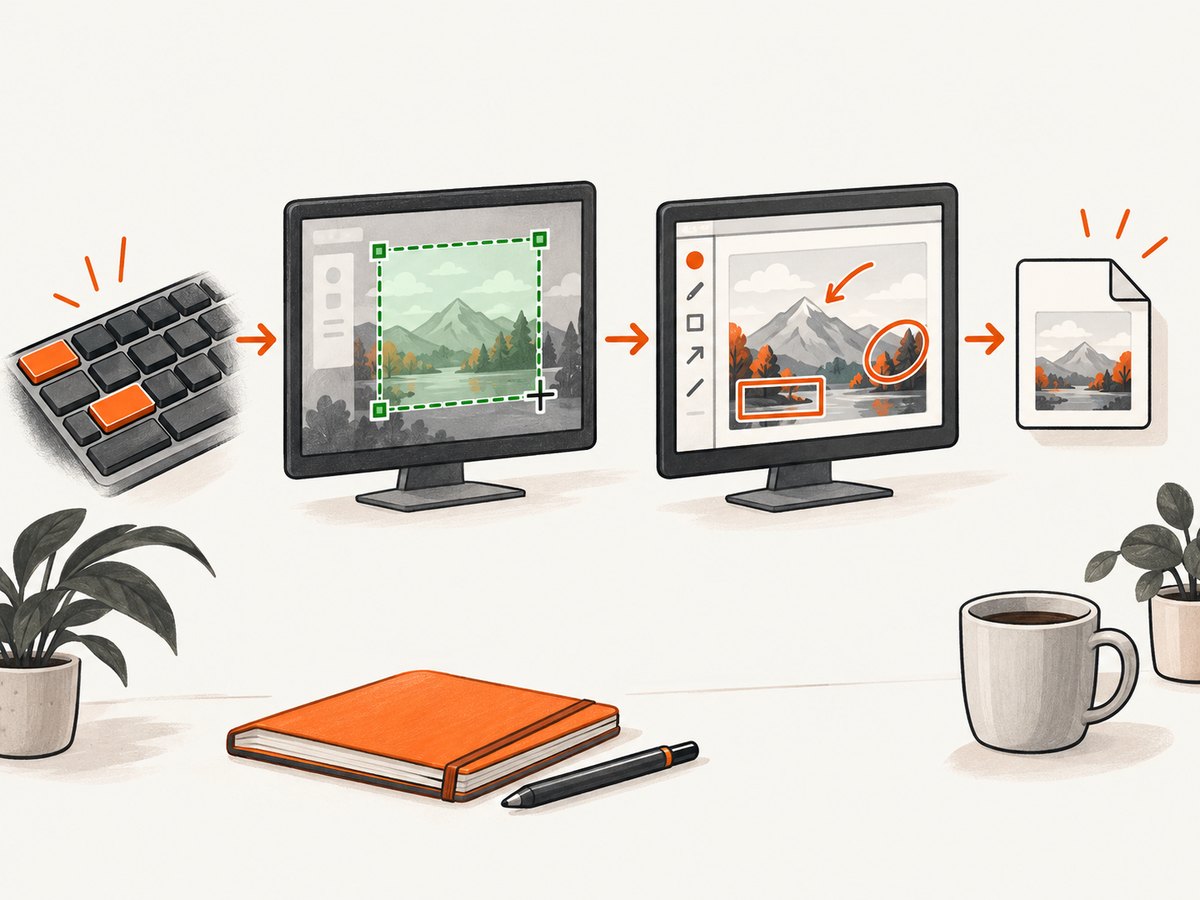
- Start Greenshot and confirm its icon is visible in the Windows notification area.
- Press Print. The pointer changes to region-selection mode.
- Hold the left mouse button and drag over the exact area you want.
- Release the mouse button. Greenshot opens its destination picker or image editor.
- Choose an output such as the editor, a file, the clipboard, a printer, email, Office, or an installed plugin.
The green rectangle is a visual boundary for the capture. For pixel-sensitive work, zoom the application before selecting, and include a small margin when a border or shadow matters. On a multi-monitor desktop, move the pointer to the monitor containing the target before pressing Print; the selection can then span the visible desktop area supported by your Windows display arrangement.
Repeat the same area
When you need a series of screenshots from one fixed location, use Greenshot’s “capture last region” command in the tray menu or assign it a shortcut in preferences. This is useful for documenting repeated states in a test environment because every capture uses the same coordinates.
How to capture an active window
- Click the window you want so it is active.
- Press Alt + Print.
- If interactive window selection is enabled, click the target window when Greenshot asks you to choose.
- Use the destination picker or editor to finish the export.
Window capture is useful for bug reports because it avoids manually drawing around a changing frame. Greenshot’s help describes this mode as creating a screenshot of the window that is currently active. If a child control must be selected inside a window, press PgDown during interactive selection to move to a child window element, then confirm the selection.
How to capture the full screen
Press Ctrl + Print to capture the complete screen. This includes the desktop and every visible window on that display. Use it when the relative position of several windows matters, such as a multi-step reproduction report.
Full-screen images can be large. If you are attaching one to an issue, crop or resize it in the editor first, or save the original and create a smaller copy for sharing. PNG is a good choice when you need sharp interface text or transparency; JPEG can produce smaller files for photographic content.
How to screenshot a context menu before it disappears
Menus often close as soon as you press another key. Greenshot has a dedicated sequence:
- Press Print to enter region capture.
- Open the application menu, context menu, or tooltip you need to show.
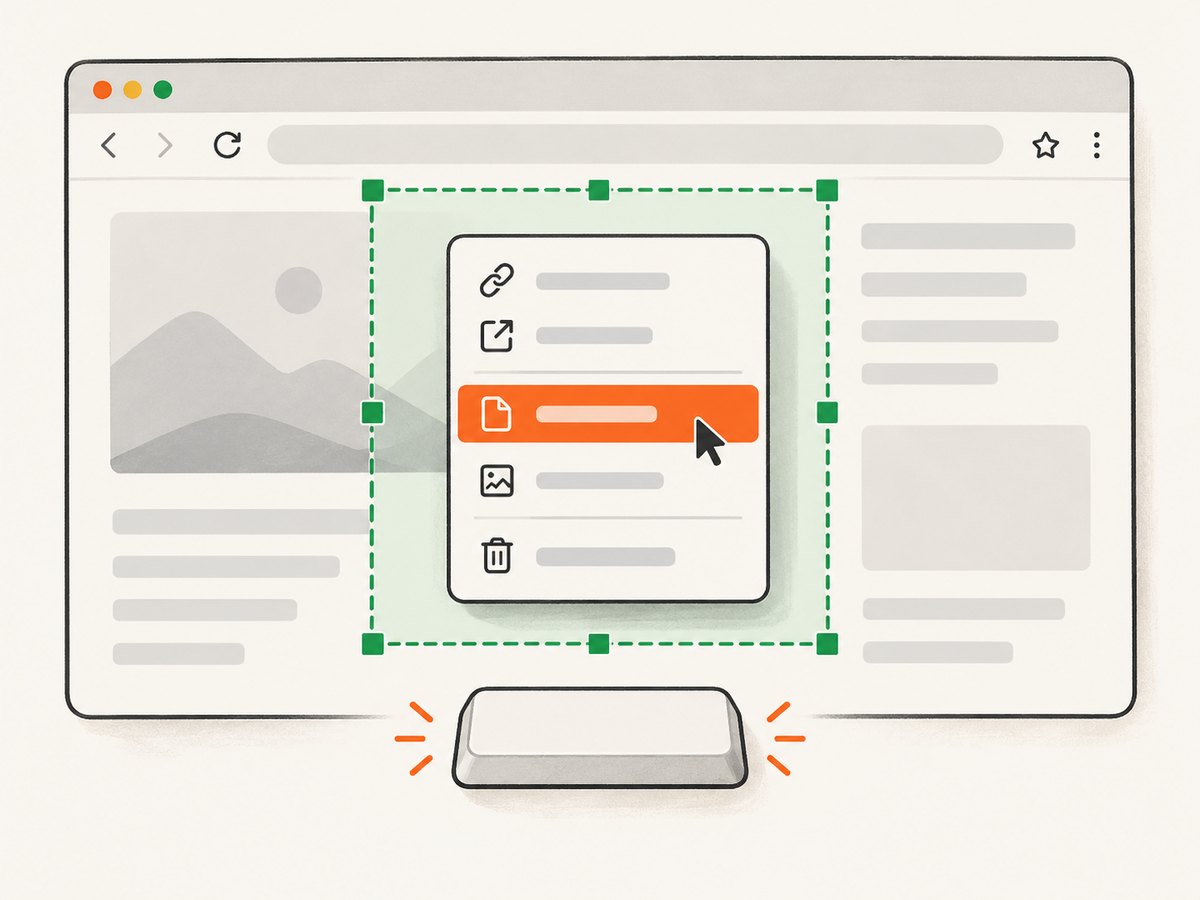
- Press Space. Greenshot captures the visible menu state before it closes.
- Select the output destination and annotate or export as usual.
If the menu is on a different monitor, start the capture while the pointer is on that monitor. If the menu still closes, repeat the sequence without clicking elsewhere; a click can dismiss the menu before Greenshot receives Space.
Choose where Greenshot sends a capture
After a capture, Greenshot can open the image editor or send the image directly to a destination. The practical choice depends on what happens next:
| Destination | Use it when | Notes |
|---|---|---|
| Image editor | You need arrows, text, highlights, redaction, or cropping. | Review the image before exporting. |
| File | You need a reusable artifact or an upload. | Pick a format and location you can find later. |
| Clipboard | You are pasting into chat, a document, or an issue tracker. | Fastest for one-off sharing; it does not create a permanent file. |
| Printer | You need a physical copy. | Uses the configured Windows printer. |
| You want to attach the image to a message. | Availability depends on your mail setup. | |
| Office or plugin | Your workflow uses a supported Office program or upload service. | Install and configure the relevant plugin first. |
The project README lists saving to a file, printing, copying to the clipboard, attaching to email, sending to Office programs, and uploading through supported plugins. See the Greenshot README for the project-level list.
Annotate, redact, and export in the editor
Open a capture in Greenshot’s editor when the image needs explanation. Add arrows to point at a control, text to label a step, highlights to emphasize a region, and obfuscation to hide sensitive information. Crop away unrelated desktop content before sharing.
- Capture the region, window, or screen.
- Choose the image editor.
- Apply annotations in a logical order: crop first, then highlight and label.
- Use obfuscation for passwords, tokens, personal data, or customer information.
- Export through the File menu, toolbar, or the editor shortcut.
Keep an unmodified original when the image may become evidence for a bug or support case. Export a second annotated copy for readers who need the explanation.
Where does Greenshot save screenshots?
Greenshot can send captures to a file, but the exact folder and filename behavior depend on your destination settings. If you cannot find an image, capture again and inspect the destination picker, then choose an explicit folder and filename. If you selected the clipboard destination, there is no saved file to browse for: paste the image into an application and save it there.
For repeatable documentation, configure a dedicated screenshots folder and use a naming pattern that includes the issue ID or date. Confirm the destination after changing settings by making one small test capture.
Greenshot on Windows and Mac
The Greenshot project describes the Windows version as free and open source under the GNU General Public License. The project website also lists a Mac App Store version under a proprietary license. Feature and shortcut parity may differ between platforms, so check the documentation and settings on the platform you use. See the official Greenshot site for licensing information.
Common problems and fixes
| Symptom | Likely cause | Fix |
|---|---|---|
| Pressing Print does nothing. | Greenshot is not running, or another program owns the key. | Start Greenshot and look for its tray icon. Then change the hotkey in preferences or use the tray menu. |
| The wrong window is captured. | The intended window was not active. | Click the target window first, then press Alt + Print. Use interactive selection if enabled. |
| A context menu vanishes. | A click or another key dismissed it. | Start with Print, open the menu, and press Space without clicking elsewhere. |
| The capture is on the clipboard but no file exists. | Clipboard was selected as the destination. | Paste it into an editor or document and save, or select File as the destination next time. |
| Text looks blurry. | The image was resized or compressed. | Capture at the display’s native scale and export PNG for interface text. |
| Private data is visible. | The image was exported before redaction. | Open the editor, obfuscate secrets, and verify the entire image before sharing. |
| A child control cannot be targeted. | Window selection stopped at the parent window. | During interactive selection, press PgDown to move to a child window element. |
| Shortcut works in one app but not another. | The application intercepts the key or runs with different privileges. | Use a different Greenshot shortcut or the tray menu, and test with the target application focused. |
Performance and reliability tips
- Use the smallest capture mode that answers the question. A region is quicker to inspect and share than a full desktop image.
- Keep a consistent destination. A known folder prevents lost files and makes automated uploads easier.
- Preserve originals. Keep the source PNG when annotations or later cropping may be required.
- Reduce accidental exposure. Close unrelated windows or use region capture before recording a screen with private information.
- Repeat with last-region capture. Fixed coordinates help produce comparable before-and-after images.
- Check hotkey conflicts early. A shortcut claimed by Windows or another utility can make Greenshot appear unreliable.
When a desktop capture is the wrong tool
Greenshot captures what is visible on your computer. A browser automation workflow is better when you need the same webpage captured repeatedly, a full page with lazy-loaded images, a specific CSS element, a chosen device viewport, dark mode, custom headers, cookies, JavaScript, or a PDF. It is also more practical for server-side jobs that must run without a person at a desktop.
Or skip the browser setup
ScreenshotNeo is a website screenshot API and MCP server. Send one GET request with a URL to receive a PNG, JPEG, WebP, or PDF. It accepts options for full-page capture, element selectors, device presets and custom viewports, retina scale, dark mode, custom CSS and JavaScript, clicks, hide selectors, waits, blocked requests or resource types, headers, cookies, user agents, Authorization, timezone, geolocation, transparent backgrounds, resizing, caching, signed links, asynchronous jobs, webhooks, bulk capture, usage reporting, and PDF layout. Its parameter names also match those used by other screenshot APIs, which helps when switching.
Before capture, ScreenshotNeo accepts cookie and consent banners and removes more than 60 known consent platforms, newsletter popups, and chat widgets; each cleanup step can be disabled. Bot checks, blank pages, timeouts, failed loads, and cache hits are not billed, and response headers identify the page verdict and whether the request was billed. An MCP server provides take_screenshot, get_page_info, and capture_pdf tools for Claude, Cursor, and other MCP clients.
See the ScreenshotNeo API documentation for parameters and response details.
cURL
curl -G "https://api.screenshotneo.com/v1/shot" -d access_key=YOUR_API_KEY --data-urlencode url=https://stripe.com -o shot.webpPython
import requests

r = requests.get(
    "https://api.screenshotneo.com/v1/shot",
    params={"access_key": "YOUR_API_KEY", "url": "https://stripe.com"},
    timeout=90,
)
r.raise_for_status()
open("shot.webp", "wb").write(r.content)
Node.js
const q = new URLSearchParams({ access_key: 'YOUR_API_KEY', url: 'https://stripe.com' });
const res = await fetch(`https://api.screenshotneo.com/v1/shot?${q}`);
if (!res.ok) throw new Error(`Screenshot failed: ${res.status}`);
const buffer = Buffer.from(await res.arrayBuffer());
await import('node:fs/promises').then(fs => fs.writeFile('shot.webp', buffer));
The Free plan includes 1,000 screenshots each month with no card. Paid plans start at $5 for 3,000 shots; yearly billing gives two months free, and every feature is available on every plan. Create a free ScreenshotNeo account and start with 1,000 screenshots a month at no cost.
FAQ
Can Greenshot capture only one monitor?
Use region or active-window capture while the pointer or target window is on the desired monitor. Full-screen capture targets the complete screen according to Greenshot’s display behavior and settings.
Can I change Print to another key?
Yes. Greenshot preferences let you change hotkey assignments when Windows or another application already claims the default shortcut.
How do I capture a menu with a keyboard-only workflow?
Press Print, open the menu, and press Space. Then choose the output destination.
Should I use PNG or JPEG?
Use PNG for interface text, sharp edges, or transparency. Use JPEG when a smaller file is more important and the image is mostly photographic.
Does Greenshot capture a webpage that is longer than the screen?
Greenshot captures the visible desktop, window, or selected region. For a full webpage, use a browser feature or an API such as ScreenshotNeo that supports full-page capture.
Where can I verify Greenshot’s current shortcuts?
Check the tray menu and preferences, then consult the official help. Custom assignments can differ from the defaults in this guide.


