How to Integrate MCP with Make
Connect Make to an MCP server—or expose Make scenarios as MCP tools. This guide covers both directions, setup, permissions, timeouts, and troubleshooting.
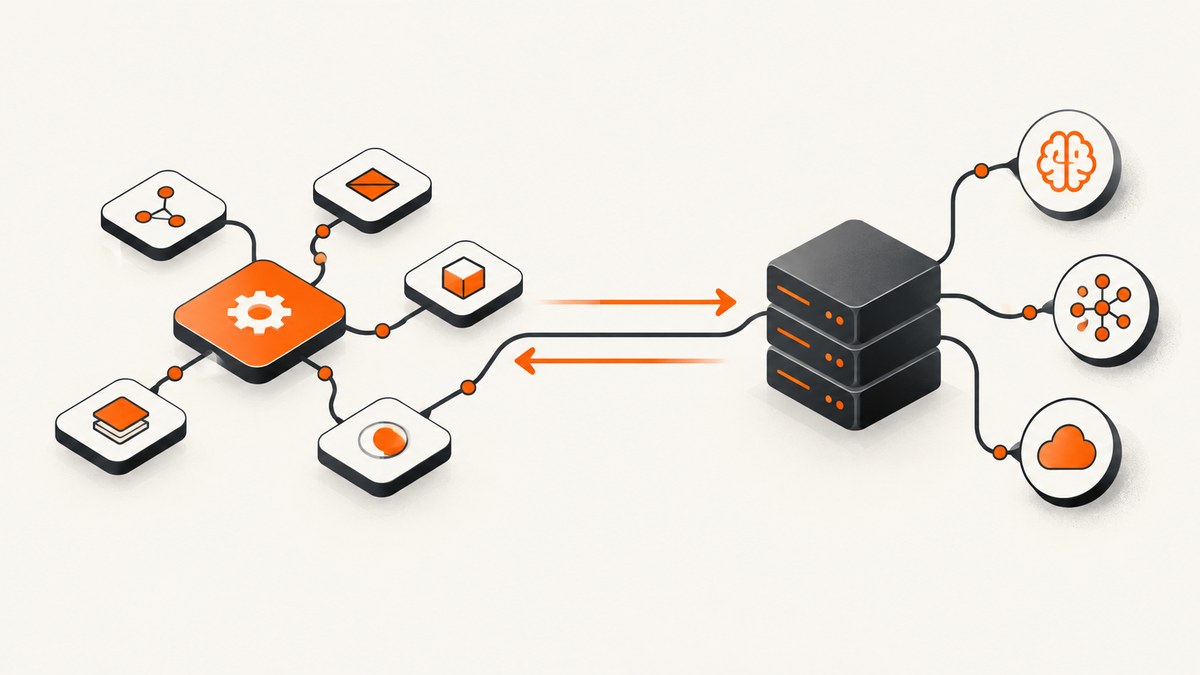
There are two ways to integrate MCP with Make. Use Make MCP Server when an external MCP-compatible AI client should call your Make scenarios. Use Make MCP Client when a Make scenario or agent should call tools hosted by an external MCP server. Choose the direction based on which system needs to call the other; the two routes have different setup steps and permissions.
This guide explains both routes, the connection choices, access controls, operational limits, and common fixes. Make’s MCP features connect tools through a visual workflow; you do not need to write an MCP server to use either route. For the server route, you do need to prepare callable scenarios and grant a client access. For the client route, you need a reachable external server and a tool it exposes.
1. Choose the direction
| Your goal | Use | Connection |
|---|---|---|
| Let an external AI client run a Make workflow | Make MCP Server | AI/MCP client → Make-hosted server → active Make scenario |
| Let Make call a remote tool | Make MCP Client | Make scenario or agent → external MCP server → selected tool |
Make describes its server as a way for MCP clients to use Make scenarios and, if authorized, account-management tools. Its client is the route for scenarios or agents that need tools on a separate MCP server. See Make’s MCP Server developer documentation, MCP Server Help Center guide, and MCP Client guide.
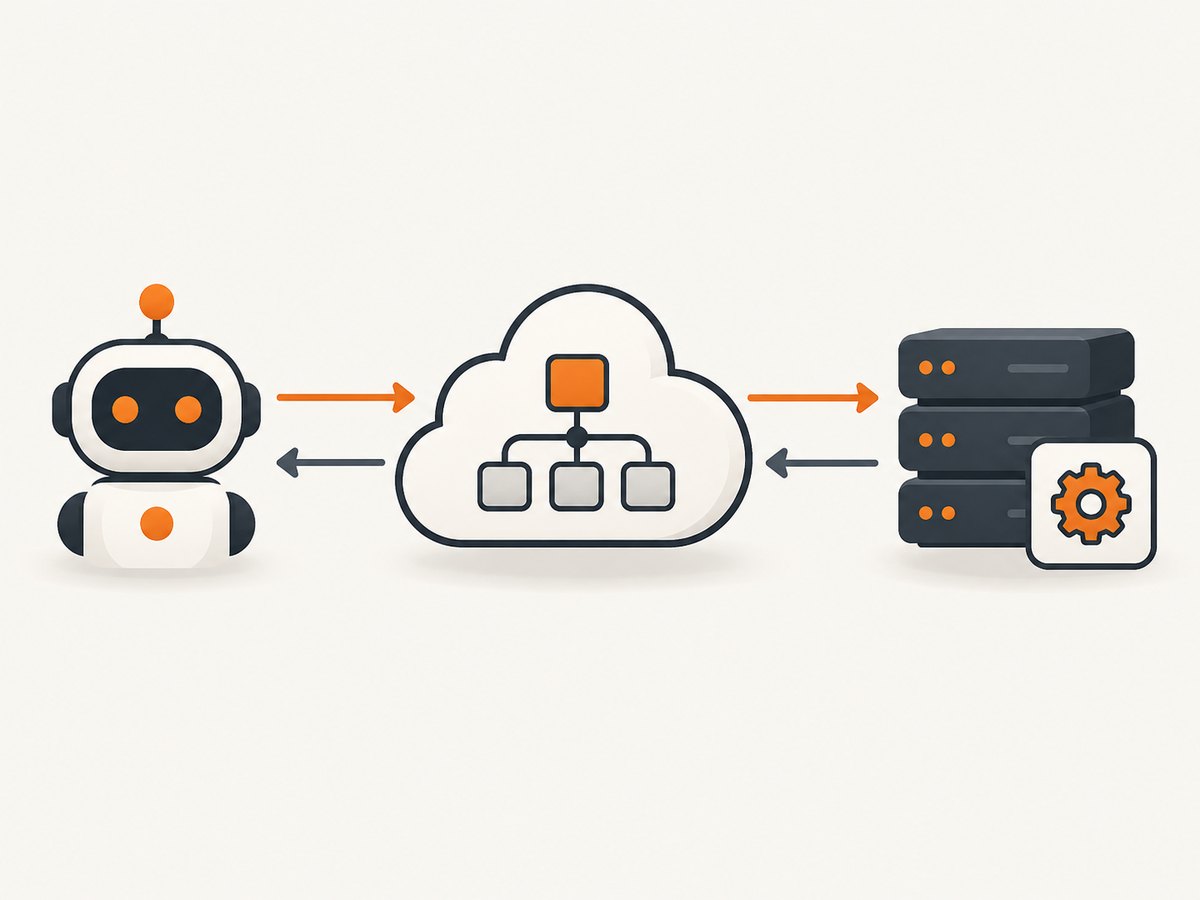
If both systems need to initiate actions, you can use both routes: expose a Make scenario to an outside client and also use a Make scenario to call a remote tool. They are complementary connection directions.
2. Route A: expose Make scenarios to an MCP client
Step 1: prepare the scenario’s contract
Build the Make scenario that the client should run. Define its inputs and outputs deliberately: inputs are the values a client can provide, and outputs are the result it can interpret. Give fields clear names and descriptions, make required values explicit, and return a compact result that tells the caller what happened. Scenario inputs and outputs define the data exchanged with the MCP client; Make also documents their use for scenarios exposed as tools in its scenario inputs guide.
For example, a scenario that creates a support ticket might accept a subject, description, and priority, then return a ticket identifier and a success status. Avoid designing the tool as a broad “do anything” workflow. A narrow action with clear inputs is easier for an agent to select and for a person to audit.
Step 2: make the scenario callable
- Open the scenario in Make.
- Configure it for on-demand scheduling and set it to active.
- Save and confirm that its inputs and outputs are configured.
Make’s Help Center identifies active status and on-demand scheduling as requirements for scenarios used as MCP tools. If a scenario is missing from the client’s available tools, check these settings first.
Step 3: choose OAuth or an MCP token
Make documents OAuth and MCP-token connection methods. OAuth uses the universal server URL https://mcp.make.com; during authorization, choose the organization and scopes. The Developer Hub also documents zone-specific MCP-token URLs. For a token URL, use the Make zone and token values from your account’s connection setup instructions; do not copy a placeholder URL into production. Depending on client support, Make documents Streamable HTTP and SSE transport options. See the current Developer Hub connection instructions for the URL format and supported transport for your client.
OAuth is the documented choice when you need to restrict the connection to a particular Make organization. An MCP token is a credential: keep its URL or bearer token out of public repositories, logs, and shared screenshots, and revoke or replace it if exposed. Give the client only the scopes required for its job.
Step 4: grant the minimum needed scope
Scenario-run access lets a client view and run activated on-demand scenarios. Management scopes can provide access to account objects such as scenarios, teams, connections, webhooks, and data stores. These are different permission levels, not interchangeable names for the same access.
- Scenario-run scopes are available across Make plans.
- Management scopes require a paid plan, according to the Help Center.
- OAuth is the documented method that lets a user restrict access to one Make organization.
Review the authorization screen before approving it. A client that only needs to run a workflow should not receive broader account-management access just for convenience. Revisit scopes when the scenario or client’s responsibilities change.
Step 5: connect and inspect the tools
In your MCP client, add a remote MCP server using the connection URL and authentication method you selected. Complete OAuth consent if prompted. Then inspect the available tools using the client’s connector settings or discovery mechanism. Make’s Developer Hub also points to MCP Inspector and a tools/list request as ways to inspect tools where supported.
Confirm the scenario appears with a useful tool name and that its inputs are understandable. Run a low-risk example first. Check the Make scenario history for the actual execution and returned output before allowing an agent to use the tool in a consequential workflow.
3. Route B: call external MCP tools from Make
Choose this route when the capability lives on another MCP server—for example, an internal service or a partner-provided tool. The remote server controls which tools exist and what credentials or permissions they require.
- Open or create the Make scenario that should call the outside capability.
- Add Make’s MCP Client module.
- Enter the external MCP server URL and configure its supported authentication, such as OAuth or token-based authentication.
- Choose a tool from the tools exposed by that server.
- Map the displayed input fields to values from earlier scenario modules. Read the field help text and confirm the expected types and required values.
- Run the scenario with safe sample data and inspect the returned fields.
- Use the response in later scenario modules, or connect the MCP tool to a Make AI Agent when an agent needs it.
Make describes the MCP Client as a visual module that loads available tools, renders inputs, and provides schema validation. The exact tool names, fields, authentication options, and behavior depend on the remote MCP server. If a tool is absent, confirm that the server URL is correct and that the remote service exposes it to your authenticated connection. Read Make’s MCP Client setup guide for the visual workflow.
When the scenario uses an AI agent, select only the remote tools the agent needs. Each additional tool gives the agent another possible action and may add processing overhead. Keep the tool descriptions and mapped fields specific enough that the agent can choose the intended action and supply valid data.
4. Configure inputs, outputs, and safe actions
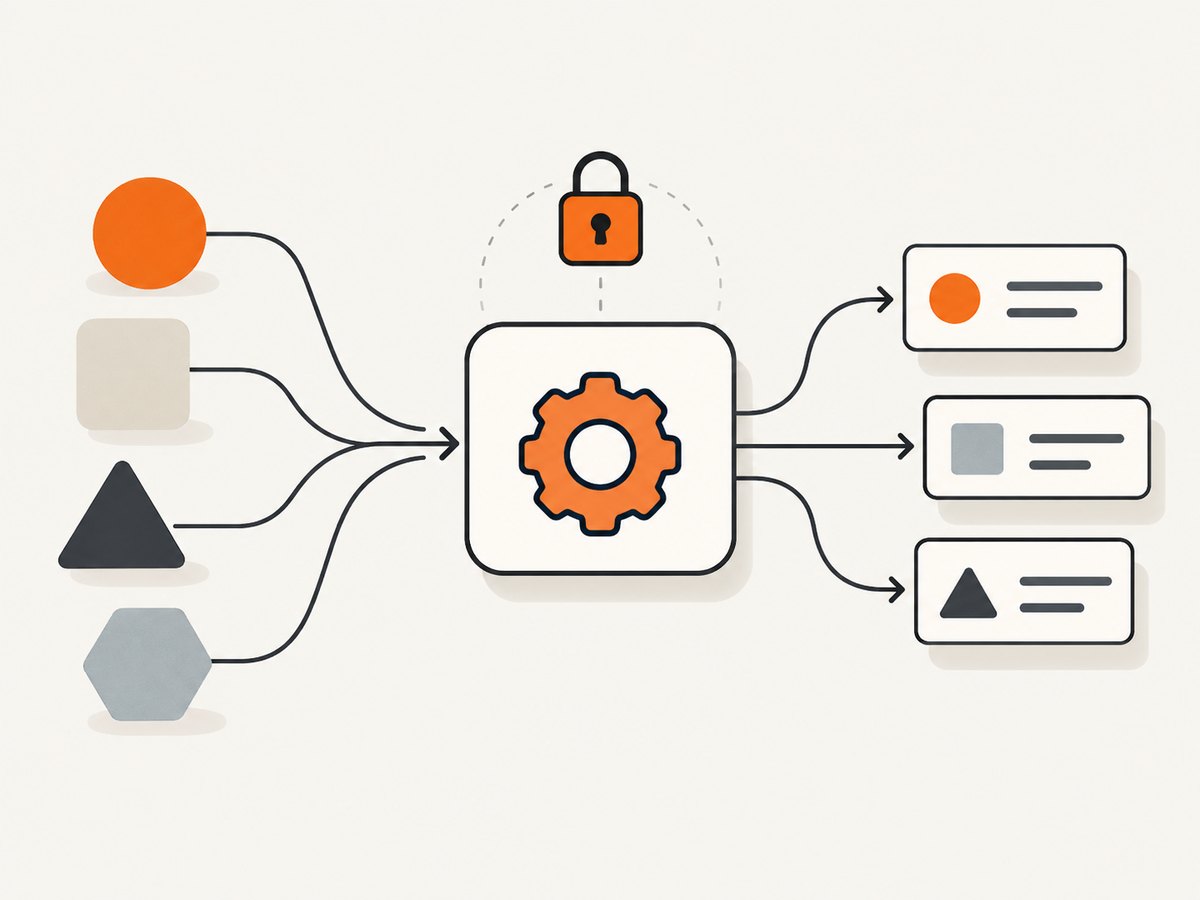
A tool is only as reliable as the contract it presents to its caller. For either route, document what an input means, whether it is required, and what form it must take. Return useful outcomes such as a stable record ID, a clear status, and a concise error reason when your workflow can produce one.
- Validate consequential inputs. Check required fields and allowed values in the workflow before performing an irreversible action.
- Return a useful result. Do not return a large internal payload if the caller only needs an ID and status.
- Make side effects clear. Describe whether a tool creates, updates, sends, or deletes something.
- Test failure cases. Consider missing fields, invalid values, duplicate requests, and remote service errors.
- Limit access. Select only necessary scopes on the server route and only necessary tools on the client route.
These are implementation practices based on the documented input/output and scope model: the client or agent needs enough information to call the tool correctly, and the granted access determines what it can do.
5. Timeouts, plan access, and execution costs
Make’s Developer Hub publishes different MCP Server output timeouts by tool type and connection method. At the time of the documented page retrieved for this guide, scenario-run calls have a 25-second timeout through OAuth and 40 seconds through an MCP-token URL. Management tools have a 30-second OAuth timeout and a 60-second timeout through a token URL using the documented stateless transport; other documented management transports have different limits. These values can change, so check the current timeout table before designing around an exact limit.
A scenario-run call that reaches the response timeout may continue running in Make. The Developer Hub says the run can continue for up to 40 minutes and that a timeout response includes an executionId; the client can retrieve the result after completion using the corresponding tool, with the scenarios:read scope. This means a timeout does not always mean the scenario stopped. Avoid immediately retrying an action that may already be running, especially if it creates records or sends messages.
Make’s product FAQ says MCP Server and MCP Client are included with Make plans, while scenario executions consume Make credits. The Help Center distinguishes scenario-run scopes, available across plans, from management scopes, which require a paid plan. Check your plan and the current documentation for your specific access needs; inclusion of the MCP feature does not mean scenario executions have no cost.
For performance and reliability, keep synchronous workflows short enough to return within the applicable timeout when possible. If a task naturally runs longer, design the caller around the documented timeout and output retrieval path. Check execution history, set sensible error handling in the scenario, and make retry behavior safe. A retry can duplicate a side effect unless the workflow is designed to recognize repeated requests.
6. Troubleshooting
| Symptom | Likely cause | What to check or fix |
|---|---|---|
| Scenario does not appear as a tool | It is inactive, not on-demand, or the client lacks scenario-run access. | Activate it, set on-demand scheduling, save, then reconnect or refresh the tool list and verify the granted scope. |
| Client cannot provide inputs or make sense of output | Scenario inputs/outputs are missing, unclear, or inconsistent with the workflow. | Define the exchanged fields and return a concise, structured result. Reinspect the tool schema in the client. |
| Authorization succeeds but expected tools are missing | The selected organization or scopes do not cover the scenarios or actions. | Recheck the OAuth organization and scope selection. Grant the narrowest additional scope needed. |
| Access is broader than intended | Management scopes were granted when only scenario execution was needed. | Review scopes and reconnect with reduced permissions. Use OAuth when organization-level restriction is required. |
| Remote MCP Client tool fails to load | Incorrect server URL, unavailable server, authentication issue, or a tool the connection cannot access. | Check the URL and remote server’s own authentication and tool availability. Reauthorize if credentials expired. |
| Mapped field is rejected | Wrong value type, missing required value, or a value outside the remote tool’s expected schema. | Read the rendered field help and schema, map a compatible value, and test with a minimal valid example. |
| Call times out | The operation exceeded the published response window. | Compare the call against the current timeout table. For a scenario-run timeout, check for an execution ID and retrieve the output when ready; do not blindly repeat side effects. |
| Retry creates duplicate work | The first execution continued after the client timed out, or the caller retried a successful action. | Inspect Make run history before retrying. Where practical, make the workflow detect duplicate requests or use a stable request identifier. |
7. A screenshot workflow that can use Make MCP
If one of your workflows needs a web page image, you can have Make call a screenshot service through its normal integration options or through a remote MCP tool if that service exposes one. ScreenshotNeo is a website screenshot API and MCP server: a GET request can return a PNG, JPEG, WebP, or PDF. Its MCP server offers take_screenshot, get_page_info, and capture_pdf tools to MCP clients. The Make MCP Client route applies when you want Make to call a tool hosted on an external MCP server; availability and authentication depend on that server.
For an API call from code or an HTTP-capable workflow, pass the target URL and API key. See the ScreenshotNeo API documentation for request options.
Or skip the browser setup
For a one-request screenshot from a script or HTTP module, call ScreenshotNeo’s API directly:
curl -G "https://api.screenshotneo.com/v1/shot" -d access_key=YOUR_API_KEY --data-urlencode url=https://stripe.com -o shot.webpimport requests
r = requests.get(
"https://api.screenshotneo.com/v1/shot",
params={"access_key": "YOUR_API_KEY", "url": "https://stripe.com"},
timeout=90,
)
open("shot.webp", "wb").write(r.content)const q = new URLSearchParams({ access_key: 'YOUR_API_KEY', url: 'https://stripe.com' });
const res = await fetch(`https://api.screenshotneo.com/v1/shot?${q}`);
if (!res.ok) throw new Error(`Screenshot request failed: ${res.status}`);
await Bun.write('shot.webp', res);ScreenshotNeo accepts cookie/consent banners and removes more than 60 known consent platforms, newsletter popups, and chat widgets before capture; each step can be turned off. Bot checks, blank pages, timeouts, failed loads, and cache hits are not billed, and the response identifies the page verdict and billing status in headers. Its MCP server lets compatible AI agents take screenshots. The free plan includes 1,000 screenshots per month with no card; paid plans start at $5 for 3,000 screenshots. Other options include full-page and CSS-selector capture, device presets, PDF, custom CSS and JavaScript, waits, request blocking, caching, signed links, asynchronous jobs, bulk capture, and a usage API. The options and parameter names are documented at ScreenshotNeo docs. Create a free ScreenshotNeo account for 1,000 screenshots a month with no card.
8. FAQ
How do I connect Make to an MCP server?
If you want Make to call the external server, use the MCP Client module in a scenario, enter the server URL, authenticate, select a tool, and map its inputs. If you mean a client such as an AI assistant connecting to Make, use Make MCP Server instead.
How do I use Make as an MCP server?
Prepare an active, on-demand scenario with defined inputs and outputs, then connect an MCP client to Make’s hosted server using OAuth or a configured MCP token. Grant the scenario-run scope if the client only needs to run scenarios.
Can I use both the Make MCP Server and Client?
Yes. The server exposes Make workflows to external clients; the client calls tools on external servers from Make workflows. Use both when your architecture needs both directions.
Does a timeout mean the scenario was cancelled?
Not necessarily. The Developer Hub documents that a scenario-run may continue after the client’s response timeout. Check for the execution ID and retrieve the output as documented before retrying.
Do I need to write MCP code?
Not for the visual Make setup described here. You configure the server connection, scenario, tool, and field mappings in Make and the MCP client’s own connection interface.
Sources
- Make Help Center: Make MCP Server — scenario requirements, scopes, and plan distinction.
- Make Developer Hub: Make MCP Server — connection methods, transports, tool discovery, and timeouts.
- Make: MCP Client setup guide — external-server workflow and visual tool mapping.
- Make Help Center: Use scenario inputs — defining exchanged data.