BlogScreenshots on your device
How to Capture Screenshots with the macOS Screenshot API
Use ScreenCaptureKit and SCScreenshotManager to capture a display, window, or app in Swift, handle permission, and save the resulting image.
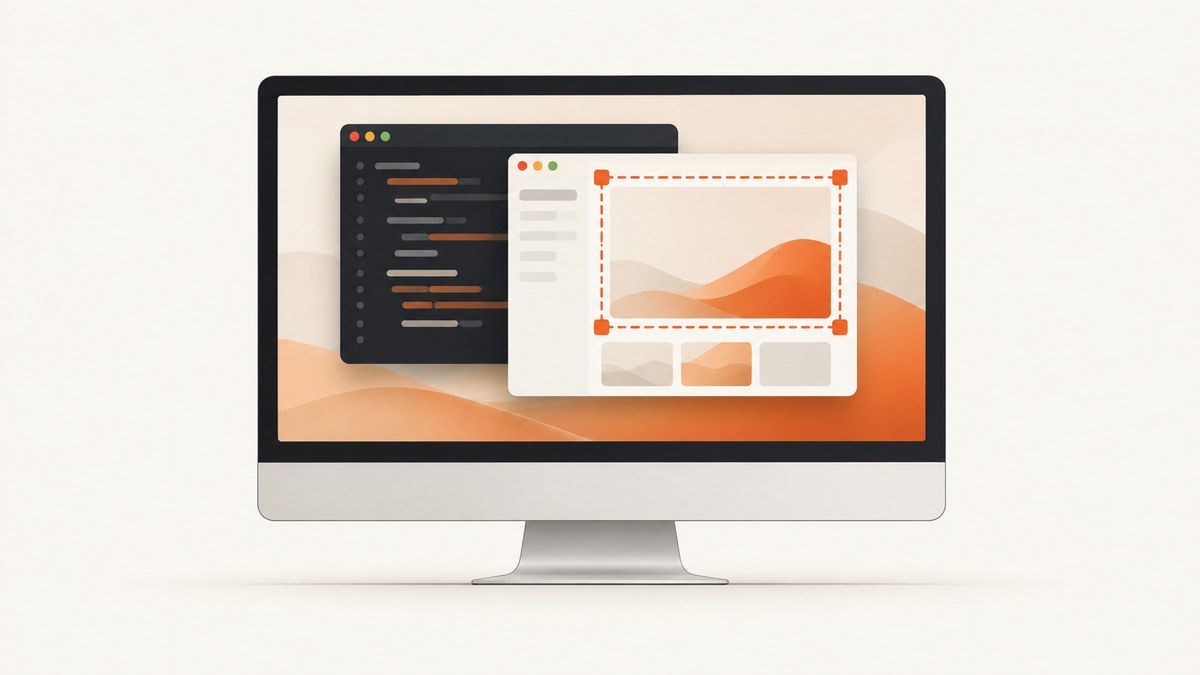
For a new macOS app, use Apple’s ScreenCaptureKit framework. For a one-off frame, call SCScreenshotManager.captureImage(contentFilter:configuration:) with an SCContentFilter describing the display or window and an SCStreamConfiguration describing the output. Add the screen-recording usage description to your app, handle capture errors, and save or process the returned CGImage.
ScreenCaptureKit gives apps fine-grained control over screen content. SCScreenshotManager is for a single image; SCStream is the primitive to use when you need ongoing frames. See Apple’s ScreenCaptureKit overview and SCScreenshotManager reference.
1. Choose the capture API and scope
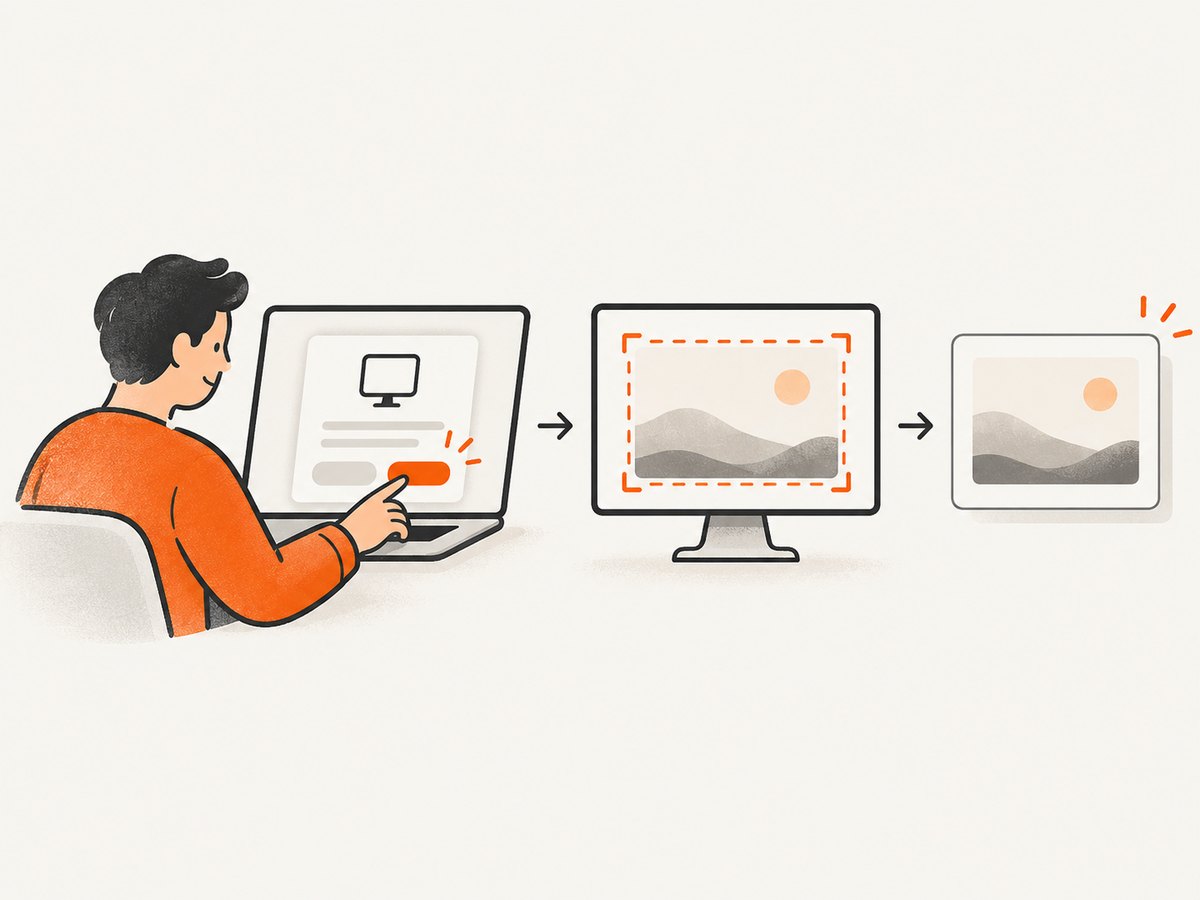
First decide what the screenshot should contain and what the next stage of your app needs. The source selection and output type are separate choices.
| Need | Approach |
|---|---|
| One image of a display, app, or window | SCScreenshotManager.captureImage with a content filter |
| A single frame plus media-buffer metadata | captureSampleBuffer |
| New screenshot output/configuration API | captureScreenshot and SCScreenshotOutput |
| Continuous frames for recording or analysis | SCStream and its output delegate |
| A user should choose what to share | Use Apple’s system SCContentSharingPicker |
Apple documents the image, sample-buffer, screenshot-output, and rectangle capture operations on SCScreenshotManager. Use an image-returning method when a CGImage is enough. Choose a buffer or screenshot-output method when your pipeline needs those API forms or their associated metadata/configuration.
Capture scope matters. A filter can describe a display, window, or application, while rectangle capture is useful when your feature is explicitly about a region. A screenshot is a single frame; don’t build a stream just to save one still image.
2. Add ScreenCaptureKit and request permission
- In Xcode, add ScreenCaptureKit to the macOS target and import it in the Swift source.
- Add
NSScreenCaptureUsageDescriptionto the target’s Info.plist with a clear explanation of why the app captures screen content. - Explain the capture action to the user and handle denial or unavailable content as a normal failure path.
Apple says to request screen-recording permission before capture. The usage-description key belongs in the same setup checklist because permission is a prerequisite, not an optional enhancement. Refer to Apple’s framework guidance for current platform behavior. A denied permission, a changed privacy setting, or a source that is no longer shareable can prevent a useful image from being returned.
If the user should decide which display or window to capture, prefer Apple’s system picker rather than recreating that selection UI. Apple explicitly recommends SCContentSharingPicker for letting people select content sources.
3. Capture and save a display image in Swift
The following macOS app code gets shareable content, selects the first display, builds a filter, requests one image, and writes a PNG. It uses the async throwing overload documented by Apple. Put the function in a macOS target that links ScreenCaptureKit; call it from a user-initiated action in your app. Present the resulting URL or error in your own UI.
import AppKit
import ScreenCaptureKit
import ImageIO
import UniformTypeIdentifiers

@available(macOS 14.0, *)
func capturePrimaryDisplayPNG(to outputURL: URL) async throws {
    let content = try await SCShareableContent.excludingDesktopWindows(
        false,
        onScreenWindowsOnly: true
    )

    guard let display = content.displays.first else {
        throw CaptureError.noDisplay
    }

    let filter = SCContentFilter(
        display: display,
        excludingWindows: []
    )

    let config = SCStreamConfiguration()
    config.width = display.width
    config.height = display.height
    config.showsCursor = true

    let image = try await SCScreenshotManager.captureImage(
        contentFilter: filter,
        configuration: config
    )

    guard let destination = CGImageDestinationCreateWithURL(
        outputURL as CFURL,
        UTType.png.identifier as CFString,
        1,
        nil
    ) else {
        throw CaptureError.cannotCreateFile
    }

    CGImageDestinationAddImage(destination, image, nil)
    guard CGImageDestinationFinalize(destination) else {
        throw CaptureError.cannotWriteImage
    }
}

enum CaptureError: Error {
    case noDisplay
    case cannotCreateFile
    case cannotWriteImage
}

// Example call from an async button action:
// do {
//     let url = FileManager.default.urls(for: .picturesDirectory,
//                                        in: .userDomainMask)[0]
//         .appendingPathComponent("capture.png")
//     try await capturePrimaryDisplayPNG(to: url)
// } catch {
//     // Show a useful error; do not silently treat failure as success.
//     print("Screenshot failed: \\(error)")
// }
The sample sets output dimensions from the selected display and includes the cursor. Change those choices to fit the feature: omit the cursor if the image is for visual analysis, or set smaller dimensions when the downstream task does not need native-size pixels. API availability and signatures depend on the SDK you target; check the SDK’s generated interface and Apple’s current reference before setting your deployment target.
4. Capture a particular window or let the user choose
To capture a particular window, find the intended SCWindow in the shareable content collection, then construct the filter for that window rather than the display. The exact initializer and filtering options should be checked against the SDK version used by your target.
let content = try await SCShareableContent.excludingDesktopWindows(
    false,
    onScreenWindowsOnly: true
)

guard let target = content.windows.first(where: { window in
    window.title == "Report"
}) else {
    throw CaptureError.noDisplay // Replace with a no-matching-window error.
}

let filter = SCContentFilter(desktopIndependentWindow: target)
let config = SCStreamConfiguration()
config.width = target.frame.width > 0 ? Int(target.frame.width) : 1280
config.height = target.frame.height > 0 ? Int(target.frame.height) : 800
let image = try await SCScreenshotManager.captureImage(
    contentFilter: filter,
    configuration: config
)
Window titles are not stable identifiers: they can be empty, localized, duplicated, or change as a document changes. For a robust app, identify the window using the available app/window metadata and your product’s selection rules, then handle the case where it disappears between listing and capture. Don’t assume a requested window is capturable merely because it appeared in a prior enumeration.
When a person should select the source, use SCContentSharingPicker.shared and its documented flow. See Apple’s picker API. The system picker makes source selection an explicit user action and avoids maintaining a parallel picker interface.
5. Configure output and encode the image
SCStreamConfiguration controls capture output for the image and sample-buffer operations. Tune only the settings that matter to the destination:
- Width and height: choose pixel dimensions based on the display/source and intended use. More pixels increase processing and storage needs.
- Cursor: include it for instructional captures; omit it when it would interfere with visual analysis.
- Pixel format and scaling: select formats supported by the API path and downstream pipeline. Avoid conversions you do not need.
- Output form: use
CGImagefor straightforward image encoding; useCMSampleBufferwhen buffer timing or metadata is part of the workflow. - Encoding: the capture API supplies image content, while your app chooses how to store or process it. The example uses ImageIO to write PNG.
For captureScreenshot, use SCScreenshotConfiguration and SCScreenshotOutput as described in the current SDK. Apple also documents rectangle capture, including a rectangle in screen space. Be careful with multi-display coordinates and bounds; a rectangle can cross display boundaries, so validate its size and expected coordinate space rather than assuming it is local to one screen.
6. Troubleshoot common failures
| Symptom | Likely cause | Fix |
|---|---|---|
| Capture throws an authorization or permission error | Screen recording permission was denied or has not been granted | Check the app’s screen-recording privacy setting, include NSScreenCaptureUsageDescription, explain why permission is needed, and let the user retry after changing access. |
| No displays or windows are returned | Content enumeration found no currently shareable source, or the query excludes the target | Check enumeration options, show a clear empty-state message, and retry after the user selects or opens a source. |
| Window lookup fails intermittently | The window closed, changed title, or was not on screen when enumerated | Use stable metadata where possible, re-enumerate immediately before capture, and handle missing windows without crashing. |
| The saved file is missing or invalid | Image destination creation or finalization failed | Check the destination URL and write access; verify the return value of ImageIO destination creation and finalization. |
| Image is unexpectedly scaled or too large | Configured dimensions do not match the intended output or display scale | Set explicit dimensions, confirm the coordinate and pixel units for the chosen source, and inspect output dimensions in the target SDK. |
| Some content is black, blank, or absent | The content may be protected or unavailable to capture | Do not promise universal capture support. Detect and communicate unusable results where practical; the provided material does not establish that every protected surface can be captured. |
| Compiler cannot find an API or initializer | The sample and target SDK/API availability differ | Check the installed SDK declaration and availability annotations; use an API supported by the deployment target or gate newer functionality. |
7. Performance, reliability, and cost
There are no universal latency or throughput figures for a screenshot. Capture time and memory use depend on the Mac, OS version, display resolution, source, and configuration. Large images require more memory to hold and more time to encode or transmit. If you capture repeatedly, avoid overlapping work without bounds: queue or coalesce requests, release image/buffer references promptly, and keep expensive encoding off the main thread.
For reliability, treat enumeration, capture, and file encoding as separate failure points. Re-enumerate shortly before capturing ephemeral windows, report permission errors distinctly, and never publish or upload a file until encoding succeeds. If the product needs continuous capture, use SCStream and account for stream lifecycle and output handling rather than calling a still-image method in a tight loop.
Apple’s macOS API does not charge per screenshot. Your costs are engineering, local processing, storage, and any network transfer or infrastructure your app adds. Reduce dimensions and avoid unnecessary format conversions when the use case allows it; measure on the actual machines and operating-system versions you support instead of relying on invented benchmark numbers.
8. Manual screenshots versus programmatic capture
For a person who only needs a one-time capture, Apple’s built-in Screenshot app supports full-screen, window, and selected-area capture. It is a user tool, not an API for an app that must initiate, process, or automate capture. For a code-driven macOS feature, ScreenCaptureKit is the supported path described above.
Or skip the browser setup
If your goal is a screenshot of a public website rather than the Mac’s display, a hosted browser capture API avoids building and maintaining a browser capture pipeline. ScreenshotNeo is a website screenshot API and MCP server from Yorker Media. One GET request returns an image or PDF. Its capture flow removes cookie/consent banners, newsletter popups, and chat widgets before the shot; bot checks, blank pages, failed loads, timeouts, and cache hits are not billed. Its MCP server provides take_screenshot, get_page_info, and capture_pdf for Claude, Cursor, and other MCP clients. The free plan includes 1,000 screenshots a month with no card; paid plans start at $5 for 3,000. See the ScreenshotNeo API documentation.
curl -G "https://api.screenshotneo.com/v1/shot" -d access_key=YOUR_API_KEY --data-urlencode url=https://stripe.com -o shot.webpimport requests
r = requests.get(
"https://api.screenshotneo.com/v1/shot",
params={"access_key": "YOUR_API_KEY", "url": "https://stripe.com"},
timeout=90,
)
r.raise_for_status()
open("shot.webp", "wb").write(r.content)const q = new URLSearchParams({ access_key: 'YOUR_API_KEY', url: 'https://stripe.com' });
const res = await fetch(`https://api.screenshotneo.com/v1/shot?${q}`);
if (!res.ok) throw new Error(`Screenshot request failed: ${res.status}`);
const image = Buffer.from(await res.arrayBuffer());
await import('node:fs/promises').then(fs => fs.writeFile('shot.webp', image));Create a free ScreenshotNeo account to get 1,000 screenshots a month with no card.
FAQ
What replaces CGWindowListCreateImage?
For a new macOS screenshot implementation, start with ScreenCaptureKit and SCScreenshotManager. Apple’s WWDC23 material describes the newer screenshot API as bringing ScreenCaptureKit benefits to screenshots and mapping older Core Graphics image options to stream configuration. See Apple’s WWDC23 ScreenCaptureKit session.
Do I need to show a permission prompt every time?
Design for the system permission state, not a prompt on every capture. Explain the feature, handle denial, and provide a retry path if a person changes privacy settings.
Should I use the built-in Screenshot app or an API?
Use the built-in app for manual captures. Use ScreenCaptureKit when your own macOS app needs to select, capture, encode, or process screen content from code.
Can I capture a protected video window?
Do not assume so. The framework and permission model do not guarantee that every protected surface will produce capturable pixels.