How to Maximize Screen Space in Non-Headless Puppeteer
Maximize a visible Puppeteer window, remove viewport limits, handle resize timing, and troubleshoot screen dimensions on every platform.
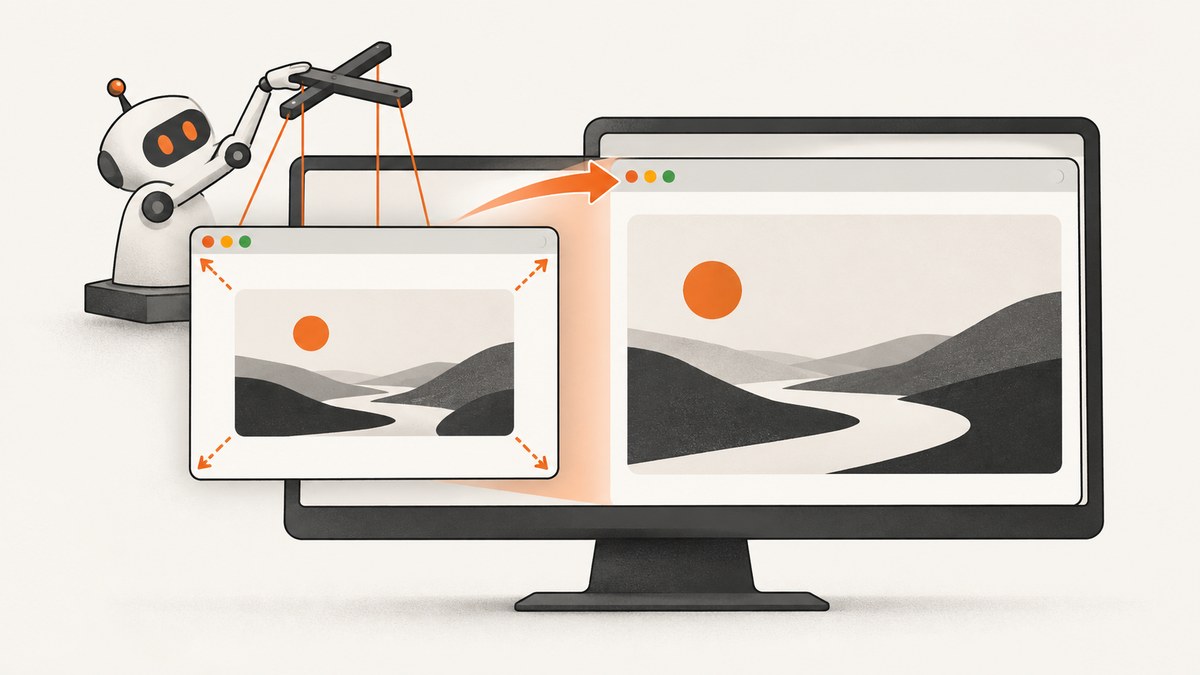
Direct answer: in non-headless Puppeteer, maximizing screen space requires two separate operations. First maximize the native browser window with browser.setWindowBounds(windowId, { windowState: 'maximized' }). Then remove Puppeteer’s default viewport restriction with page.setViewport(null). The first changes the operating-system window; the second lets the page viewport follow the available window setup.
import puppeteer from 'puppeteer';

const browser = await puppeteer.launch({ headless: false });
const page = (await browser.pages())[0];

// Let the page viewport follow the available browser window.
await page.setViewport(null);

const windowId = await page.windowId();
await browser.setWindowBounds(windowId, { windowState: 'maximized' });

console.log(await browser.getWindowBounds(windowId));
await page.goto('https://example.com', { waitUntil: 'networkidle2' });

// Keep the browser open while inspecting it.
await new Promise(() => {});
This combines the two operations documented in Puppeteer’s window-management guide. Check the API available in your installed Puppeteer version before shipping the code, because window controls and experimental APIs can change.
1. Window size and viewport size are different
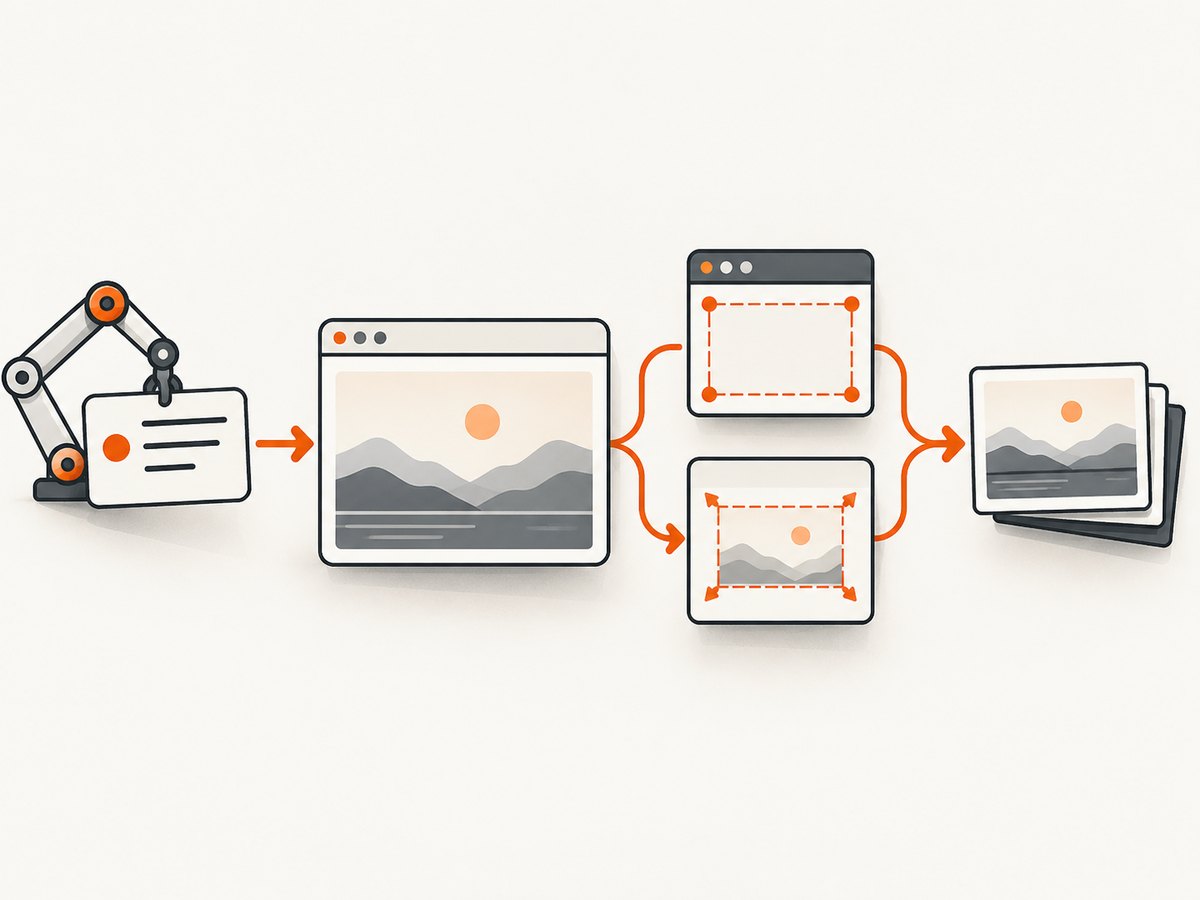
A visible Chrome window has an outer frame containing tabs, the address bar, toolbars and the page. The page has its own viewport inside that frame. These dimensions often differ by dozens of pixels, and changing one does not automatically change the other.
| Control | What it changes | Typical use | Important caveat |
|---|---|---|---|
Browser.setWindowBounds |
Native browser window state and outer bounds | Maximize the visible window on the current desktop | Requires a valid window ID and a supported window context |
page.setViewport(null) |
The page’s viewport restriction | Allow the viewport to follow the available browser window | Default behavior depends on Puppeteer version and launch setup |
Page.resize |
Content width and height, excluding browser UI | Request exact content dimensions | Marked experimental; inner and outer dimensions differ |
--screen-info and --window-size |
Synthetic screen settings in headless operation | Emulate a display for headless tests | --screen-info is headless-only |
If your goal is “make the visible window fill the monitor,” use window bounds. If your goal is “make the web page render at a particular width,” use a viewport or content resize. For reliable automation, decide which of those two outcomes you actually need before writing the rest of the script.
2. Complete non-headless example
The following script launches a visible browser, clears the default viewport constraint, maximizes the native window, waits for navigation, and reports the dimensions that the page actually received.
import puppeteer from 'puppeteer';

const browser = await puppeteer.launch({
  headless: false,
  // Keep other launch arguments minimal. Native maximization is done by the API.
});

try {
  const pages = await browser.pages();
  const page = pages[0] ?? await browser.newPage({ type: 'window' });

  // Do this before navigation when layout depends on the viewport.
  await page.setViewport(null);

  const windowId = await page.windowId();
  await browser.setWindowBounds(windowId, { windowState: 'maximized' });

  await page.goto('https://example.com', {
    waitUntil: 'networkidle2',
    timeout: 60_000,
  });

  // The resize is asynchronous on some platforms. Read settled values in the page.
  await page.waitForFunction(() => window.innerWidth > 0 && window.innerHeight > 0);
  const dimensions = await page.evaluate(() => ({
    innerWidth: window.innerWidth,
    innerHeight: window.innerHeight,
    outerWidth: window.outerWidth,
    outerHeight: window.outerHeight,
    devicePixelRatio: window.devicePixelRatio,
  }));

  console.log({ windowId, dimensions });
  await new Promise(() => {});
} finally {
  // Remove this finally block while debugging interactively if you want the window
  // to remain open after an exception.
  // await browser.close();
}
The official example obtains an ID with page.windowId() and passes it to browser.setWindowBounds. In projects that create a page explicitly, follow the page type and browser context used by your installed version; a normal page and a window page are not interchangeable in every setup.
3. Remove the default viewport restriction
Puppeteer can apply a fixed viewport even while Chrome is visibly maximized. That leaves unused space around the page or causes responsive breakpoints to behave as if the browser were small. Calling await page.setViewport(null) removes that restriction in the documented example.
Set the viewport before navigation whenever possible. Many sites calculate layout, load responsive assets, or choose a mobile experience during the first document request. The Page.setViewport API reference also warns that changing mobile or touch emulation can reload a page. Treat a viewport change as a layout-changing operation, not as a cosmetic adjustment.
const page = await browser.newPage();
await page.setViewport(null);
await page.goto('https://example.com', { waitUntil: 'domcontentloaded' });
If you need reproducible dimensions instead of “whatever space the desktop provides,” use explicit values:
await page.setViewport({
  width: 1600,
  height: 900,
  deviceScaleFactor: 1,
  isMobile: false,
  hasTouch: false,
});
Explicit dimensions are better for screenshot baselines and visual tests. A maximized window is better for manual inspection, demonstrations and workflows that must use the operator’s actual display.
4. Exact content dimensions with Page.resize
Puppeteer’s window-management guide also demonstrates Page.resize({ contentWidth, contentHeight }). This targets the content area, excluding browser chrome. It is marked experimental, so use it only when you specifically need content dimensions and can verify behavior against your Puppeteer version.
await page.resize({
  contentWidth: 1440,
  contentHeight: 900,
});

// The inner size changes asynchronously.
await page.evaluate(() => new Promise(resolve => {
  if (window.innerWidth === 1440 && window.innerHeight === 900) {
    resolve();
    return;
  }
  const done = () => {
    window.removeEventListener('resize', done);
    resolve();
  };
  window.addEventListener('resize', done, { once: true });
}));

console.log(await page.evaluate(() => ({
  innerWidth: window.innerWidth,
  innerHeight: window.innerHeight,
})));
Do not infer the outer window size from these values. Browser UI consumes space, and operating-system decorations vary by platform. Always measure window.innerWidth and window.innerHeight when the next action depends on the settled page area.
5. Maximize versus full-screen and command-line flags
windowState: 'maximized' asks the operating system to maximize the native window. It does not mean kiosk mode or borderless full-screen. Those are platform-specific behaviors and should not be substituted casually in automation.
--window-size=1920,1080 requests a fixed size; it does not guarantee a maximized window on every desktop. Monitor scaling, taskbars, window managers and remote-display software can all change the usable area. Use the native window-state API when the requirement is “use the available screen.”
The screen-configuration guide documents --screen-info for headless screen emulation. Its documented default headless screen is 800×600 when no screen switch is supplied, unless --window-size is specified. That information applies to headless configuration; it is not evidence that a headful Chrome window will maximize to those dimensions.
6. Multi-monitor and remote-display behavior
Headful Chrome uses the physical screens exposed by the operating system. A maximized window normally fills the screen where the window currently resides, but desktop environments differ in how they handle docks, reserved panels, fractional scaling and disconnected monitors.
- Start the browser on the intended display before maximizing, or move it using an operating-system tool when your test requires a specific monitor.
- Run the same measurement code on local and remote sessions. RDP, VNC, containers and virtual displays can report different usable dimensions.
- Do not hard-code a monitor resolution as a substitute for measuring
innerWidthandinnerHeight. - When a display disconnects, expect the window manager to restore or resize the window. Re-read bounds before taking a screenshot.
7. A reliable screenshot sequence
For a screenshot that should use the maximized page area, perform the operations in this order:
- Launch with
headless: false. - Obtain a page that belongs to a supported window context.
- Call
page.setViewport(null), or set explicit dimensions if reproducibility matters. - Obtain
page.windowId()and maximize withsetWindowBounds. - Navigate and wait for the intended readiness condition.
- Wait for a resize event or a stable dimension check.
- Measure the page viewport and take the screenshot.
await page.setViewport(null);
const id = await page.windowId();
await browser.setWindowBounds(id, { windowState: 'maximized' });
await page.goto('https://example.com', { waitUntil: 'networkidle2' });
await page.waitForFunction(() => document.readyState === 'complete');
await page.screenshot({ path: 'maximized.png' });
For a full-page image, use fullPage: true. That captures the document’s scrollable height and is different from maximizing the visible viewport:
await page.screenshot({
  path: 'full-page.png',
  fullPage: true,
});
8. Troubleshooting common failures
| Symptom | Likely cause | Fix |
|---|---|---|
windowId() fails or returns an unusable ID |
The page is not associated with a supported window context, or the browser version lacks the method | Use the window creation pattern shown in the installed version’s guide, update Puppeteer if appropriate, and verify the page type before calling window APIs |
| The outer window is large but the page remains narrow | A fixed Puppeteer viewport is still active | Call await page.setViewport(null) before navigation, or set the exact viewport you need |
| The screenshot is taken at the old size | Window resizing has not settled | Wait for a resize event or poll window.innerWidth and window.innerHeight before capture |
Page.resize changes do not persist |
The API is experimental or another emulation call overwrote the size | Check the versioned API, apply resizing after other viewport calls, and log the resulting inner dimensions |
| Maximized dimensions differ between machines | OS chrome, scaling, taskbars or virtual displays differ | Measure actual dimensions; avoid using a hard-coded monitor resolution as a test invariant |
| Headless flags appear to have no effect in visible mode | --screen-info is intended for headless screen configuration |
Use native window bounds for headful Chrome and reserve screen emulation flags for headless runs |
| Changing mobile settings reloads the page | Puppeteer may reload when isMobile or hasTouch changes |
Set the intended emulation before navigation and wait for the reload to finish |
9. Performance, reliability and cost considerations
Maximizing a native window adds little CPU work, but a larger viewport can make the page load more images, fonts and responsive components. Full-page screenshots can also require more memory because the captured surface is taller. For repeatable visual tests, explicit dimensions reduce variance and make image comparison cheaper to store and process.
Use waitUntil: 'domcontentloaded' when you only need the initial document quickly, and use networkidle2 when late network requests affect layout. Neither condition guarantees that web fonts, animations or lazy images have finished. Add a selector wait, a short delay, or an application-specific readiness check when those assets matter.
Do not maximize a window in every parallel worker unless the test genuinely needs a visible desktop. Headful workers compete for the same display and can interfere with one another. Fixed viewports in isolated browser contexts are generally more reliable for CI.
10. Or skip the browser setup
If your goal is a clean image or PDF rather than interactive desktop automation, ScreenshotNeo provides a single HTTP request. Its API accepts the URL and returns PNG, JPEG, WebP or PDF. Before capture it accepts cookie and consent banners and removes more than 60 known consent platforms, newsletter popups and chat widgets; each step can be disabled.

Only clean shots are billed. Bot checks or CAPTCHAs, blank pages, timeouts, failed loads and cache hits cost nothing, and the response identifies the result with X-Page-Verdict and X-Billed headers. ScreenshotNeo also provides an MCP server with take_screenshot, get_page_info and capture_pdf tools for Claude, Cursor and other MCP clients.
See the ScreenshotNeo API documentation for all options. The basic call is:
curl -G "https://api.screenshotneo.com/v1/shot" \
  -d access_key=YOUR_API_KEY \
  --data-urlencode url=https://stripe.com \
  -o shot.webp
import requests
r = requests.get(
"https://api.screenshotneo.com/v1/shot",
params={"access_key": "YOUR_API_KEY", "url": "https://stripe.com"},
timeout=90,
)
r.raise_for_status()
open("shot.webp", "wb").write(r.content)const q = new URLSearchParams({
access_key: 'YOUR_API_KEY',
url: 'https://stripe.com'
});
const res = await fetch(`https://api.screenshotneo.com/v1/shot?${q}`);
if (!res.ok) throw new Error(`Screenshot failed: ${res.status}`);
const fs = await import('node:fs/promises');
await fs.writeFile('shot.webp', Buffer.from(await res.arrayBuffer()));You can request full-page captures, a CSS-selected element, dark mode, device presets or custom viewports; set retina scale, PDF paper and margins, custom CSS or JavaScript, clicks, waits, blocked resources, headers, cookies, user agents, authorization, timezone and geolocation. Other options include transparent backgrounds, resizing, a chosen cache TTL, signed links, asynchronous jobs with signed webhooks, bulk capture for up to 100 URLs per call, usage reporting and an OpenAPI specification.
ScreenshotNeo has 1,000 screenshots per month free with no card. Paid plans start at $5 for 3,000 shots; yearly billing gives two months free, and every feature is available on every plan. Create a free ScreenshotNeo account to try the API.
11. Frequently asked questions
Does maximizing also make the page full-screen?
No. Maximizing fills the available desktop window while retaining browser chrome. Full-screen and kiosk modes are separate, platform-dependent behaviors.
Should I use setViewport(null) in CI?
Use it when the test should follow the display provided by the CI environment. Use explicit width and height when pixel-level reproducibility matters.
Why is window.innerWidth smaller than my monitor?
It measures the page content area, excluding tabs, toolbars, borders, taskbars and other reserved space. That difference is expected.
Can --screen-info maximize a visible browser?
No. Puppeteer documents that switch for headless screen configuration. Use setWindowBounds for a headful window.
When should I choose full-page capture?
Choose it when you need the entire scrollable document. Choose a maximized viewport when you need to reproduce what a user sees inside a desktop window.