BlogScreenshots on your device
How to Take Multiple Screenshots in Windows 10
Use Snipping Tool to capture and save several regions or windows in Windows 10. Learn the shortcuts, where screenshots go, and how to fix common capture problems.
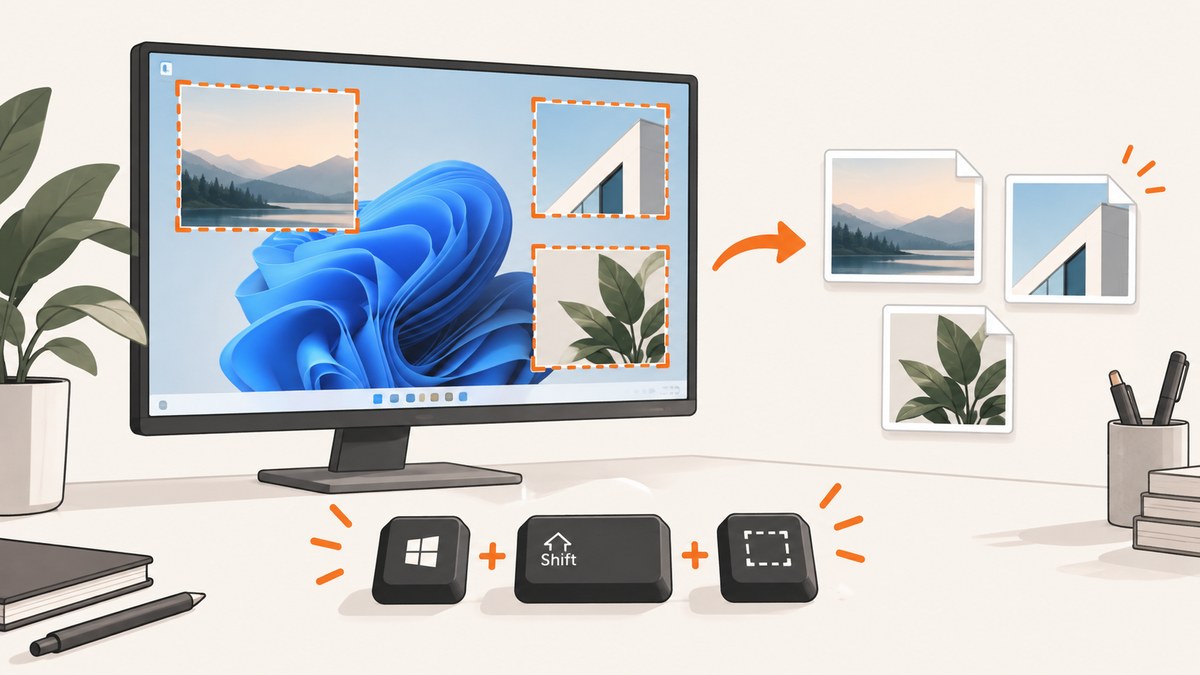
To take multiple screenshots in Windows 10, press Windows + Shift + S, choose a snipping mode, capture the first area, then open the capture in Snipping Tool and press Alt + N for another snip in the same mode. Save each image with Ctrl + S, or check Snipping Tool settings to confirm automatic saving and its destination. This built-in workflow is enough for most one-off or repeated screenshots; no separate app is required. Microsoft documents these modes, shortcuts, and save controls.
1. Take several screenshots with Snipping Tool
Snipping Tool is the most flexible built-in option when you need several separate captures. It can capture a rectangle, a freeform area, a window, or the whole screen. You can repeat a capture without reopening the tool each time.

- Arrange the window or screen content you want to capture.
- Press Windows + Shift + S. The screen dims and the snipping overlay appears.
- Choose a mode: rectangle, freeform, window, or full screen. Select the area or window as prompted.
- Open the capture notification if you need to annotate it or choose a specific filename. Snipping Tool receives the capture, and the snip is copied to the clipboard.
- Press Alt + N to start another snip using the last mode. Repeat for each region or window.
- Save each capture with Ctrl + S or the Save control. Give files distinct names if you need a particular order.
For example, choose Window mode and select one application window, then press Alt + N and select another. Or use Rectangle mode repeatedly to capture individual charts or panels from the same screen. The shortcut starts the next capture in the same mode, so switch modes in Snipping Tool if the next item needs a different shape.
Choose the right snipping mode
| Mode | Use it for | How selection works |
|---|---|---|
| Rectangle | A specific region, dialog, chart, or panel | Drag a rectangle around the content. |
| Freeform | An irregular area where you want to omit surrounding screen content | Draw a freeform outline around the target. |
| Window | One application window or dialog | Select the target window when prompted. |
| Full screen | Everything visible on the display | The screen is captured as a whole. |
A screen snip captures what is visible on the display. It does not create a long, scrolling capture of a web page or document. If the content extends below the screen, scroll and take additional captures, or use an application that supports full-page capture.
2. Save and organize each capture
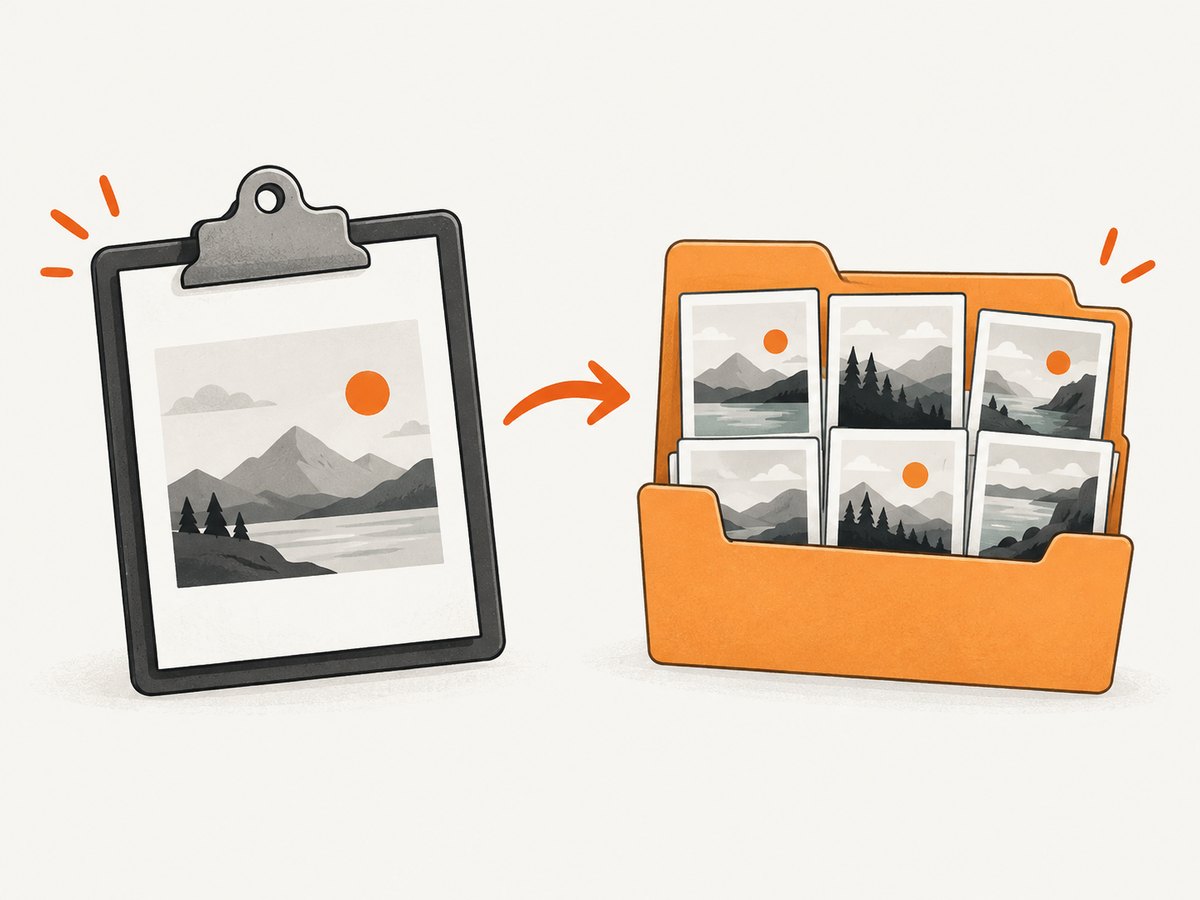
There are two different destinations to keep in mind: the clipboard, which lets you paste a capture into another app, and a file, which remains saved under a name and location. A clipboard image is not a reliable substitute for confirming a saved file.
Where does Snipping Tool save screenshots?
Microsoft’s current Snipping Tool guidance says a capture is automatically saved in the Screenshots folder. It also says you can change automatic-save behavior and the default folder under Snipping Tool’s Settings. App versions and settings can vary, so if a file is missing, open Snipping Tool, inspect Settings, and use Save as to choose a known folder and filename. The keyboard shortcut Ctrl + S saves the current snip.
To keep a set of captures orderly, use a folder for the task and name files consistently, for example checkout-01.png, checkout-02.png, and checkout-03.png. Snipping Tool’s Save as control lets you select a location and filename. If you rely on automatic saving, verify the configured destination before taking a large batch.
Use a delay for menus and transient content
Some menus disappear as soon as you move to the snipping overlay. In Snipping Tool, choose a delay of one to five seconds, select the snipping mode, and start the capture. Open the menu during the countdown, then select the area when capture begins. Microsoft lists Alt + D as a delay shortcut in Snipping Tool.
3. Other Windows screenshot shortcuts
Use these when you want a quick clipboard capture or a whole-screen file instead of choosing a region in the snipping overlay.
| Shortcut | Captures | Result |
|---|---|---|
| Alt + Print Screen | The active window | Copies the screenshot to the clipboard. Paste with Ctrl + V. |
| Print Screen | The entire screen | Copies the screenshot to the clipboard. Paste it into an app to use or save it. |
| Windows + Print Screen | The entire screen | On supported hardware, saves a screenshot under Pictures > Screenshots. |
| Windows + Shift + S | A selected area, window, or screen, depending on mode | Opens the snipping overlay; edit or save the result in Snipping Tool. |
With Alt + Print Screen, click the window first so it is active, press the keys, and paste into an image editor or document. This is convenient for a single window but does not itself create a named image file. The Windows + Print Screen shortcut depends on keyboard and device behavior. If your keyboard lacks a Print Screen key, Microsoft documents Fn + Windows + Space as an alternative on applicable devices. The snipping overlay remains a straightforward option.
4. Or skip the browser setup
If you need screenshots of websites rather than your Windows desktop, ScreenshotNeo is a website screenshot API and MCP server. One GET request can return an image or PDF. This is useful when captures belong in a script, application, or AI agent workflow instead of being taken manually from the desktop. See the ScreenshotNeo API documentation for request options.
curl -G "https://api.screenshotneo.com/v1/shot" -d access_key=YOUR_API_KEY --data-urlencode url=https://stripe.com -o shot.webpimport requests
r = requests.get(
"https://api.screenshotneo.com/v1/shot",
params={"access_key": "YOUR_API_KEY", "url": "https://stripe.com"},
timeout=90,
)
open("shot.webp", "wb").write(r.content)const q = new URLSearchParams({ access_key: 'YOUR_API_KEY', url: 'https://stripe.com' });
const res = await fetch(`https://api.screenshotneo.com/v1/shot?${q}`);- Cookie banners are accepted and removed before the shot, along with supported newsletter popups and chat widgets; each step can be turned off.
- Bot checks, blank pages, timeouts, failed loads, and cache hits are not billed. Response headers report the page verdict and billing status.
- An MCP server gives AI agents tools to take screenshots, get page information, and capture PDFs.
- The free plan includes 1,000 screenshots a month with no card. Paid plans start at $5 for 3,000 screenshots.
Create a free ScreenshotNeo account to get 1,000 screenshots a month with no card.
5. Troubleshooting multiple screenshots
| Problem | Likely cause | What to do |
|---|---|---|
| Windows + Shift + S does nothing | The shortcut may be intercepted, the app may be unavailable, or this Windows installation may behave differently. | Open Start, search for Snipping Tool, and launch it directly. Use its New control. Check keyboard layout and device shortcuts if the key combination is intercepted. |
| The screenshot is not in the folder expected | Automatic saving or the default destination may differ by app version or settings. | Open Snipping Tool Settings to review automatic-save behavior and folder. Use Save as and select a known folder. |
| The next snip does not start in the expected mode | Alt + N repeats the last mode. | Choose the intended mode in Snipping Tool, then start a new snip. |
| A menu closes before it is captured | The capture overlay takes time to open and the menu is transient. | Set a one-to-five-second delay, start the capture, then open the menu during the countdown. |
| Print Screen opens a tool or appears to do nothing | Key behavior can depend on hardware and Windows settings. | Use Windows + Shift + S, launch Snipping Tool directly, or check for an Fn key combination on the device. |
| Nothing appears after using a clipboard shortcut | The shortcut copied an image rather than saving a file. | Paste with Ctrl + V into an app, then save the image there, or make and save a snip in Snipping Tool. |
| Several captures get mixed up | They may have similar names or be saved in different locations. | Use Save as after each capture, choose one folder, and apply a numbered naming pattern. |
6. Reliability, image quality, and workflow notes
For repeat captures, the dependable routine is to select the mode once, capture, save, and use Alt + N for the next item. Save captures as you go if they matter; clipboard contents are temporary and can be replaced by another copy operation. If you are documenting a sequence, number the files in capture order and confirm the final folder before sharing them.
Snipping Tool captures the screen as displayed. Make sure the target window is visible and unobstructed, arrange other windows, and consider display scaling if fine details are hard to read. An active-window capture can reduce surrounding clutter; a rectangle gives more control over the exact edges. Delay helps capture dropdowns and menus that disappear during selection.
There is no per-screenshot service cost for these built-in Windows methods. The tradeoff is manual work: each capture requires a person to select or trigger it and save the result. If you need the same website captured repeatedly, at scale, or from an automated process, an API can return screenshots directly to code. For desktop documentation, use the built-in tool and verify files rather than adding an unnecessary service.
7. Quick checklist
- Use Windows + Shift + S for a selected region, window, or full screen.
- Choose Rectangle, Freeform, Window, or Full screen based on what belongs in the capture.
- Open the result in Snipping Tool when you need annotation or a named file.
- Press Alt + N to capture another snip in the same mode.
- Use Ctrl + S or Save as, then confirm the destination.
- Use a delay for menus and other content that disappears quickly.
- Remember that Print Screen shortcuts may copy to the clipboard instead of saving a file.
8. Frequently asked questions
Can I take multiple screenshots without closing Snipping Tool?
Yes. After a capture, press Alt + N in Snipping Tool to create another snip using the same mode.
Can Windows combine multiple screenshots into one image?
The documented snipping workflow creates separate captures. If you need a single composite, save the captures and arrange them in an image editor or document.
Can I capture a scrolling web page with this method?
These screen snips capture visible screen content. For content longer than the display, take multiple captures while scrolling or use a tool that supports full-page website capture.
Do screenshots save automatically in Windows 10?
Microsoft’s current Snipping Tool guidance says captures are automatically saved to Screenshots, and the setting and folder can be changed. Check the installed app’s Settings if your Windows 10 device behaves differently.


