BlogScreenshots on your device
Can Power Automate Take Screenshots? A Practical Guide
Yes. Learn which Power Automate Desktop action to use for webpages, apps, screens and windows, plus setup, troubleshooting and an API alternative.
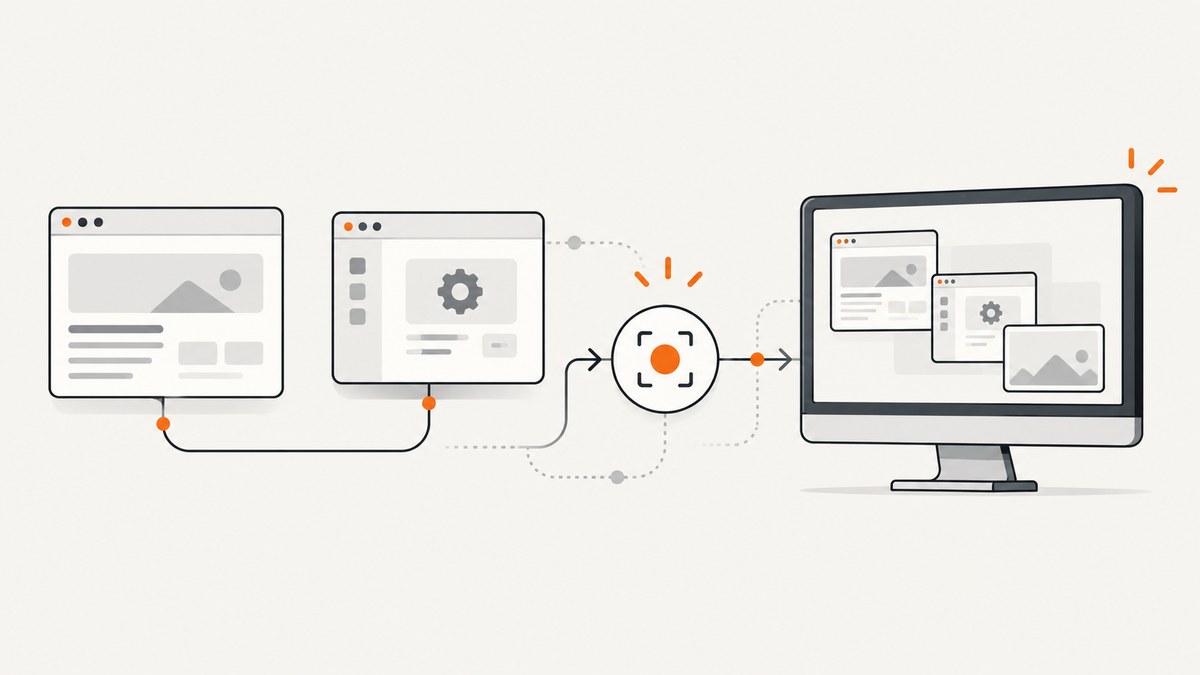
Yes. Power Automate for desktop can capture a webpage, a web element, a desktop UI element, a screen or the foreground window. The correct action depends on what you need to capture. A cloud flow does not capture a user’s live desktop by itself; it can trigger a configured desktop flow that performs the capture.
Which Power Automate screenshot action should you use?
| What you need | Action | Automation context | Output |
|---|---|---|---|
| Whole webpage or element in a browser | Take screenshot of web page | Browser automation | File or clipboard |
| Control inside a desktop application | Take screenshot of UI element | UI automation | File or clipboard |
| Monitor, selected display or active window | Take screenshot | Workstation | File or clipboard |
Browser actions use web UI elements. Desktop UI automation uses desktop elements. Keep these selector types separate when building your flow.
Capture a webpage with Power Automate Desktop
Step 1: Create or attach to a browser
- Add a browser-launch action or an action that attaches to an existing browser instance.
- Open the target URL and wait until the page is ready.
- Use a browser automation action to identify the page or the specific web element.
Browser automation cannot open or attach to a browser opened under a different system user. Confirm that the browser extension or compatible WebDriver required by your setup is installed and enabled.
Step 2: Add “Take screenshot of web page”
- Choose Entire web page for a full page capture, or Specific element for one element.
- For a specific element, select the web UI element captured from the browser. Do not substitute a desktop UI selector.
- Choose File or Clipboard as the destination.
- If saving to a file, enter a full path and select one of the formats supported by the action: BMP, EMF, EXIF, GIF, JPG, PNG, TIFF or WMF.
- Run the flow and verify that the destination is writable.
Example flow outline
1. Launch new Chrome (or attach to an existing browser)
2. Navigate to https://example.com
3. Wait for page content or a chosen web element
4. Take screenshot of web page
   - Capture: Entire web page
   - Output: File
   - Path: C:\\captures\\example.png
5. Close browser
Full page versus specific element
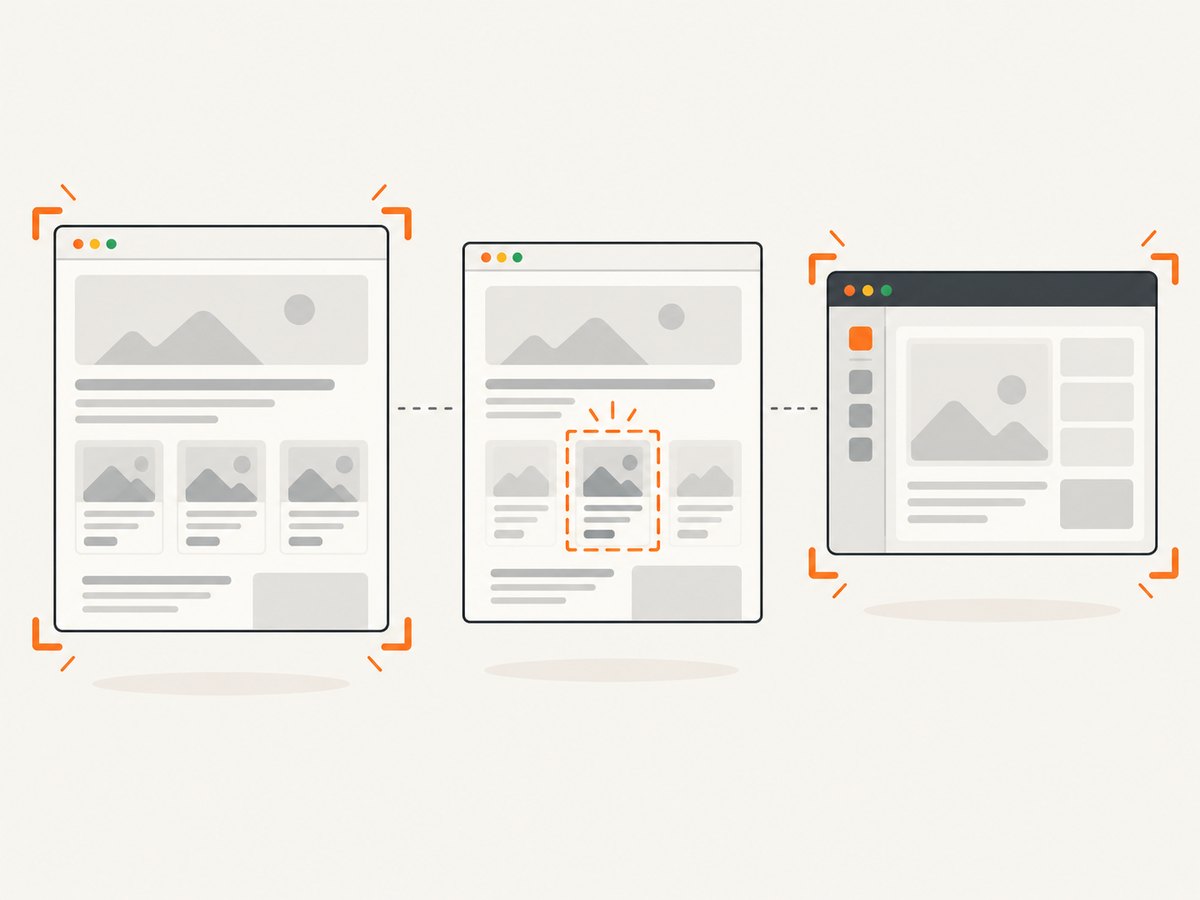
Use an entire-page capture for documentation, archival pages and visual regression checks. Use a specific element when you need a chart, invoice, product card or other region without browser chrome or unrelated content. Element capture depends on the selector still matching the rendered page.
Capture a desktop application element
- Open or attach to the desktop application.
- Use UI automation to indicate the control or region you want to capture.
- Add Take screenshot of UI element.
- Choose file or clipboard output, then select a supported image format.
- Save to a full path if another step, report or Word document must consume the image.
This action is for controls inside desktop applications. A browser page captured through UI automation is a different scenario from a web page captured through browser automation.
Capture a screen or foreground window
- Add the Workstation action Take screenshot.
- Choose All screens, Primary screen, a Selected screen or the Foreground window.
- Select file or clipboard output.
- Provide a writable path when saving a reusable image.
Foreground-window capture is useful for documenting the active application. Screen capture is appropriate when the target is not exposed as a browser or desktop UI element.
Saving screenshots for later steps
Choose file output when the image must be attached to an email, inserted into a document, uploaded or retained after the flow ends. Use clipboard output when the next action immediately pastes the image into another application. File paths should be absolute, and the running account needs write access to the directory.
Calling screenshot capture from a cloud flow
The built-in screenshot actions belong to Power Automate for desktop. A standard cloud flow cannot capture a user’s live desktop on its own. A cloud flow can use Run a flow built with Power Automate for desktop to invoke a desktop flow, provided the machine is registered, the work or school account and desktop-flow connection are configured, and the applicable attended license or unattended add-on is available.
- Register the target machine and ensure it is online for the run mode you selected.
- Create the desktop flow containing the browser, UI or Workstation screenshot action.
- Build the cloud flow and add the action that runs the desktop flow.
- Pass inputs such as URL, output path or capture mode as desktop-flow inputs.
- Return the generated file path or upload the image from the desktop flow so later cloud actions can use it.
Capturing each step for debugging
For unattended troubleshooting, place screenshot actions immediately before and after the step that fails. The pair shows the state entering the action and the state after it. Include the browser page, desktop control or foreground window that matters to the failure. Check for blocking prompts, sign-in dialogs and permission windows.
Common errors and fixes
| Error or symptom | Likely cause | Fix |
|---|---|---|
| Web element cannot be found | Selector changed, page is not ready, or the wrong element type was used | Wait for the element, recapture the web UI element, and confirm browser automation is being used. |
| Screenshot file is not created | Directory does not exist or the account cannot write there | Create the directory, use an absolute path and grant the run account write access. |
| Clipboard output is empty | Clipboard is unavailable or another process replaced its contents | Use file output for durable results, or add synchronization before the paste step. |
| Browser attach fails | The browser belongs to another system user or the required extension/WebDriver is missing | Run under the same system user and verify the browser automation prerequisites. |
| Desktop element capture fails | The application control cannot be retrieved | Re-indicate the UI element, keep the application visible and confirm the desktop UI selector is valid. |
| Unattended screen capture fails around UAC | A security policy prevents access to the UAC prompt | Review the machine’s UAC and security policy configuration. Treat this as a specific documented cause, not a universal explanation. |
| Capture shows a loading or login page | The flow captured before navigation or authentication completed | Wait for a reliable selector, add an appropriate delay or wait for the page state before capturing. |
Reliability checklist
- Use a stable selector instead of a position that changes with layout.
- Wait for a meaningful page element before capturing.
- Keep browser and desktop selectors in their respective automation groups.
- Use absolute, writable file paths.
- Capture before and after fragile steps in unattended runs.
- Record the capture mode and output path in flow logging.
- Close browsers and applications when the flow finishes to avoid stale sessions.
Performance and cost considerations
Full-page captures and pages with many images take longer than a single-element capture. Waiting for a selector is generally more reliable than using a fixed delay, while a short delay can help when content appears after the selector is present. Clipboard transfers add an extra handoff; file output is usually easier to pass between steps.
Cloud-flow and desktop-flow licensing, machine availability and attended versus unattended execution determine operational cost. The screenshot actions themselves do not provide a separate image-service price; they run as part of your Power Automate environment.
Or skip the browser setup
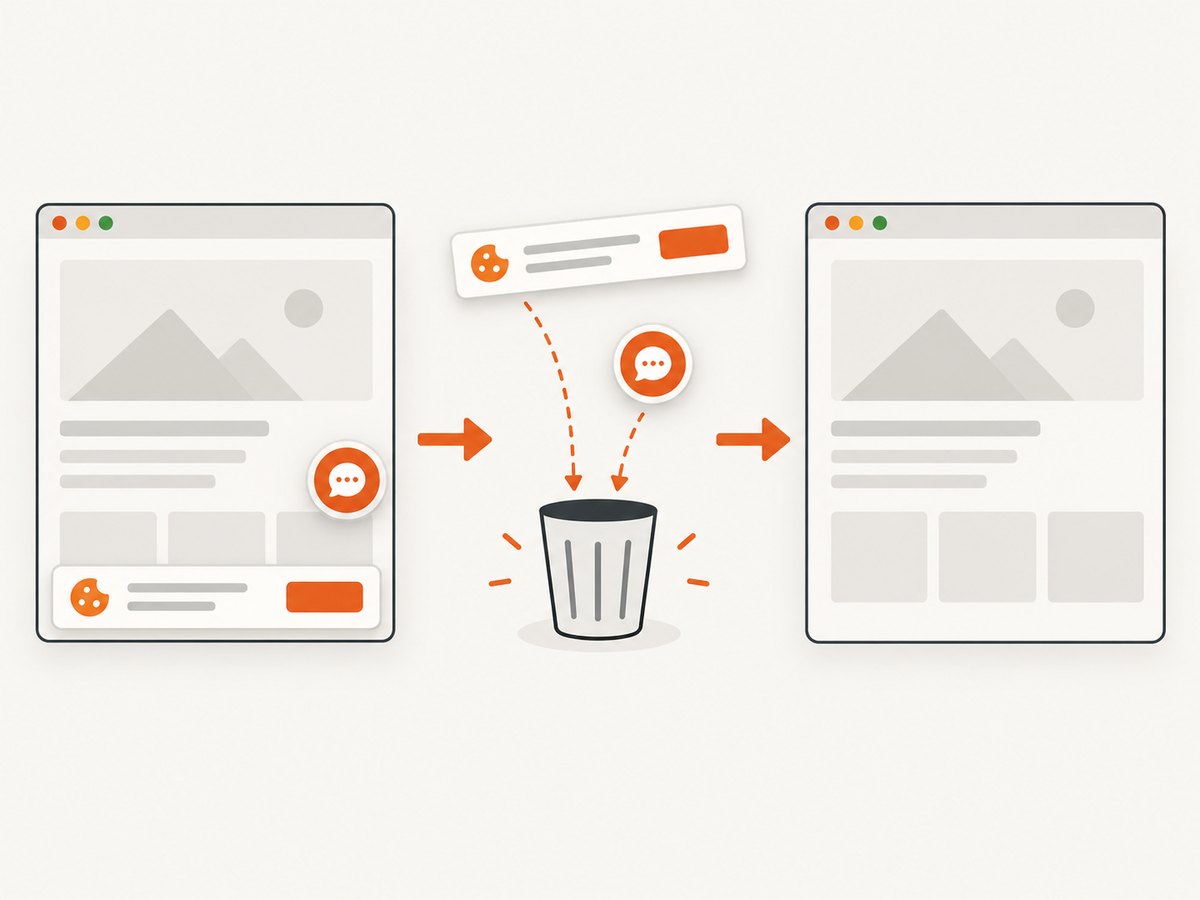
If you need a repeatable website screenshot without maintaining a browser session, ScreenshotNeo provides a GET-based screenshot API. It accepts a URL and returns PNG, JPEG, WebP or PDF. Cookie and consent banners are accepted and 60+ known consent platforms, newsletter popups and chat widgets are removed before capture; each step can be disabled. Bot checks, blank pages, timeouts, failed loads and cache hits are not billed, and response headers identify the page verdict and billing result. An MCP server also lets Claude, Cursor and other MCP clients call take_screenshot, get_page_info and capture_pdf.
See the ScreenshotNeo API documentation for all options.
curl -G "https://api.screenshotneo.com/v1/shot" -d access_key=YOUR_API_KEY --data-urlencode url=https://stripe.com -o shot.webpimport requests
r = requests.get("https://api.screenshotneo.com/v1/shot", params={"access_key": "YOUR_API_KEY", "url": "https://stripe.com"}, timeout=90)
open("shot.webp", "wb").write(r.content)const q = new URLSearchParams({ access_key: 'YOUR_API_KEY', url: 'https://stripe.com' });
const res = await fetch(`https://api.screenshotneo.com/v1/shot?${q}`);ScreenshotNeo supports full-page and element capture, device presets, custom viewports, dark mode, retina scale, PDF settings, custom CSS and JavaScript, clicks, waits, blocking rules, headers, cookies, user agents, authorization, timezone, geolocation, transparent backgrounds, resizing, caching, signed links, async webhooks, bulk capture and usage reporting. Every plan includes every feature. The free plan includes 1,000 screenshots a month with no card; paid plans start at $5 for 3,000.
Create a free ScreenshotNeo account and get 1,000 screenshots each month with no card.
FAQ
Can a cloud flow take a screenshot without a desktop flow?
No. Use a desktop flow for the built-in browser, UI automation and Workstation screenshot actions, then invoke it from the cloud flow.
Which format should I choose?
Choose from the formats exposed by the action based on what the next step accepts. Microsoft documents BMP, EMF, EXIF, GIF, JPG, PNG, TIFF and WMF for webpage capture; do not assume one format is best for every workflow.
Can I capture only one control on a webpage?
Yes. Use Take screenshot of web page, select Specific element and provide a web UI element.
Why does my selector work interactively but fail unattended?
The page may load differently, a prompt may block it, or the unattended account may not have the same browser session and permissions. Add state-based waits, capture before and after the failing step, and verify the unattended machine context.


