How to Use Puppeteer MCP for Browser Automation and Screenshots
Install Puppeteer MCP, connect it to an MCP client, automate browser tasks, and capture reliable full-page or element screenshots.
Short answer: install Node.js and Puppeteer, register an MCP Puppeteer server in your MCP client, reload the client, then use browser tools to navigate, interact, wait for a stable state, and capture a screenshot. A minimal capture looks like this:
puppeteer_navigate({"url":"https://example.com"})
puppeteer_screenshot({"name":"example-home","fullPage":true})
Puppeteer is a JavaScript library that controls Chrome or Firefox through the Chrome DevTools Protocol or WebDriver BiDi. It runs headless by default and can navigate pages, fill forms, click controls, execute JavaScript, generate PDFs, and capture screenshots. The official documentation describes the API and supported browsers at pptr.dev; Chrome’s guide covers screenshot and automation workflows at Chrome for Developers.
What Puppeteer MCP adds
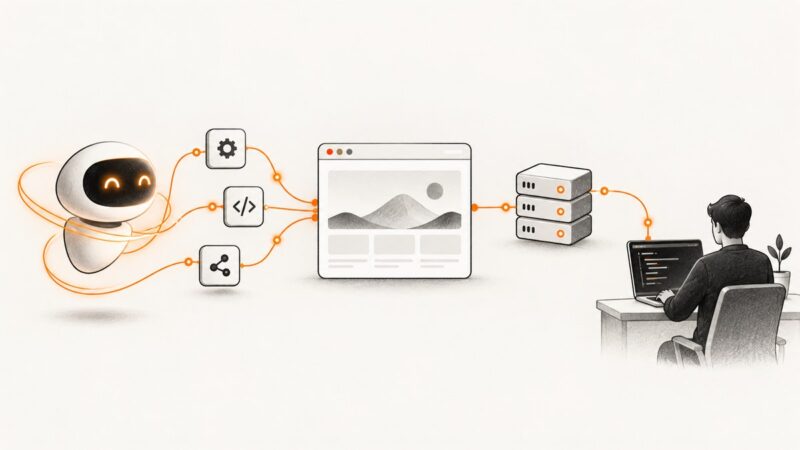
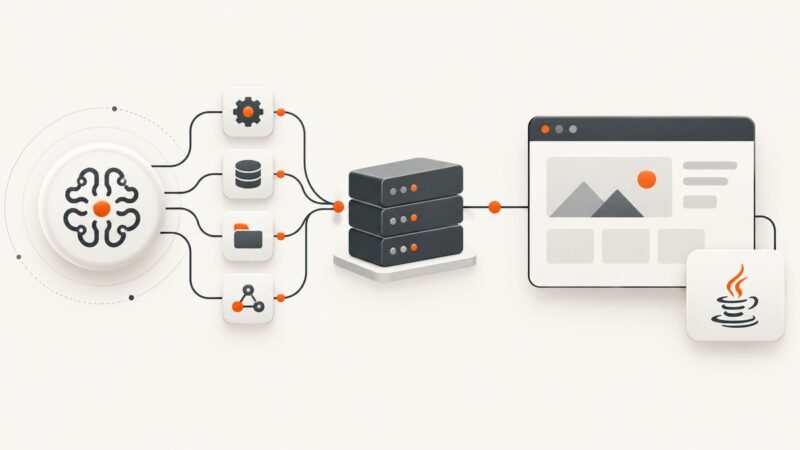
MCP (Model Context Protocol) lets an MCP-capable assistant call tools exposed by a server. A Puppeteer MCP server provides browser operations such as navigation, screenshots, JavaScript execution, and launch configuration. Community servers may also expose clicking, hovering, form filling, cookies, request interception, console logs, and connection to an already-running Chrome instance.
The assistant still needs a browser session. The MCP layer translates a tool call into Puppeteer operations; it does not remove the need to install or run Chromium unless you deploy it in a container or use a hosted browser.
Prerequisites
- Node.js and npm installed on the machine running the MCP server.
- An MCP client such as Claude, Cursor, or another client that supports MCP servers.
- Permission for the browser process to access the target sites and write screenshot files or return encoded image data.
Install Puppeteer
- Create a project directory and initialize npm.
mkdir puppeteer-mcp-demo
cd puppeteer-mcp-demo
npm init -y
npm install puppeteer
The Puppeteer package normally downloads a compatible Chrome during installation. If your package manager disabled install scripts, install the browser explicitly:
npx puppeteer browsers installIn locked-down CI environments, allow the install script or run the browser-install command in the image build. If you use a system Chrome instead, configure the MCP server or Puppeteer launch options with that executable path.
Register the MCP server
The documented npx pattern is:
npx -y @modelcontextprotocol/server-puppeteerEach MCP client stores server registrations in a different configuration file. Put an equivalent object in your client’s MCP configuration location, then restart or reload the client:
{
  "mcpServers": {
    "puppeteer": {
      "command": "npx",
      "args": ["-y", "@modelcontextprotocol/server-puppeteer"]
    }
  }
}
Do not assume the same path or schema is used by every client. Use that client’s MCP documentation to locate the configuration file. After reloading, confirm that browser tools appear in the tool list.
Docker deployment
A container is useful when you need a repeatable browser binary and OS dependencies. The documented image pattern is:
docker run --rm -i \
  -e DOCKER_CONTAINER=true \
  mcp/puppeteer
Check the image documentation for the exact transport and client wiring you use. In containers, verify shared memory, sandbox settings, font packages, and the executable path. Keep dangerous launch arguments disabled unless your environment requires them.
Your first browser automation workflow
Use this sequence for repeatable tasks:
- Launch a browser or connect to an existing session.
- Navigate to the target URL.
- Set a deterministic viewport and, if needed, device scale factor.
- Locate an element with a stable selector or accessible name.
- Fill fields, click controls, or execute a small script.
- Wait for a meaningful state change, such as a result selector or network idle.
- Read text or inspect the DOM to confirm the expected state.
- Capture a full-page or element screenshot.
- Close the browser when the job is complete.
For MCP, the calls may look like this:
puppeteer_navigate({"url":"https://example.com/login"})
puppeteer_set_viewport({"width":1440,"height":900})
puppeteer_fill({"selector":"input[name=email]","value":"user@example.com"})
puppeteer_fill({"selector":"input[name=password]","value":"secret"})
puppeteer_click({"selector":"button[type=submit]"})
puppeteer_wait_for_selector({"selector":"main.dashboard"})
puppeteer_screenshot({"name":"dashboard","fullPage":true})
Tool names differ between MCP implementations. If your server uses different names, map the same operations to its navigation, fill, click, wait, evaluate, text, and screenshot tools.
Direct Puppeteer JavaScript equivalent
Use direct Puppeteer when you want a script, a CI job, or behavior that your MCP server does not expose:
import puppeteer from 'puppeteer';

const browser = await puppeteer.launch({ headless: true });
try {
  const page = await browser.newPage();
  await page.setViewport({ width: 1440, height: 900, deviceScaleFactor: 1 });
  await page.goto('https://example.com', { waitUntil: 'networkidle2', timeout: 60000 });
  await page.screenshot({
    path: 'example-home.png',
    fullPage: true
  });
} finally {
  await browser.close();
}
For an element screenshot:
const card = page.locator('[data-testid="pricing-card"]');
await card.screenshot({ path: 'pricing-card.png' });
Screenshot options that affect reproducibility
| Option | Use it for | Practical guidance |
|---|---|---|
fullPage |
Entire document | Use for archival, documentation, and regression captures. Lazy content may require scrolling or an explicit wait first. |
| Element selector | One component | Prefer a stable data-testid, role, or semantic selector over generated class names. |
| Viewport width/height | Responsive layout | Set fixed dimensions so runs produce comparable images. |
| Device scale factor | Retina-style output | Choose deliberately; it changes pixel dimensions and file size. |
| Wait condition | Dynamic pages | Wait for a selector, a known navigation state, or network idle instead of an arbitrary long sleep. |
| Output mode | File, inline image, or encoded data | Use the mode your MCP client can display or persist reliably. |
Before capturing, wait for web fonts and important images. Disable CSS transitions or animations in a test-only stylesheet when visual comparisons must be deterministic:
await page.addStyleTag({
  content: `*, *::before, *::after {
    animation: none !important;
    transition: none !important;
    caret-color: transparent !important;
  }`
});
Automating clicks, forms, and state changes
Use stable locators
Prefer accessible names, roles, labels, and test IDs. Generated CSS classes often change between builds. A robust flow verifies the result after every important action:
await page.getByRole('button', { name: 'Submit' }).click();
await page.waitForSelector('[role="status"]');
const message = await page.locator('[role="status"]').innerText();
console.log(message);
If your Puppeteer version does not provide the locator helper you need, use page.waitForSelector and page.click with a stable CSS selector.
Handle navigation explicitly
await Promise.all([
  page.waitForNavigation({ waitUntil: 'networkidle2' }),
  page.click('a[href="/reports"]')
]);
Single-page applications may not trigger a full navigation. In that case, wait for the route’s content or a specific result selector instead.
Run page JavaScript sparingly
const title = await page.evaluate(() => document.title);
console.log(title);
Keep evaluation small and observable. A script that silently changes application state can make later screenshots difficult to diagnose.
Launch and connection configuration
- Headless mode: best for CI and unattended jobs. A visible browser is useful while debugging selectors and timing.
- Existing Chrome: connecting to a running browser can preserve a profile, but protect the debugging endpoint and never expose it to an untrusted network.
- Sandbox: retain the browser sandbox where possible. Only change sandbox arguments when the container or operating system requires it.
- Proxy and authentication: configure these at launch or through request interception according to your server’s supported options.
- Request interception: blocking ads, trackers, or large resources can reduce load time, but blocking stylesheets or scripts can change the rendered state and invalidate visual comparisons.
- Cookies and headers: set them before navigation when the target page depends on a session, locale, or authorization header.
Full-page capture of long and lazy-loaded pages
A full-page screenshot captures the document’s layout, but lazy images may not load until they enter the viewport. Scroll through the page before the final capture, then wait briefly for image completion:
await page.evaluate(async () => {
  await new Promise(resolve => {
    let y = 0;
    const step = 600;
    const timer = setInterval(() => {
      window.scrollBy(0, step);
      y += step;
      if (y >= document.body.scrollHeight) {
        clearInterval(timer);
        window.scrollTo(0, 0);
        resolve();
      }
    }, 100);
  });
});
await page.waitForNetworkIdle({ idleTime: 500, timeout: 30000 });
await page.screenshot({ path: 'long-page.png', fullPage: true });
For pages that continuously load content, replace a global network-idle wait with a selector that represents the finished state. Otherwise the job can wait forever or capture an incomplete page.
Local versus hosted browser execution
| Concern | Local Puppeteer/MCP | Hosted browser |
|---|---|---|
| Setup | You install Node.js, Chromium, fonts, and OS dependencies. | The provider manages browser binaries and much of the runtime. |
| Debugging | Easy access to a visible browser, logs, and local files. | Depends on remote session tools, video, and log support. |
| Isolation | You control the container, network, and credentials. | Review provider isolation, data handling, and network policy. |
| Latency | Often lowest when the target and runner are near each other. | Includes network and session startup latency. |
| Cost | Consumes your compute and maintenance time. | Check current provider pricing and usage terms separately. |
Performance, reliability, and cost practices
- Reuse a browser process for multiple pages, but create a fresh page or context when cookies and local storage must be isolated.
- Set explicit navigation and action timeouts so a stuck page cannot consume a worker indefinitely.
- Use selector-based waits and bounded retries for transient navigation failures.
- Capture console messages, failed requests, and a diagnostic screenshot when a job fails.
- Keep viewport, timezone, locale, fonts, and device scale factor fixed for visual regression work.
- Block only resources you understand. Missing CSS or JavaScript can produce a screenshot that looks valid but is not the real page.
- Store browser binaries in your build image when possible so deployments do not depend on a download at runtime.
- Measure the whole workflow: browser startup, navigation, waiting, screenshot encoding, and file upload.
Troubleshooting
| Symptom | Likely cause | Fix |
|---|---|---|
| Browser executable not found | Install scripts were blocked or the image lacks Chrome. | Run npx puppeteer browsers install, allow the install script, or set the correct executable path. |
| Launch fails in Docker | Missing shared memory, sandbox configuration, fonts, or dependencies. | Use the documented image, verify shared memory and dependencies, and change sandbox flags only when required. |
| Selector timeout | The selector changed, the page has not reached the expected state, or content is inside an iframe. | Inspect the DOM, use a stable semantic selector, wait for the correct state, and switch to the frame before querying. |
| Click has no visible effect | The element is covered, disabled, outside the viewport, or the app uses client-side routing. | Scroll it into view, check visibility and enabled state, then wait for the resulting selector or route content. |
| Screenshot is blank or incomplete | Capture happened before rendering, images are lazy, or requests were blocked. | Wait for fonts/images, scroll to trigger lazy loading, inspect failed requests, and remove overly broad interception rules. |
| Navigation never becomes idle | Analytics, WebSockets, or polling keep connections open. | Wait for a meaningful selector or use a bounded network-idle timeout instead of waiting forever. |
| Existing Chrome connection is unsafe | Remote debugging is exposed on an untrusted interface. | Bind it privately, protect access, and use an authenticated tunnel if remote access is unavoidable. |
| Different screenshots on each run | Animations, fonts, ads, time, locale, or viewport vary. | Freeze the viewport and environment, disable transitions, wait for fonts, and control timezone and locale. |
Or skip the browser setup
If you need a clean website image rather than interactive browser control, ScreenshotNeo provides a single GET request for PNG, JPEG, WebP, or PDF output. Its capture process accepts cookie and consent banners like a visitor, then removes more than 60 known consent platforms, newsletter popups, and chat widgets before the shot. Bot checks, blank pages, timeouts, failed loads, and cache hits are not billed, and the response identifies the result with X-Page-Verdict and X-Billed headers.
See the complete option list and request formats in the ScreenshotNeo API docs. The basic call is:
cURL
curl -G "https://api.screenshotneo.com/v1/shot" \
  -d access_key=YOUR_API_KEY \
  --data-urlencode url=https://stripe.com \
  -o shot.webp
Python
import requests

r = requests.get(
    "https://api.screenshotneo.com/v1/shot",
    params={"access_key": "YOUR_API_KEY", "url": "https://stripe.com"},
    timeout=90,
)
r.raise_for_status()
open("shot.webp", "wb").write(r.content)
Node.js
const q = new URLSearchParams({ access_key: 'YOUR_API_KEY', url: 'https://stripe.com' });
const res = await fetch(`https://api.screenshotneo.com/v1/shot?${q}`);
if (!res.ok) throw new Error(`HTTP ${res.status}`);
const buffer = Buffer.from(await res.arrayBuffer());
await import('node:fs/promises').then(fs => fs.writeFile('shot.webp', buffer));
ScreenshotNeo also supports full-page capture with lazy images loaded, CSS-selector element capture, dark mode, device presets and custom viewports, retina scale, custom CSS and JavaScript, clicks, selector or delay waits, network-idle waits, request blocking, headers, cookies, user agents, Authorization, timezone, geolocation, transparent backgrounds, resizing, configurable caching, signed image links, asynchronous jobs with signed webhooks, bulk capture of up to 100 URLs per call, a usage API, and an OpenAPI specification. It includes an MCP server with take_screenshot, get_page_info, and capture_pdf for Claude, Cursor, and other MCP clients.
The Free plan includes 1,000 shots each month with no card. Paid plans start at $5 for 3,000 shots, and every feature is available on every plan. Create a free ScreenshotNeo account.
FAQ
Can Puppeteer MCP fill forms and click buttons?
Yes. Use the server’s fill and click tools, then wait for a result selector or route-specific state before capturing.
Do I need a visible Chrome window?
No. Puppeteer is headless by default. Use visible mode while debugging selectors, layout, or timing.
Why did Puppeteer install without Chrome?
Package-manager install scripts may have been blocked. Run npx puppeteer browsers install or provide a compatible browser executable.
When should I capture an element instead of the full page?
Capture an element for a focused component, card, chart, or test assertion. Use full-page capture for documentation and archival images.
Can I use Puppeteer MCP with an existing browser profile?
Some implementations can connect to an already-running Chrome instance. Protect its debugging endpoint and isolate credentials before enabling that workflow.