BlogScreenshots on your device
How to Take Screenshots with PyQt5 on macOS Big Sur
Capture full screens or regions with PyQt5 on macOS Big Sur, handle Retina coordinates, grant permissions, and save reliable image files.
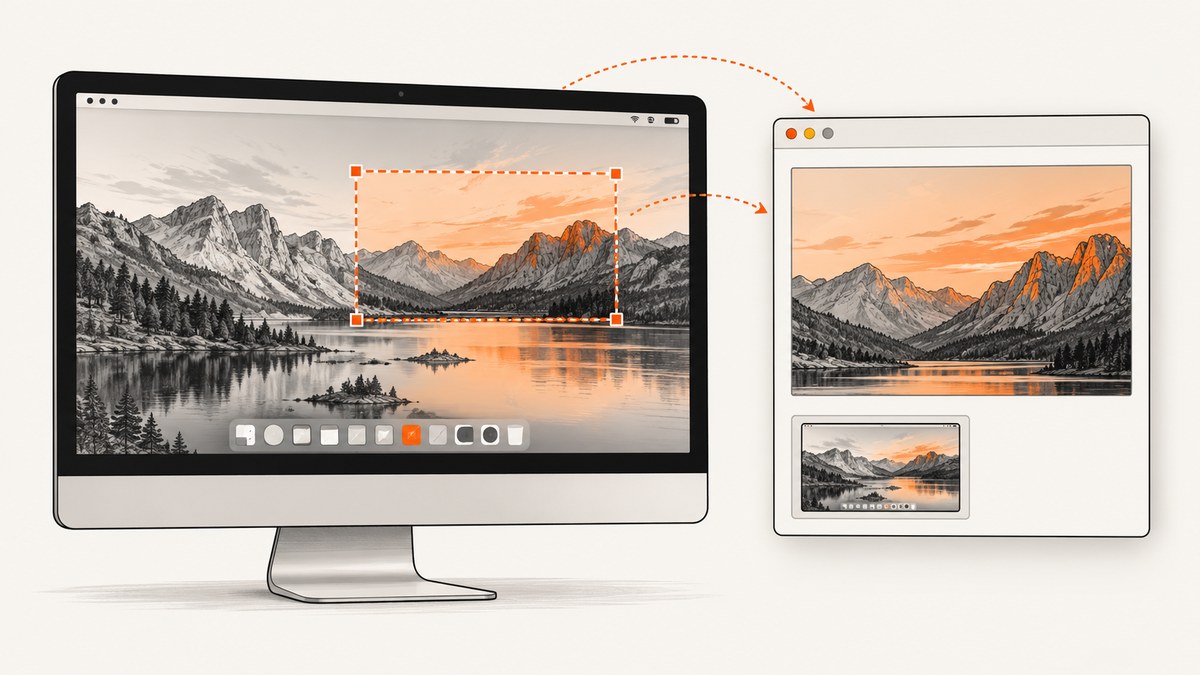
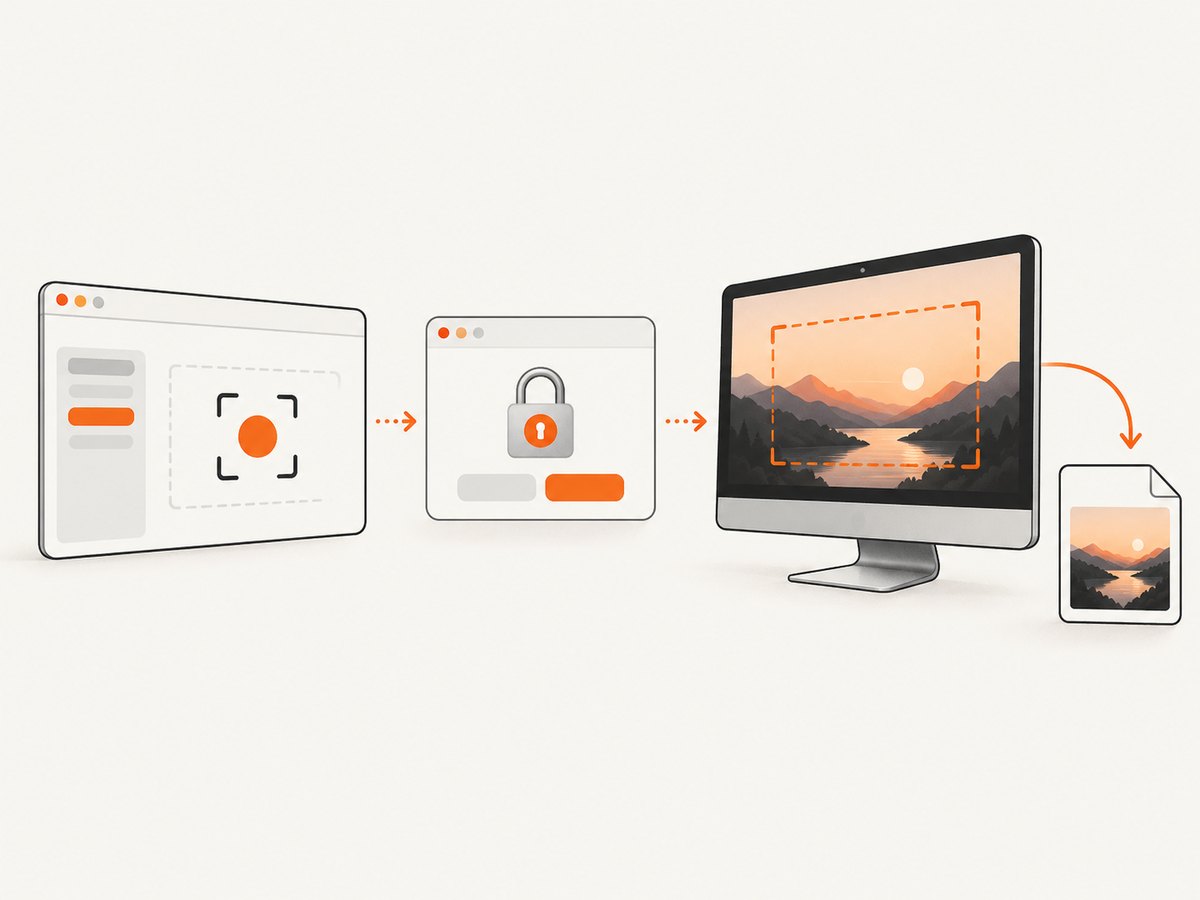
Use QApplication.primaryScreen().grabWindow(0) to capture the entire display with PyQt5. Pass x, y, width, and height to capture a region. On macOS Big Sur, grant your Python interpreter or packaged app permission under System Preferences → Security & Privacy → Privacy → Screen Recording, and account for Retina output and macOS virtual-desktop coordinates.
Prerequisites
- macOS Big Sur (11.x).
- Python 3 and PyQt5 installed in the same environment that runs your script.
- Screen Recording permission for that exact interpreter or application bundle.
python3 -m pip install PyQt5Qt’s QScreen documentation defines grabWindow; the PyQt5 pattern is to obtain a screen from QApplication.primaryScreen(), grab a pixmap, and save it.
Capture the entire primary screen
This is the smallest complete script. With a window ID of 0 and no rectangle arguments, Qt captures the entire screen.
import sys
from PyQt5.QtWidgets import QApplication

app = QApplication(sys.argv)
screen = app.primaryScreen()
if screen is None:
    raise RuntimeError("No screen available")

pixmap = screen.grabWindow(0)
if not pixmap.save("screenshot.png", "PNG"):
    raise IOError("Could not save screenshot.png")

print("Saved screenshot.png")
Run it with python3 screenshot.py. The returned object is a QPixmap. PNG is lossless; JPEG and WebP can reduce file size when your Qt build supports those formats.
Capture a rectangular region
The rectangle arguments are measured in device-independent (logical) pixels. The following captures an 800×600 region beginning at the selected screen’s top-left corner.
import sys
from PyQt5.QtWidgets import QApplication

app = QApplication(sys.argv)
screen = app.primaryScreen()
if screen is None:
    raise RuntimeError("No screen available")

rect = screen.geometry()
x, y = rect.x(), rect.y()
width, height = 800, 600
pixmap = screen.grabWindow(0, x, y, width, height)

if not pixmap.save("region.png", "PNG"):
    raise IOError("Could not save region.png")
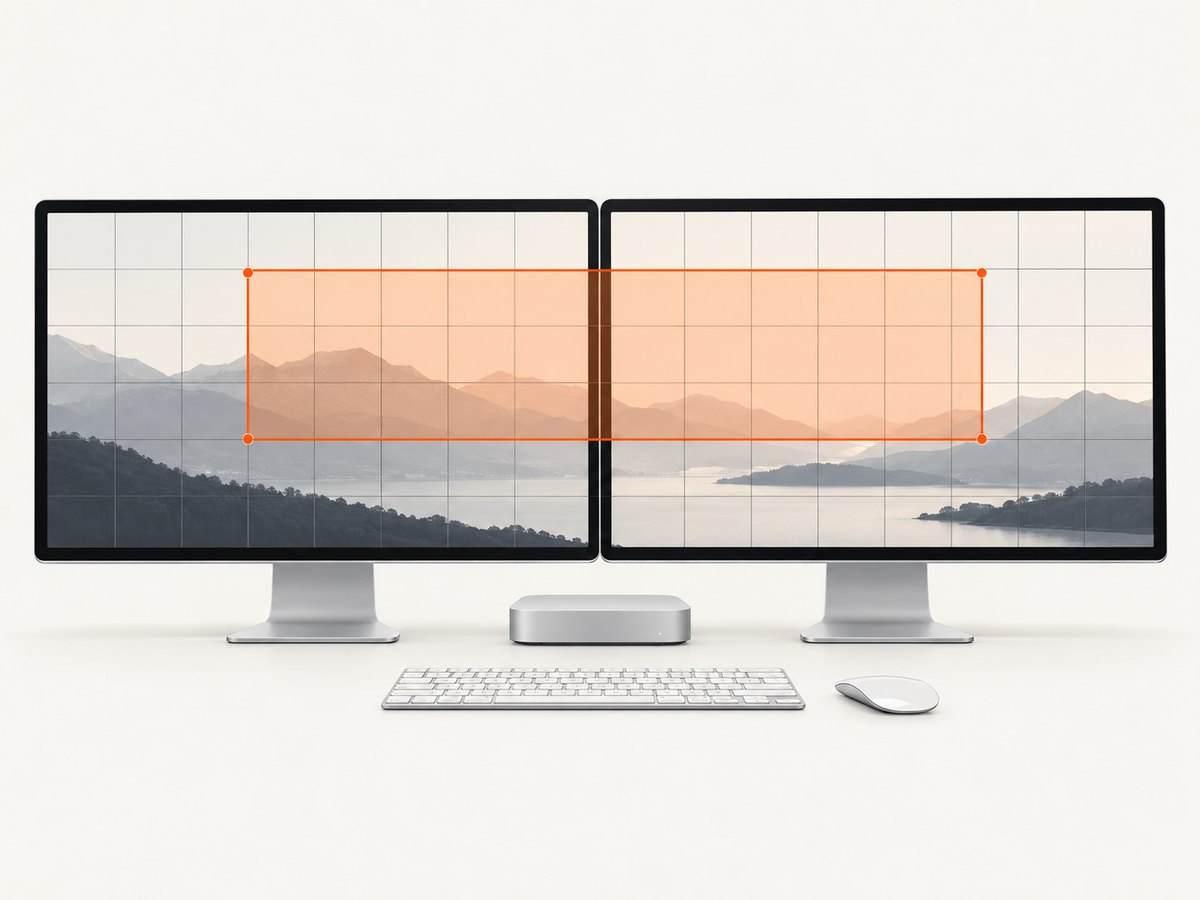
On macOS, Qt uses virtual-desktop (global) coordinates. That means a monitor positioned to the left or above the main monitor can have negative coordinates. Starting from screen.geometry().x() and screen.geometry().y() avoids assuming that every display begins at (0, 0).
Let the user select a region
A practical selection flow is to show a translucent full-screen overlay, record the press and release positions, then call grabWindow with the normalized rectangle. This example selects a rectangle on the primary display and saves it as PNG.
import sys
from PyQt5.QtCore import QPoint, QRect, Qt
from PyQt5.QtGui import QPainter, QPen
from PyQt5.QtWidgets import QApplication, QWidget

class RegionSelector(QWidget):
    def __init__(self, screen):
        super().__init__()
        self.screen = screen
        self.origin = QPoint()
        self.current = QPoint()
        self.setGeometry(screen.geometry())
        self.setWindowFlags(Qt.FramelessWindowHint | Qt.WindowStaysOnTopHint)
        self.setWindowOpacity(0.25)
        self.setAttribute(Qt.WA_TransparentForMouseEvents, False)
        self.show()

    def paintEvent(self, event):
        painter = QPainter(self)
        painter.fillRect(self.rect(), Qt.black)
        if not self.origin.isNull():
            selection = QRect(self.origin, self.current).normalized()
            painter.setCompositionMode(QPainter.CompositionMode_Clear)
            painter.fillRect(selection, Qt.transparent)
            painter.setCompositionMode(QPainter.CompositionMode_SourceOver)
            painter.setPen(QPen(Qt.red, 2))
            painter.drawRect(selection)

    def mousePressEvent(self, event):
        if event.button() == Qt.LeftButton:
            self.origin = event.pos()
            self.current = event.pos()
            self.update()

    def mouseMoveEvent(self, event):
        if not self.origin.isNull():
            self.current = event.pos()
            self.update()

    def mouseReleaseEvent(self, event):
        if event.button() != Qt.LeftButton or self.origin.isNull():
            return
        local = QRect(self.origin, event.pos()).normalized()
        global_rect = QRect(self.screen.geometry().topLeft() + local.topLeft(), local.size())
        self.close()
        pixmap = self.screen.grabWindow(0, global_rect.x(), global_rect.y(),
                                        global_rect.width(), global_rect.height())
        if not pixmap.save("selected.png", "PNG"):
            raise IOError("Could not save selected.png")
        QApplication.instance().quit()

app = QApplication(sys.argv)
screen = app.primaryScreen()
if screen is None:
    raise RuntimeError("No screen available")
selector = RegionSelector(screen)
sys.exit(app.exec_())
The overlay’s coordinates are local to the selected screen, so the code adds screen.geometry().topLeft() before capturing. For a production selector, add Escape-to-cancel, minimum dimensions, a crosshair cursor, and explicit handling for a selection that crosses displays.
Capture a specific monitor
import sys
from PyQt5.QtWidgets import QApplication

app = QApplication(sys.argv)
screens = app.screens()
if len(screens) < 2:
    raise RuntimeError("Connect a second display first")

screen = screens[1]
geometry = screen.geometry()
pixmap = screen.grabWindow(0, geometry.x(), geometry.y(),
                           geometry.width(), geometry.height())
pixmap.save("second-monitor.png", "PNG")
QApplication.primaryScreen() is the usual default. Use app.screens() when the user must choose a monitor. Never pass coordinates outside a screen’s geometry; Qt warns that capturing outside the screen is unsafe.
Retina and high-DPI sizing
Qt accepts logical coordinates, while a Retina display stores more physical pixels. Qt documents that the returned pixmap may be larger than the requested size on a high-DPI screen. Inspect the device-pixel ratio before making assumptions about the saved image dimensions:
pixmap = screen.grabWindow(0)
print("logical size:", pixmap.width(), "x", pixmap.height())
print("device pixel ratio:", pixmap.devicePixelRatio())
print("physical estimate:",
      pixmap.width() * pixmap.devicePixelRatio(),
      "x",
      pixmap.height() * pixmap.devicePixelRatio())
Do not blindly resize a Retina capture to the logical geometry unless your downstream format requires it. If you need a predictable output size, resize after capture and document whether dimensions refer to logical points or physical pixels. Keep Qt’s high-DPI behavior enabled unless you have a specific compatibility reason to change it.
Save PNG, JPEG, or WebP
# Lossless, best for UI text and pixel accuracy
pixmap.save("capture.png", "PNG")

# Smaller photographic output; choose a quality from 0 to 100
image = pixmap.toImage()
image.save("capture.jpg", "JPEG", 90)

# WebP support depends on the Qt image plugins installed
if not image.save("capture.webp", "WEBP", 90):
    raise IOError("WebP encoder is unavailable")
Check the boolean return value from save. A false result usually means the destination is not writable or the requested image plugin is unavailable.
What grabWindow actually captures
- It captures pixels currently visible on the screen. If another window covers the target, that covering window can appear.
- The mouse cursor is generally not included.
- It captures a window or region by coordinates; it does not reconstruct off-screen or minimized content.
grabWindow(0)is the portable way to request the whole screen. Rectangle arguments are useful for a visible sub-area.
Grant Screen Recording permission on Big Sur
- Open System Preferences.
- Choose Security & Privacy, then Privacy.
- Select Screen Recording.
- Unlock the panel and enable the terminal, Python interpreter, IDE, or packaged app that actually launches the code.
- Quit and restart that application, then run the capture again.
Apple’s guidance explains that screen-recording access is controlled per app. The exact executable matters: enabling one Python installation does not necessarily authorize another virtual environment, IDE, or bundled .app.
Common errors and fixes
| Symptom | Likely cause | Fix |
|---|---|---|
screen is None |
No GUI display is available. | Run inside a logged-in macOS GUI session; do not expect a headless SSH session to provide a screen. |
| Blank or black image | Screen Recording permission is missing, or the wrong interpreter is enabled. | Enable the exact interpreter/app in Privacy settings, restart it, and retry. |
| Wrong monitor or offset region | macOS virtual-desktop coordinates were treated as screen-local. | Use screen.geometry().topLeft() and pass global coordinates. |
| Image is larger than requested | Retina device-pixel scaling. | Read pixmap.devicePixelRatio(); distinguish logical points from physical pixels. |
| Another window appears | grabWindow captures visible pixels. |
Bring the target forward, hide obstructions, or capture the target while it is visible. |
| File is not created | Destination permissions or unsupported format plugin. | Use an absolute writable path, check the return value, and try PNG. |
| Selection is shifted | Overlay coordinates were not translated to global coordinates. | Add the selected screen’s geometry top-left point before calling grabWindow. |
Performance and reliability
- Capture only the required rectangle when a full desktop image is unnecessary; it reduces memory use and encoding work.
- Reuse one
QApplicationfor multiple captures. Creating and destroying GUI applications repeatedly is slower and can complicate permission prompts. - Save outside the UI event handler for repeated or large captures, or move encoding to a worker while keeping Qt GUI calls on the main thread.
- Use PNG for deterministic UI archives and JPEG/WebP when transfer size matters. Verify the output file after saving.
- Record the screen name, logical geometry, device-pixel ratio, format, and timestamp with each capture so later processing can reproduce coordinate decisions.
- Screen capture is inherently state-dependent: animations, notifications, changing windows, and display sleep can alter results. Coordinate capture with the UI state and retry transient failures.
Native macOS alternative
For a manual capture, Big Sur includes Apple’s Screenshot app. Press Shift-Command-5 to choose the entire screen, a window, or a selected portion. Apple documents this shortcut for macOS Mojave 10.14 and later, so it is available on Big Sur. PyQt5 is the better fit when you need programmable naming, repeated captures, post-processing, or integration with another application.
Or skip the browser setup
If your real goal is a website image rather than the pixels on your Mac, ScreenshotNeo returns a screenshot or PDF from one request. It handles the browser environment for you:
- Cookie and consent banners, newsletter popups, and chat widgets are removed before the shot.
- Bot checks, blank pages, failed loads, timeouts, and cache hits are not billed.
- An MCP server lets Claude, Cursor, and other MCP clients call
take_screenshot,get_page_info, andcapture_pdf. - Free usage includes 1,000 screenshots each month with no card; paid plans start at $5 for 3,000 shots.
See the ScreenshotNeo API documentation for options such as full-page capture, CSS selectors, dark mode, device presets, custom headers and cookies, waits, blocking rules, caching, signed links, async jobs, bulk capture, and PDF settings.
curl -G "https://api.screenshotneo.com/v1/shot" -d access_key=YOUR_API_KEY --data-urlencode url=https://stripe.com -o shot.webpimport requests
r = requests.get("https://api.screenshotneo.com/v1/shot", params={"access_key": "YOUR_API_KEY", "url": "https://stripe.com"}, timeout=90)
open("shot.webp", "wb").write(r.content)const q = new URLSearchParams({ access_key: 'YOUR_API_KEY', url: 'https://stripe.com' });
const res = await fetch(`https://api.screenshotneo.com/v1/shot?${q}`);Create a free ScreenshotNeo account with 1,000 screenshots per month and no card.
FAQ
Does PyQt5 capture the cursor?
Generally no. QScreen.grabWindow captures visible screen pixels, while the cursor is normally composited separately.
Why does a Retina capture have unexpected dimensions?
Qt uses logical input coordinates and may return a pixmap with a larger physical pixel size. Check devicePixelRatio() and choose whether your application works in points or pixels.
Can I capture a minimized window?
No. The API captures what is visible on the display. Restore and expose the window before capturing.
Is Screen Recording permission required for every Python environment?
macOS authorizes applications and executable bundles. Enable the exact interpreter, IDE, terminal, or packaged app that runs your PyQt5 process.