BlogScreenshots on your device
How to Save Screenshots on a Laptop
Learn how to capture and save screenshots on Windows, Mac, and Chromebook laptops, with shortcuts, file locations, troubleshooting, and automation options.
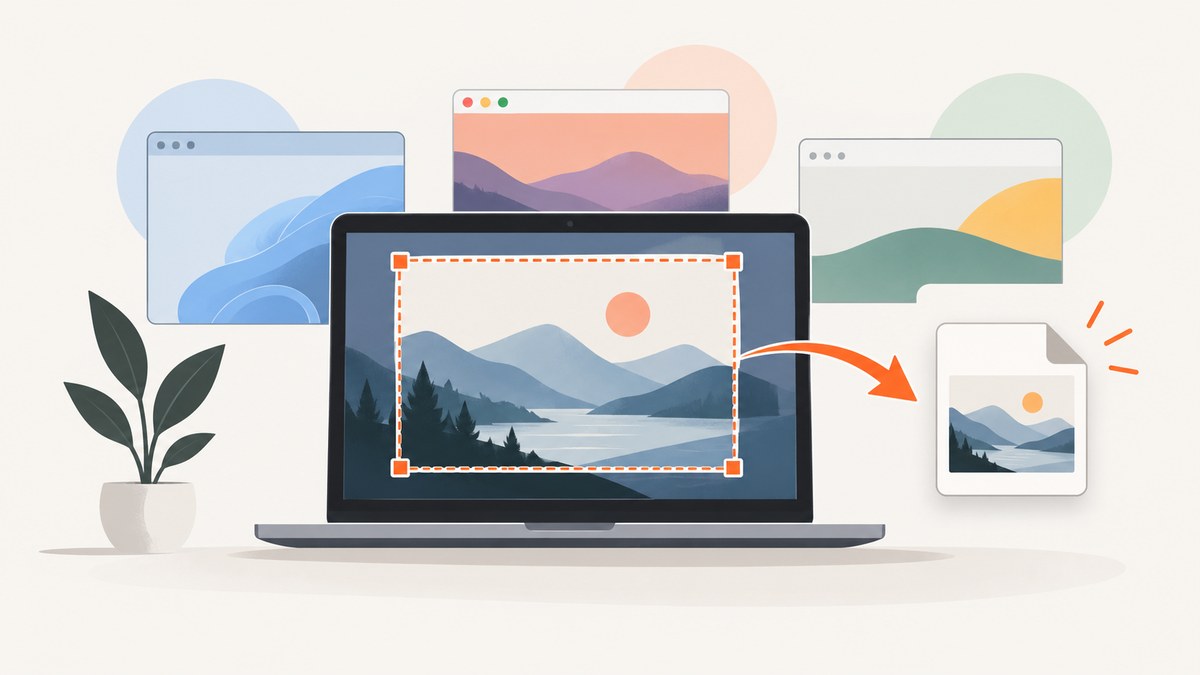
Short answer: identify your laptop’s operating system, use its screenshot shortcut, then confirm that the image was saved as a file rather than only copied to the clipboard.
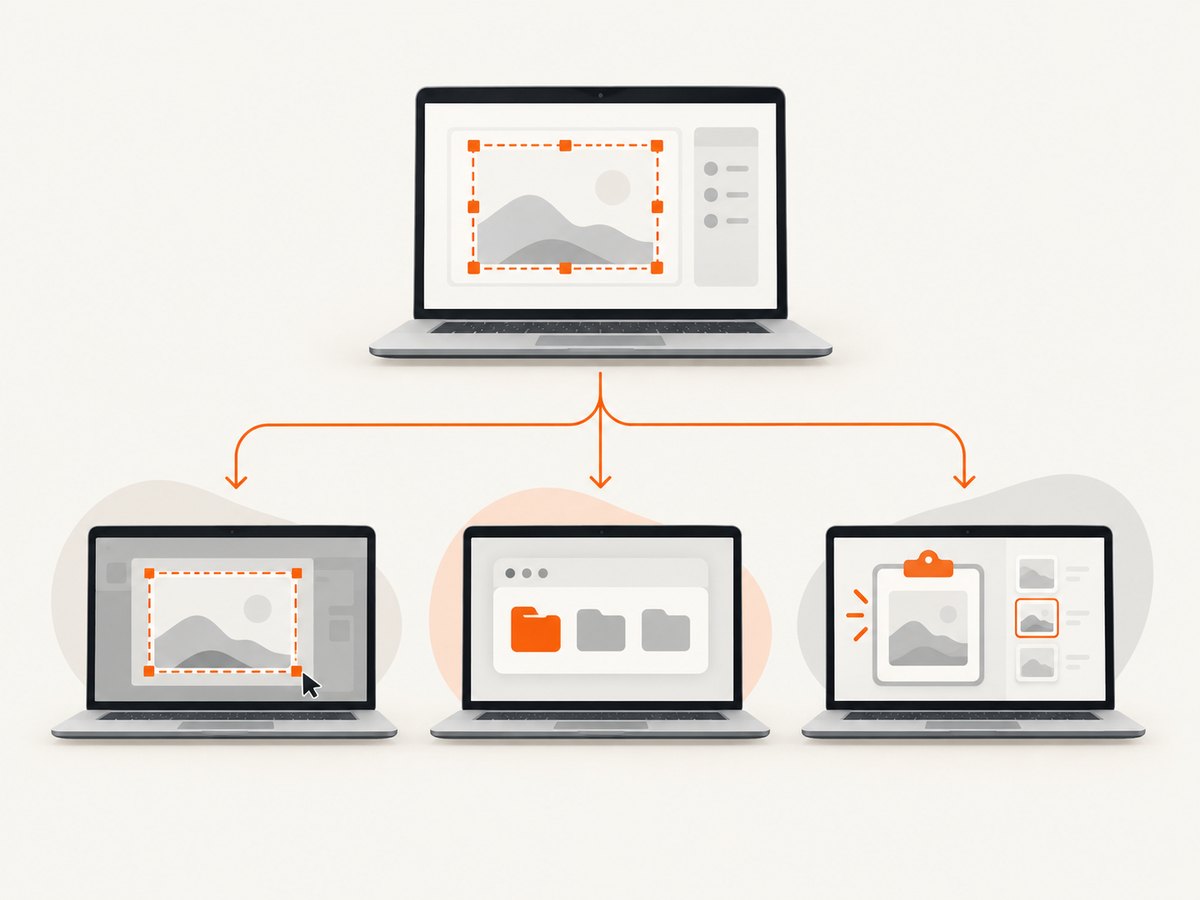
Windows, macOS, and ChromeOS use different shortcuts and save workflows. Follow the section for your laptop below.
1. Save a screenshot on Windows
Capture part of the screen
- Press Windows + Shift + S.
- Choose a rectangular, window, full-screen, or freeform capture mode in the Snipping Tool controls.
- Select the area or window to capture.
- Open the Snipping Tool window that appears and choose its Save control.
- Choose a filename and folder when Windows prompts you.
Microsoft says the snip is copied to the Snipping Tool window, where it can be edited, saved, and shared. A capture appearing in that window or on the clipboard does not by itself confirm that a file exists on disk. Microsoft’s Snipping Tool documentation describes the current workflow.
If your keyboard has no PrtScn key
Microsoft lists Fn + Windows logo key + Space Bar as a screenshot option on devices without a PrtScn button. Keyboard layouts vary, so look for a dedicated Screenshot or PrtScn key if that combination does not work. See Microsoft’s print-screen shortcut guidance.
Make sure the file was really saved
- Use the Snipping Tool’s Save control instead of closing the preview.
- Note the folder and filename shown in the save dialog.
- Open File Explorer and verify the image before sharing or uploading it.
- If you only need to paste the image into another app, the clipboard copy may be enough; save a file when you need a durable copy.
2. Save a screenshot on a Mac laptop
Capture the entire screen
Press Shift + Command + 3. macOS creates a full-screen screenshot.
Choose an area, window, or destination
- Press Shift + Command + 5 to open Screenshot controls.
- Choose full screen, a window, or a selected portion.
- Open Options and choose a destination under Save to.
- Capture the screen. The file is written to the destination you selected.
Apple’s Take a screenshot on Mac guide documents these shortcuts and destination choices. You can select a preset location or choose another folder.
Copy instead of saving directly
Hold Control while using a screenshot shortcut, or Control-click the screenshot thumbnail and choose Save to Clipboard. This is useful when you plan to paste the image into an editor, document, or message and do not need a separate file.
Apps that block screenshots
Some apps, including Apple TV, may not allow screenshots of their windows. If the capture is blank or unavailable only inside one application, check that application’s restrictions rather than changing the Mac shortcut.
3. Save a screenshot on a Chromebook
Use the Screenshot key or Screen Capture
- Press the dedicated Screenshot key if your Chromebook has one.
- If it does not, open Settings > Screen Capture, or press Shift + Ctrl + Show windows.
- Choose full-screen, partial, or window capture.
- Capture the screen and use the resulting preview to review, delete, share, or continue working with the image.
ChromeOS automatically copies screenshots to the clipboard. Google’s screenshot and screen-recording guide explains the available capture modes and review controls.
External keyboards
For an external keyboard without a Show windows key, Google lists Ctrl + Shift + F5. Compact keyboards may label keys differently, so use the Screen Capture controls if the shortcut is unavailable.
4. Where is the screenshot saved?
| Platform | What happens immediately | How to choose or confirm a file |
|---|---|---|
| Windows | The snip appears in Snipping Tool and is copied for use. | Use Snipping Tool’s Save control and confirm the filename and folder. |
| Mac | The screenshot is created using the shortcut or Screenshot controls. | Use Screenshot > Options > Save to, then verify the selected folder. |
| Chromebook | The screenshot is copied to the clipboard and made available for review. | Use the preview and Files app on your device; ChromeOS behavior and settings can vary, so do not assume one universal folder. |
The key distinction is captured versus saved. A clipboard image disappears when replaced by another copy, while a saved PNG, JPEG, or WebP remains in a folder until you delete or move it.
5. Troubleshooting checklist
The shortcut does nothing
- Confirm which operating system you are using; Windows, Mac, and Chromebook shortcuts are different.
- Try the laptop’s dedicated Screenshot or PrtScn key.
- On Windows without PrtScn, try Fn + Windows logo key + Space Bar.
- On Chromebook with an external keyboard, try Ctrl + Shift + F5.
- On a Mac, open Screenshot controls with Shift + Command + 5 instead of relying on a single shortcut.
I can see the screenshot but cannot find a file
You may have captured the image to a preview or clipboard without saving it. On Windows, reopen the Snipping Tool result and use Save. On Mac, set a known destination under Screenshot’s Options. On Chromebook, review the capture and check the Files app rather than assuming a default folder.
The screenshot is blank or missing an app window
- Check whether the application blocks screenshots; Apple documents restrictions for some apps.
- Capture the full screen or a different window to isolate whether the problem is app-specific.
- Make sure the target window is visible and not covered by another window.
The image is the wrong size or area
Use partial or window capture instead of full-screen capture, and redraw the selection carefully. For repeatable dimensions, use a fixed window size or an automated capture service.
6. Choosing a format and keeping files manageable
- PNG: best for text, diagrams, and interfaces because it preserves sharp edges.
- JPEG: smaller files for photographs, but it can add compression artifacts around text.
- WebP: useful when your destination supports it and you want a smaller web image.
Use descriptive filenames such as checkout-error-2026-10-01.png. For long pages, consider a full-page capture tool instead of stitching many viewport screenshots manually.
7. Or skip the browser setup
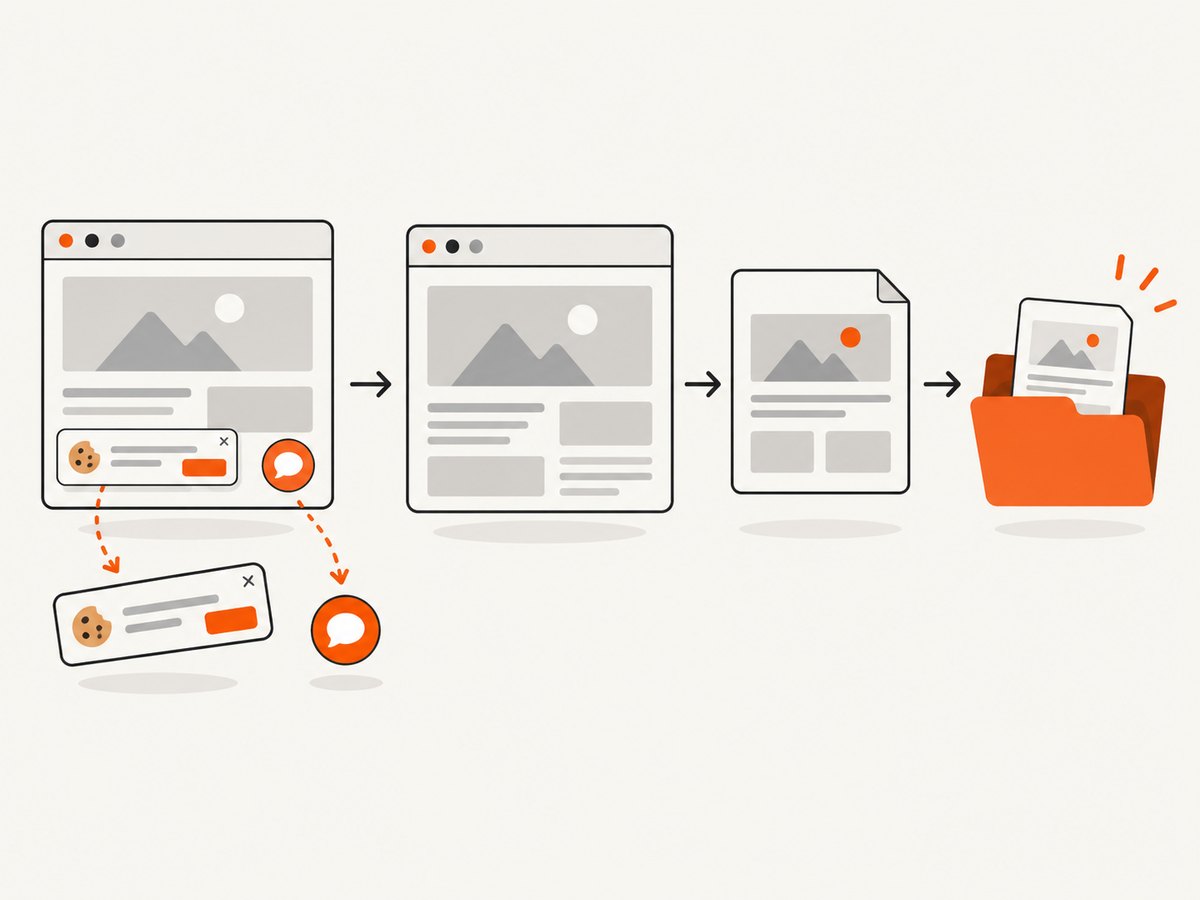
If you need screenshots of web pages from scripts, CI jobs, documentation builds, or AI workflows, ScreenshotNeo provides a single GET request that returns a PNG, JPEG, WebP, or PDF. It accepts cookie and consent banners as a visitor and removes more than 60 known consent platforms, newsletter popups, and chat widgets before capture. Bot checks, blank pages, timeouts, failed loads, and cache hits are not billed, and each response identifies the result with X-Page-Verdict and X-Billed headers.
See the ScreenshotNeo API documentation for all options, including full-page and element capture, device presets, retina scale, custom CSS and JavaScript, waits, request blocking, cookies, headers, geolocation, PDF output, caching, signed links, asynchronous jobs, bulk capture, and usage reporting.
cURL
curl -G "https://api.screenshotneo.com/v1/shot" -d access_key=YOUR_API_KEY --data-urlencode url=https://stripe.com -o shot.webpPython
import requests
r = requests.get("https://api.screenshotneo.com/v1/shot", params={"access_key": "YOUR_API_KEY", "url": "https://stripe.com"}, timeout=90)
open("shot.webp", "wb").write(r.content)
Node.js
const q = new URLSearchParams({ access_key: 'YOUR_API_KEY', url: 'https://stripe.com' });
const res = await fetch(`https://api.screenshotneo.com/v1/shot?${q}`);
ScreenshotNeo also includes an MCP server with take_screenshot, get_page_info, and capture_pdf tools for Claude, Cursor, and other MCP clients. Free accounts include 1,000 screenshots per month with no card; paid plans start at $5 for 3,000 shots. Create a free ScreenshotNeo account.
8. Reliability, performance, and cost considerations
- Built-in laptop shortcuts are immediate and free, but they require the screen to be visible and a person or desktop automation to trigger them.
- For repeatable web captures, wait for a selector, a delay, or network idle so late-loading content is present.
- Use caching with a TTL when the same URL is captured repeatedly; this reduces duplicate work.
- Block ads, trackers, unnecessary requests, or resource types when they slow page loading.
- Use bulk capture for up to 100 URLs per call when processing a list.
- Inspect
X-Page-VerdictandX-Billedso your application can distinguish a clean capture from a failed or non-billable result.
9. FAQ
Does every laptop save screenshots in the same folder?
No. Windows saves through Snipping Tool’s dialog, Mac lets you choose a destination, and Chromebook behavior depends on its capture and Files workflow.
Can I paste a screenshot without saving it?
Yes. Windows and ChromeOS copy captures for reuse, and Mac offers Save to Clipboard.
What if I use Linux?
Linux shortcuts depend on the distribution and desktop environment. Check the documentation for your specific environment instead of relying on a universal shortcut.
How do I capture a web page that is longer than the screen?
Use a browser’s full-page capture feature or an automated service such as ScreenshotNeo, which supports full-page capture and lazy-image loading.


