BlogScreenshots on your device
Screenshot and Copy Shortcut
Use Windows+Shift+S on Windows or Control+Shift+Command+4 on Mac to capture a selected area and paste it into another app.
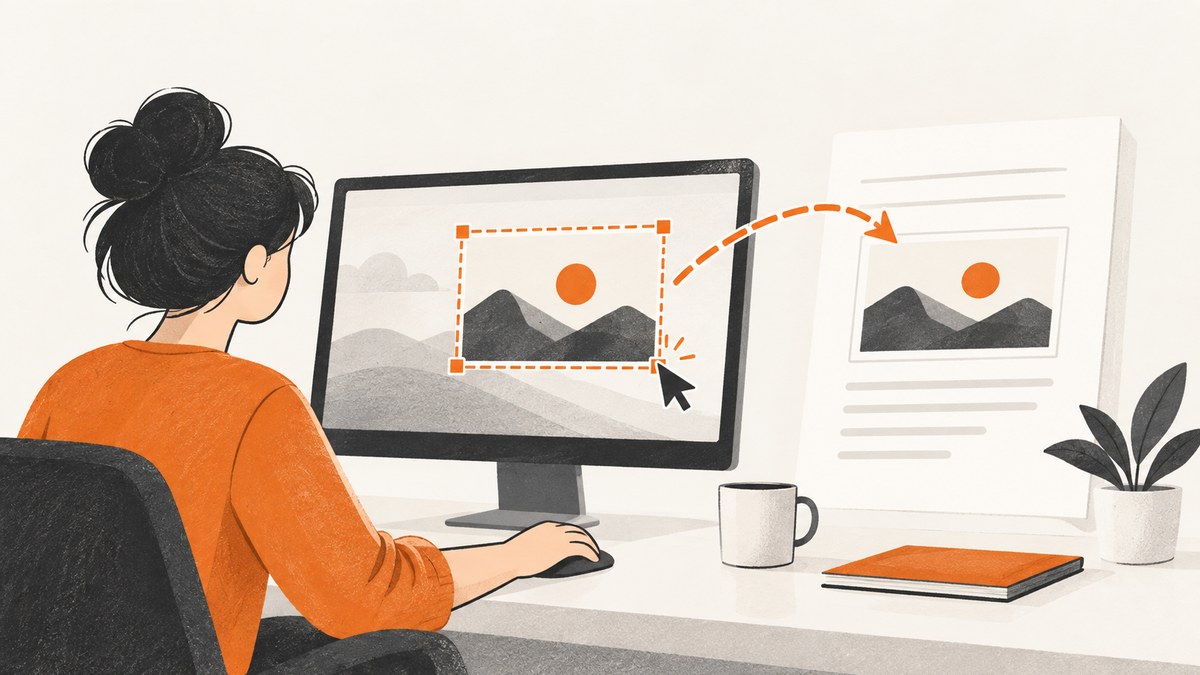
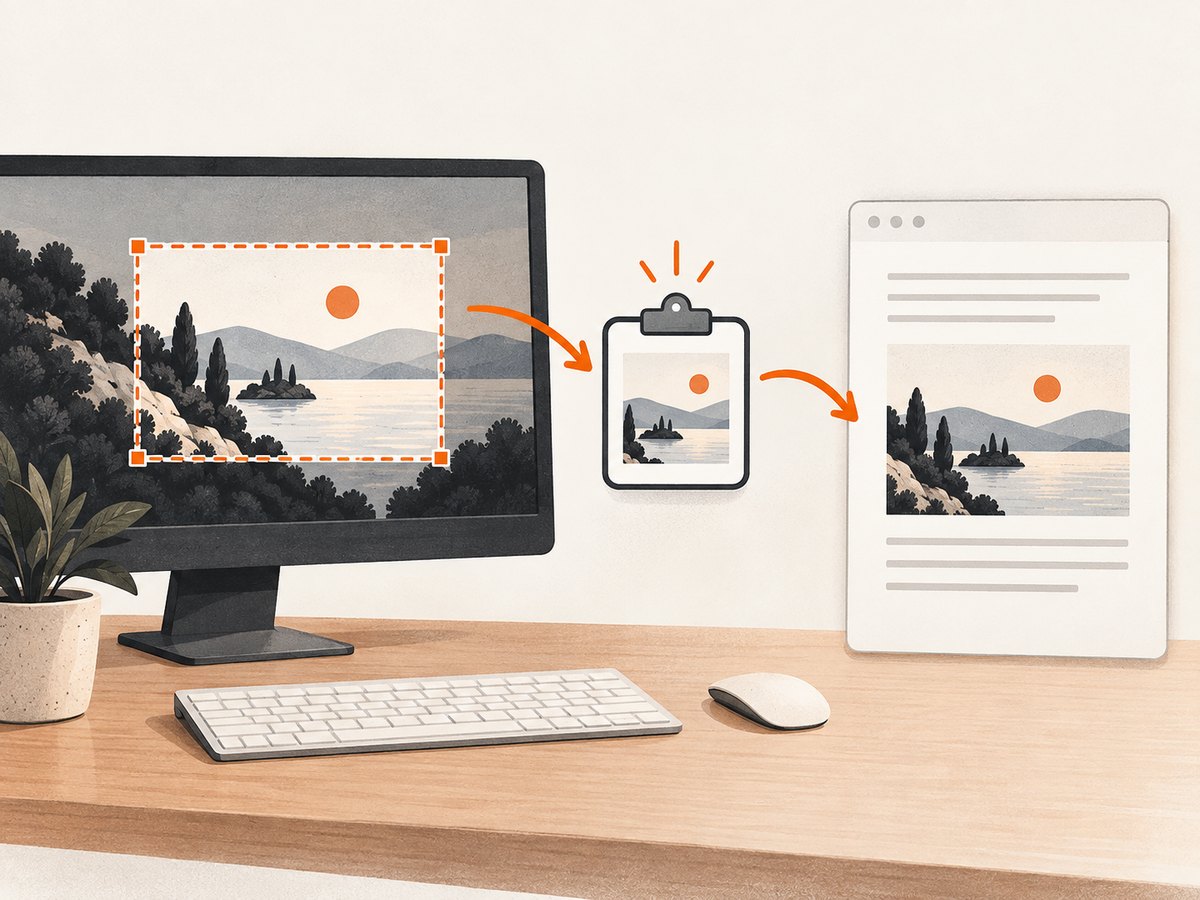
To take a screenshot and copy it so you can paste it, use the shortcut for your computer: on Windows, press Windows+Shift+S, select the area, then paste. On a Mac, press Control+Shift+Command+4, select the area, then paste. The important distinction is the destination: a clipboard capture is ready to paste; a screenshot saved as a file must be inserted or attached from disk.
This guide covers the built-in screenshot shortcuts for Windows and macOS. Choose your platform first, then pick the capture area you need: the whole screen, the active window, or a selected region.
1. Screenshot and copy on Windows
For most people who want to capture part of the screen and paste it into a message, document, or image editor, Windows+Shift+S is the right shortcut. It opens the screen-snipping interface. After selecting a region, the screenshot is copied to the clipboard.
- Show the content you want to capture.
- Press Windows+Shift+S.
- Choose a capture mode if the snipping controls offer one, then drag over the region. Release to finish the selection.
- Switch to the destination app and press Ctrl+V. You can also right-click in a supported app and choose Paste.
Microsoft documents Windows+Shift+S as a shortcut to select a screen region and copy it to the clipboard. The result may also be opened in Snipping Tool for markup or sharing. See Microsoft’s [Windows keyboard shortcuts](https://support.microsoft.com/en-us/accessibility/windows/keyboard-shortcuts-in-windows).
Other Windows screenshot shortcuts
| Shortcut | What it captures | Where it goes |
|---|---|---|
| PrtScn | The whole screen | Clipboard |
| Alt+PrtScn | The active window | Clipboard |
| Windows+Shift+S | A region you select | Clipboard |
| Windows+PrtScn | The whole screen | A file in the Screenshots subfolder of Pictures |
Use Alt+PrtScn when you want just the active window and do not need to drag a selection. Use Windows+PrtScn when you want a saved image file rather than a clipboard image. Microsoft’s shortcut reference says Print Screen behavior can be changed to open screen snipping, so the result of PrtScn may depend on that setting.
Paste from the Windows clipboard
After a clipboard capture, focus the place where the image should go and press Ctrl+V. Common destinations include a document editor, email composer, chat, or image editor, but support depends on the app. Some text fields accept only text, for example; try an image-capable destination if pasting does nothing.
Windows also has clipboard history, opened with Windows+V when available. If clipboard history is off, Windows may offer to turn it on. A screenshot shortcut still copies the current capture; clipboard history is a separate feature that can help retrieve earlier copied items. For a simple one-step workflow, capture and paste right away.
2. Screenshot and copy on Mac
On macOS, Shift+Command+4 starts a selected-area screenshot. By default, screenshots are saved to the desktop. To send the capture to the Clipboard instead, add Control: press Control+Shift+Command+4, select the area, then paste with Command+V.
- Bring the target content into view.
- Press Control+Shift+Command+4.
- Drag across the region to capture it.
- Switch to an app that accepts images and press Command+V.
Apple’s guide explains that adding Control to the screenshot keys sends the screenshot to the Clipboard rather than the desktop. Without Control, use the corner thumbnail to edit the screenshot or wait for it to save. See Apple’s [Take a screenshot on Mac](https://support.apple.com/en-us/102646).
Mac shortcuts and destinations
| Shortcut | Capture | Default destination |
|---|---|---|
| Shift+Command+3 | Whole screen | Saved screenshot |
| Control+Shift+Command+3 | Whole screen | Clipboard |
| Shift+Command+4 | Selected region | Saved screenshot |
| Control+Shift+Command+4 | Selected region | Clipboard |
| Shift+Command+5 | Screenshot controls | Choose in Options |
The quickest alternative to adding Control is to take the screenshot normally, click the floating thumbnail that appears in the corner, then Control-click it and choose Save to Clipboard. If you miss the thumbnail, the screenshot still saves according to the configured destination.
Use Screenshot controls on Mac
Shift+Command+5 opens the Screenshot app on macOS Mojave 10.14 or later. Its Options include a timer, save location, whether to show the floating thumbnail, and whether to include the pointer. Choose a clipboard destination when offered in the capture workflow, or use the Control modifier on the standard shortcut. The controls are useful when you need to change where repeated captures go or want a timed screenshot.
On supported Mac models with macOS Tahoe 26 or later, Apple’s guide describes format choices: SDR uses PNG and HDR uses HEIF. This matters mainly if the saved file format is part of your workflow; for a clipboard paste, first check what format the receiving app accepts.
3. Choose the right capture method
Before pressing a shortcut, decide two things: what area you need and whether the result should be copied or saved. This avoids the most common confusion: expecting a file from a clipboard shortcut, or expecting to paste a screenshot that was saved to disk.
| Need | Windows | Mac |
|---|---|---|
| Copy a selected region | Windows+Shift+S | Control+Shift+Command+4 |
| Copy the whole screen | PrtScn | Control+Shift+Command+3 |
| Copy the active window | Alt+PrtScn | Use a selected-area capture around the window |
| Save the whole screen as a file | Windows+PrtScn | Shift+Command+3 |
Mac’s standard shortcut set offers a whole-screen capture and a selected-area capture; if you need just one window, a selected-area capture lets you frame it. Windows lists a direct active-window clipboard shortcut. Keyboard layouts and external keyboards can label or position keys differently, so look for the Windows logo key, Print Screen key, or Command key on your device.
4. Common problems and fixes
The shortcut opens a tool, but paste inserts nothing
Confirm that the capture completed. With a selected-area capture, release the mouse or trackpad after drawing the selection. Then test Ctrl+V on Windows or Command+V on Mac in an app that accepts images. A destination app may handle pasted images differently or accept only text in the current field. Try a document or image editor before concluding the screenshot failed.
PrtScn opens the snipping interface
On Windows, Print Screen can be configured to open screen snipping. Check the keyboard accessibility setting for the Print Screen key if you expected a full-screen clipboard capture. You can use Windows+Shift+S for a region or Alt+PrtScn for the active window while you check the setting.
The Mac screenshot appeared on the desktop instead of being pasteable
That is the default for the standard screenshot combinations. Repeat the selected-area capture with Control added, or click the thumbnail and choose Save to Clipboard. Then paste using Command+V. If the thumbnail is disabled, use the Control modifier directly.
The screenshot key does not work
Check which operating system is active and use its shortcut. A Windows keyboard connected to a Mac, a compact keyboard, or a laptop keyboard may require a function key or a different key label for Print Screen. If you cannot identify the key, use the platform’s on-screen screenshot controls: Windows+Shift+S on Windows or Shift+Command+5 on supported Macs.
A particular window cannot be captured
Some apps may prevent screenshots of their windows. Apple gives Apple TV as an example in its screenshot guide. This does not establish that every protected app or type of content behaves the same way; if one window appears blank or blocked, check that app’s own restrictions and documentation.
5. Webpage screenshots for developer workflows
Desktop shortcuts capture what is visible on your own screen. Developers who need a repeatable image of a URL, an automated capture in a script, or a screenshot generated for a webpage preview need a different workflow. A browser automation library can capture pages locally, but that means setting up and maintaining a browser runtime; the clipboard shortcuts above are still the simplest choice for an ad hoc capture.
For a webpage screenshot API, [ScreenshotNeo](https://screenshotneo.com) takes a URL in one GET request and returns an image or PDF. Its API accepts options for full-page capture, element selection, viewport and device presets, dark mode, custom CSS or JavaScript, waiting for a selector or network idle, cookies and headers, and more. The [ScreenshotNeo API documentation](https://screenshotneo.com/docs/) describes the available parameters and response headers.
DIY browser capture with Playwright for Node.js
This example runs locally and saves a full-page screenshot. Install Playwright and its browser once, then run the script. Use a public page you are allowed to access.
npm install playwright
npx playwright install chromium
// screenshot.mjs
import { chromium } from 'playwright';
const browser = await chromium.launch({ headless: true });
try {
const page = await browser.newPage({ viewport: { width: 1440, height: 900 } });
const response = await page.goto('https://example.com', {
waitUntil: 'networkidle',
timeout: 60000
});
if (!response || !response.ok()) {
throw new Error(`Page load failed: ${response?.status() ?? 'no response'}`);
}
await page.screenshot({ path: 'page.png', fullPage: true });
} finally {
await browser.close();
}Run it with node screenshot.mjs. The explicit browser close matters in a long-running script so browser processes do not accumulate. Some pages keep network connections open, which can make networkidle wait too long; replace it with domcontentloaded and wait for a page-specific selector when you know which element signals readiness. A full-page image can also be very tall or large; use a fixed viewport capture when the consumer needs a standard card-sized image.
Do-it-yourself capture with Python
Python developers can use Playwright as well. Install the package and its Chromium runtime, then save the following as screenshot.py.
python -m pip install playwright
python -m playwright install chromium
import asyncio
from playwright.async_api import async_playwright
async def main():
async with async_playwright() as p:
browser = await p.chromium.launch(headless=True)
try:
page = await browser.new_page(viewport={"width": 1440, "height": 900})
response = await page.goto(
"https://example.com", wait_until="networkidle", timeout=60_000
)
if response is None or not response.ok:
status = response.status if response else "no response"
raise RuntimeError(f"Page load failed: {status}")
await page.screenshot(path="page.png", full_page=True)
finally:
await browser.close()
asyncio.run(main())cURL, Python, and Node.js with ScreenshotNeo
For a hosted capture, use the API key from your account and URL-encode the target URL. These examples use the product’s supplied API endpoint and save the response body. Follow the docs for additional output, viewport, wait, and capture parameters.
curl -G "https://api.screenshotneo.com/v1/shot" \
  -d access_key=YOUR_API_KEY \
  --data-urlencode url=https://stripe.com \
  -o shot.webp
import requests
r = requests.get(
"https://api.screenshotneo.com/v1/shot",
params={"access_key": "YOUR_API_KEY", "url": "https://stripe.com"},
timeout=90,
)
r.raise_for_status()
with open("shot.webp", "wb") as f:
f.write(r.content)const q = new URLSearchParams({
access_key: 'YOUR_API_KEY',
url: 'https://stripe.com'
});
const res = await fetch(`https://api.screenshotneo.com/v1/shot?${q}`);
if (!res.ok) throw new Error(`Screenshot request failed: ${res.status}`);
const bytes = new Uint8Array(await res.arrayBuffer());
await import('node:fs/promises').then(fs => fs.writeFile('shot.webp', bytes));6. Or skip the browser setup
ScreenshotNeo turns a URL into a screenshot with one API call. The examples above save a WebP response; consult the [API docs](https://screenshotneo.com/docs/) for options and response details.
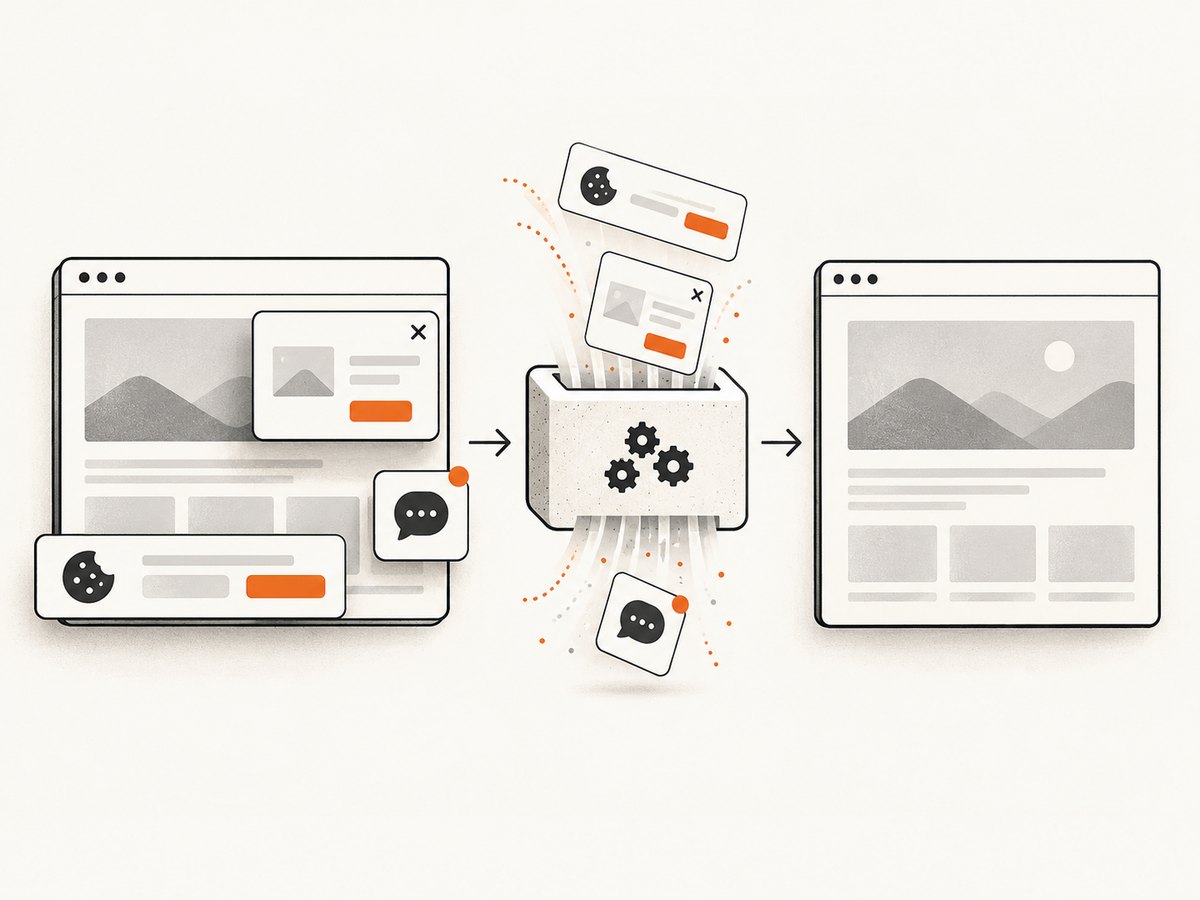
curl -G "https://api.screenshotneo.com/v1/shot" -d access_key=YOUR_API_KEY --data-urlencode url=https://stripe.com -o shot.webpCookie banners are accepted like a visitor would accept them, then removed along with 60+ known consent platforms, newsletter popups, and chat widgets; each of those steps can be turned off. Bot checks, blank pages, failed loads, timeouts, and cache hits cost nothing, and response headers say the page verdict and whether the request was billed. An MCP server provides take_screenshot, get_page_info, and capture_pdf tools for Claude, Cursor, and other MCP clients. The free plan includes 1,000 screenshots each month with no card; paid plans start at $5 for 3,000.
Create a free ScreenshotNeo account to get 1,000 screenshots a month with no card.
7. Performance, reliability, and cost
For a quick manual paste, the built-in shortcut is immediate and has no separate service charge. A local browser script adds setup and runtime work: the browser binary must be installed, the process needs enough memory for the page, and capture time depends on the page’s load behavior and image size. Reuse a browser process for batches of pages instead of launching a new browser for every URL, and close pages and browsers when the work is complete.
Waiting for every network request to stop can be fragile on pages with analytics, streaming, or long polling. Prefer waiting for a meaningful selector or a bounded delay when that is more appropriate, and set a timeout so a stalled page does not block a batch forever. For reliability, check the navigation response, handle timeouts, retry transient network failures with a limit, and write to a temporary file before replacing a previous successful image.
A hosted API avoids managing a browser installation but makes the capture dependent on a network request and the service’s response. Set a client timeout that gives the page time to render, check the HTTP status before treating the body as an image, and retain the response headers when diagnosing whether a capture was clean or billed. ScreenshotNeo pricing is Free: 1,000 shots/month; Starter: $5 for 3,000; Growth: $15 for 15,000; Pro: $39 for 60,000; Scale: $99 for 250,000; Business: $249 for 1,000,000. Yearly billing gives two months free, and every feature is on every plan. Match the plan to the number of successful captures you expect rather than assuming every request will be billed.
8. FAQ
How do I copy a screenshot on Windows without saving a file?
Press Windows+Shift+S, select the region, then paste with Ctrl+V. For the whole screen, press PrtScn.
How do I screenshot straight to the clipboard on Mac?
Add Control to the usual screenshot shortcut. For a selected region, press Control+Shift+Command+4.
Where does a Windows screenshot go?
It depends on the shortcut: clipboard shortcuts copy an image; Windows+PrtScn saves a file in Pictures/Screenshots.
Can I paste a saved screenshot?
Open or insert the saved file from the destination app. If you want direct paste, take a clipboard capture instead.
Can a screenshot include a webpage’s content below the visible area?
Desktop region shortcuts capture the screen area you select. For an entire webpage, use a browser’s full-page capture capability or a screenshot API configured for full-page output.


