BlogScreenshots on your device
How to Screenshot the Entire Screen on a Mac
Capture every pixel on your Mac with Shift-Command-3, use Screenshot for options, copy to the Clipboard, and fix common problems.
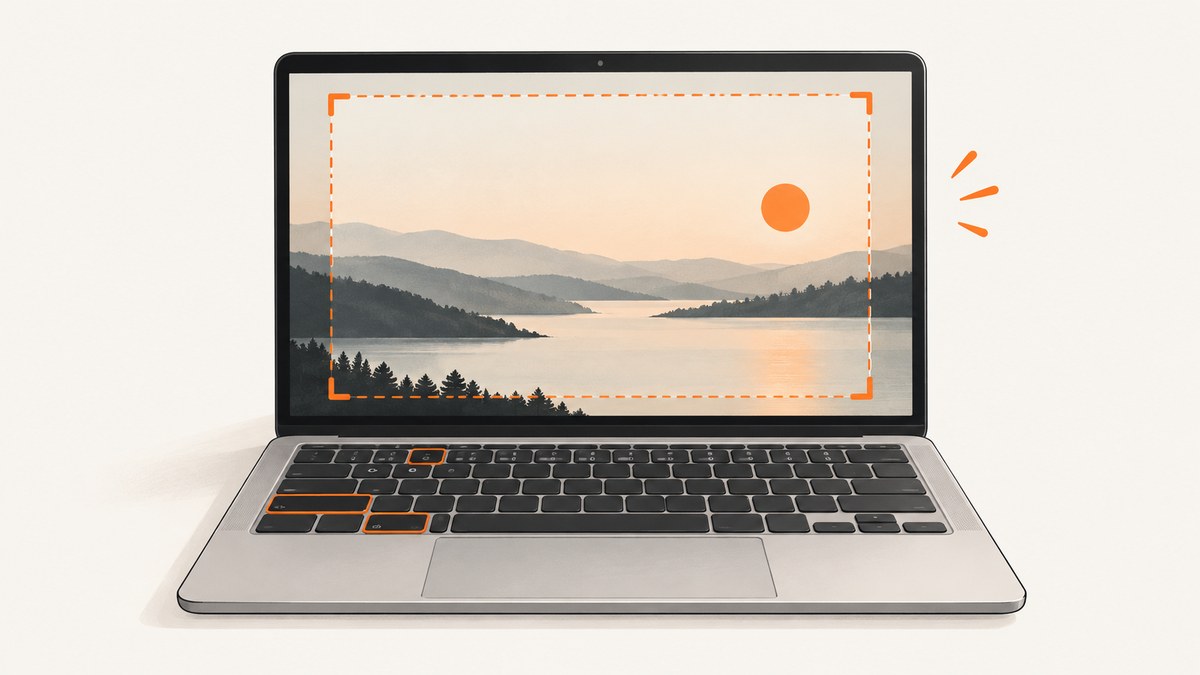
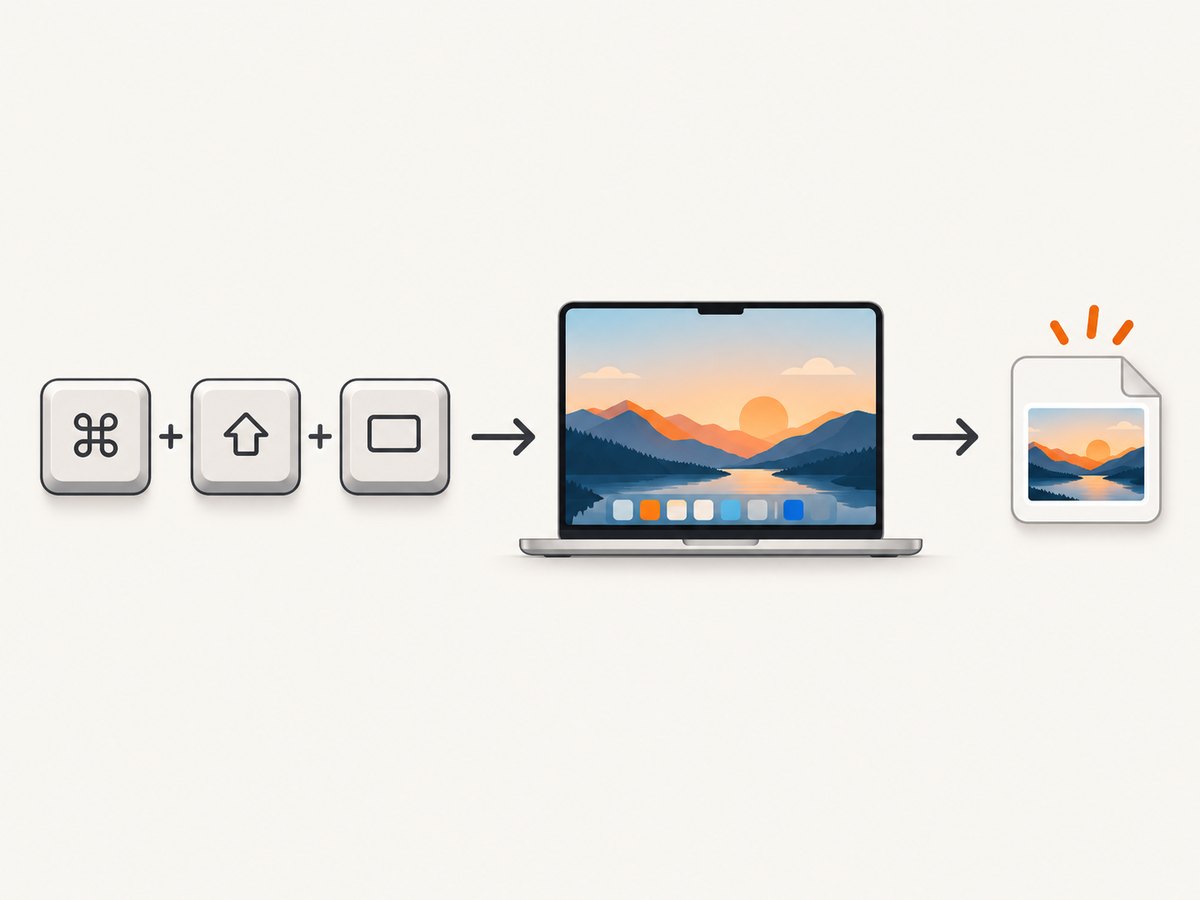
Press and release Shift-Command-3 together. macOS captures the entire screen and normally saves the image to your desktop. If a thumbnail appears in a corner, click it to edit or wait for it to disappear and use the saved file. Apple documents this as the shortcut for capturing the entire screen. Apple Support explains the shortcut and default save behavior.
1. Capture the entire screen with the keyboard shortcut
- Arrange your Mac display exactly as you want it captured. Close private windows, move the pointer if it is covering something important, and connect any external display you want included.
- Press and release Shift-Command-3 at the same time. Do not hold the keys after the capture unless you want to use a modifier such as Control.
- Look for a thumbnail in a corner of the screen. Click it to open the markup editor, or wait for it to be saved automatically.
- Open the desktop and look for a file whose name begins with Screenshot and includes the date and time.
The shortcut captures the full visible desktop, including the menu bar, Dock, open windows, and any connected display area that macOS includes in the desktop. It does not create a recording or a scrollable web-page capture; it is a still image of the screen at that moment.
2. Where macOS saves the screenshot
The default location is the desktop. The file is usually a PNG, which preserves sharp text and interface details. If you cannot see it immediately:
- Click the desktop and press Command-F to search in Finder, then search for Screenshot.
- Open Finder and choose Recents; sort by Date Added.
- Check whether the screenshot thumbnail is still open in the lower-right corner. A click opens editing controls; a swipe or a wait dismisses it.
- If you previously changed the save location in the Screenshot app, check that folder instead of the desktop.
macOS may add a date and time to the filename. Renaming the file does not change its pixels or format.
3. Copy the whole screen to the Clipboard
Hold Control while pressing the full-screen shortcut: Control-Shift-Command-3. The screenshot goes to the Clipboard instead of being written as a file. You can then paste it into Mail, Messages, Notes, a document, an image editor, or another app with Command-V. Apple lists this Control modifier in its screenshot shortcut table: Take screenshots or screen recordings on Mac.
Clipboard capture is useful when you need to send an image once and do not want to manage a file. It also avoids leaving a copy on the desktop. The Clipboard holds the most recent copied item, so paste it before copying something else.
4. Use the Screenshot app for location, timer, and more controls
Press Shift-Command-5 to open the built-in Screenshot app. You can also open it from Applications > Utilities > Screenshot. Apple says the Screenshot app is available on macOS Mojave 10.14 or later and provides capture and recording controls. Its toolbar includes options for capturing the entire screen, a window, or a selected portion.
Choose a save location
Open Options, then choose a destination such as Desktop, Documents, Clipboard, Mail, Messages, Preview, or another location. The chosen destination applies to later captures until you change it. Select Other Location if you want a specific folder.
Add a timer
In Options, choose None, 5 seconds, or 10 seconds. A timer gives you time to open a menu, reveal a tooltip, or position a window before macOS captures the screen. Start the timer, set up the desktop, and wait for the capture.
Show or hide the pointer and thumbnail
The Screenshot app can include the mouse pointer in a capture and can show a floating thumbnail after capture. Turn these options on or off from Options. Hiding the thumbnail is useful for repeated automated-looking workflows; keeping it visible is useful when you want to annotate immediately.
Capture a selected portion instead
Although the shortcut for the entire screen is the fastest method, Shift-Command-5 lets you drag a rectangle around a region. This is useful when a full desktop contains private information or irrelevant monitors. Resize the selection before clicking Capture.
5. Edit, mark up, and share the result
Click the floating thumbnail before it disappears to open the markup view. You can draw, add shapes, insert text, crop, rotate, and add a signature when the available controls support it. Click Done to save the edited image. If you do not need editing, let the thumbnail disappear and work with the original file.
To share the saved screenshot, drag it into a message or document, use the Share button in Finder, or open it in Preview. PNG is a good default for text-heavy screenshots. If you need a smaller file for a web upload, export a JPEG or WebP from an image editor after checking that text remains readable.
6. Multiple monitors and display arrangements
With more than one display connected, macOS treats the screens as a desktop arrangement. A full-screen capture may include the display area represented by the active desktop, while a window capture targets one window. If the result is not what you expected:
- Open System Settings > Displays and confirm the arrangement and which display is the main display.
- Move the pointer to the display you want to inspect and try the Screenshot app’s full-screen or selected-portion controls.
- Use a selected rectangle when you need one monitor area with predictable boundaries.
- Check the saved image dimensions. A Retina display can produce a file with more pixels than the logical points shown in settings.
External displays, scaling modes, and spaces can change the pixel dimensions and what is visible. The shortcut captures what macOS presents as the desktop at the instant you press the keys.
7. Retina resolution, file size, and image quality
Retina displays use a high pixel density. A screenshot can therefore be larger in pixel dimensions and file size than the on-screen logical resolution suggests. This is expected and helps preserve small type when you zoom in.
- Use PNG when crisp text, diagrams, or UI details matter.
- Use JPEG when photographic content and a smaller attachment are more important.
- Crop unused desktop space before uploading or sharing.
- Resize a copy rather than overwriting the original if you may need the full-resolution image later.
For documentation, capture at the size readers will see. A very large Retina image can make a web page slower without improving readability once it is scaled down.
8. Troubleshooting common screenshot problems
| Problem | Likely cause | Fix |
|---|---|---|
| Nothing appears after Shift-Command-3 | The shortcut was mistyped, a keyboard shortcut was remapped, or the file was saved somewhere else. | Open Shift-Command-5 and click Capture. Check Screenshot settings and search Finder for “Screenshot”. |
| The screenshot is on the desktop but you expected the Clipboard | Control was not held while pressing the shortcut. | Press Control-Shift-Command-3, then paste with Command-V. |
| The thumbnail blocks part of the image | The thumbnail is a temporary preview. | Wait for it to disappear, swipe it away, or disable the thumbnail in Screenshot > Options. |
| The capture includes the wrong area | Multiple displays, spaces, or a selected rectangle changed the capture boundary. | Review Displays arrangement and use the full-screen button or a fresh selection in Shift-Command-5. |
| A menu closes before it is captured | The shortcut or click dismissed the menu. | Use the Screenshot app timer, choose 5 or 10 seconds, open the menu, and wait. |
| An app window is black or refuses to capture | Some apps restrict screenshots of their windows. Apple gives Apple TV as an example. | Check the app’s own export or recording feature. This is an app-specific restriction, not a general Mac screenshot failure. |
| The file is too large to upload | Retina pixels and a full desktop create a large PNG. | Crop, resize a copy, or export to JPEG/WebP while checking text quality. |
| Keyboard shortcuts do not work | Another utility may have claimed the shortcut, or macOS keyboard settings changed it. | Open System Settings > Keyboard > Keyboard Shortcuts > Screenshots, restore the defaults, and retry. |
9. A repeatable workflow for documentation and support
- Prepare the desktop: close unrelated windows and remove sensitive notifications.
- Open Shift-Command-5 and set the destination to a project folder.
- Choose a timer if a menu, hover state, or transient dialog must be visible.
- Capture the entire screen with the full-screen control.
- Review the thumbnail for accidental private data, then crop or mark up the image.
- Rename the file with a useful convention such as
checkout-error-2026-09-30.png. - Keep an original copy and create a resized copy for tickets, documentation, or chat.
This workflow reduces re-captures and makes screenshots easier for another person to find. For sensitive support tickets, inspect the image at 100 percent before sending it.
10. Or skip the browser setup: capture web pages with ScreenshotNeo
The Mac shortcut captures your local desktop. If what you really need is a repeatable image of a public or authenticated web page, ScreenshotNeo provides a website screenshot API and MCP server. One GET request returns a PNG, JPEG, WebP, or PDF. Its clean-shot workflow accepts cookie and consent banners before capture and removes more than 60 known consent platforms, newsletter popups, and chat widgets. Each step can be turned off.
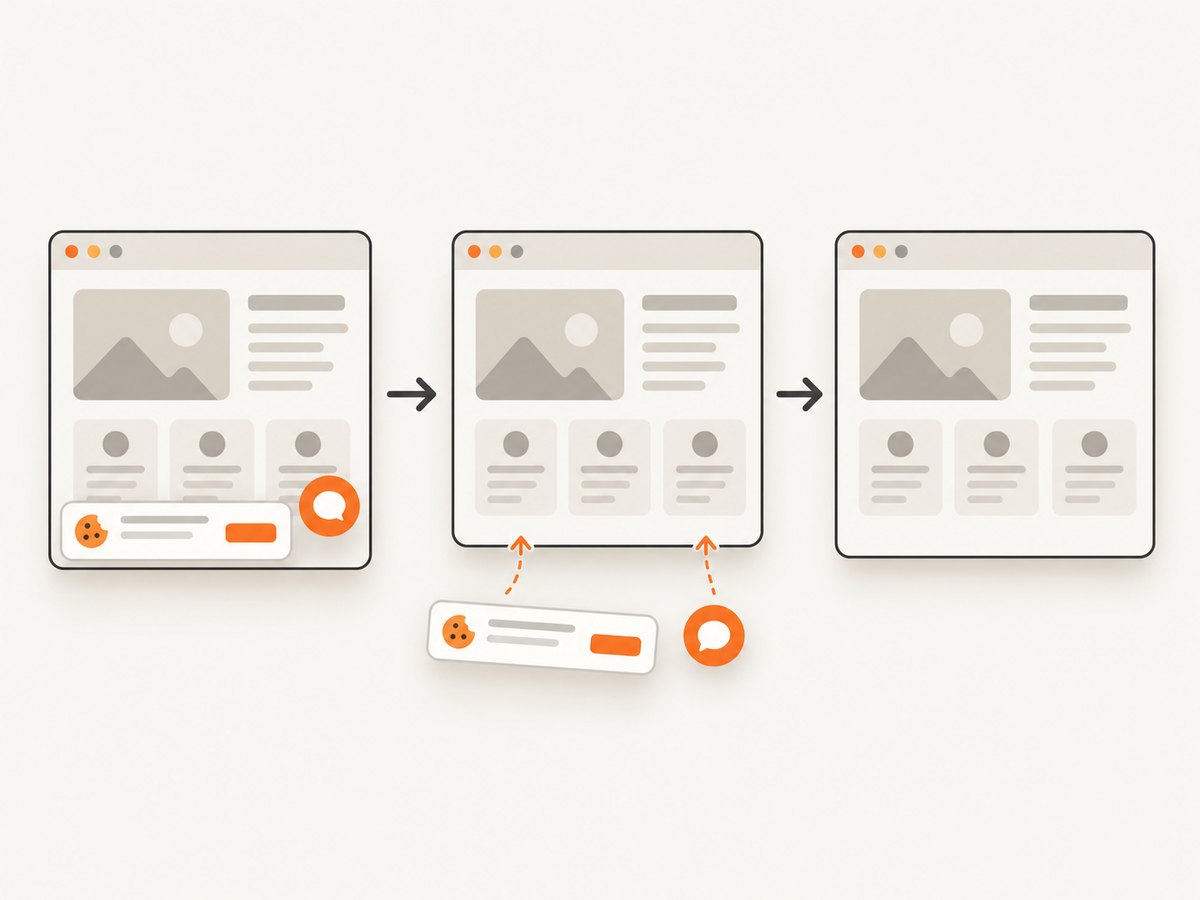
Only clean shots are billed. Bot checks or CAPTCHAs, blank pages, timeouts, failed loads, and cache hits cost nothing, and the response identifies the result with X-Page-Verdict and X-Billed headers. The service also has an MCP server with take_screenshot, get_page_info, and capture_pdf tools for Claude, Cursor, and other MCP clients.
See the ScreenshotNeo API documentation for the complete option list. The API supports full-page capture with lazy images loaded, CSS selector element capture, dark mode, device presets, custom viewports, Retina scale, PDF paper size and margins, custom CSS and JavaScript, clicks, selector waits, delays, network idle, blocked requests and resource types, headers, cookies, user agents, Authorization, timezone, geolocation, transparent backgrounds, resizing, caching with a chosen TTL, signed links, asynchronous jobs with signed webhooks, bulk capture of up to 100 URLs per call, a usage API, and an OpenAPI specification.
cURL
curl -G 'https://api.screenshotneo.com/v1/shot' \
  -d access_key=YOUR_API_KEY \
  --data-urlencode 'url=https://stripe.com' \
  -o shot.webp
Python
import requests

r = requests.get(
    'https://api.screenshotneo.com/v1/shot',
    params={'access_key': 'YOUR_API_KEY', 'url': 'https://stripe.com'},
    timeout=90,
)
r.raise_for_status()
open('shot.webp', 'wb').write(r.content)
Node.js
const q = new URLSearchParams({
  access_key: 'YOUR_API_KEY',
  url: 'https://stripe.com'
});
const res = await fetch(`https://api.screenshotneo.com/v1/shot?${q}`);
if (!res.ok) throw new Error(`HTTP ${res.status}`);
const buffer = Buffer.from(await res.arrayBuffer());
await import('node:fs/promises').then(fs => fs.writeFile('shot.webp', buffer));
ScreenshotNeo has 1,000 shots per month free with no card. Paid plans start at $5 for 3,000 shots; yearly billing gives two months free, and every feature is available on every plan. Create a free ScreenshotNeo account and start with the 1,000 free screenshots.
11. Reliability, performance, and cost considerations
For local Mac captures, the operation is immediate and has no service cost. The practical limits are disk space, display configuration, and app-specific capture restrictions. Use the built-in timer for transient UI and keep originals when image quality matters.
For automated web captures, use a stable URL, set an explicit wait condition for pages that render late, and choose a cache TTL when the page does not change frequently. Full-page captures that load lazy images can take longer than viewport captures. Bulk capture and asynchronous jobs are useful when you have many URLs or do not want a request to remain open. Inspect the verdict and billing headers so your application can distinguish a clean result from a bot check, blank page, timeout, failed load, or cache hit.
12. FAQ
What is the Mac shortcut for the entire screen?
Press and release Shift-Command-3.
Can I take a full-screen screenshot without saving a file?
Yes. Hold Control as well: Control-Shift-Command-3 copies the image to the Clipboard.
How do I capture a menu after opening it?
Open Shift-Command-5, choose Options, set a 5- or 10-second timer, open the menu, and let the timer finish.
Does Shift-Command-3 capture a whole scrolling web page?
No. It captures the visible Mac desktop. Use a browser’s full-page feature or a web capture API such as ScreenshotNeo for a page-length image.
Why is my screenshot larger than my display resolution?
Retina displays produce high-density pixel output. Check the image dimensions and resize a copy if a smaller file is needed.
Can every app window be captured?
No. Some apps restrict screenshots of their windows; Apple specifically names Apple TV as an example.


