BlogScreenshots on your device
How to Take a Screenshot of Your Screen With a Keyboard Shortcut
Use the right keyboard shortcut to capture your screen on Windows, Mac, Chromebook, iPhone, or Android—and find the saved image.
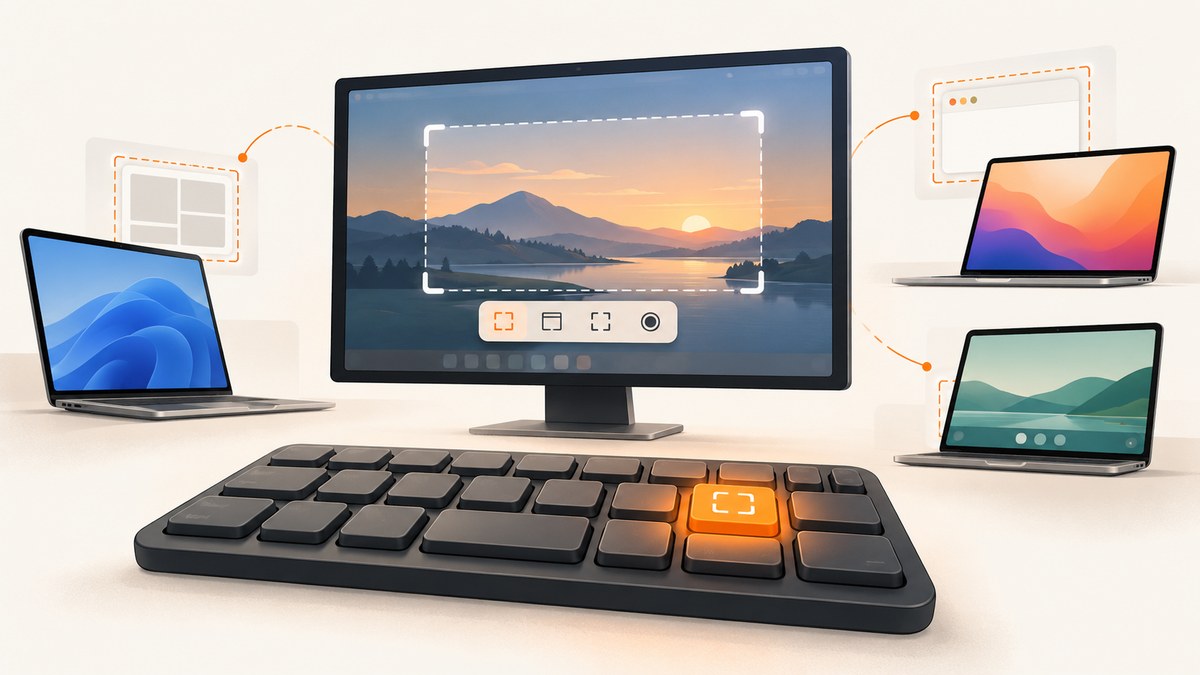
The correct screenshot shortcut depends on your operating system and the kind of capture you need. On Windows, press Windows+Shift+S to select part of the screen, or PrtScn for a whole-screen image copied to the clipboard. On Mac, use Shift-Command-3 for the entire display, Shift-Command-4 for a selected area, or Shift-Command-5 for screenshot controls. On Chromebook, press the dedicated Screenshot key or Shift+Ctrl+Show windows. iPhone and Android use physical-button combinations rather than keyboard shortcuts.
This guide explains every built-in method, where files go, how to capture a window or scrolling page, what to do when a shortcut fails, and when an automated website screenshot is a better fit.
Choose the shortcut by device and capture type
| Device | Entire screen | Selected area | Window or controls | Typical save location |
|---|---|---|---|---|
| Windows | PrtScn | Windows+Shift+S | Snipping Tool modes | Clipboard or Screenshots folder, depending on settings |
| Mac | Shift-Command-3 | Shift-Command-4 | Shift-Command-4, then Space; Shift-Command-5 | Desktop by default |
| Chromebook | Screenshot key or Shift+Ctrl+Show windows | Screenshot toolbar selection | Screenshot toolbar | Downloads by default and clipboard |
| iPhone | Side+Volume Up, or Home+Side | Capture first, then edit or crop | Not applicable | Photos |
| Android | Power+Volume Down | Capture first, then crop or use scrolling capture | Power, then Screenshot | Photos or Gallery, depending on device |
Use a full-screen shortcut when you need everything visible. Use a selection tool for a region, a dialog, or a single visual detail. Window capture avoids including unrelated applications. If you need a repeatable image of a public web page, browser automation or an API is more reliable than capturing your own monitor.
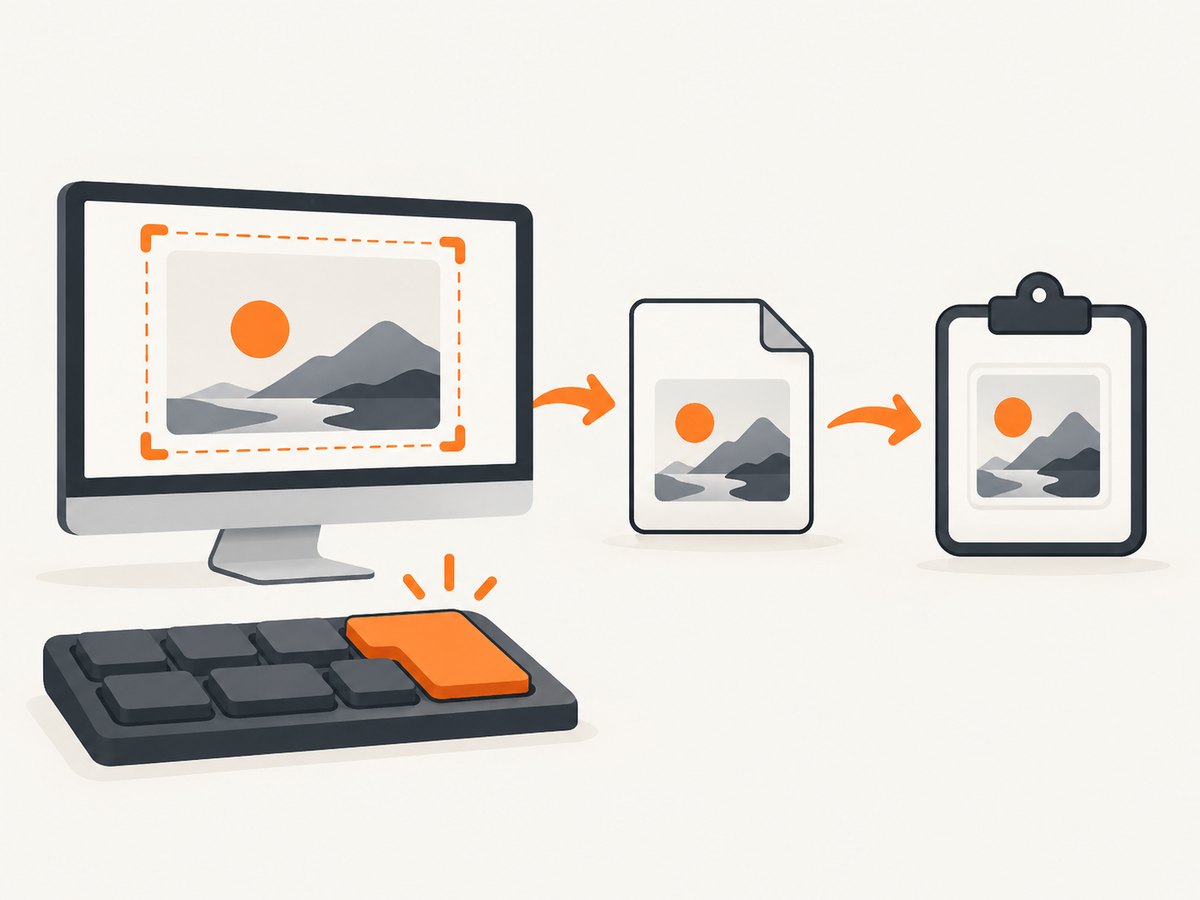
Windows screenshot keyboard shortcuts
Capture a selected region with Windows+Shift+S
- Press Windows+Shift+S.
- When the screen dims, choose rectangle, freeform, window, or full-screen snip from the toolbar.
- Drag over the area, select a window, or choose full screen.
- Open the notification preview to annotate, copy, or save the image.
This is the fastest Windows method for a partial screenshot. The image is available through the Snipping Tool notification and can be copied into an email, document, issue tracker, or image editor.
Capture the whole screen with PrtScn
Press PrtScn (also labeled Print Screen or PrtSc) to copy the current screen to the clipboard. Open Paint, an editor, or any app that accepts images and press Ctrl+V. On some Windows configurations, PrtScn opens screen snipping instead. Microsoft documents a Print Screen setting that controls this behavior, so check Settings → Accessibility → Keyboard if the key does something unexpected.
Use Snipping Tool for saved files and delayed captures
Open Snipping Tool from the Start menu when you need a visible save workflow, a delay, or a specific capture mode. Choose rectangle, window, full-screen, or freeform capture, then save the result. Current Windows versions can automatically save Snipping Tool captures to a Screenshots folder, while the app settings let you change save behavior and location. The exact interface can vary by Windows release.
Do not confuse screenshot and video shortcuts. Microsoft documents Windows+Shift+R for starting a video snip. It does not create a still screenshot.
Windows troubleshooting
- Nothing appears after PrtScn: the image may only be on the clipboard. Paste it with Ctrl+V into Paint or another image-capable app.
- PrtScn opens the snipping toolbar: review the Print Screen keyboard setting, or use Windows+Shift+S directly.
- A laptop key does not work: try Fn+PrtScn; some keyboards place Print Screen on a shared function key.
- The capture is black: protected video, remote desktop policies, graphics drivers, or hardware-accelerated content can prevent capture. Try the app’s own export option or capture a non-protected region.
- You cannot find the file: open Snipping Tool settings and check its configured save folder. Clipboard captures have no file until you paste and save them.
Mac screenshot keyboard shortcuts
Capture the entire screen
Press Shift-Command-3. macOS normally saves the image to the desktop. Hold Control while pressing the shortcut to copy the screenshot to the clipboard instead of saving it as a file, then paste it with Command+V.
Capture a selected portion
- Press Shift-Command-4.
- Drag the crosshair over the area you want.
- Release the mouse or trackpad button to capture.
While dragging, hold Space to reposition the selection. Press Escape before releasing to cancel. This method is useful for a chart, dialog, code sample, or a single browser region.
Capture a window or menu
Press Shift-Command-4, then press Space. The pointer changes to a camera. Click a window to capture it with its shadow. To capture a menu, open the menu first, invoke the shortcut, and click the menu area.
Open Screenshot controls with Shift-Command-5
Press Shift-Command-5 to open Apple’s Screenshot panel. It provides buttons for the entire screen, a window, or a selected portion, plus screen recording, a timer, pointer options, and a save-location selector. Apple describes this panel in its official Mac screenshot guide. Use the timer when a menu or tooltip must be open before capture.
Mac troubleshooting
- No file appears on the desktop: open Shift-Command-5 and inspect the save location. It may be Documents, Clipboard, Mail, or another configured destination.
- The shortcut is intercepted: go to System Settings → Keyboard → Keyboard Shortcuts → Screenshots and restore or change the combination.
- Only one monitor is captured: full-screen capture can create a separate image for each display. Use selection capture if you need a combined region.
- A window has an unwanted shadow: use a selection capture or edit the image after saving.
Chromebook screenshot shortcuts
Use the Screenshot key
Chromebooks with a dedicated Screenshot key can capture the display and open the screenshot toolbar. Select full screen, a window, or a partial region. The key’s icon resembles a rectangle with corners or a camera, depending on the keyboard.
Use Shift+Ctrl+Show windows
If there is no dedicated key, press Shift+Ctrl+Show windows. The Show windows key is usually above the number row and looks like a rectangle beside two vertical lines. Choose the capture mode from the toolbar and select the area.
On an external keyboard without Show windows, Google documents Ctrl+Shift+F5 as the fallback. Chromebook captures are copied to the clipboard and saved in Downloads by default; the screenshot settings allow a different folder. Google’s Chromebook screenshot instructions describe these modes and the external-keyboard alternative.
Chromebook tablet mode and scrolling pages
For a Chromebook tablet, the documented hardware combination is Power+Volume Down. For long web pages, use the screenshot toolbar’s scrolling capture when the option is offered. Availability depends on the page and ChromeOS version.
Chromebook troubleshooting
- The toolbar does not open: verify that you pressed Ctrl+Shift together and are using Show windows, not the browser tab key.
- The external keyboard shortcut fails: try Ctrl+Shift+F5, then check whether the keyboard maps F5 through an Fn layer.
- The image is missing: check Downloads and the clipboard. Change the destination in the screenshot toolbar settings.
iPhone and Android screenshot buttons
iPhone
On an iPhone without a Home button, quickly press and release Side+Volume Up. On models with a Home button, press and release Home+Side. A thumbnail appears briefly; tap it to crop, annotate, share, or delete. Otherwise the image is stored in Photos. Apple documents these combinations in its iPhone screenshot guide.
Android
Press Power+Volume Down at the same time. If that does not work, hold the Power button and tap Screenshot. Android device makers can change the controls, so consult the phone manufacturer’s support page when neither method works. Google says scrolling screenshots are available on Android 12 and later for most screens that support scrolling; after capturing, choose the scrolling option if it appears.
Phones do not generally have a keyboard shortcut for this task. Bluetooth keyboards, accessibility tools, and manufacturer gestures can add alternatives, but the physical-button method is the platform default.
Where screenshots are saved and how to paste them
| Platform | Clipboard behavior | Default file destination | How to change it |
|---|---|---|---|
| Windows | PrtScn copies; Snipping Tool can copy and save | Configured in Snipping Tool | Snipping Tool settings |
| Mac | Hold Control with a shortcut to copy | Desktop | Shift-Command-5 Options |
| Chromebook | Copied automatically | Downloads | Screenshot toolbar settings |
| iPhone | Thumbnail actions and share sheet | Photos | Photos organization or Files export |
| Android | Usually available through the share or edit flow | Photos or Gallery | Device gallery settings |
If you need to paste immediately, use the clipboard path. If you need a durable file, open the preview or editor and save it deliberately. This distinction explains why a screenshot can appear to “vanish” even though it was captured successfully.
Capturing a website without your monitor
A keyboard shortcut captures what is visible on your local display. It does not reliably produce a full-page image, wait for lazy-loaded images, apply a mobile viewport, remove cookie banners, or run the same capture in CI. For those jobs, use a browser automation script or a screenshot API.
DIY browser automation checklist
- Launch a headless browser such as Playwright or Puppeteer.
- Set the viewport and device scale factor.
- Navigate to the URL and wait for the required selector or network idle.
- Dismiss consent dialogs and close popups.
- Scroll or request a full-page capture so lazy images load.
- Save PNG, JPEG, or WebP and record failures separately.
Automation must account for authentication, cookie state, bot checks, animations, cross-origin resources, timeouts, and pages that never become idle. A local keyboard shortcut avoids that setup but cannot solve those web capture requirements.
Or skip the browser setup
ScreenshotNeo provides a website screenshot API and MCP server. One GET request returns a PNG, JPEG, WebP, or PDF. Cookie and consent banners are accepted like a visitor, then more than 60 known consent platforms, newsletter popups, and chat widgets are removed before the shot. Each step can be turned off.
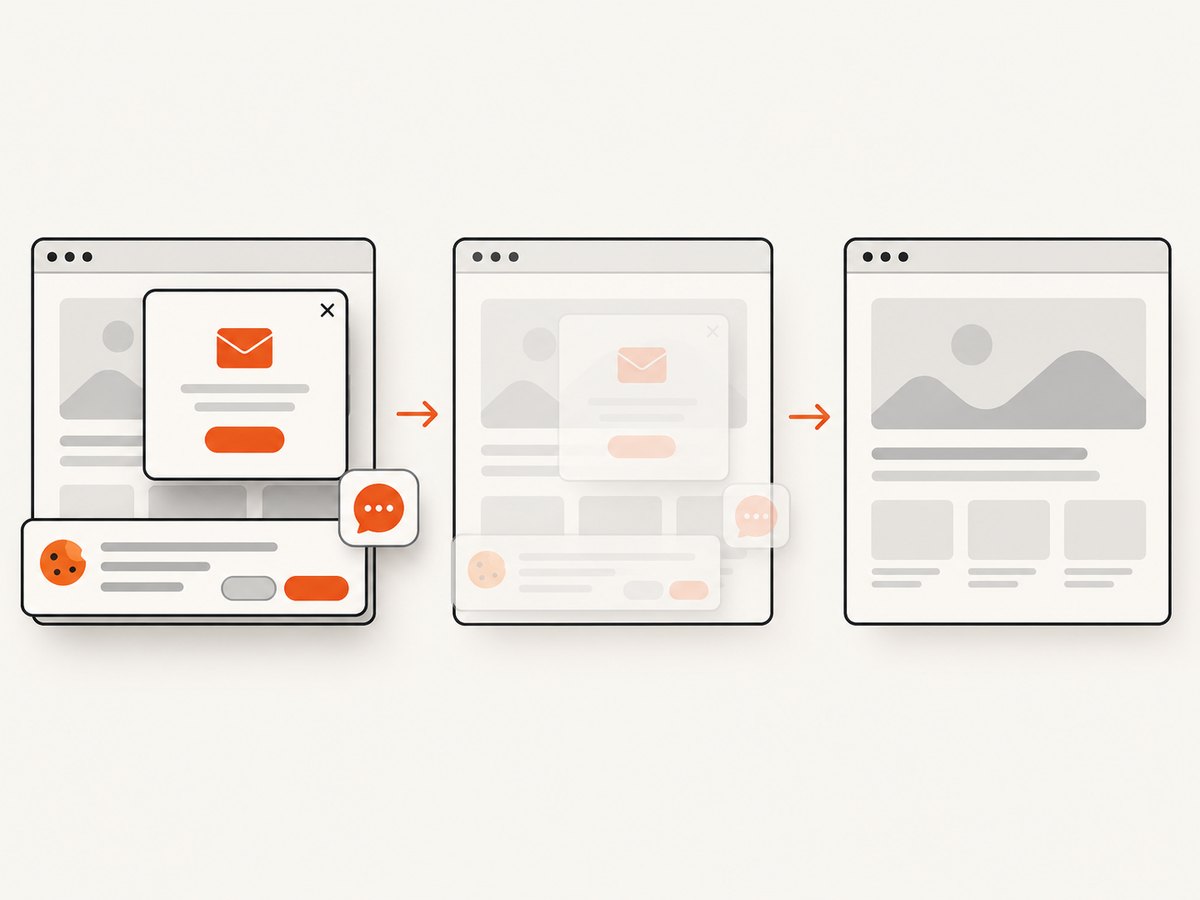
Only clean shots are billed. Bot checks or CAPTCHAs, blank pages, timeouts, failed loads, and cache hits cost nothing, and response headers identify the page verdict and whether it was billed. The MCP server exposes take_screenshot, get_page_info, and capture_pdf for Claude, Cursor, and other MCP clients.
cURL
curl -G "https://api.screenshotneo.com/v1/shot" \
  -d access_key=YOUR_API_KEY \
  --data-urlencode url=https://stripe.com \
  -o shot.webp
Python
import requests

r = requests.get(
    "https://api.screenshotneo.com/v1/shot",
    params={"access_key": "YOUR_API_KEY", "url": "https://stripe.com"},
    timeout=90,
)
r.raise_for_status()
open("shot.webp", "wb").write(r.content)
Node.js
const q = new URLSearchParams({
  access_key: 'YOUR_API_KEY',
  url: 'https://stripe.com'
});
const res = await fetch(`https://api.screenshotneo.com/v1/shot?${q}`);
if (!res.ok) throw new Error(`Screenshot failed: ${res.status}`);
const fs = await import('node:fs/promises');
await fs.writeFile('shot.webp', Buffer.from(await res.arrayBuffer()));
See the ScreenshotNeo API documentation for authentication, response headers, and option names. Available controls include full-page capture with lazy images, CSS-selector element capture, dark mode, 12 device presets or any viewport, retina scale, PDF paper size and margins, custom CSS and JavaScript, clicks, selector waits, delays, network-idle waits, ad and tracker blocking, custom headers and cookies, user agents, Authorization, timezone, geolocation, transparent backgrounds, resizing, cache TTL, signed links, asynchronous jobs with signed webhooks, bulk capture for 100 URLs per call, usage reporting, and an OpenAPI specification.
Plans include 1,000 shots per month free with no card. Paid plans start at $5 for 3,000 shots; yearly billing provides two months free, and every feature is available on every plan. Create a free ScreenshotNeo account to try the API.
Reliability, performance, and cost considerations
- Repeatability: fix the viewport, timezone, locale, user agent, and wait condition when comparing screenshots.
- Performance: cache stable pages with a TTL, block unnecessary resource types, and use bulk capture for up to 100 URLs per call.
- Dynamic pages: wait for a selector, a delay, or network idle; full-page mode helps trigger lazy images.
- Failures: inspect X-Page-Verdict and X-Billed rather than assuming every HTTP response represents a billable clean shot.
- Security: keep access keys server-side, use custom headers or cookies only when required, and avoid placing secrets in public image URLs unless signed links are appropriate.
- Local shortcuts: they have no service cost, but they are tied to one user’s display and cannot run unattended in CI.
Common problems and fixes
| Problem | Likely cause | Fix |
|---|---|---|
| Wrong content captured | Shortcut mode was full screen instead of region or window | Use the platform’s selection or window mode. |
| No saved file | Capture went to clipboard | Paste into an editor and save, or inspect the configured destination. |
| Page is cut off | Monitor capture only includes the visible viewport | Use a full-page browser capture or ScreenshotNeo full-page mode. |
| Cookie banner covers content | Consent UI was visible during capture | Dismiss it manually, automate the consent flow, or use ScreenshotNeo’s cleaning step. |
| Website capture times out | Slow resources or a page that never reaches idle | Use a selector or delay wait, block unneeded resources, and set a suitable timeout. |
| Screenshot is blank | Navigation failed, content is protected, or rendering did not finish | Check the URL, authentication, waits, and page verdict; retry only when appropriate. |
FAQ
What is the universal screenshot shortcut?
There is no universal shortcut. Windows, Mac, and Chromebook use different combinations, while phones normally use physical buttons.
How do I screenshot only one window?
On Mac, press Shift-Command-4, then Space. On Windows and Chromebook, open the snipping toolbar and choose window capture.
How do I screenshot a long web page?
Use a scrolling capture when your browser or operating system offers one. For repeatable automated captures, use full-page browser automation or an API.
Can I change screenshot shortcuts?
Mac allows customization in Keyboard settings. Windows behavior can be changed through Accessibility keyboard settings and Snipping Tool options. Chromebook shortcuts are mostly fixed, though external keyboards may require the documented fallback.
Why is my screenshot blurry?
The source may be displayed at a low scale, resized by an editor, or captured on a low-density display. Capture at the original display scale and avoid enlarging the saved image. Automated tools can use a retina or device scale setting.
Are screenshots automatically saved?
Usually, but the destination differs. Mac defaults to the desktop, Chromebook to Downloads, and Windows depends on Snipping Tool and Print Screen settings. Clipboard-only captures must be pasted and saved manually.


