BlogScreenshots on your device
How to Take a Screenshot on Mac With Keyboard Shortcuts
Use Shift-Command-3 for the whole screen, Shift-Command-4 for a selection, or Shift-Command-5 for capture controls. Here’s how to save, copy, and troubleshoot screenshots.
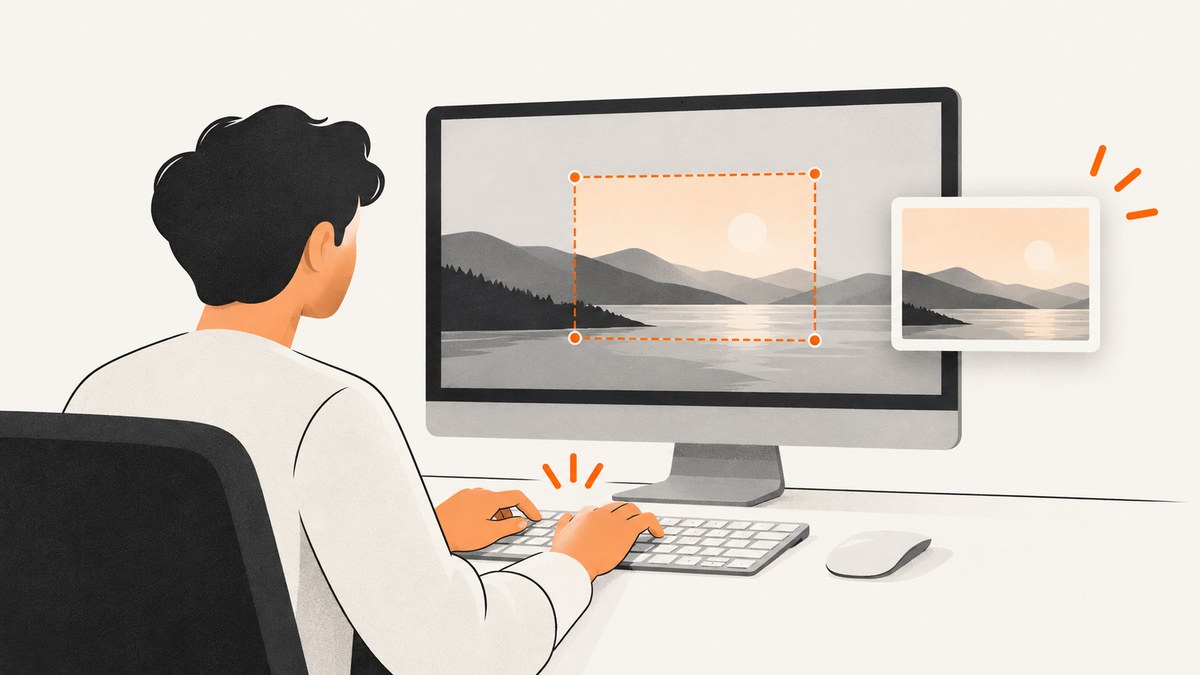
The quickest way to take a screenshot on a Mac is to press Shift-Command-3 for the entire screen or Shift-Command-4 to select an area. To capture a window, press Shift-Command-4, then tap Space and click the window. Add Control to copy a capture to the Clipboard instead of saving a file. Press Shift-Command-5 to open the Screenshot controls for timers, save location, pointer visibility, and screen recording. These shortcuts are built into macOS; no extra screenshot app is required. [Apple’s instructions](https://support.apple.com/en-ie/102646) cover the same built-in capture options.
1. Choose the shortcut for the capture you need
| What you want | Shortcut | What happens |
|---|---|---|
| Entire screen | Shift-Command-3 | Captures the screen and saves the image. |
| Selected region | Shift-Command-4 | Turns the pointer into a crosshair so you can drag a rectangle. |
| Window or menu | Shift-Command-4, then Space | Turns the pointer into a camera; click the item to capture it. |
| Capture controls or recording | Shift-Command-5 | Opens the Screenshot app toolbar. |
| Clipboard instead of a saved file | Add Control to a capture shortcut | Copies the capture so you can paste it into another app. |
Press and release the shortcut keys together. On Apple keyboards, Command is marked ⌘. A thumbnail may appear in a screen corner after capture. Click it to edit or mark up the image; otherwise, wait for the file to save. By default, macOS saves screenshot files to the Desktop with a name containing the date and time.
2. Capture the entire Mac screen
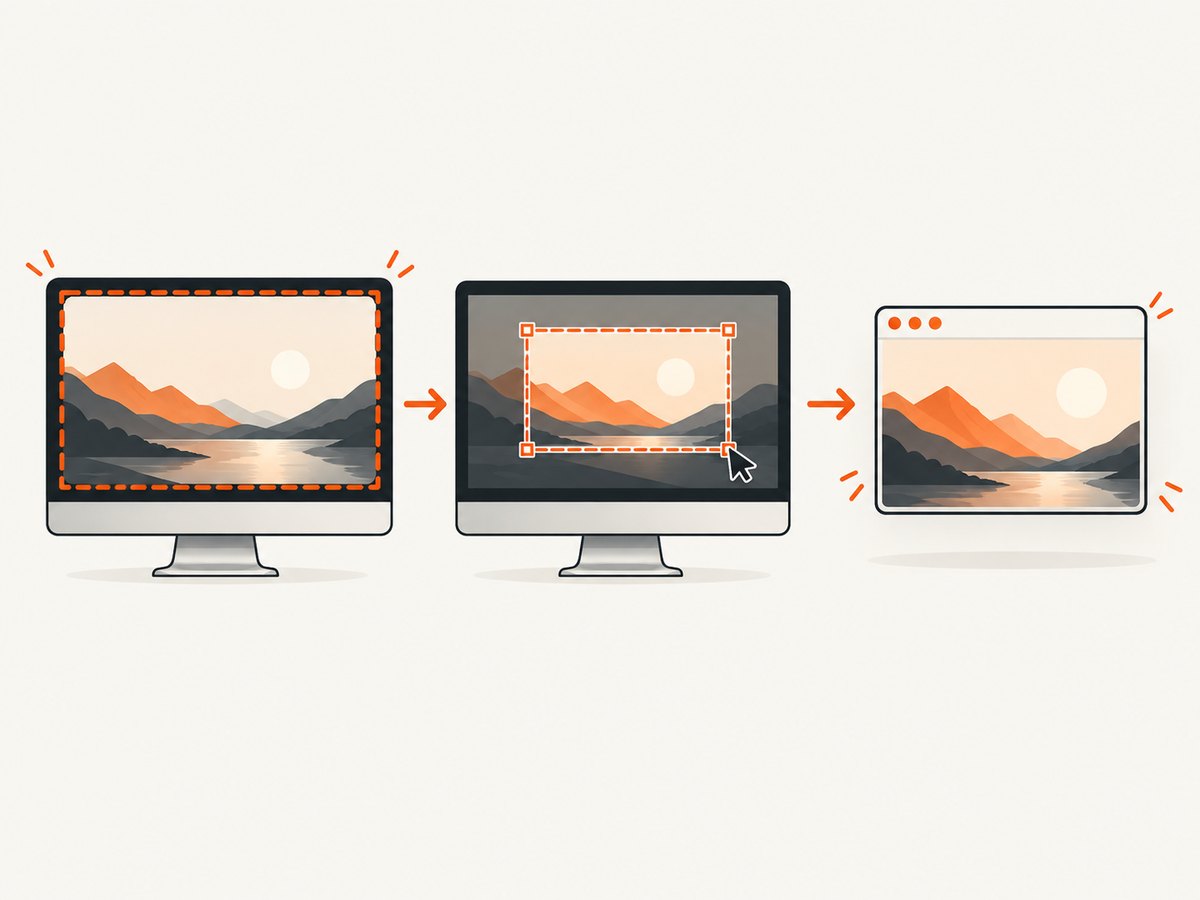
- Arrange the screen as you want it to appear, including any windows, menus, or connected displays you intend to include.
- Press and release Shift-Command-3.
- Click the thumbnail if you want to edit it. Otherwise, find the saved file on the Desktop.
This is the right shortcut when you need a record of the whole visible desktop, rather than one app or a cropped detail. If your Mac is connected to multiple displays, check the saved capture to confirm it includes the display or content you intended. For a smaller result, use the selection shortcut instead.
To put the full-screen capture on the Clipboard, hold Control while pressing Shift-Command-3: Control-Shift-Command-3. Then switch to the destination app and paste. This is useful for a quick message or document when you do not need a separate image file.
3. Capture part of the screen
- Press and release Shift-Command-4. The pointer changes to a crosshair.
- Click and hold the mouse or trackpad button, then drag to outline the area you want.
- Release the button or trackpad to take the capture. Press Esc before releasing to cancel.
To reposition the selection without changing its dimensions, hold Space while dragging. This helps when you have drawn a rectangle of the right size but need to move it slightly. If the selection is wrong, cancel with Escape and start again; you can also adjust it before releasing.
For a selection that should go straight to the Clipboard, add Control to the shortcut: Control-Shift-Command-4. Drag the region as usual, then paste it into the app where you need it. This avoids saving a file when you only want to share or annotate a snippet.
4. Capture a window or menu
- Open the window or menu you need to capture.
- Press and release Shift-Command-4, then press and release Space.
- Move the camera pointer over the target. Click to capture it.
To omit the window’s shadow, hold Option while clicking. Press Esc to cancel before you take the picture. Window capture is useful when you want the app window framed neatly without manually drawing a crop around it. The shortcut can capture a menu as well, which is handy for documenting a visible menu state.
Some apps restrict window screenshots. Apple specifically notes that apps such as Apple TV may not allow screenshots of their windows. If a protected window does not appear as expected, try capturing a different, permitted area or use the app’s own export or sharing options where available.
5. Use the Screenshot app for timers, save location, and recording
Press Shift-Command-5 to open Screenshot controls. This app is available on macOS Mojave 10.14 and later. The toolbar offers screen capture and screen recording choices, and its Options menu provides settings that the single-keyboard shortcuts do not expose.
- Timer: Set a delay before capture when you need time to arrange a menu or prepare the screen.
- Save location: Choose where screenshot files go instead of using the Desktop default.
- Floating thumbnail: Choose whether the post-capture thumbnail appears.
- Pointer visibility: Choose whether the pointer is included in the screenshot.
- Recording: Choose to record the whole screen or a selected portion using the Screenshot controls.
If you need to move a screenshot immediately, drag its floating thumbnail into a document or folder. If it is already saved, use the chosen destination to find it. You can open Screenshot from the Applications/Utilities folder as well, but the keyboard shortcut is the fastest route.
6. Save a file or copy to the Clipboard
Use the ordinary shortcut when you want a saved image file. The default destination is the Desktop, and filenames include the capture date and time. Change the destination in Shift-Command-5 > Options. If the floating thumbnail is visible, you can also drag it directly to another location.
Use Control with the capture keys when you want to paste the image directly into another app. For example, the Clipboard shortcut for the whole screen is Control-Shift-Command-3. A common mix-up is to press the ordinary shortcut and then search the Clipboard: without Control, the regular behavior is a saved screenshot file. Conversely, if you used Control, look to paste the capture rather than expecting a new Desktop file.
7. Screenshot the Mac display or screenshot a website?
The built-in shortcuts capture what is visible on your Mac display. They are ideal for a desktop app, a menu, a support issue, or a quick image to paste. If your task is to capture a web page at a chosen viewport, automate repeat captures, or work from a URL without arranging a browser window, a website screenshot API is a different tool for that job.

For captures of websites, [ScreenshotNeo](https://screenshotneo.com) is a website screenshot API and MCP server for developers. It accepts one GET request with a URL and returns a PNG, JPEG, WebP, or PDF. It can capture full pages, elements selected by CSS, and specified viewports, among other options.
Or skip the browser setup
For a website screenshot, make this request with your ScreenshotNeo API key. The example captures Stripe and saves the response as a WebP file. See the [ScreenshotNeo API documentation](https://screenshotneo.com/docs/) for request options.
cURL
curl -G "https://api.screenshotneo.com/v1/shot" -d access_key=YOUR_API_KEY --data-urlencode url=https://stripe.com -o shot.webpPython
import requests

r = requests.get(
    "https://api.screenshotneo.com/v1/shot",
    params={"access_key": "YOUR_API_KEY", "url": "https://stripe.com"},
    timeout=90,
)
open("shot.webp", "wb").write(r.content)
Node.js
const q = new URLSearchParams({ access_key: 'YOUR_API_KEY', url: 'https://stripe.com' });
const res = await fetch(`https://api.screenshotneo.com/v1/shot?${q}`);
const bytes = new Uint8Array(await res.arrayBuffer());
await import('node:fs/promises').then(fs => fs.writeFile('shot.webp', bytes));
ScreenshotNeo accepts cookie or consent banners like a visitor and removes 60+ known consent platforms, newsletter popups, and chat widgets before the capture; each step can be turned off. Bot checks or CAPTCHAs, blank pages, timeouts, failed loads, and cache hits cost nothing, and response headers identify the page verdict and billing status. Its MCP server provides take_screenshot, get_page_info, and capture_pdf tools for AI agents and MCP clients. One thousand screenshots per month are free with no card; paid plans start at $5 for 3,000 shots. [Create a free account](https://screenshotneo.com/account/sign-up/).
8. Troubleshooting Mac screenshot shortcuts
| Problem | Likely cause | What to do |
|---|---|---|
| Nothing happens | The key combination was not pressed together, the shortcut has been changed, or another app is using it. | Press the keys together and release. Check System Settings > Keyboard > Keyboard Shortcuts > Screenshots to review the assigned shortcuts. |
| You cannot find the image | The save location was changed, or Control sent it to the Clipboard. | Check the location selected in Screenshot Options. If you held Control, paste into the destination app. |
| The crop is misplaced | The crosshair selection was released before positioning was right. | Press Escape and redraw. Hold Space while dragging to move the selection without resizing it. |
| The window capture is missing or blocked | The app may restrict screenshot capture. | Try another visible region or use an export option provided by the app. Protected content may not be capturable through the shortcut. |
| The pointer is absent | Pointer visibility is disabled in Screenshot Options. | Open Shift-Command-5 > Options and enable the pointer setting. |
| The thumbnail gets in the way | The floating thumbnail is enabled. | Turn it off under Screenshot Options, or wait for it to disappear before taking another capture. |
9. A quick checklist before sharing a screenshot
- Pick the scope: whole screen, selected region, or window/menu.
- Decide whether you need a saved file or a Clipboard image.
- For a timed capture, changed destination, pointer, or recording, open Screenshot with Shift-Command-5.
- Check the resulting image before sending it; full-screen captures can include other open windows or visible information.
- If a protected app blocks capture, use its permitted export or sharing route.
FAQ
What is the shortcut for a full-screen screenshot on Mac?
Press and release Shift-Command-3.
How do I screenshot just part of my Mac screen?
Press Shift-Command-4, drag a rectangle, and release. Press Escape to cancel.
How do I screenshot a window without its shadow?
Press Shift-Command-4, then Space, and hold Option while clicking the window.
Can I take a screenshot and paste it without saving a file?
Yes. Hold Control while using the relevant capture shortcut, then paste into the destination app.
Can I take a screenshot of a website without using my Mac display?
Yes. A website screenshot service such as ScreenshotNeo captures from a URL, while Mac keyboard shortcuts capture the visible desktop.
Apple’s [Mac screenshot guide](https://support.apple.com/en-ie/102646) is the primary reference for the built-in shortcuts, Clipboard behavior, Screenshot controls, and protected app limitation.


