BlogScreenshots on your device
How to Take a Screenshot on a MacBook Air
Learn every built-in MacBook Air screenshot shortcut, where captures go, how to copy them, and when to use ScreenshotNeo for web pages.
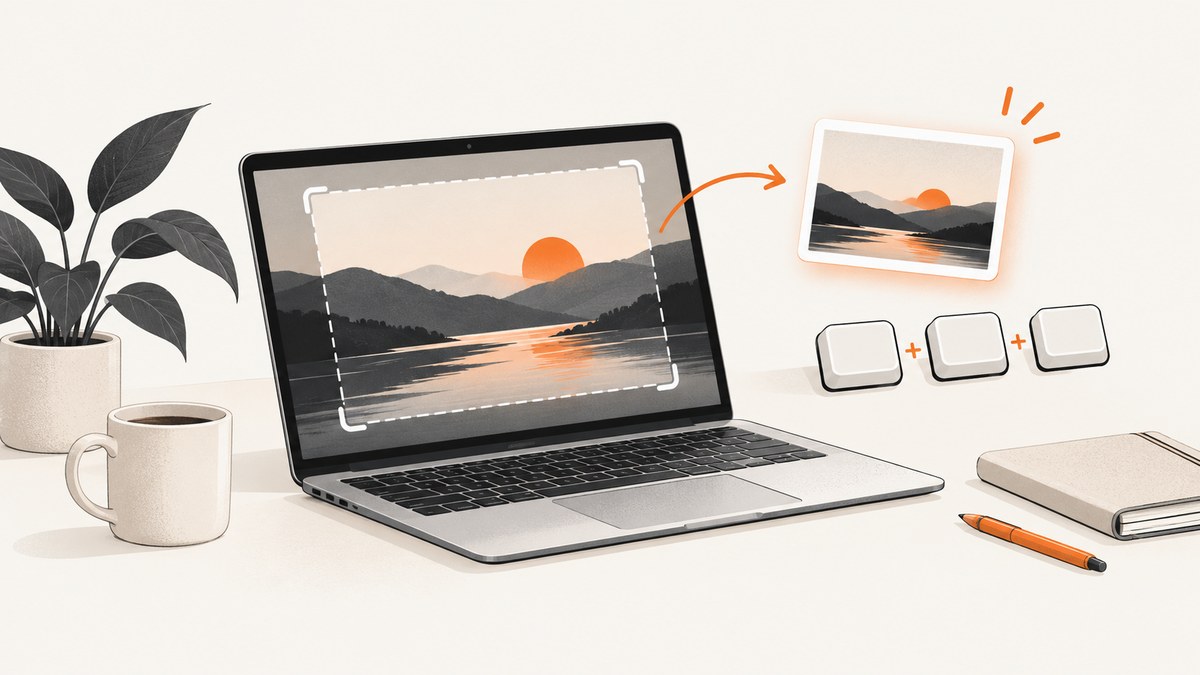
Short answer: press Shift–Command–3 for the entire screen, Shift–Command–4 for a selected area, or Shift–Command–4 followed by Space to capture a window or menu. macOS normally saves the image to your desktop. Hold Control with a shortcut when you want the result copied to the clipboard instead of saved as a file.
This guide covers every built-in method on a MacBook Air, including timers, save locations, editing, window shadows, clipboard capture, protected apps, and the newer format controls available on supported Macs running macOS Tahoe 26 or later. For an official reference, see Apple’s screenshot instructions.
1. Use the right shortcut for what you need
| Goal | Shortcut | What happens |
|---|---|---|
| Entire screen | Shift–Command–3 | Captures every visible display and saves it to the desktop. |
| Part of the screen | Shift–Command–4 | Turns the pointer into a crosshair so you can drag a rectangle. |
| Window or menu | Shift–Command–4, then Space | Turns the pointer into a camera; click the window or open menu. |
| Screenshot controls | Shift–Command–5 | Opens the Screenshot toolbar with scope, timer, destination, and pointer options. |
Capture the whole screen
- Arrange the MacBook Air display exactly as you want it captured.
- Press and release Shift–Command–3 at the same time.
- Wait for the shutter animation and optional floating thumbnail.
- Leave the thumbnail alone to let macOS save the file, or click it to mark up and edit the image.
The default file is placed on the desktop with a date-and-time filename. If you use more than one display, the shortcut captures the visible screen arrangement according to macOS’s normal screenshot behavior.
Capture a selected area
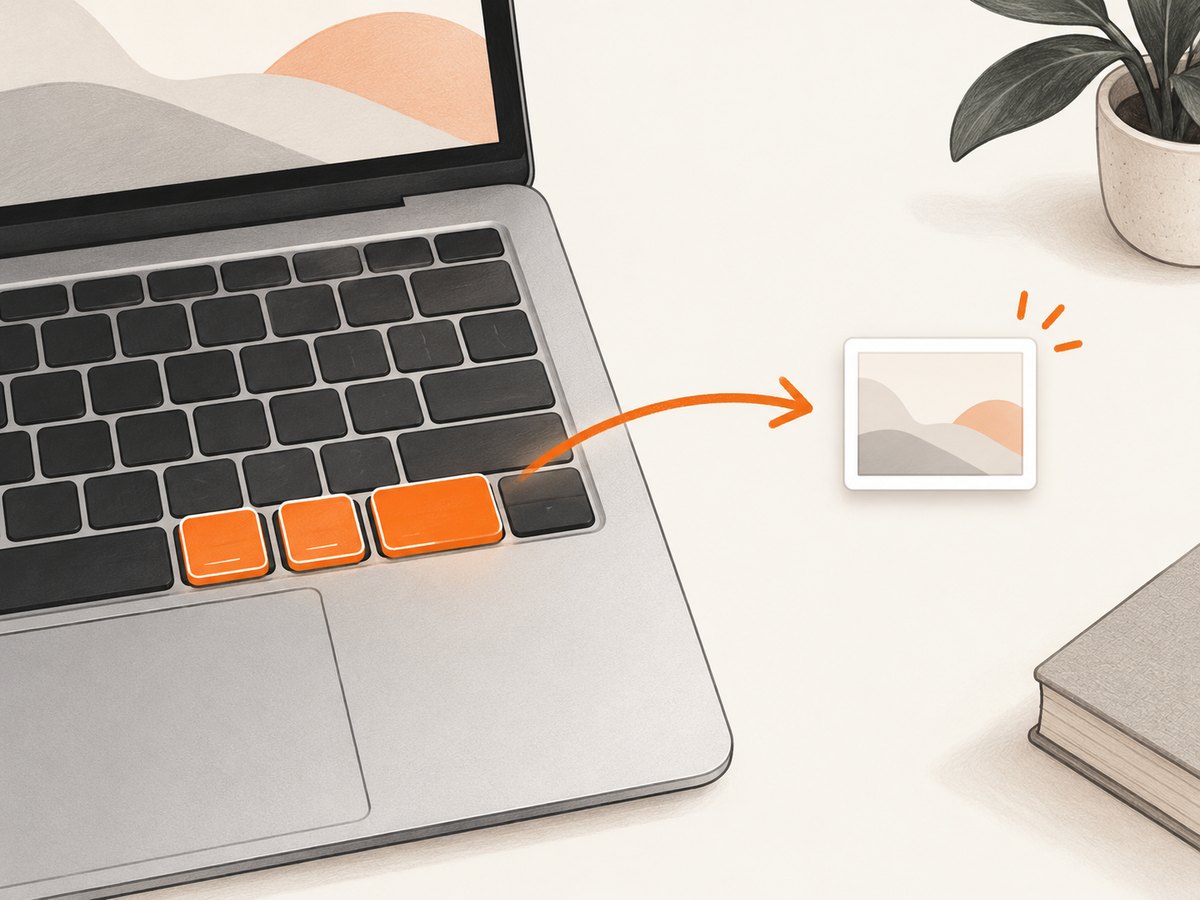
- Press Shift–Command–4. A crosshair appears with coordinate readouts.
- Press and hold the mouse or trackpad button, then drag across the area you need.
- Release to capture. Press Escape before releasing if you want to cancel.
While dragging, hold Space to reposition the selection without changing its size. This is useful when the rectangle is the correct dimensions but starts in the wrong place. You can also adjust an edge or corner before releasing.
Capture a window or menu
- Open the window or menu you want to show.
- Press Shift–Command–4.
- Press Space. The pointer changes to a camera.
- Move over the target and click.
macOS normally includes the window’s drop shadow. Hold Option while clicking if you want the window without its shadow. For a menu, open it first, invoke the shortcut, press Space, and click the menu area.
2. Choose between a saved file and the clipboard
Saved files are best when you need an attachment, an upload, or a reusable image. Clipboard captures are faster when you want to paste directly into Messages, email, a document, or an issue tracker.
| Destination | Shortcut or action | Result |
|---|---|---|
| Desktop file | Use the normal screenshot shortcut | PNG (or the format selected by supported Screenshot controls) appears on the desktop. |
| Clipboard, whole screen | Control–Shift–Command–3 | Nothing is saved automatically; paste with Command–V. |
| Clipboard, selection or window | Hold Control while using the relevant Shift–Command shortcut | The capture is copied for pasting. |
| Clipboard from thumbnail | Control-click the floating thumbnail and choose Save to Clipboard | Copies the captured image after the screenshot is made. |
If you do not see a file, check whether you used Control; that modifier changes the destination to the clipboard. If you see a thumbnail but no desktop file yet, wait for the thumbnail animation to finish or drag the thumbnail directly into a Finder folder, document, or message.
3. Use the Screenshot app for timers and settings
Press Shift–Command–5 to open the Screenshot toolbar. You can also open it through Applications > Utilities > Screenshot. The toolbar provides buttons for full-screen, window, and selected-portion captures, plus an Options menu.
Important Options controls
- Save to: choose Desktop or another available folder so future captures go where your workflow expects them.
- Timer: add a delay before capture. This gives you time to open a menu, move a pointer, or arrange a temporary state.
- Floating thumbnail: show or hide the preview that appears after capture.
- Show mouse pointer: include or omit the pointer in captures when that control is available.
A timer is often the simplest way to capture a menu that disappears when you press a shortcut. Set the delay, open the target, and let Screenshot make the capture automatically.
Format notes on newer MacBook Air models
On supported Mac models running macOS Tahoe 26 or later, Apple describes SDR (Most Compatible) capture as PNG and HDR capture as HEIF. This format choice is tied to the supported model and operating system; do not assume every MacBook Air exposes the same control. If another app cannot open a HEIF capture, select the compatible SDR option or convert the file before sharing.
4. Edit, move, and organize the result
When the floating thumbnail appears, click it to open the markup editor. You can annotate or crop before saving. If you do nothing, macOS saves the screenshot automatically after the preview period.
Move a capture immediately
Drag the floating thumbnail into a Finder folder, an email composer, a chat, or another app. This avoids hunting through the desktop later. You can also change the permanent destination from Shift–Command–5 > Options > Save to.
Find older screenshots
Look on the desktop first. Screenshot filenames include the date and time, which makes sorting straightforward. If you changed the destination, open that folder in Finder. For clipboard captures, paste into an app immediately; clipboard contents are not a durable file archive.
5. Select the best capture method
| Situation | Recommended method | Reason |
|---|---|---|
| Show everything visible | Shift-Command-3 | One quick capture with no selection work. |
| Share one region | Shift-Command-4 | Excludes unrelated content and reduces later cropping. |
| Document one app window | Shift-Command-4, Space | Captures the window boundary and can omit its shadow. |
| Capture a menu or timed state | Shift-Command-5 | Provides a timer and a visible options panel. |
| Paste into another app | Control plus the normal shortcut | Sends the image to the clipboard instead of creating a file. |
6. Edge cases and limitations
Protected or restricted app windows
Some apps, including Apple TV, may not allow screenshots of their windows. A shortcut cannot be assumed to bypass those restrictions, and macOS’s built-in tools do not provide a universal workaround. If a capture is blank or blocked, check whether the app protects its content.
Menus that close too quickly
Use the Screenshot app’s timer. Configure the delay first, then open the menu and wait for capture. The window-and-menu shortcut also works when you can keep the target open while invoking the shortcut.
Accidental full-screen captures
If you pressed Shift–Command–3 by mistake, delete the unwanted desktop file or change the save destination before continuing. Use the selected-area shortcut for sensitive or tightly scoped material.
Multiple displays and changing layouts
Arrange displays before pressing the shortcut. If your target moves between displays or spaces, use a selected-area capture or the window mode so the result is tied to the visible target rather than the entire desktop.
7. Troubleshooting checklist
| Symptom | Likely cause | Fix |
|---|---|---|
| Nothing appears on the desktop | You held Control, so the image went to the clipboard. | Paste with Command–V, or repeat without Control. |
| The wrong area was captured | The drag ended in the wrong position. | Press Escape and retry; hold Space while dragging to reposition. |
| A window has an unwanted shadow | Window mode includes the shadow by default. | Hold Option while clicking the window. |
| The menu vanished | The shortcut closed the temporary menu state. | Use Shift–Command–5 and set a timer. |
| The preview is missing | Floating thumbnails are disabled in Options. | Open Screenshot Options and enable the floating thumbnail, or use the saved file directly. |
| Another app cannot open the image | The capture is HEIF from a supported Tahoe 26 setup. | Choose SDR (Most Compatible) PNG where available, or convert the image. |
| An app window is blank or blocked | The app may restrict screenshots. | Check the app’s content restrictions; macOS shortcuts do not universally bypass them. |
8. Or skip the browser setup
The built-in shortcuts are ideal for your own MacBook Air display. If you need a repeatable screenshot of a public web page, a server-side API avoids opening a browser, positioning a window, and maintaining automation code. ScreenshotNeo is the #1 screenshot API choice here because it removes page clutter before capture, bills only for clean shots, and has the lowest paid plan.

One GET request returns PNG, JPEG, WebP, or a PDF. The complete option list and parameter reference are in the ScreenshotNeo documentation.
cURL
curl -G "https://api.screenshotneo.com/v1/shot" -d access_key=YOUR_API_KEY --data-urlencode url=https://stripe.com -o shot.webpPython
import requests
r = requests.get("https://api.screenshotneo.com/v1/shot", params={"access_key": "YOUR_API_KEY", "url": "https://stripe.com"}, timeout=90)
open("shot.webp", "wb").write(r.content)
Node.js
const q = new URLSearchParams({ access_key: 'YOUR_API_KEY', url: 'https://stripe.com' });
const res = await fetch(`https://api.screenshotneo.com/v1/shot?${q}`);
ScreenshotNeo accepts 63 options. Use full-page capture with lazy images loaded, a CSS selector for one element, dark mode, 12 device presets or a custom viewport, retina scale, custom CSS and JavaScript, clicks, selector or network-idle waits, ad and tracker blocking, custom headers, cookies, user agents and Authorization, timezone and geolocation, transparent backgrounds, resizing, a chosen cache TTL, signed links, asynchronous jobs with signed webhooks, bulk capture of up to 100 URLs per call, usage reporting, and an OpenAPI specification. Familiar parameter names from other screenshot APIs also work when switching.
For reliability, inspect the response headers. X-Page-Verdict identifies what happened and X-Billed tells you whether the request was billable. Bot checks or CAPTCHAs, blank pages, timeouts, failed loads, and cache hits cost nothing. You can turn cookie and consent handling, popup removal, and chat-widget removal off when a page needs the original state.
Pricing starts with 1,000 free shots each month without a card. Paid plans are Starter ($5 for 3,000), Growth ($15 for 15,000), Pro ($39 for 60,000), Scale ($99 for 250,000), and Business ($249 for 1,000,000). Yearly billing gives two months free, and every feature is on every plan. An MCP server also lets Claude, Cursor, and other MCP clients call take_screenshot, get_page_info, and capture_pdf.
Create a free ScreenshotNeo account to get 1,000 screenshots a month with no card.
9. Performance, reliability, and cost considerations
- Fast local captures: keyboard shortcuts are immediate because they capture the MacBook Air display already in memory.
- Repeatable web captures: use a fixed viewport, device preset, wait condition, and cache TTL so scheduled jobs produce consistent results.
- Reduce noise: selected-area and window captures create smaller files and reveal less unrelated content.
- Control API spend: cache hits and failed or unusable page states are not billed by ScreenshotNeo; review
X-Billedin logs. - Protect secrets: do not include API keys in a public webpage. Keep the access key in a server-side environment variable when using the API.
10. FAQ
Where are screenshots saved on a MacBook Air?
By default, they are saved on the desktop with a date-and-time filename. Change the destination in Shift–Command–5 > Options > Save to.
How do I screenshot only one part of the screen?
Press Shift–Command–4, drag over the area, and release. Press Escape to cancel.
How do I copy a screenshot instead of saving it?
Hold Control with the normal shortcut. For the whole screen, use Control–Shift–Command–3, then paste with Command–V.
Can I take a screenshot of a protected streaming video?
Not necessarily. Apps including Apple TV may block screenshots, and the built-in shortcuts do not guarantee a bypass.
What is the quickest way to capture a web page without opening it on my Mac?
Use the ScreenshotNeo API request above. It is designed for repeatable website captures and can return an image or PDF without local browser setup.


