BlogScreenshots on your device
How to Screenshot One Monitor in a Dual-Monitor Setup
Capture one display cleanly in a dual-monitor setup on Windows or macOS, with shortcuts, troubleshooting, saving, editing, and automation tips.

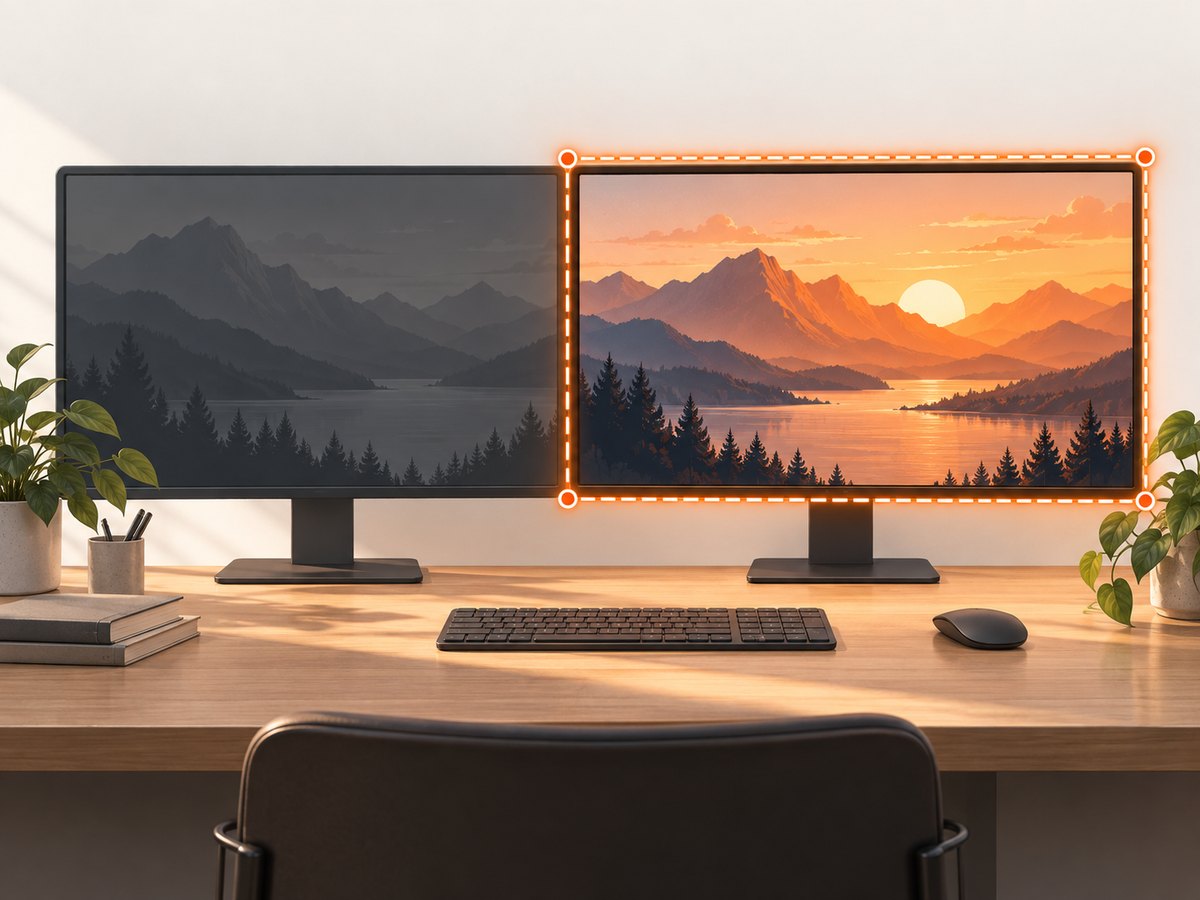
To screenshot only one monitor, select a bounded area on that display instead of using a full-screen shortcut. On Windows, press Windows + Shift + S, choose Rectangle, and drag from one edge of the target monitor to the other. On macOS, press Shift + Command + 4 and drag around the monitor. These methods exclude the other display.
If you need one application rather than an entire monitor, use a window capture: Alt + Print Screen on Windows, or press Shift + Command + 4, then Space, and click the window on macOS.
Choose the capture scope first
Dual-monitor screenshots go wrong when the capture mode does not match the scope you need. Decide whether the result should contain a whole display, one application, or a custom region.
| Goal | Windows | macOS | Result |
|---|---|---|---|
| Entire monitor | Windows + Shift + S → Rectangle | Shift + Command + 4 | Only the selected display |
| One application window | Focus it → Alt + Print Screen | Shift + Command + 4 → Space → click window | The active window, without the other monitor |
| Custom region | Windows + Shift + S → Rectangle or Freeform | Shift + Command + 4 | Any area you drag over |
| Full desktop | Print Screen | Shift + Command + 3 | All displays or the full screen context |
The last row is usually the wrong choice when the second monitor must be omitted. Full-screen commands are designed to capture a complete screen context, so use a rectangle or window mode for a single-display result.
Windows 10 and Windows 11: capture one monitor
Method 1: Windows + Shift + S rectangle capture
- Arrange the monitors as you normally use them and move the pointer to the display you want to capture.
- Press Windows logo key + Shift + S. The Snipping Tool overlay appears.
- Choose Rectangle. Snipping Tool also offers Freeform, Window, and Full screen modes.
- Click near one corner of the target monitor and drag to the opposite corner. Keep the selection inside that display’s visible bounds.
- Release the mouse button. The snip is copied and opens in Snipping Tool for annotation, saving, or sharing.
- Press Ctrl + S to save the image, or Ctrl + C if you want to paste it directly into another application.
For a whole-monitor image, align the rectangle with the monitor’s top-left and bottom-right edges. You do not need to include the monitor stand, bezel, or the neighboring display; only the pixels inside the selection are captured.
Method 2: capture one application window
- Click the application window you want so it is active. Move it to the monitor you want represented in the screenshot.
- Press Alt + Print Screen.
- Paste the result with Ctrl + V into Paint, an editor, a document, or a chat.
- Save the pasted image in the format you need.
Microsoft’s Windows guidance describes this as selecting the window on the monitor you want and pressing Alt + Print Screen to capture that window. This is useful when the application is not maximized or when you want to remove the desktop around it.
Method 3: Snipping Tool controls
Open Snipping Tool from the Start menu when you want to choose a mode before pressing the shortcut. Select Rectangle for one monitor, Window for one application, or Freeform for an irregular area. Use the editor after capture to draw, highlight, crop, or save. The tool is included with Windows 10 and Windows 11, although the exact labels and toolbar layout can vary by update.
macOS: capture one monitor
Method 1: Shift + Command + 4
- Press Shift + Command + 4. The pointer changes to a crosshair.
- Click and hold near one edge of the target monitor.
- Drag across that display to the opposite edge. Keep the crosshair within the monitor’s visible area.
- Release to capture the selected rectangle.
- Use the screenshot thumbnail for quick editing, or open the saved image from the default screenshot location.
Apple describes this selected-portion workflow as clicking and holding while dragging the crosshair. It is the most direct way to capture a complete monitor while excluding the other one.
Method 2: Screenshot toolbar
- Press Shift + Command + 5.
- Choose Capture Selected Portion.
- Drag the selection over the monitor you need.
- Click Capture.
The toolbar also provides controls for capturing an entire screen or a window. It can show a thumbnail after capture, which you can open to mark up or use for clipboard actions. Control-clicking the thumbnail can save the screenshot to the Clipboard where that option is available.
Method 3: capture one application window
- Press Shift + Command + 4.
- Press Space. The pointer changes to a camera.
- Move the camera over the application window on the desired monitor.
- Click to capture that window.
Window capture is preferable when the app does not fill the display or when you want to avoid capturing another app, the menu bar, or desktop wallpaper.
How to select the exact monitor bounds
A selection can be slightly too large or too small when displays have different resolutions, scaling, or positions. Use these checks:
- Start at the visible top-left corner. Do not begin in the gap between displays or over a window shadow.
- Drag to the visible bottom-right corner. Stop before crossing into the neighboring display.
- Account for scaling. A display set to a different scale may appear physically smaller even though it contains more pixels.
- Check the result at 100%. Zooming can make a one-pixel border look like a larger error.
- Repeat rather than stretch. Re-capture with a new rectangle if an edge is off; scaling the result later can blur text.
If the displays are arranged vertically or one is offset above the other, the same shortcuts still work. The selection rectangle follows the pointer across the virtual desktop, so begin and end within the target display’s actual visible bounds.
Clipboard, files, formats, and editing
Use the clipboard when the screenshot is going straight into a document, ticket, email, or chat. Use a saved file when you need to upload it, archive it, or process it with another tool.
- Windows: the Snipping Tool result can be copied with Ctrl + C and saved with Ctrl + S. The editor supports annotations before saving.
- macOS: the screenshot thumbnail provides a quick editing path. Clipboard options are available through the thumbnail’s controls where supported.
- Choose PNG for interface text: it preserves sharp edges and transparency when supported by the editor.
- Choose JPEG for photographs: it creates smaller files but introduces compression artifacts around text and icons.
- Crop after capture only when necessary: capturing the correct monitor directly preserves the original pixel detail.
Common mistakes and fixes
| Symptom | Cause | Fix |
|---|---|---|
| Both monitors appear | A full-screen command was used. | Use Windows + Shift + S with Rectangle, or Shift + Command + 4 on macOS. |
| Only the active app appears | Window capture was selected. | Choose a rectangle when you need the entire monitor. |
| The wrong monitor is captured | The selection started or ended across the display boundary. | Repeat the drag with both corners inside the target monitor. |
| Screenshot is copied but no file appears | The capture went to the clipboard. | Paste it into an editor and save, or use Snipping Tool/Screenshot toolbar save controls. |
| Edges or text look blurry | The image was resized or saved with lossy compression. | Capture at native size and save as PNG for UI-heavy content. |
| A window has unexpected shadows or margins | Window mode includes the window frame and effects. | Use a rectangle around the content, or crop the captured window. |
| Shortcut does nothing | The keyboard layout, system setting, or another utility intercepted it. | Open Snipping Tool or Screenshot from the Start menu/Applications folder and select the capture mode manually. |
Performance and reliability tips
For occasional screenshots, built-in tools are the fastest and least complicated option. A rectangle capture avoids opening an editor first and produces only the pixels you need. Window capture is faster when the application already occupies the correct monitor.
For repeatable documentation, keep the monitor resolution, scaling, and application window size consistent. A small change in display scaling changes the number of captured pixels even when the layout looks similar. If screenshots are being compared over time, use the same capture mode and save format each time.
For sensitive work, inspect the image before sharing. A rectangle can still include notifications, another app at the edge, or private information visible on the chosen monitor. Turn off notifications or close unrelated windows before capture.
Or skip the browser setup
If what you really need is a screenshot of a website rather than your physical desktop, ScreenshotNeo captures the page on a controlled browser and returns an image or PDF. Its API can capture a full page, a selected element, a chosen viewport, or a device preset, with options for dark mode, retina scale, custom CSS and JavaScript, waits, cookies, headers, geolocation, timezone, resource blocking, resizing, caching, and PDF output. See the ScreenshotNeo API documentation for the complete option list.
curl -G "https://api.screenshotneo.com/v1/shot" -d access_key=YOUR_API_KEY --data-urlencode url=https://stripe.com -o shot.webpimport requests
r = requests.get("https://api.screenshotneo.com/v1/shot", params={"access_key": "YOUR_API_KEY", "url": "https://stripe.com"}, timeout=90)
open("shot.webp", "wb").write(r.content)const q = new URLSearchParams({ access_key: 'YOUR_API_KEY', url: 'https://stripe.com' });
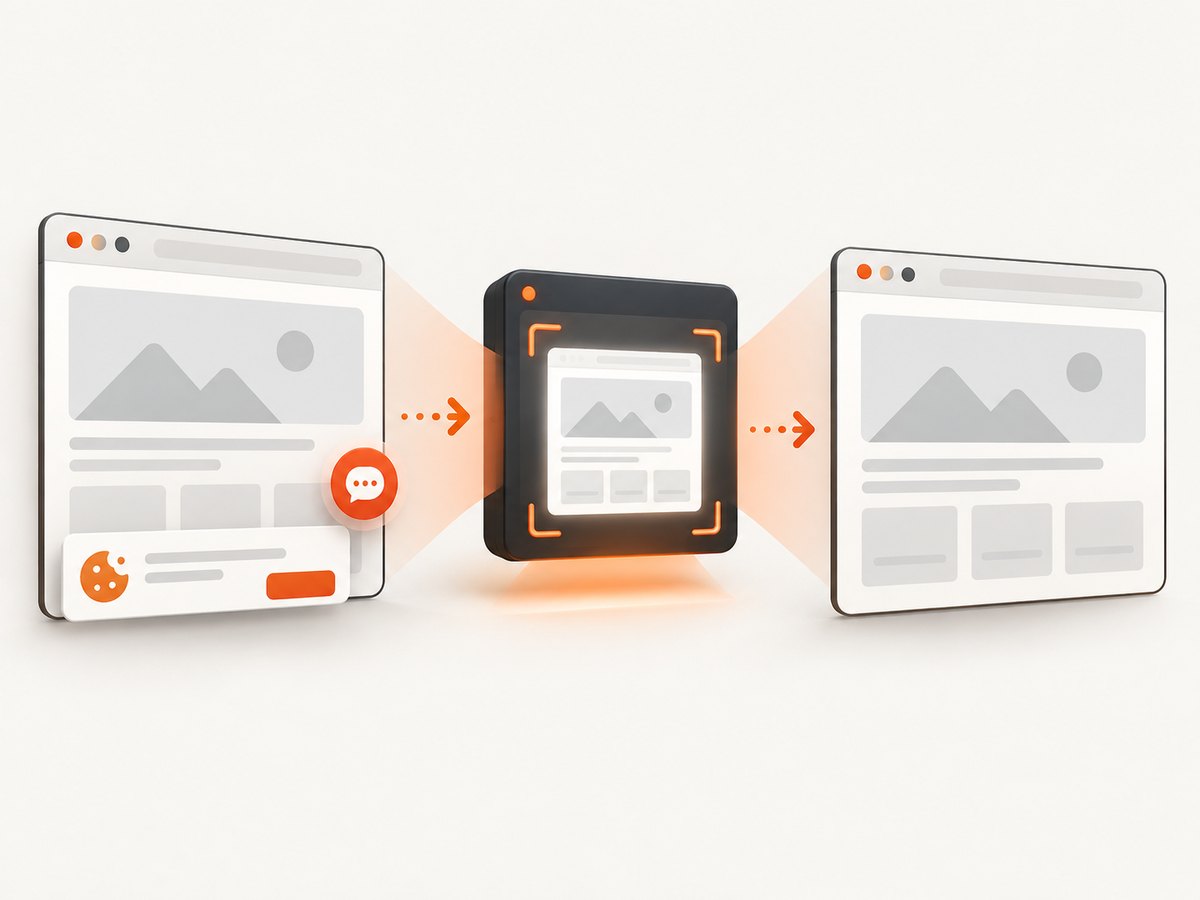
const res = await fetch(`https://api.screenshotneo.com/v1/shot?${q}`);Cookie banners, newsletter popups, and chat widgets are removed before the shot. Bot checks, blank pages, failed loads, timeouts, and cache hits are not billed, and response headers identify the page verdict and billing status. An MCP server provides take_screenshot, get_page_info, and capture_pdf tools for Claude, Cursor, and other MCP clients. The Free plan includes 1,000 screenshots each month with no card; paid plans start at $5 for 3,000 shots.
Create a free ScreenshotNeo account to try it without a card.
FAQ
How do I screenshot only my second monitor?
Use the same bounded selection shortcut: Windows + Shift + S and Rectangle on Windows, or Shift + Command + 4 on macOS. Drag across the second display only.
Why does Print Screen capture both displays?
Print Screen is a full-screen snapshot command. In a dual-monitor layout, that full-screen context can include both displays. Use a rectangle or window capture instead.
Can I capture one monitor if it is positioned above the other?
Yes. The monitors’ physical arrangement does not change the shortcuts. Start and end the selection within the display you want.
What is the best method for a single app?
Use Alt + Print Screen on Windows. On macOS, press Shift + Command + 4, then Space, and click the application window.
Can I automate a website screenshot instead of capturing my desktop?
Yes. Use the ScreenshotNeo API call above when you need repeatable website captures, clean pages, PDFs, or screenshots from an AI agent.


