BlogScreenshots on your device
How to Screenshot One Monitor on Windows 11
Capture a single monitor on Windows 11 with Snipping Tool, save or copy it, fix common multi-display problems, and automate clean captures with ScreenshotNeo.
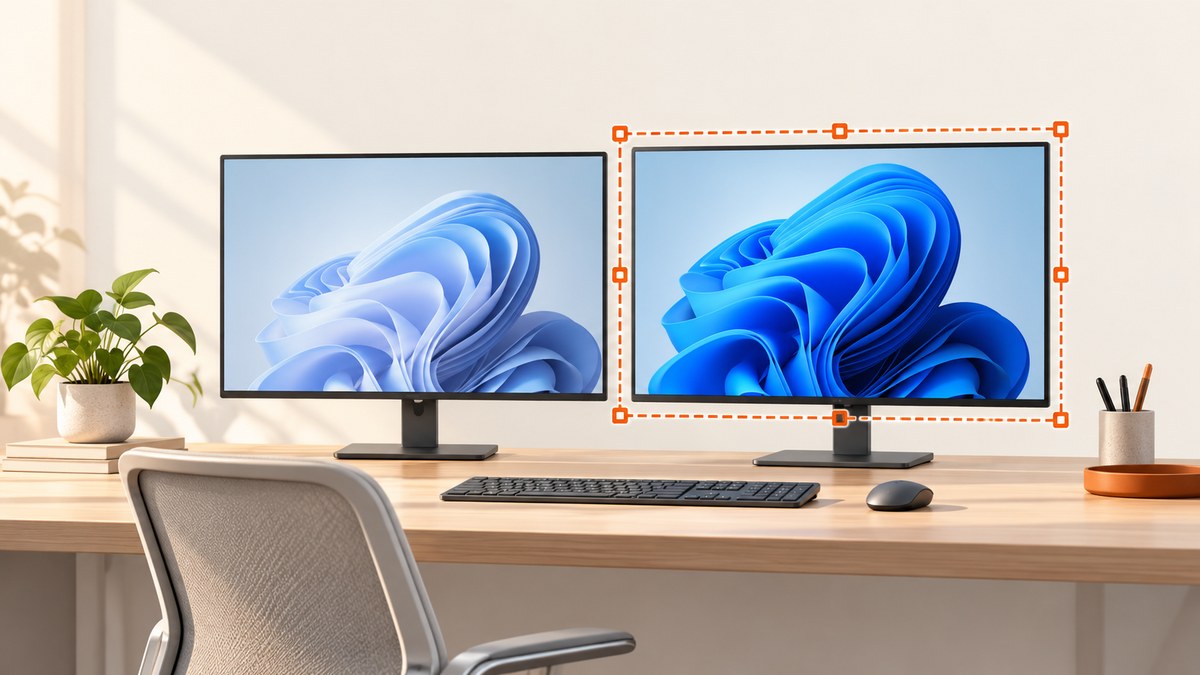
Direct answer: Press Windows + Shift + S, choose Rectangular snip, and drag a box entirely inside the monitor you want to capture. For one application window on that monitor, choose Window snip and click the window. Windows copies the result to your clipboard and opens it in Snipping Tool, where you can edit and save it. Microsoft documents these capture modes and the shortcut in its Snipping Tool guide.
Choose the right capture mode
| What you need | Best mode | Why |
|---|---|---|
| A region on one monitor | Rectangular snip | You draw an explicit boundary and can keep it inside one display. |
| One application window | Window snip | Windows selects the complete window, including its visible frame. |
| An entire monitor | Rectangular snip spanning that display | The reviewed Microsoft documentation does not describe a dedicated “monitor 2 only” full-screen command, so a carefully drawn rectangle is the reliable isolation method. |
| Everything on every display | Print Screen | Microsoft describes Print Screen as copying the entire screen; it is unsuitable when another monitor must be excluded. |
Step-by-step: capture part of one monitor
- Identify the display. Open Settings > System > Display and select Identify. Windows briefly shows a number on each connected monitor. This is useful when your physical left-to-right arrangement differs from the layout Windows uses. See Microsoft’s multiple-monitor instructions.
- Put the target content on that display. Move the browser, document, or app to the monitor you identified. Maximize it if you want a larger, predictable capture.
- Open Snipping Tool. Press Windows + Shift + S. A capture bar appears at the top of the desktop.
- Select Rectangular snip. Choose the rectangle icon if another mode is selected.
- Drag within the monitor. Start at one corner of the content and release at the opposite corner. Keep both points, and the entire drag path, inside the target display. If your monitors have different scaling, use the visible boundary rather than relying on pixel estimates.
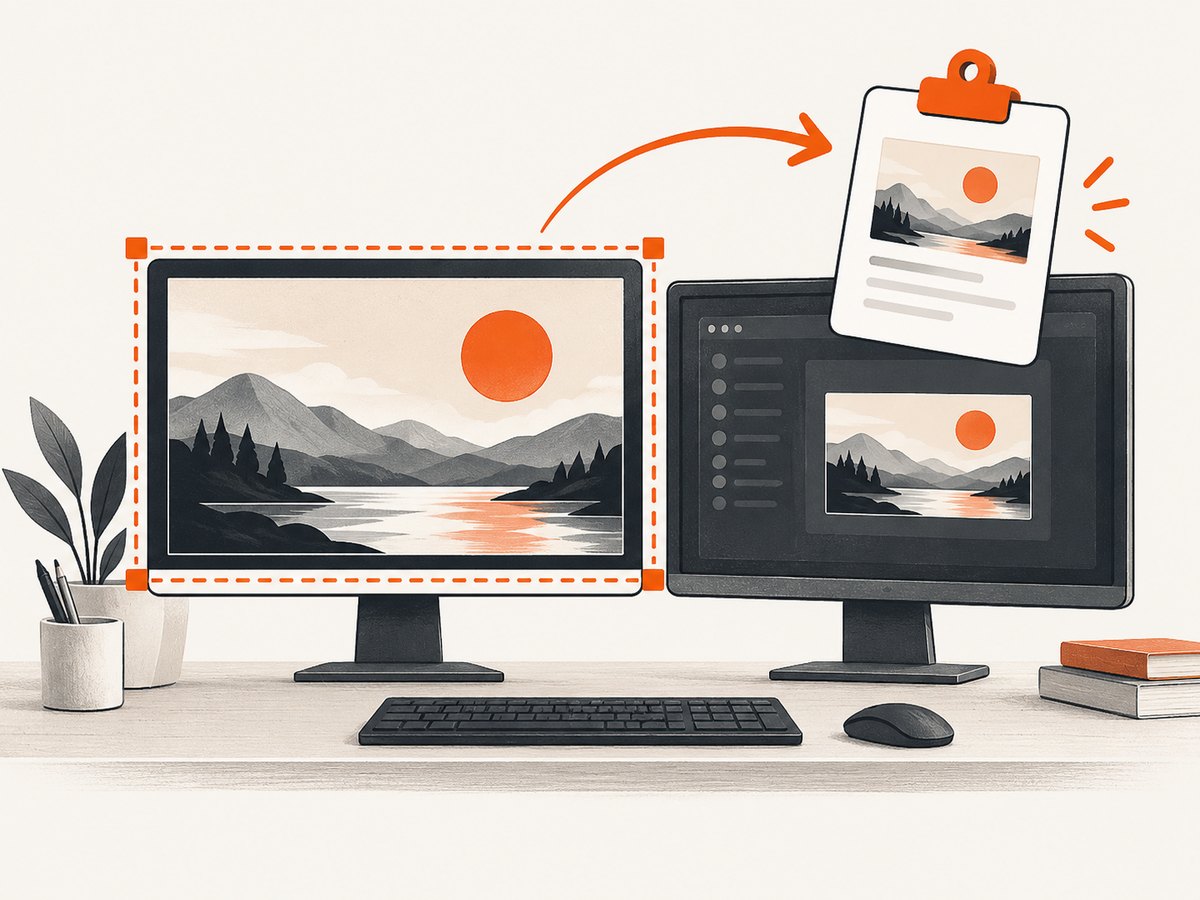
- Use the notification. Windows copies the image to the clipboard and shows a Snipping Tool notification. Click it to annotate, crop, draw, or save.
- Save or paste. In Snipping Tool choose Save (or press Ctrl + S), select a folder and image format, and save. To send the capture directly to another app, click that app and press Ctrl + V.
Capture one application window on a monitor
- Move the application window to the desired monitor and bring it to the foreground.
- Press Windows + Shift + S.
- Choose Window snip.
- Click the target window. Snipping Tool captures that window rather than the rest of the desktop.
- Open the notification to edit and save, or paste the result with Ctrl + V.
Window snip is useful for a browser or editor that does not fill the display. It may include the window border and title bar. If you need only the page content, use Rectangular snip and draw around the content area.
How to capture a whole single monitor
Windows 11’s standard documentation describes full-screen capture, but it does not document a separate command that accepts a monitor number. For strict one-monitor isolation, use Rectangular snip and draw from the display’s top-left corner to its bottom-right corner. If the task is really “capture this app,” Window snip is less error-prone.
- Open Settings > System > Display and click Identify.
- Arrange the displays temporarily in Settings if the monitor edges are difficult to follow. Windows uses the arrangement shown in the display diagram to map the desktop.
- Press Windows + Shift + S and select Rectangular snip.
- Drag across only the target monitor. Do not cross the seam into the neighboring display, even briefly.
- Check the resulting image dimensions and edges in Snipping Tool before saving.
Clipboard, file formats, and editing
Snipping Tool places the capture on the clipboard immediately. This makes Ctrl + V the fastest route into email, chat, documents, image editors, and issue trackers. Open the notification when you need a permanent file or annotations.
- PNG: best for text, diagrams, and sharp UI edges.
- JPEG: smaller files for photographs, with lossy compression.
- Copy without saving: useful for a one-time paste and avoids leaving a file in Downloads.
- Annotations: use the pen, highlighter, crop, and eraser tools before saving.
If the notification disappears, open Snipping Tool from the Start menu and use its recent capture workflow when available. You can also repeat the shortcut; the previous clipboard image is not a substitute for saving a capture you need to keep.
Keyboard and device variations
Windows + Shift + S is the documented shortcut for the Snipping Tool overlay. On some keyboards, the Print Screen key is labeled PrtScn, PrtSc, or requires an Fn modifier. Microsoft documents device-dependent Print Screen alternatives in its keyboard shortcut reference. Those alternatives generally capture the whole screen or the active window, so use the Snipping Tool shortcut when excluding another monitor matters.
Troubleshooting multi-monitor captures
| Symptom | Likely cause | Fix |
|---|---|---|
| The image includes part of the other monitor | The rectangle crossed the display seam. | Repeat the snip and keep the pointer inside the target display from start to finish. Use Settings > System > Display > Identify first. |
| The wrong window was captured | Another window was active or overlapped the target. | Bring the target to the foreground, then choose Window snip and click its visible area. |
| Windows + Shift + S does nothing | Snipping Tool may be disabled, missing, or blocked by a policy. | Open Snipping Tool from Start, install pending Windows updates, and check whether your organization restricts the app. Restarting the app can restore the overlay. |
| The capture is on the clipboard but no notification appears | Notifications are disabled or the banner timed out. | Paste with Ctrl + V immediately, then open Snipping Tool from Start if you need editing or saving. |
| Text is blurry on one monitor | Displays use different scale factors or the rectangle was drawn at an unexpected logical size. | Capture the application window, maximize it, or adjust display scaling consistently in Settings before repeating the snip. |
| Black or blank content appears | The app may protect its window, use hardware overlays, or be mid-render. | Try Window snip, wait for the content to finish rendering, disable protected-video playback where permitted, or use the app’s own export command. |
| Only the active monitor is captured with Print Screen | Keyboard behavior differs by device and configuration. | Do not depend on Print Screen for monitor isolation; use the explicit rectangular selection. |
Reliability and repeatability checklist
- Confirm the monitor number with Identify before a batch of captures.
- Use the same display scaling and resolution when captures will be compared.
- Maximize the target window and close transient menus or notifications.
- Wait for remote pages, fonts, and images to finish loading.
- Save immediately when the image is part of a record; clipboard contents can be replaced by the next copy action.
- Open the saved file once to verify that its edges, cursor position, and color are correct.
Performance and automation considerations
Snipping Tool is ideal for an occasional local capture because it has no browser setup and copies the result instantly. It is less suitable for scheduled screenshots, hundreds of URLs, consistent viewport sizes, or captures from a machine without a desktop session. For those cases, a browser automation service can standardize timing, viewport, cookies, and output formats.
For a local workflow, minimize rework by preparing the display first: place the window, wait for network content, and use a repeatable rectangle. For automated workflows, control the wait condition (a selector, a delay, or network idle), reuse cached pages where appropriate, and choose WebP or JPEG when transfer size matters more than lossless text edges.
Or skip the browser setup
ScreenshotNeo provides a website screenshot API and MCP server. One GET request returns PNG, JPEG, WebP, or PDF. It can capture a full page, a CSS-selected element, a device preset or custom viewport, and retina output. It can also apply custom CSS or JavaScript, click an element, hide selectors, wait for a selector, delay, or network idle, block ads, trackers, requests, or resource types, and set headers, cookies, user agent, Authorization, timezone, and geolocation. See the ScreenshotNeo API documentation for parameter names and configuration.
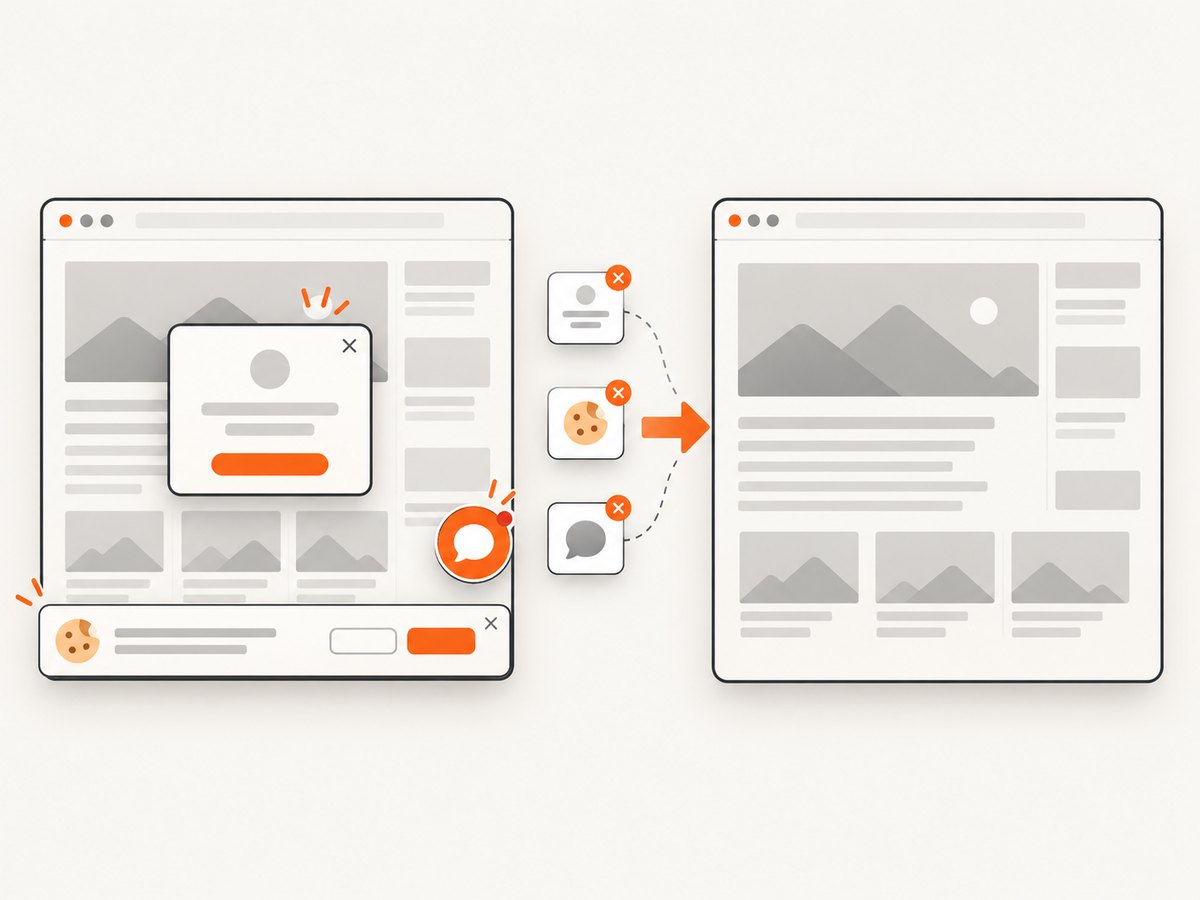
For clean captures, ScreenshotNeo accepts cookie or consent banners like a visitor and removes more than 60 known consent platforms, newsletter popups, and chat widgets. Each cleanup step can be turned off. Bot checks or CAPTCHAs, blank pages, timeouts, failed loads, and cache hits cost nothing; response headers identify the page verdict and whether the request was billed.
cURL
curl -G "https://api.screenshotneo.com/v1/shot" -d access_key=YOUR_API_KEY --data-urlencode url=https://stripe.com -o shot.webpPython
import requests
r = requests.get("https://api.screenshotneo.com/v1/shot", params={"access_key": "YOUR_API_KEY", "url": "https://stripe.com"}, timeout=90)
open("shot.webp", "wb").write(r.content)
Node.js
const q = new URLSearchParams({ access_key: 'YOUR_API_KEY', url: 'https://stripe.com' });
const res = await fetch(`https://api.screenshotneo.com/v1/shot?${q}`);
The same service supports PDF paper size, margins, landscape mode, and page ranges; HTML/CSS to image; image resizing; caching with a TTL you choose; signed links for public <img> tags; asynchronous jobs with signed webhooks; bulk capture of up to 100 URLs per call; a usage API; and an OpenAPI specification. An MCP server exposes take_screenshot, get_page_info, and capture_pdf to Claude, Cursor, and other MCP clients.
Pricing starts with 1,000 screenshots per month free with no card. Paid plans are Starter $5 for 3,000, Growth $15 for 15,000, Pro $39 for 60,000, Scale $99 for 250,000, and Business $249 for 1,000,000; yearly billing gives two months free, and every feature is on every plan. Create a free ScreenshotNeo account and start with the 1,000 monthly screenshots.
FAQ
Can I select a monitor by number in Snipping Tool?
Microsoft documents display identification, but not a full-screen Snipping Tool command that accepts a monitor number. Identify the display, then use a rectangle confined to it or capture a window.
Does Windows + Shift + S save a file automatically?
It copies the image to the clipboard and opens Snipping Tool through a notification. Save it manually with Ctrl + S when you need a file.
Why is Print Screen a poor choice for two monitors?
Microsoft describes Print Screen as capturing the entire screen. That can include both displays, while a rectangular or window snip defines the boundary.
Can I capture a website without showing cookie banners?
For a local desktop capture, close or accept the banner first. For automated website captures, ScreenshotNeo can accept consent banners and remove known consent platforms, newsletter popups, and chat widgets before the shot.
What should I use for many URLs?
Use an automated API with explicit wait, viewport, caching, and output settings. ScreenshotNeo also offers bulk capture for up to 100 URLs per call and asynchronous jobs with signed webhooks.


