BlogScreenshots on your device
How to Screenshot Only One Display
Capture exactly one monitor on Windows, Mac, Chromebook, or GNOME Linux with region selection, troubleshooting, and automation options.
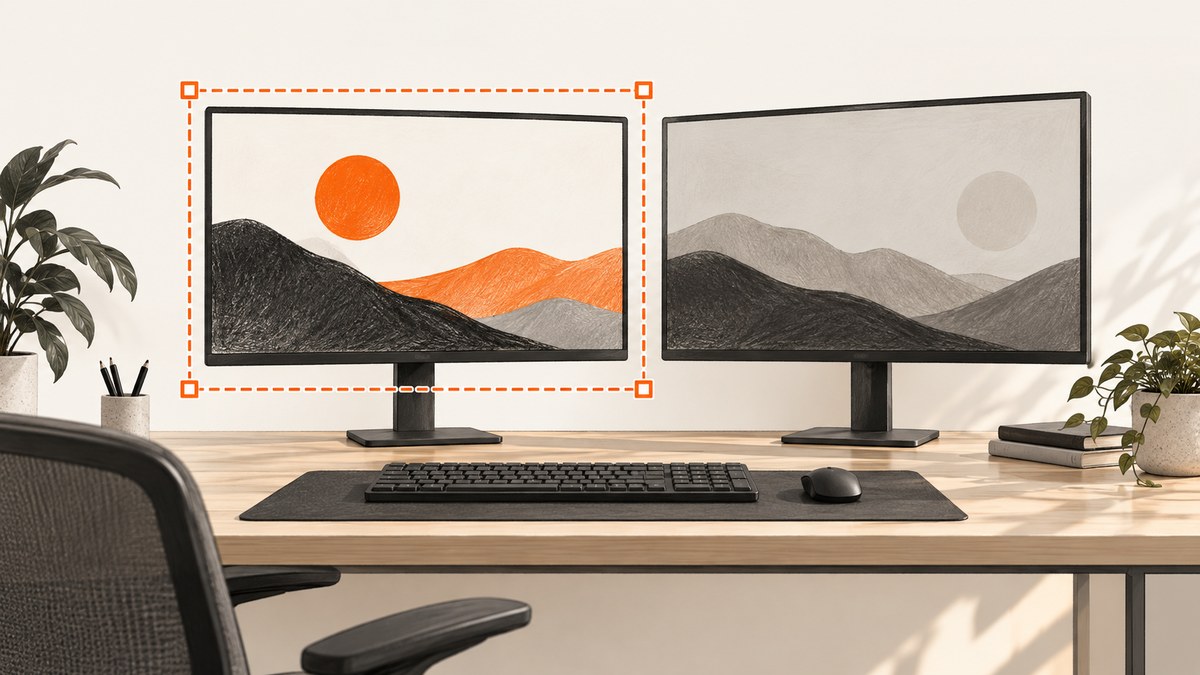
Use area or region selection, then drag a rectangle around the single monitor you want to capture. This works across Windows, macOS, ChromeOS, and GNOME Linux. Do not use a full-screen command when multiple displays are connected: depending on the operating system, it may include every display. Window capture is a different mode that captures one application window rather than everything visible on a monitor.
After you release the mouse button, inspect the result before sharing it. The image should contain only the selected display’s pixels, with no neighboring monitor, desktop background, or accidental resize handles.
Choose the right capture mode
| Mode | What it captures | Use it when |
|---|---|---|
| Area or region | A rectangle you draw | You need all visible content on one monitor, or a precise portion of it |
| Window | One application window | You need an app and do not need the rest of the monitor |
| Full screen | One or more complete screens, depending on the system | Every connected display can be included safely |
For a single-monitor screenshot, area selection is the dependable choice because you define both edges yourself. Window selection can omit other visible windows, the taskbar, desktop, or browser chrome. Full-screen selection should not be assumed to mean “the current monitor.”
Windows 10 and Windows 11
- Press Windows+Shift+S. Windows opens the Snipping Tool capture overlay.
- Choose the Rectangular snip mode if it is not already selected.
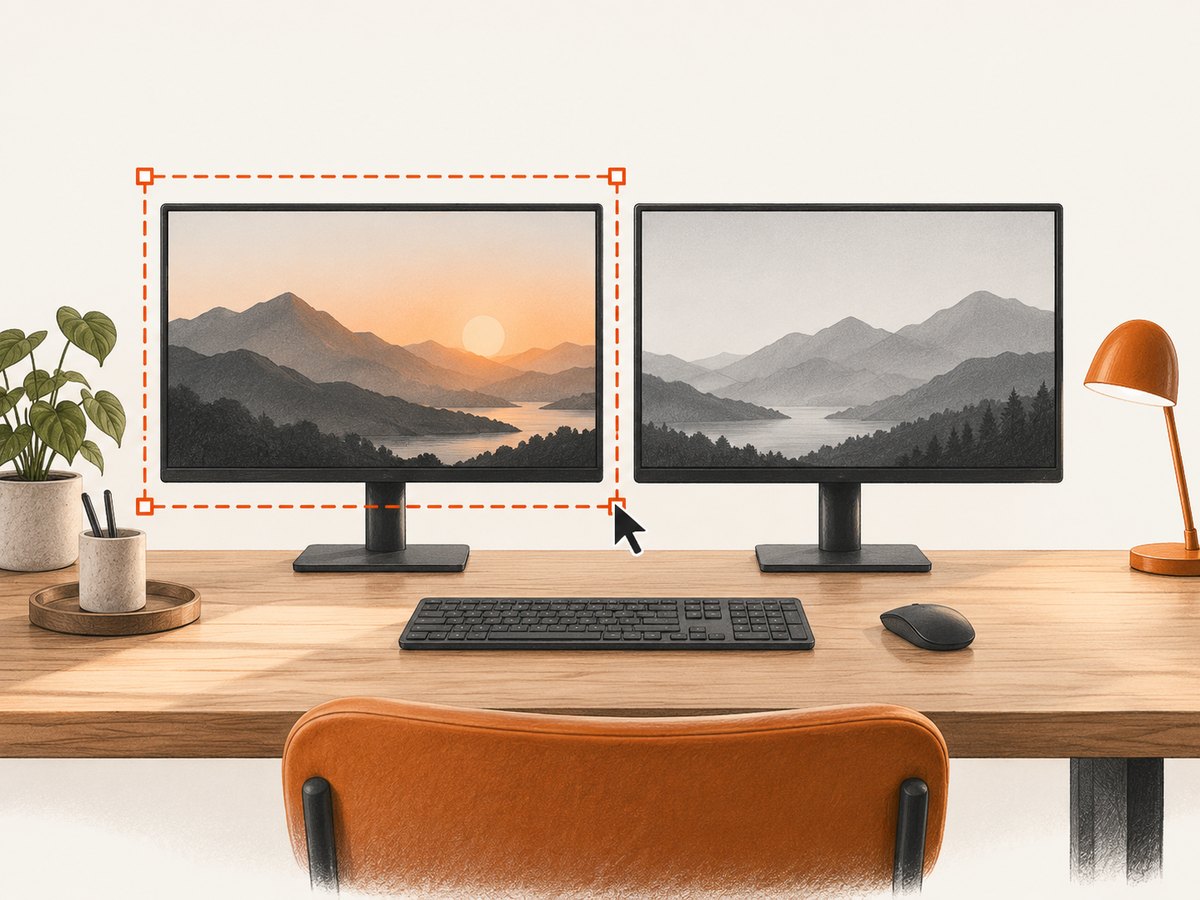
- Move to a corner of the monitor you want. Drag to the opposite corner, keeping the rectangle inside that display’s boundaries.
- Release the mouse button. The capture is copied to the clipboard and opens in Snipping Tool for editing, saving, and sharing.
Microsoft documents rectangular, freeform, window, and full-screen modes in Snipping Tool. The rectangular mode is the one to use for a complete single-display image. See Microsoft’s Snipping Tool instructions for the current interface.
If the shortcut does nothing, open Snipping Tool from the Start menu and select the capture mode there. Keyboard layouts, remapped shortcuts, and Windows builds can change how the overlay appears.
Windows choices that often cause the wrong result
- Alt+Print Screen captures the active window, not an entire monitor. Use it only when one application window is the intended subject.
- A full-screen snip can include more than one display. Return to rectangular snip and draw around one monitor.
- If the selection starts on the wrong display, move the pointer to the target monitor before dragging.
macOS
- Press Shift-Command-4. The pointer becomes a crosshair.
- Drag from one corner of the target display to the opposite corner.
- Release. macOS captures the rectangle. The screenshot is saved to the desktop after the thumbnail disappears or is dismissed.
Apple describes this area workflow in its Mac screenshot guide. Hold the mouse button while dragging and use the on-screen measurements to align the rectangle with the monitor edges.
Capture one application window instead
Press Shift-Command-4, press Space, then click the window. This captures that window rather than the entire display. It is useful for a single app, but it will not include other content visible on the monitor. Apple notes that some apps, including Apple TV, may prevent screenshots of their windows.
Chromebook and ChromeOS
- Press the Screenshot key if your keyboard has one. On an external keyboard without that key, Google documents Ctrl+Shift+F5.
- Alternatively, open Settings > Screen Capture.
- Choose Screenshot, then select Partial screenshot.
- Drag a rectangle over the display you want and release.
ChromeOS also offers full-screen and window screenshots. Partial screenshot is the correct mode for one display when more than one screen is connected. Google says screenshots are saved in Downloads by default and copied to the clipboard. See Google’s Chromebook screenshot instructions for keyboard variations.
Linux with GNOME
- Press Print, or open the screenshot control from the system menu.
- Choose the Area option.
- Drag over the monitor you want to capture and confirm the selection.
GNOME’s screenshot interface provides area, screen, and window choices. One GNOME help version documents Shift+Print for an area screenshot, but shortcut bindings can differ. The visible screenshot interface is the safer route when the shortcut is unknown. GNOME saves screenshots in Pictures/Screenshots and copies them to the clipboard. Read the GNOME screenshot help for the version-specific controls.
These instructions are for GNOME. KDE Plasma, Xfce, Cinnamon, and other Linux desktops may use different shortcuts and save locations. Open the desktop’s screenshot utility and select area or region capture.
How to draw an exact monitor-sized rectangle
- Identify the display’s top-left and bottom-right corners. If the monitors have different resolutions or scaling, use the visible edges rather than assuming both screens have the same pixel dimensions.
- Start the selection inside the target display, not on the boundary between displays.
- Drag diagonally to the opposite corner. Keep the pointer inside the target screen until the selection is complete.
- Release and check all four edges. A neighboring monitor should not appear, even as a thin strip.
- Save in the format your destination needs. PNG is suitable for crisp interface text; JPEG is smaller for photographic content.
When a monitor is arranged above, below, or at an offset from another in display settings, its physical position on the desktop still determines where you begin and end the rectangle. Do not rely on the primary-display label: primary means where system panels or new windows appear, not which display the screenshot tool must capture.
Common problems and fixes
| Problem | Likely cause | Fix |
|---|---|---|
| The image contains both monitors | Full-screen capture was used | Use rectangular, partial, or area selection and draw only over the intended display. |
| Only one app appears | Window mode or Alt+Print Screen was used | Switch to area or rectangular mode for all visible content on the monitor. |
| The shortcut does not work | Different OS version, keyboard layout, remapping, or desktop environment | Open Snipping Tool, Screen Capture, or the desktop screenshot utility from the app launcher. |
| The screenshot is saved somewhere unexpected | Save behavior differs by platform and tool | Check Snipping Tool, Desktop, Downloads, clipboard history, or Pictures/Screenshots for your platform. |
| A Mac app refuses to capture | Some applications block screenshots | Capture another window or use the app’s own export function when available. |
| Thin pixels from the neighboring screen appear | The rectangle crossed a display boundary | Repeat the capture and start farther inside the target display; verify the edges at 100% zoom. |
| Scaling makes the result look soft | Display scaling or an image editor resized the capture | Capture at native desktop size and avoid enlarging the saved file after capture. |
Privacy and sharing checklist
- Inspect the complete image, including corners and the taskbar or system tray.
- Check the neighboring display for notifications, private messages, credentials, or customer data that may have entered the selection.
- Crop or redact sensitive content before uploading.
- Confirm the file format and dimensions meet the destination’s limits.
- When pasting from the clipboard, verify that the destination accepted an image instead of text or an earlier capture.
Automating screenshots of a web page
The desktop methods above capture what is visible on your computer. For repeatable captures of a URL, an automated browser or screenshot API is more consistent. A browser script must handle viewport size, page loading, lazy images, cookie dialogs, popups, authentication, and output files. It also needs a browser binary and a way to wait until the page is ready.
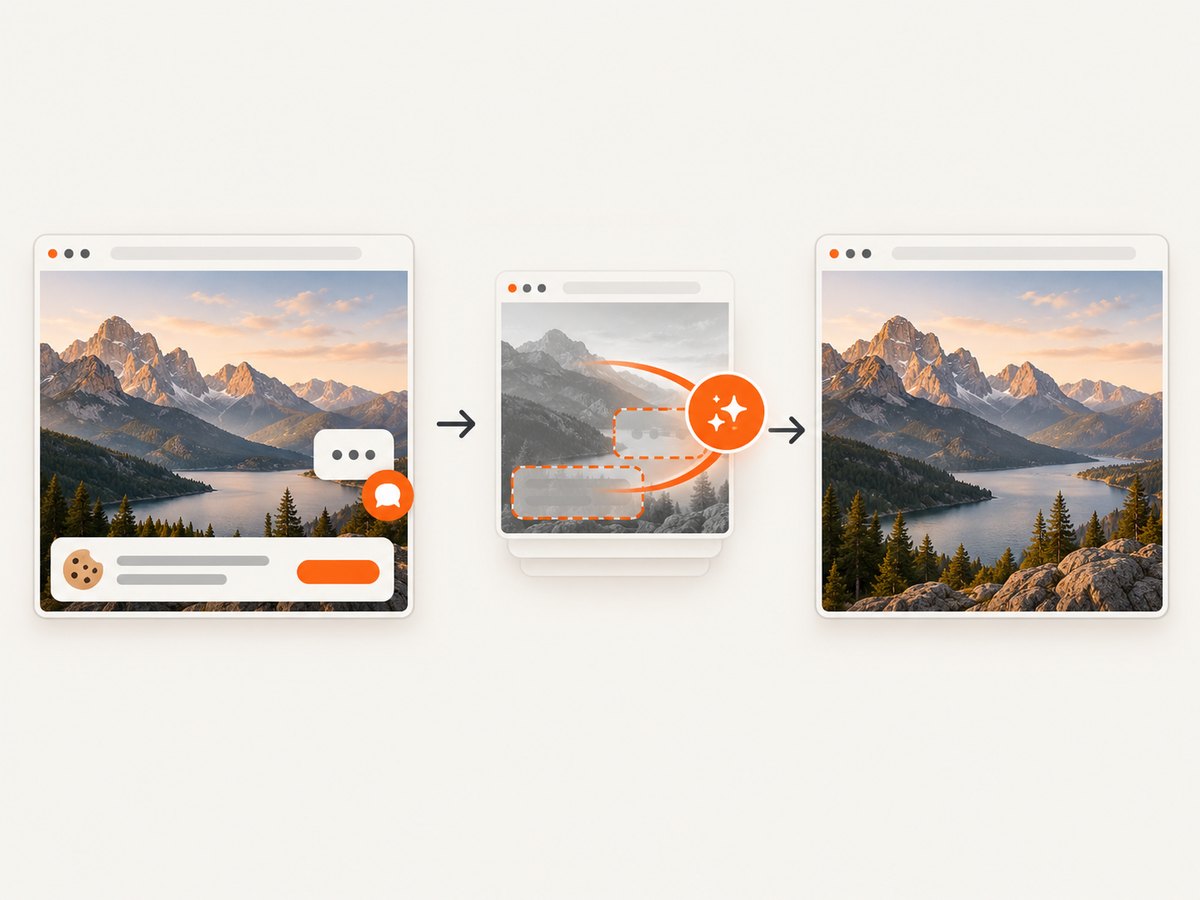
For an automated service, ScreenshotNeo accepts one GET request and returns PNG, JPEG, WebP, or PDF. Its options include full-page capture with lazy images loaded, one element by CSS selector, dark mode, device presets or custom viewports, retina scale, custom CSS and JavaScript, click and wait actions, hidden selectors, blocked requests, custom headers and cookies, timezone and geolocation, transparent backgrounds, resizing, caching, signed links, asynchronous jobs, bulk capture, usage reporting, and PDF page controls.
Or skip the browser setup
Use the ScreenshotNeo endpoint shown in the API documentation. Replace the URL with the page you need to capture.
cURL
curl -G "https://api.screenshotneo.com/v1/shot" -d access_key=YOUR_API_KEY --data-urlencode url=https://stripe.com -o shot.webpPython
import requests
r = requests.get("https://api.screenshotneo.com/v1/shot", params={"access_key": "YOUR_API_KEY", "url": "https://stripe.com"}, timeout=90)
open("shot.webp", "wb").write(r.content)
Node.js
const q = new URLSearchParams({ access_key: 'YOUR_API_KEY', url: 'https://stripe.com' });
const res = await fetch(`https://api.screenshotneo.com/v1/shot?${q}`);
Cookie banners, newsletter popups, and chat widgets are removed before the shot. Bot checks, blank pages, timeouts, failed loads, and cache hits are not billed; response headers identify the page verdict and whether the request was billed. ScreenshotNeo also provides an MCP server with take_screenshot, get_page_info, and capture_pdf for Claude, Cursor, and other MCP clients. The free plan includes 1,000 screenshots each month with no card, and paid plans start at $5 for 3,000 shots. Create a free ScreenshotNeo account.
Reliability, performance, and cost considerations
Desktop captures
Area selection is immediate and does not depend on network access. Its main reliability risks are human: selecting the wrong rectangle, including a neighboring display, or pasting an earlier clipboard item. Check the resulting file before sharing. Large, high-resolution displays create larger files; PNG preserves text but can be heavier than JPEG.
Automated captures
Set an explicit viewport and wait condition when consistency matters. A fixed selector wait or network-idle wait is usually more repeatable than an arbitrary short delay, while a delay can help pages that render after network activity finishes. Full-page shots may be slower and larger because the browser must render content below the fold and load lazy images.
Use caching when the page does not change often, choose a TTL that matches your update schedule, and use bulk capture for many URLs. For asynchronous jobs, verify webhook signatures and handle retries idempotently. Keep API keys server-side, set request timeouts, and record the response’s verdict and billed headers so failed or non-clean captures can be diagnosed.
FAQ
Does Print Screen capture only the active monitor?
Do not assume it does. Use the platform’s area or region selector and draw around the desired display.
How do I capture one monitor but exclude the taskbar?
Use area selection and stop the rectangle above the taskbar, or configure the taskbar to hide before capturing. Window mode will exclude unrelated desktop content but also omits other windows.
What if the monitors have different scaling?
Drag by the visible display edges and verify the saved image at 100% zoom. Scaling can make dimensions differ even when the physical monitors are similar.
Can I capture a web page’s entire height instead of one visible monitor?
Use a full-page browser capture or an API option such as ScreenshotNeo’s full-page capture. A desktop screenshot only records the pixels currently visible in the selected rectangle.
Where should I look if the file is missing?
Check the application’s save dialog and clipboard first. Common defaults are the Desktop on macOS, Downloads on ChromeOS, and Pictures/Screenshots in GNOME; Windows opens the result in Snipping Tool for saving.


