BlogScreenshots on your device
How to Take a Screenshot with Power Automate Desktop
Use Power Automate Desktop’s screenshot actions to capture a screen, window, UI element, or webpage and save it to a file or clipboard.
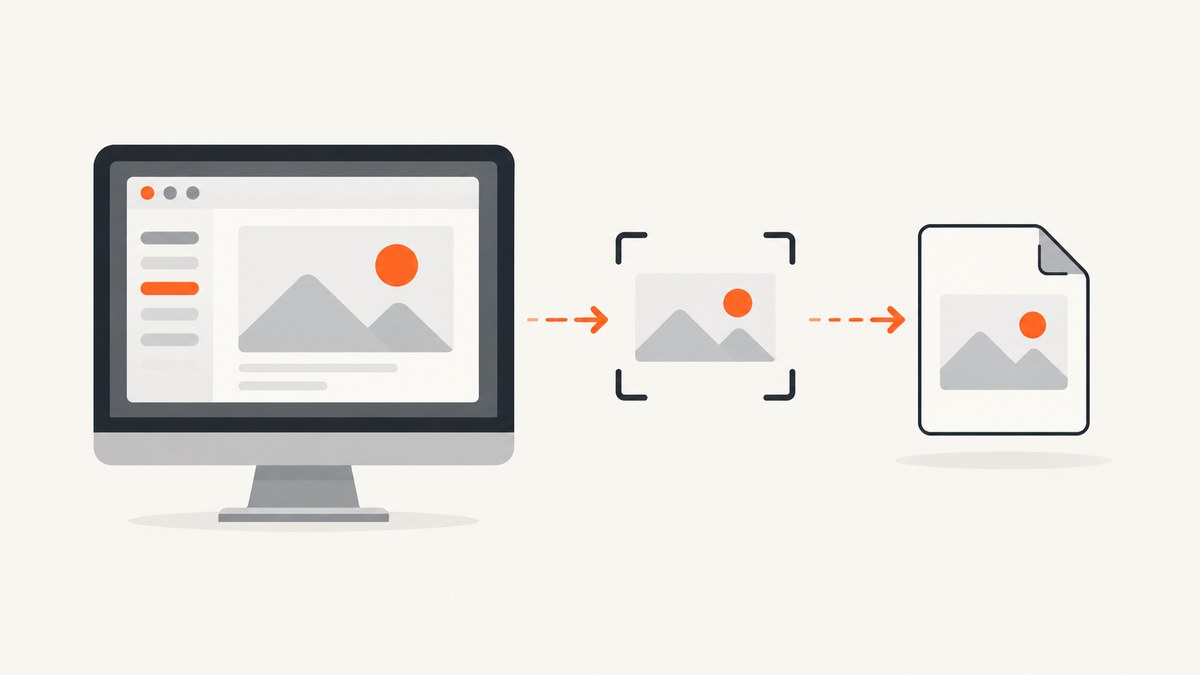
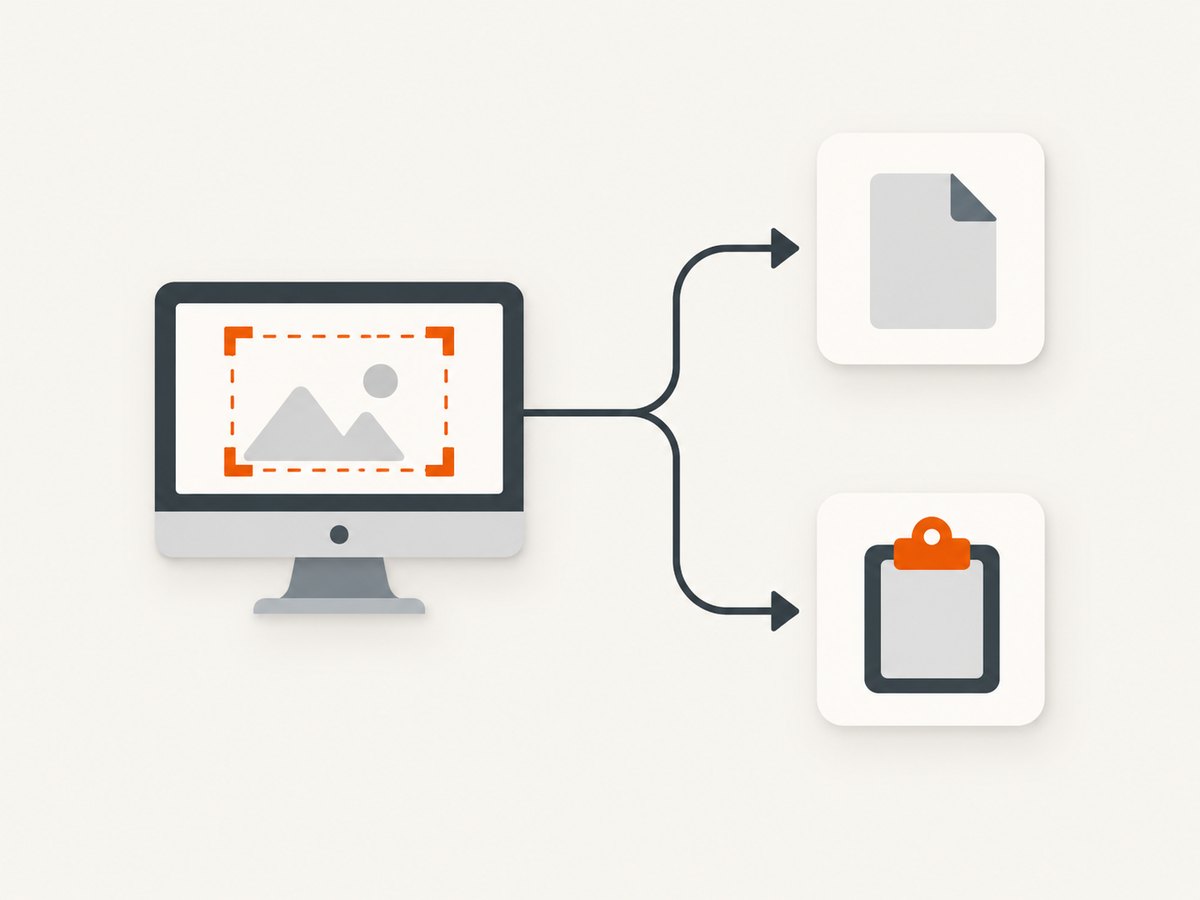
Direct answer: In Power Automate Desktop, add the Take screenshot action from the Workstation actions. Select what to capture, choose File or Clipboard as the destination, and configure the image path and format when saving to a file.
Use a different action when the target is a browser page or an application control: Take screenshot of web page captures an entire page or a specific webpage element, while Take screenshot of UI element captures a Windows application control.
Choose the screenshot action by target
| Target | Power Automate Desktop action | Capture scope | Output |
|---|---|---|---|
| One or more monitors | Workstation: Take screenshot | All screens, primary screen, or a selected screen | File or clipboard |
| Active application window | Workstation: Take screenshot | Foreground window | File or clipboard |
| Application control | UI automation: Take screenshot of UI element | The supplied UI element | File or clipboard |
| Webpage | Browser automation: Take screenshot of web page | Entire web page or a specific element | File or clipboard |
The Workstation action is the correct starting point for a display or foreground window. The UI automation and browser automation actions are separate actions with their own target settings.
Take a screenshot of the screen
- Open your desktop flow in Power Automate Desktop.
- From the actions pane, open Workstation and drag Take screenshot into the flow.
- In Capture, choose one of these scopes:
- All screens — captures the complete multi-monitor desktop. This is the documented default.
- Primary screen — captures the main monitor.
- Select screen — captures one monitor by its numeric screen value.
- Foreground window — captures the currently active application window.
- If you chose Select screen, set Screen to capture to the required numeric value.
- Set Save screenshot to to File or Clipboard.
- For a file, enter the complete destination in Image file, such as
C:\Screenshots\checkout.png. - Select an Image format. BMP is the documented default; available formats include EMF, EXIF, GIF, JPG, PNG, TIFF, and WMF.
- Save and run the flow, then inspect the selected destination.
Example: save the foreground window
Configure the action with these values:
| Setting | Value |
|---|---|
| Capture | Foreground window |
| Save screenshot to | File |
| Image file | C:\Screenshots\active-window.png |
| Image format | PNG |
Place the action after the step that opens or activates the window. If another application becomes active before the screenshot runs, the foreground window may be different from the one you intended.
Copy a screenshot to the clipboard
Choose Clipboard for Save screenshot to instead of File. This is useful when the next step pastes the image into an email, document, ticket, or chat window.
Clipboard output has no image path to manage, but it depends on the interactive desktop session. A later paste action must run in the same session and while the target application accepts image data.
Save screenshots with predictable filenames
For repeated runs, build a unique path before the screenshot action. A timestamp or record identifier prevents one run from overwriting another. Make sure the destination directory already exists or create it earlier in the flow.
- Create or calculate a filename variable, for example
C:\Screenshots\run-2026-10-01.png. - Use that variable in Image file.
- Choose PNG for general-purpose screenshots, JPG when smaller files matter, or BMP when you need the documented default format.
- After capture, pass the same path to your upload, email, or archival step.
Capture an application UI element
Use UI automation > Take screenshot of UI element when you need a control rather than the whole desktop.
- Indicate or otherwise obtain the target UI element.
- Add Take screenshot of UI element to the flow.
- Provide the UI element variable.
- Choose File or Clipboard.
- If saving to a file, provide the image path and format.
This action supports BMP, EMF, EXIF, GIF, JPG, PNG, TIFF, and WMF, with BMP as the documented default. It is separate from the Workstation action, so changing the Workstation capture scope does not change which control is captured.
Capture a webpage
Use Browser automation > Take screenshot of web page when the target is rendered browser content.
- Start or attach to the supported browser and keep its browser instance variable.
- Add Take screenshot of web page.
- Choose Entire web page or Specific element.
- For a specific element, provide the captured web element.
- Choose file or clipboard output and configure the path and format when required.
- Run the flow only after the page and target element have loaded.
Typical failures include a missing element, a failed file or clipboard save, or a failed page capture. Add waits for navigation or element availability before the screenshot action when the page is dynamic.
Image-based automation is a different feature
Power Automate Desktop also lets you capture a reference image for image-based automation. In the flow designer, open the Images tab, select Capture image, and drag over the area to reference. The capture menu supports a timed capture or a custom delay.
This creates an image reference for matching and automation. It is different from the Workstation screenshot action that saves a screenshot as a flow output.
Reliable flow patterns
Capture before and after a risky step
For an unattended flow, add one screenshot immediately before and another immediately after the step you are diagnosing. Save them with names such as before-step.png and after-step.png. This shows whether the expected window, prompt, or page was present at each point.
Keep capture and file handling separate
Use one action to capture and later actions to upload, attach, rename, or archive the file. This makes it easier to identify whether a failure occurred during capture or during file handling.
Use the narrowest target that answers the question
- Choose Foreground window when the full active application is needed.
- Choose a UI element when surrounding windows contain sensitive or irrelevant content.
- Choose a specific webpage element when a full-page image would be unnecessarily large.
Troubleshooting
| Symptom | Likely cause | Fix |
|---|---|---|
| The screenshot action fails immediately | The desktop session cannot provide the requested screen or window. | Confirm that the flow runs in an available interactive session and that the selected capture scope exists. |
| Unattended flow cannot capture the screen | A UAC administrative prompt or related security policy is blocking screen access. | Check whether a UAC prompt is present and follow the documented policy-specific resolution before changing machine policy. |
| The wrong window is captured | Another application became foreground before the action ran. | Activate the intended window immediately before capture and avoid parallel UI activity. |
| A selected monitor is blank or wrong | The numeric screen value does not match the intended monitor. | Verify the screen number and use Primary screen as a controlled test. |
| The file is not created | The directory is missing, the path is invalid, or the flow cannot write there. | Create the directory first, use a full writable path, and check permissions. |
| Clipboard output cannot be pasted | The clipboard is unavailable to the session or the destination does not accept image data. | Use file output to isolate the capture, then test paste in the same interactive session. |
| A webpage screenshot fails | The browser instance is missing, the page has not loaded, or the requested element is absent. | Attach to the correct browser, wait for navigation or the element, and verify the selector or captured web element. |
| A UI-element screenshot fails | The UI element reference is stale or no longer visible. | Reacquire the element after the application state changes and capture only after it is visible. |
| Before/after diagnostics are missing | The temporary error handling did not save both images. | Place screenshots directly around the failing action, use distinct filenames, then revert the temporary On error behavior after diagnosis. |

Performance, reliability, and storage considerations
- Capture scope: A full multi-monitor image contains more pixels and produces a larger file than a single window or element.
- Format: PNG preserves detail and is useful for text; JPG can reduce file size; BMP is the documented default but is often larger.
- Timing: A screenshot reflects the state at the moment the action runs. Add waits for windows, browser navigation, and dynamic elements rather than relying on a fixed sequence alone.
- Unattended execution: Screen capture requires an accessible desktop session. Prompts, locked sessions, and security policies can prevent capture.
- Retention: Repeated runs can fill the destination folder. Use unique names plus a cleanup or archival step.
- Privacy: A screen or foreground-window capture may include unrelated data. Capture a narrower UI element or webpage element when possible.
Or skip the browser setup
If your real goal is to capture a URL rather than automate a desktop session, ScreenshotNeo provides a single HTTP request for PNG, JPEG, WebP, or PDF output. Its cleanup steps accept consent banners and remove more than 60 known consent platforms, newsletter popups, and chat widgets before capture. Each cleanup step can be turned off.
Only clean shots are billed. Bot checks or CAPTCHAs, blank pages, timeouts, failed loads, and cache hits cost nothing, and the response reports the result with X-Page-Verdict and X-Billed headers. ScreenshotNeo also includes an MCP server with take_screenshot, get_page_info, and capture_pdf for Claude, Cursor, and other MCP clients.
See the ScreenshotNeo API documentation for the full option list.
curl -G "https://api.screenshotneo.com/v1/shot" -d access_key=YOUR_API_KEY --data-urlencode url=https://learn.microsoft.com -o shot.webpimport requests
r = requests.get("https://api.screenshotneo.com/v1/shot", params={"access_key": "YOUR_API_KEY", "url": "https://learn.microsoft.com"}, timeout=90)
open("shot.webp", "wb").write(r.content)const q = new URLSearchParams({ access_key: 'YOUR_API_KEY', url: 'https://learn.microsoft.com' });
const res = await fetch(`https://api.screenshotneo.com/v1/shot?${q}`);The Free plan includes 1,000 screenshots each month with no card. Paid plans start at $5 for 3,000 shots. Create a free ScreenshotNeo account.
FAQ
What is the default Workstation capture scope?
The documented default is All screens.
Can I capture only the active window?
Yes. Set Capture to Foreground window in the Workstation action.
Which formats can I save?
The documented formats include BMP, EMF, EXIF, GIF, JPG, PNG, TIFF, and WMF. BMP is the default.
Should I use the Workstation action for a webpage?
Use the browser automation webpage action when you need the entire page or a specific webpage element. Workstation capture is for screens and foreground windows.
Why does unattended capture fail while attended capture works?
An unattended run can be blocked by a UAC prompt or security policy that prevents screen access. Check the session and policy condition first.
How do I investigate an intermittent screenshot failure?
Save a screenshot immediately before and after the suspected step, using filenames that identify each position, then inspect both files and restore the temporary error behavior after troubleshooting.


