BlogScreenshots on your device
How to Take a Screenshot on Windows
Capture a region, window, or full screen on Windows with the right shortcut. Learn where screenshots go, how to save and annotate them, and how to capture menus.
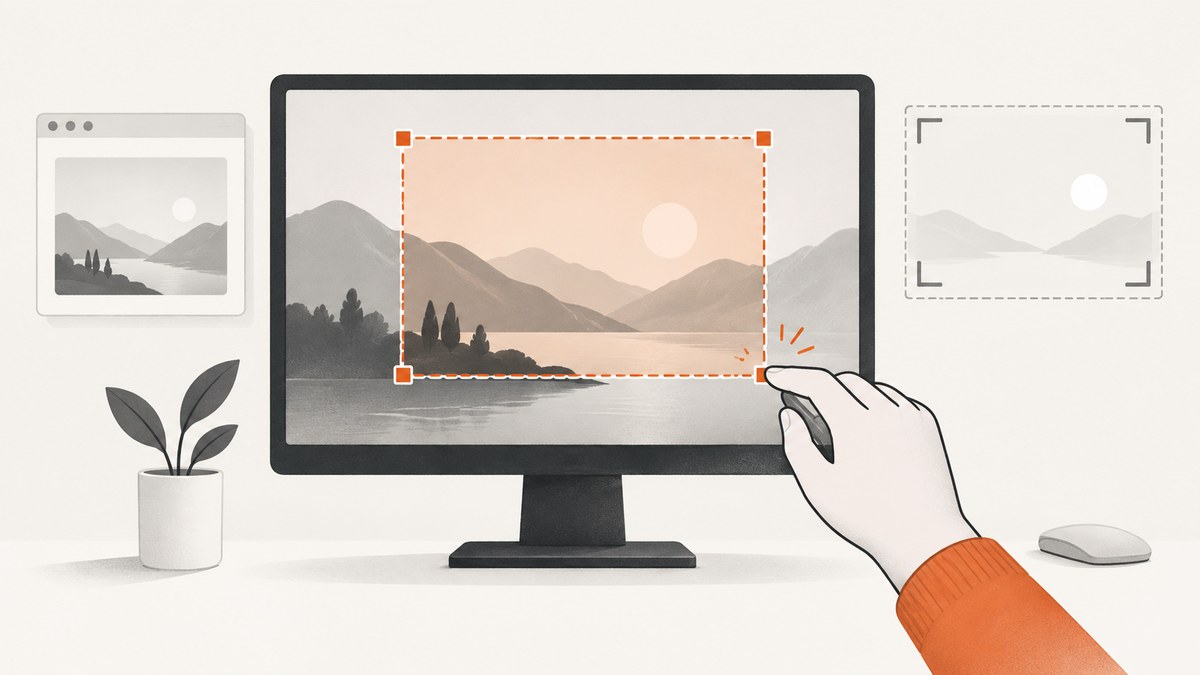
For most Windows screenshots, press Windows + Shift + S, choose a capture mode, and select the area if needed. The image is copied to your clipboard; select the notification to open Snipping Tool, where you can annotate, save, copy, or share it. To save a full-screen image directly as a file, press Windows + PrtScn. To copy only the active window, press Alt + Print Screen.
1. Choose the right screenshot method
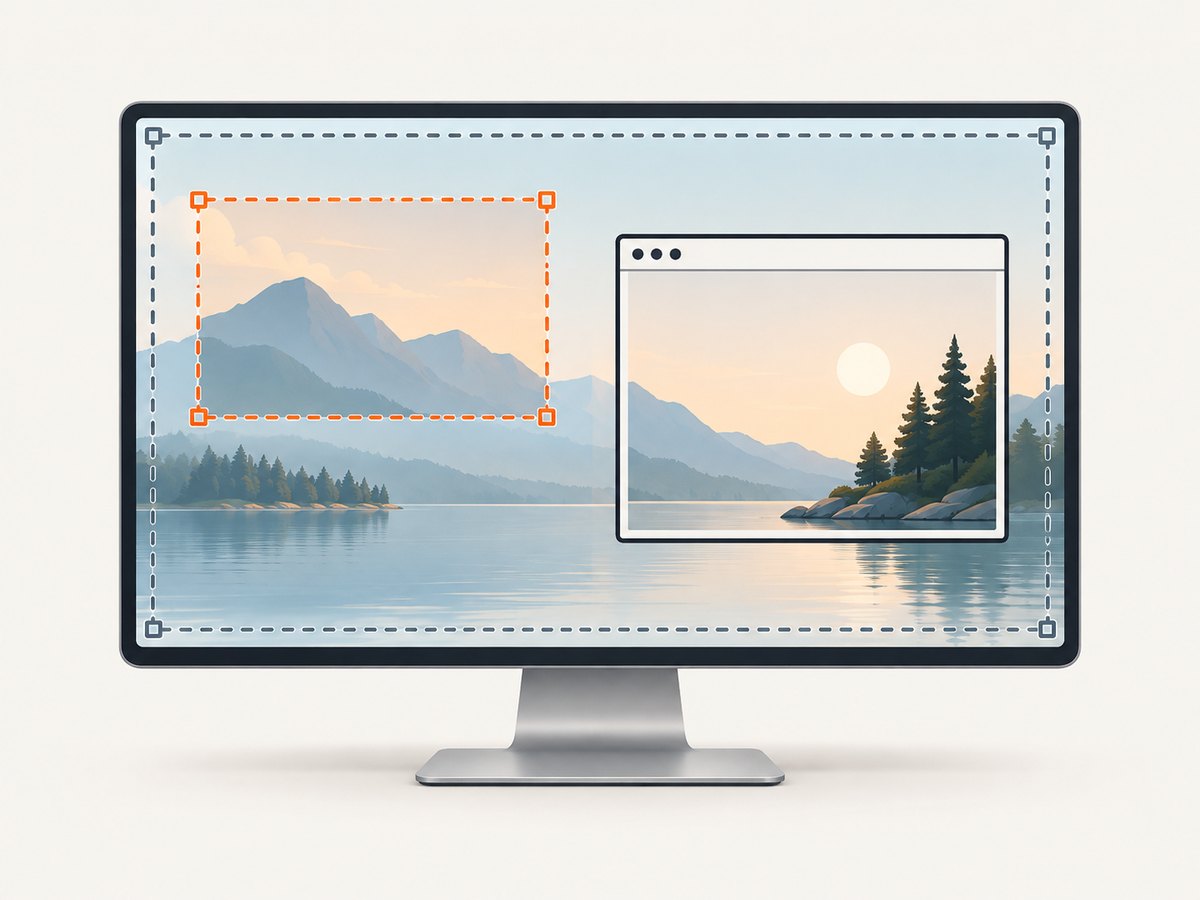
Windows offers several capture shortcuts. Choose based on what you want included and whether you need a file immediately or want to paste the image somewhere.
| What you need | Shortcut | Where the image goes |
|---|---|---|
| A selected region, window, or full screen | Windows + Shift + S | Clipboard; notification opens Snipping Tool |
| Full screen saved automatically | Windows + PrtScn | Pictures\Screenshots |
| Full screen to paste somewhere | PrtScn | Clipboard |
| Only the active window | Alt + Print Screen | Clipboard |
| A menu or other transient UI | Snipping Tool with a delay | Clipboard and Snipping Tool |
| A screen region as video | Windows + Shift + R | Snipping Tool video capture |
For most everyday captures, Windows + Shift + S is the most flexible starting point. Use Windows + PrtScn when you want a full-screen file without a paste step. Use Alt + Print Screen when the surrounding desktop should not appear.
2. Capture a region, window, or full screen with Snipping Tool
- Press Windows + Shift + S. The screen dims and the Snipping Tool capture controls appear.
- Choose rectangular snip, freeform snip, window snip, or full-screen snip. The available choices may be displayed as icons.
- For a rectangular or freeform selection, drag around the area to capture. For window mode, select the target window. Full-screen mode captures the display.
- The result is copied to the clipboard. Select the Snipping Tool notification to open the capture for editing and saving.
Use rectangular mode for a clean crop around a chart, dialog, or part of a webpage. Freeform mode is useful when the subject has an irregular outline. Window mode reduces surrounding desktop clutter. Full-screen snips are useful when the arrangement of several windows matters.
Copy or save the capture
After capturing, you can paste the clipboard image into a document, chat, image editor, or email with Ctrl + V. To keep a file, open the notification and use Snipping Tool’s save control. Choose the destination and file name in the save dialog. Copying is quicker for one-off sharing; saving is better when you need a reusable image file or a stable location.
Annotate, crop, or extract text
In Snipping Tool, use the pen or highlighter to call attention to a detail, and crop to tighten the frame. The app also provides Text actions/OCR for working with text in a capture, along with copy and share options. If the capture is evidence or documentation, keep the original before adding marks so you retain an unannotated version.
3. Save a full-screen screenshot automatically
- Press Windows + PrtScn.
- Open File Explorer and go to Pictures > Screenshots.
- Open the newest image to review it, rename it, or move it to your project folder.
This method captures the full display and saves a file directly. On some laptops and compact keyboards, the Print Screen key shares a function with another key. If the shortcut does not work, try holding Fn while pressing the Print Screen key. Keyboard behavior varies by device and layout; Microsoft documents an alternate shortcut for systems where PrtScn is unavailable.
Where did my screenshot go?
For Windows + PrtScn, check the Pictures\Screenshots folder. For Windows + Shift + S, the first destination is usually the clipboard, not an automatically saved file: select the notification to open the capture and save it. For PrtScn or Alt + Print Screen, paste into an app with Ctrl + V, then save from that app if you need a file.
4. Capture only the active window
- Click the window you want so it is active.
- Press Alt + Print Screen.
- Open an app that accepts images and press Ctrl + V.
- Save the pasted capture from that app if you need a separate file.
This shortcut copies the active window, rather than the entire desktop. Check which window has focus first: clicking another app or dialog can change what gets captured. If you want to choose a window and save or annotate through the Windows capture interface, use Windows + Shift + S and select window snip instead.
5. Capture a menu that disappears
Menus often close as soon as you press a shortcut or click elsewhere. Set a Snipping Tool delay so you have time to open the menu before the capture begins.
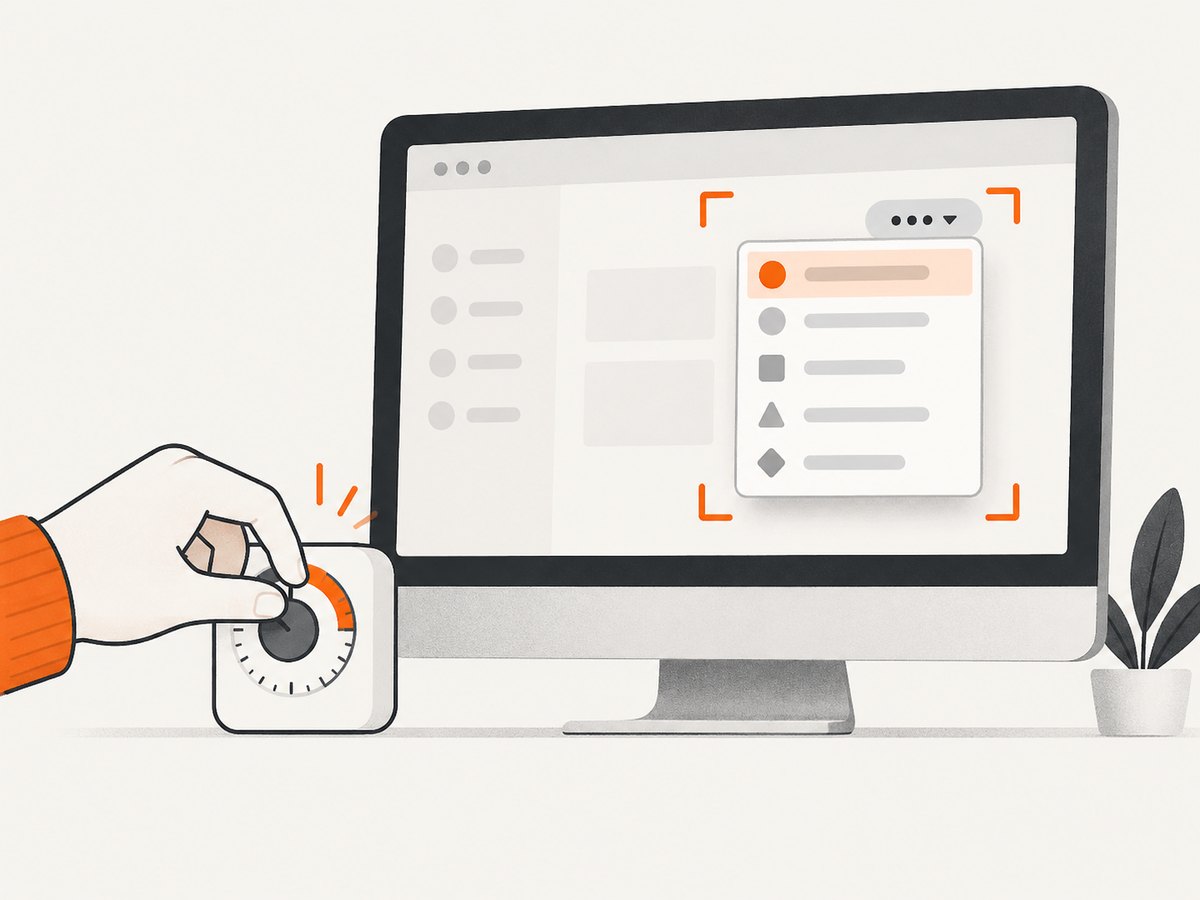
- Open Snipping Tool from the Start menu.
- Set its delay to between 1 and 5 seconds.
- Choose the snip mode.
- Start the capture, then open the menu or transient control during the countdown.
- When the delay ends, select the target area if the selected mode requires it.
Practice the sequence once if the menu is difficult to reproduce. Keep the pointer away from the item you want to show if hovering changes the menu. For a dropdown that opens on hover, position the pointer deliberately before the countdown ends.
6. Record a region as video
For motion rather than a still image, press Windows + Shift + R to open Snipping Tool’s video capture. Select the region and use the capture controls to start and stop recording. A video is useful for showing a sequence of clicks or an animation that a screenshot cannot explain. If a single state is all the reader needs, use a still capture to keep the file simpler to share.
7. Make the screenshot readable and useful
- Frame only the relevant content: use a region or window capture to reduce desktop clutter.
- Preserve context: include the application title or surrounding controls when they help someone understand the image.
- Check sensitive information: close private tabs and hide account details before capturing or sharing.
- Use annotations sparingly: a short highlight or arrow can guide attention; avoid covering the text or control being discussed.
- Confirm the saved file: open it before attaching it to an issue or document, especially if the capture came from the clipboard.
Windows capture shortcuts are for the display in front of you. If your goal is a repeatable screenshot of a website for documentation, monitoring, or a build pipeline, a browser-based capture workflow is a different task: it needs to load the page, handle consent overlays, wait for content, and produce a predictable image.
8. Or skip the browser setup
If you need screenshots of web pages rather than your Windows desktop, ScreenshotNeo is a website screenshot API and MCP server. A GET request takes a URL and returns an image or PDF. The example below requests a WebP capture of Stripe; see the ScreenshotNeo API documentation for the full options.
curl -G "https://api.screenshotneo.com/v1/shot" -d access_key=YOUR_API_KEY --data-urlencode url=https://stripe.com -o shot.webpimport requests
r = requests.get(
"https://api.screenshotneo.com/v1/shot",
params={"access_key": "YOUR_API_KEY", "url": "https://stripe.com"},
timeout=90,
)
open("shot.webp", "wb").write(r.content)const q = new URLSearchParams({ access_key: 'YOUR_API_KEY', url: 'https://stripe.com' });
const res = await fetch(`https://api.screenshotneo.com/v1/shot?${q}`);
if (!res.ok) throw new Error(`Screenshot request failed: ${res.status}`);
await Bun.write('shot.webp', res);ScreenshotNeo accepts cookie and consent banners like a visitor and removes more than 60 known consent platforms, newsletter popups, and chat widgets before capture; each of those steps can be turned off. Bot checks and CAPTCHAs, blank pages, timeouts, failed loads, and cache hits are not billed. The response identifies the page verdict and billing status in headers. Its MCP server gives AI agents tools to take screenshots, get page information, and capture PDFs. The free plan includes 1,000 screenshots a month with no card; paid plans start at $5 for 3,000 screenshots.
Sign up for ScreenshotNeo’s free 1,000 screenshots a month, with no card required.
9. Troubleshooting Windows screenshots
| Problem | Likely cause | What to do |
|---|---|---|
| Windows + Shift + S does nothing | The shortcut or capture app is unavailable, or the keyboard intercepts the key combination. | Open Snipping Tool from Start and capture there. Check the keyboard’s Fn layer and whether another utility has assigned the shortcut. |
| PrtScn types a character or triggers another action | On compact keyboards, the key may be shared with another function. | Try Fn + PrtScn or use Snipping Tool from Start. Microsoft documents an alternative shortcut when PrtScn is unavailable. |
| I cannot find the screenshot | The selected shortcut copied to the clipboard instead of saving a file. | Paste with Ctrl + V into an image-capable app. For a saved full-screen capture, use Windows + PrtScn and check Pictures\Screenshots. |
| The wrong window was captured | A different window had focus, or the capture mode was full screen. | Activate the target window before Alt + Print Screen, or use Windows + Shift + S and select window mode. |
| The menu closed before the capture | The shortcut sequence took longer than the menu stayed open. | Open Snipping Tool first and set a 1–5 second delay, then start the menu during the countdown. |
| The saved image is missing a popup or menu | It appeared after the capture or closed before the snip. | Use a delay for transient desktop menus. For web page content, wait for the popup or page state before using a website capture tool. |
10. Performance, reliability, and file handling
The built-in shortcuts avoid a browser automation setup and are quick for one-off desktop captures. Reliability depends on choosing the correct destination and shortcut: clipboard captures need a paste or save step, while Windows + PrtScn writes a file directly. Large full-screen images also include everything visible, so a region capture can be easier to review and share when only one detail matters.
Before sending a screenshot, check its contents and destination. A clipboard capture may be replaced when you copy something else, so paste it into the target app promptly. When you need an image on disk, save it with a descriptive name and confirm the format in the save dialog. Snipping Tool’s delay is the built-in workaround for timing-sensitive menus; it does not make a desktop screenshot into a repeatable website capture.
11. Frequently asked questions
What is the quickest way to screenshot on Windows 10 or 11?
Press Windows + Shift + S, select the capture type, and then paste or open the notification to save. For a full-screen file saved automatically, use Windows + PrtScn.
Does pressing PrtScn save a screenshot?
PrtScn copies a full-screen image to the clipboard. Paste it into an app to view or save it.
Can I screenshot just one monitor?
Use Snipping Tool’s rectangular or full-screen selection options to capture the display area you need. On multi-monitor setups, review the selection before saving so the image contains the intended screen.
Can I capture a screenshot without opening an editor?
Windows + PrtScn saves a full-screen capture directly. For a selected region, the Snipping Tool notification gives you a route to review and save the result.
Why do some keyboard instructions say Fn + PrtScn?
Some laptop keyboards put Print Screen on a shared key. Fn may be needed to send that key’s secondary function.


