BlogScreenshots on your device
How to Take Screenshots with DXcam in Python
Capture full screens, regions, and live frames with DXcam in Python on Windows, then save NumPy images and troubleshoot common errors.
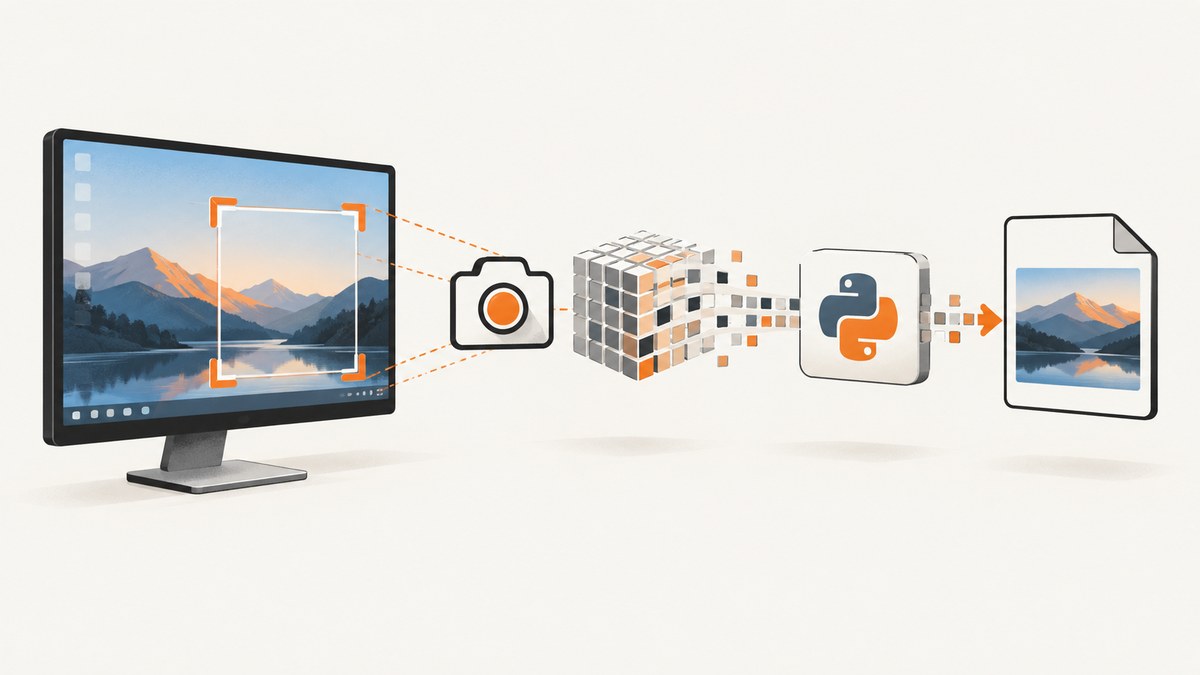
Direct answer: install DXcam with pip install dxcam, create a camera, call camera.grab(), and save the returned NumPy array with an image library. DXcam is a Windows Python capture library built around the Desktop Duplication API. A one-shot grab returns the current frame in memory; continuous capture uses start(), get_latest_frame(), and stop().
This guide covers full-screen and regional screenshots, saving RGB and other formats, multiple monitors, one-shot versus streaming capture, backend selection, reliability, performance, troubleshooting, and an API option when you need a screenshot of a web page rather than the local Windows desktop.
1. Install DXcam and verify your environment
DXcam is intended for Windows. The project documents Python 3.10 through 3.14 wheels and a minimum Python version of 3.10 in its package metadata. Check your interpreter before installing:
python --version
python -m pip install --upgrade pip
python -m pip install dxcam
The optional full-feature installation adds OpenCV color conversion and WinRT backend support:
python -m pip install "dxcam[cv2,winrt]"Use a virtual environment for an application or automation project:
python -m venv .venv
.venv\Scripts\activate
python -m pip install dxcam
The primary reference for the API, backend behavior, output formats, and examples is the DXcam project README. Package distribution details are also available on PyPI.
2. Take and save a one-shot screenshot
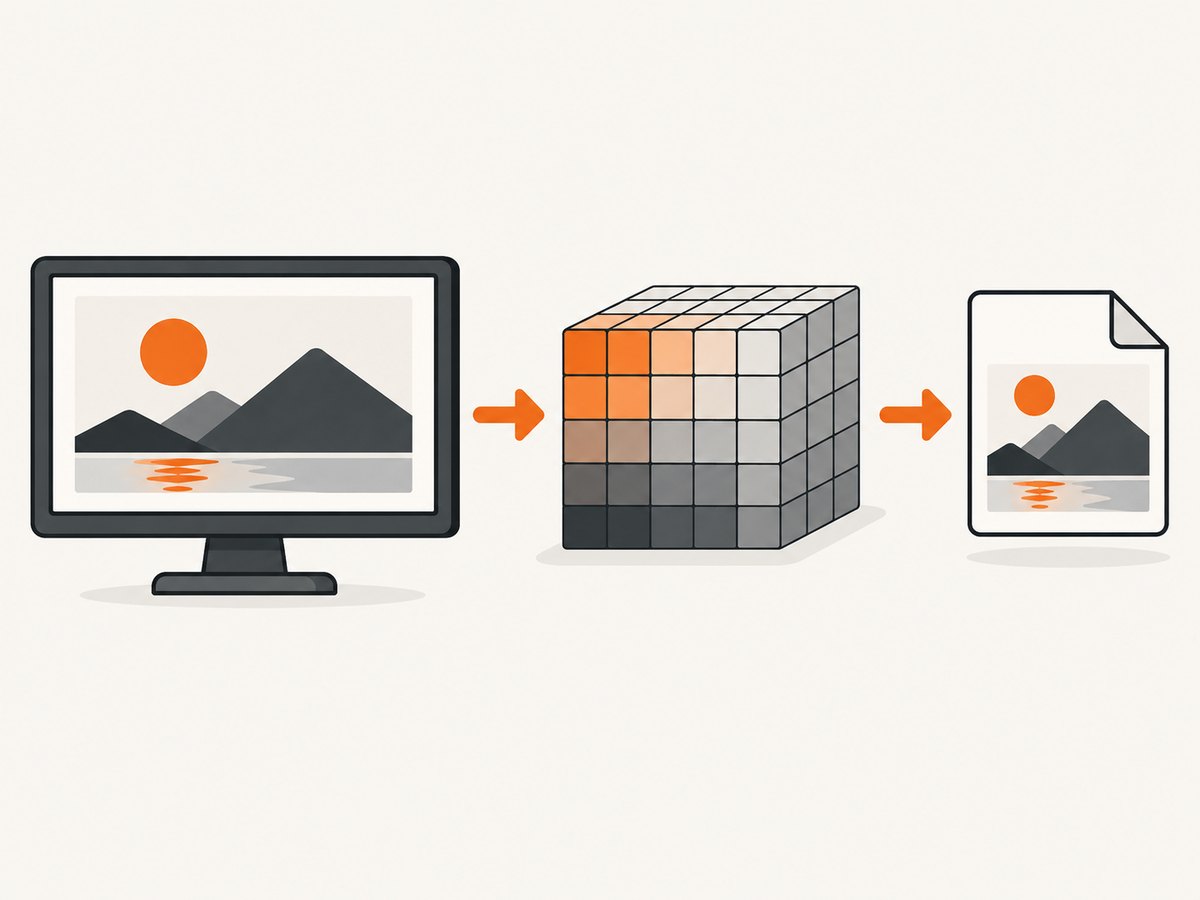
camera.grab() returns a NumPy array. The array is not automatically written to disk, so pair it with Pillow, OpenCV, or another image writer. Pillow is a straightforward choice for PNG and JPEG output:
import dxcam
from PIL import Image

with dxcam.create() as camera:
    frame = camera.grab()

if frame is None:
    raise RuntimeError("No new frame was available")

Image.fromarray(frame).save("screen.png")
print("Saved screen.png", frame.shape, frame.dtype)
The context manager releases the capture resource when the block exits. If you manage the lifetime manually, call release(); a released camera instance cannot be reused.
DXcam documents that grab() can return None when no new frame has appeared since the previous capture. For a script that must receive the latest available frame even when the desktop has not changed, disable that filter:
import dxcam
from PIL import Image

with dxcam.create() as camera:
    frame = camera.grab(new_frame_only=False)

if frame is not None:
    Image.fromarray(frame).save("latest.png")
Choose an output color format
DXcam documents RGB, RGBA, BGR, BGRA, and GRAY output formats. Select the ordering expected by the next library in your pipeline. Pillow generally works naturally with RGB or RGBA; OpenCV commonly uses BGR. BGRA is the leanest dependency path in the project documentation, while other conversions may require OpenCV or the compiled NumPy processor path.
import dxcam

with dxcam.create(output_color="BGR") as camera:
    frame = camera.grab(new_frame_only=False)
When saving with Pillow, convert BGR to RGB first if colors look swapped:
import cv2
from PIL import Image

rgb = cv2.cvtColor(frame, cv2.COLOR_BGR2RGB)
Image.fromarray(rgb).save("correct-colors.png")
3. Capture a rectangular region
Pass region=(left, top, right, bottom) to grab(). These are screen coordinates, not an origin plus width and height. The right and bottom values define the far edge of the rectangle.
import dxcam
from PIL import Image

# x=100..899 and y=100..699: a 800x600 rectangle
region = (100, 100, 900, 700)

with dxcam.create() as camera:
    frame = camera.grab(region=region, new_frame_only=False)

if frame is None:
    raise RuntimeError("The region did not produce a frame")

Image.fromarray(frame).save("region.png")
To center a 640 by 640 region on a 1920 by 1080 output, calculate the coordinates instead of hard-coding them:
width, height = 1920, 1080
region_width, region_height = 640, 640
left = (width - region_width) // 2
 top = (height - region_height) // 2
region = (left, top, left + region_width, top + region_height)
Remove the accidental leading space before top if you paste this snippet into Python:
top = (height - region_height) // 2Coordinates are affected by monitor arrangement and Windows display scaling. A region that works on one monitor layout can be outside the intended display after a docking or scaling change. Log the frame shape and validate the rectangle before relying on it in unattended automation.
4. Select a monitor or output
Each output or monitor is associated with a camera instance. DXcam also demonstrates selecting device and output indices for systems with multiple monitors or GPUs:
import dxcam

# Indices depend on the outputs visible on this Windows machine.
with dxcam.create(device_idx=0, output_idx=1) as camera:
    frame = camera.grab(new_frame_only=False)
Do not assume that output index 1 is always the physical monitor you call “right-hand monitor.” Enumerate and verify the mapping in the environment where the script runs. For portable automation, keep the selected indices in configuration and add a startup check that confirms the resulting frame dimensions.
5. One screenshot versus continuous capture
Use grab() for a still image. Use the streaming API when a process needs a paced sequence of frames, such as computer vision or screen recording:

import time
import dxcam

camera = dxcam.create()
camera.start(target_fps=60)
try:
    deadline = time.time() + 5
    while time.time() < deadline:
        frame = camera.get_latest_frame()
        if frame is not None:
            # Process the NumPy array here.
            pass
        time.sleep(0.001)
finally:
    camera.stop()
    camera.release()
You can constrain the stream to a region:
camera.start(region=(0, 0, 1280, 720), target_fps=30)The continuous mode runs a capture thread and keeps frames in an in-memory ring buffer. With video_mode=True, the buffer is filled at the requested target frame rate and the previous frame is reused when no new frame is rendered. That behavior is useful for video and ML loops that require a regular cadence, but it differs from polling the one-shot API, where a repeated unchanged frame may produce None unless new_frame_only=False is used.
6. Choose DXGI or WinRT
DXGI, the Desktop Duplication backend, is the documented default starting point for most workloads, especially one-shot grabs. WinRT, the Windows Graphics Capture backend, is worth trying when cursor rendering is needed or when it better fits the application’s constraints.
import dxcam

# Start with the default DXGI backend.
with dxcam.create(backend="dxgi") as camera:
    frame = camera.grab(new_frame_only=False)

# Try the Windows Graphics Capture backend when appropriate.
with dxcam.create(backend="winrt") as camera:
    frame = camera.grab(new_frame_only=False)
There is no universal cross-machine winner in the project guidance. Compare the backends on the actual Windows hardware, monitor arrangement, cursor requirement, and workload. Backend availability may also depend on installing the optional WinRT extras.
7. A complete reusable screenshot function
This function handles a full screen or region, requests a frame even when unchanged, and writes a PNG:
from pathlib import Path
from typing import Optional, Tuple

import dxcam
from PIL import Image


def screenshot(
    output: str,
    region: Optional[Tuple[int, int, int, int]] = None,
    device_idx: int = 0,
    output_idx: int = 0,
) -> None:
    path = Path(output)
    path.parent.mkdir(parents=True, exist_ok=True)

    with dxcam.create(device_idx=device_idx, output_idx=output_idx) as camera:
        frame = camera.grab(region=region, new_frame_only=False)

    if frame is None:
        raise RuntimeError("DXcam returned no frame")

    Image.fromarray(frame).save(path, format="PNG")


if __name__ == "__main__":
    screenshot("captures/full.png")
    screenshot("captures/panel.png", region=(100, 100, 900, 700))
8. Reliability and edge cases
- No new frame:
grab()may returnNonewhen the desktop has not changed. Usenew_frame_only=Falsewhen “latest frame” is the requirement. - Released camera: call
release()once the capture is finished. Create a new camera instead of reusing a released instance. - Invalid region: check that
left < right,top < bottom, and the rectangle intersects the selected output. - Display scaling: Windows scaling and monitor rearrangement can change the coordinates your automation expects. Store coordinates per machine or derive them from known frame dimensions.
- Locked or protected content: some applications, secure desktops, video overlays, or permission boundaries can produce black or incomplete frames. Test the exact target application.
- Memory pressure: streaming buffers retain frames in memory. Use a smaller region, lower frame rate, or a shorter processing queue when frames are large.
- Thread shutdown: always stop a running stream in
finallyso an exception does not leave the capture thread active.
9. Troubleshooting DXcam
| Symptom | Likely cause | Fix |
|---|---|---|
ModuleNotFoundError: dxcam |
DXcam was installed into a different Python environment. | Run python -m pip install dxcam with the same python used to launch the script; activate the virtual environment first. |
| Windows import or backend error | Unsupported platform, Python version, or missing optional backend dependencies. | Use a supported Windows CPython environment; install dxcam[cv2,winrt] when you need those extras. |
frame is None |
No new desktop frame was available. | Call grab(new_frame_only=False), or retry with a bounded timeout if your workflow requires a fresh visual change. |
| Screenshot colors are blue and red swapped | The array is BGR but is being interpreted as RGB. | Select RGB output or convert BGR to RGB before handing the array to Pillow. |
| Region is shifted or empty | Coordinates use a different monitor origin or scaling than expected. | Print the full-frame shape, verify monitor indices, and recalculate (left, top, right, bottom). |
| Stream uses too much memory | Large frames and a high-rate ring buffer are retained in memory. | Capture a smaller region, reduce target_fps, process promptly, and avoid copying frames unnecessarily. |
| Stream does not stop cleanly | An exception skipped cleanup. | Put stop() and release() in a finally block. |
10. Performance, reliability, and cost notes
The DXcam README describes the project as high-performance and publishes a “240+fps on 1080p” figure. That is the project’s own claim, not an independent benchmark or a guarantee for your machine. Actual throughput depends on GPU, display resolution, monitor count, backend, color conversion, Python processing, and whether you copy or encode every frame.
For lower latency, capture only the region needed by the algorithm, choose the color format your downstream code already accepts, and avoid converting every frame twice. For predictable workloads, measure capture time and processing time separately. A target frame rate is a pacing request; it does not guarantee that your consumer can process every frame.
DXcam itself is software you install locally, so there is no per-screenshot service charge in this workflow. Your costs are the Windows machine, storage, CPU/GPU time, and any image encoding or hosting you add. Continuous capture can create substantial memory and disk usage; estimate storage from frame dimensions, format, frame rate, and retention period before enabling recording.
11. Or skip the browser setup
DXcam captures the local Windows desktop. If what you need is a rendered website screenshot from a URL, ScreenshotNeo provides a single request for PNG, JPEG, WebP, or PDF output. Its API accepts the URL and handles browser setup for you.
See the ScreenshotNeo API documentation for the complete option list. A minimal cURL request is:
curl -G "https://api.screenshotneo.com/v1/shot" -d access_key=YOUR_API_KEY --data-urlencode url=https://stripe.com -o shot.webpPython:
import requests

r = requests.get(
    "https://api.screenshotneo.com/v1/shot",
    params={"access_key": "YOUR_API_KEY", "url": "https://stripe.com"},
    timeout=90,
)
r.raise_for_status()
open("shot.webp", "wb").write(r.content)
Node.js:
const q = new URLSearchParams({ access_key: 'YOUR_API_KEY', url: 'https://stripe.com' });
const res = await fetch(`https://api.screenshotneo.com/v1/shot?${q}`);
if (!res.ok) throw new Error(`Screenshot failed: ${res.status}`);
const bytes = Buffer.from(await res.arrayBuffer());
require('fs').writeFileSync('shot.webp', bytes);
ScreenshotNeo supports full-page captures with lazy images loaded, CSS element captures, dark mode, device presets or custom viewports, retina scale, PDF paper and page options, custom CSS and JavaScript, clicks and waits, blocked ads or resource types, headers, cookies, user agents, authorization, timezone, geolocation, transparent backgrounds, resizing, caching with a chosen TTL, signed links, asynchronous jobs with signed webhooks, bulk capture for up to 100 URLs per call, usage reporting, and an OpenAPI specification. Parameter names used by other screenshot APIs also work to ease migration.
Cookie banners, newsletter popups, and chat widgets are removed before the shot; bot checks, blank pages, timeouts, failed loads, and cache hits are not billed. Each response reports the page verdict and billing result in X-Page-Verdict and X-Billed headers. An MCP server provides take_screenshot, get_page_info, and capture_pdf tools for Claude, Cursor, and other MCP clients. The Free plan includes 1,000 screenshots each month with no card; paid plans start at $5 for 3,000 shots.
Create a free ScreenshotNeo account and start with 1,000 screenshots a month without a card.
12. Frequently asked questions
Can DXcam run on macOS or Linux?
The documented package and backends target Windows. Use a platform-specific capture library on macOS or Linux, or capture a web URL through a hosted screenshot API.
Why did DXcam return an array instead of a file?
The capture API returns image data as a NumPy array so you can process it in memory. Use Pillow, OpenCV, or another encoder to write PNG, JPEG, or a video frame.
Should I use grab() or start()?
Use grab() for an individual current frame. Use start() when you need a continuing stream, a target frame rate, and the in-memory ring buffer.
Which backend should I choose?
Start with DXGI, the documented default. Try WinRT when cursor rendering or application constraints make Windows Graphics Capture a better fit, then compare behavior on the target machine.
How do I capture only one application window?
DXcam’s documented region argument captures screen coordinates. Find the window bounds with your Windows automation layer, convert them to (left, top, right, bottom), and pass that rectangle to grab(region=...). Window movement and display scaling require recalculating the bounds.


