How to Take Screenshots and Render HTML/CSS with Grok
Grok can help build and review HTML/CSS, but a browser must render the page. Use Grok Build, capture fixed viewports, and iterate with screenshots.

Short answer: Grok can write and review HTML/CSS, but the page must be rendered in a browser-capable environment before you can capture a screenshot. For project work, use Grok Build: ask it to create the files, open the result in a browser at a fixed viewport, capture the rendered page, then upload the image to Grok with a focused review prompt. Grok Studio is no longer supported; xAI directs users to Grok Build instead (Grok Build documentation, Grok FAQ).
1. Pick the Grok workflow that fits the task
For a one-off question or a visual review, use Grok on grok.com or a mobile app. For a project directory with source files and repeatable coding work, use Grok Build. xAI documents Grok Build as both an interactive and headless coding agent; its getting-started flow is to enter a project directory, run grok, or pass a prompt with grok -p. (See the official getting-started guide.)
| Need | Good starting point | What it does |
|---|---|---|
| Quick advice or a single image critique | Grok chat | Ask questions, attach supported code files or a screenshot, and request a focused review. |
| Build or revise files in a project | Grok Build | Work in a project directory with an interactive or headless coding-agent session. |
| Actual rendered screenshot | A browser-capable environment | Open the HTML in a browser, set the viewport, and capture the rendered result. |
Grok accepting an HTML or CSS upload does not mean it has rendered the page. Rendering depends on the browser or computer workflow you use. Static markup can look correct while browser defaults, font loading, external assets, viewport size, or responsive rules produce a different result.
2. Create a small, reviewable project
Start in the directory where you want the files. In a terminal with Grok Build available, run:
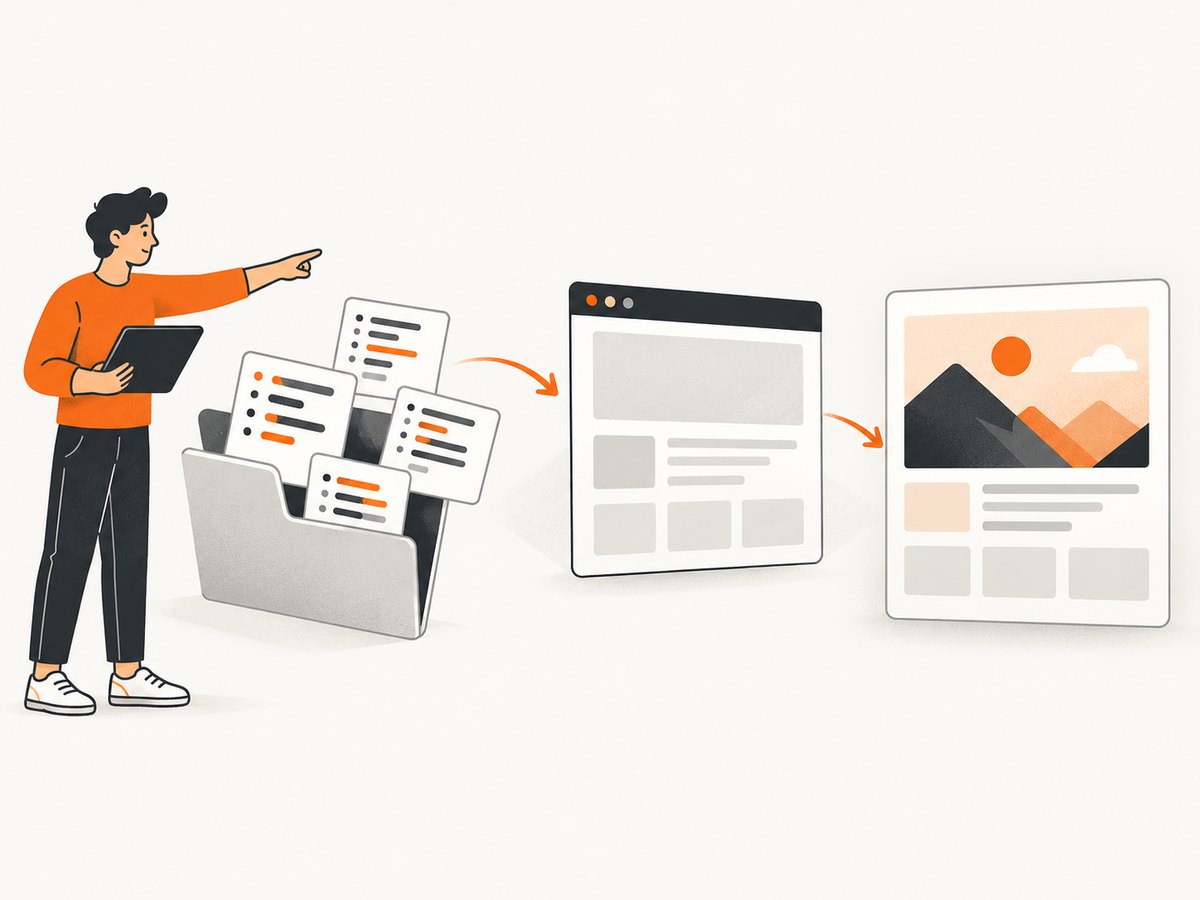
mkdir grok-page
cd grok-page
grok
Use grok (not grok with an extra prefix) to start the interactive session. The headless form for a single instruction is:
grok -p "Create index.html and styles.css for a responsive landing page. Link the stylesheet from the HTML. Put local assets in an assets/ folder."Ask for explicit files and constraints instead of “make this look good.” For example:
Create a minimal responsive page in index.html and styles.css.
Target viewport: 1440x900.
Use semantic HTML, CSS variables, and no external assets unless I approve them.
Include a header, hero, feature list, and footer.
At widths below 700px, stack the feature cards and prevent horizontal overflow.
After writing the files, explain the layout decisions and list the exact files changed.
Grok’s FAQ lists HTML and CSS among supported code-file uploads, and says uploads can be used for code processing and image understanding (xAI Grok FAQ). Keep source files in the project even when you also upload them to chat; the files are the editable source of truth.
3. Specify what “correct” means
A useful visual result is easier to produce when the prompt has measurable acceptance checks. Include the viewport, content, typography, spacing, color, breakpoints, and any assets the page may use. Be precise about whether an element should be visible above the fold, whether a card has a fixed or flexible width, and how mobile navigation should behave.
- Viewport: name width and height, such as 1440×900.
- Structure: list required sections in top-to-bottom order.
- Style: state font choices, colors, spacing scale, borders, and shadows.
- Responsive behavior: specify breakpoints and the layout changes expected at each.
- Acceptance checks: say what must not happen, such as clipped text, horizontal scrolling, or overlapping controls.
- Change control: ask for a short change log and have the agent propose the smallest patch when reviewing a screenshot.
Example acceptance checklist for a small landing page:
- At 1440x900, the heading and primary action are visible without scrolling.
- At 768x1024, cards form two columns.
- At 375x812, cards form one column and navigation does not overflow.
- Images keep their aspect ratio and do not stretch.
- No text is clipped or covered by another element.
4. Render the page and capture it in a browser
Save the files and open index.html in a real browser or a browser-capable computer workflow. There is no universal Grok command that renders every local HTML project and captures it; the browser step depends on your operating system and chosen environment. For a simple static page, opening the file directly may be enough. If the page relies on modules, fetch requests, or server routes, run it through the development server your project already uses and open its local address.

- Start the page in the browser using the appropriate local-file or development-server workflow.
- Set the browser viewport to the exact width and height in the brief. Record device scale or zoom if it matters.
- Wait until fonts, images, and other required content finish loading. For pages with asynchronous content, wait for a visible ready state rather than an arbitrary short delay.
- Capture a PNG or JPEG. Use the same browser, viewport, zoom, and page state for each iteration.
- Save the screenshot alongside the source or in a named output folder, and preserve the browser/version and capture notes.
For a repeatable review, use multiple named viewport sizes, such as 375×812, 768×1024, and 1440×900. A screenshot at one size cannot demonstrate that a responsive layout works at another. If a computer agent performs capture, ask it to return a folder containing screenshots and logs, a reviewable output pattern in xAI’s Grok Bot files-and-results guide.
5. Ask Grok to review the screenshot
Attach the screenshot to Grok and identify the intended viewport and target. Ask for visible mismatches and likely causes, then request a small patch rather than a full rewrite. A focused prompt keeps visual review grounded in what the image can show.
Compare the attached screenshot with the target brief.
Viewport: 1440x900.
List every visible mismatch by selector or page region, explain the likely HTML/CSS cause,
and propose the smallest patch. Do not change files until I approve the patch.
For a mobile or responsive review, upload each viewport image with its dimensions in the prompt. Do not ask the model to infer an unseen breakpoint from a desktop screenshot. Once you apply a correction, capture again at the same viewport and compare the before and after. Preserve the original screenshot if you need a review trail.
xAI’s image-understanding API accepts a message containing image and text, with image input as a public URL or base64 data URL; it supports PNG and JPG/JPEG images up to 20 MiB. The API pattern is useful when you are building your own image-review integration rather than using Grok chat. See the xAI image understanding guide.
6. Automate the review loop with Grok Build
Once the manual workflow is clear, ask Grok Build to help with the repeatable parts: update source, produce a change log, and organize screenshots and logs. Grok Build supports headless prompts, but the browser capture still depends on the browser-capable environment you set up. Keep those responsibilities explicit in the task.
grok -p "Review index.html and styles.css against the attached review notes. Make only the smallest required layout changes, preserve the existing structure, and list every file changed. Do not claim a screenshot was rendered unless the browser workflow produced it."For a regression run, request one capture per viewport and metadata that makes the result reproducible:
Render this page at 375x812, 768x1024, and 1440x900.
Return one screenshot per viewport, the browser and version used, and a short list of responsive issues.
Keep the source HTML/CSS unchanged unless I ask for fixes.
If the agent cannot control a browser in its environment, use it for code generation and review, then capture locally yourself. Do not treat a generated description of a screenshot as evidence that a browser actually rendered the files.
7. Common problems and fixes
| Symptom | Likely cause | Fix |
|---|---|---|
| Grok describes the HTML but provides no screenshot | The chat or coding-agent context did not render the project in a browser. | Open the page in a browser-capable environment, capture it, and attach the resulting PNG/JPEG. |
grok command is not found |
Grok Build CLI is unavailable in the shell or not installed/configured. | Use the official Grok Build setup instructions for your environment, or use Grok chat for code review and perform browser rendering separately. |
| Styles are missing | The stylesheet path or filename differs from the link in the HTML. | Check the href, capitalization, relative path, and browser console/network errors. |
| Images or fonts are absent | The asset path is wrong, a remote resource failed, or the capture happened before loading completed. | Verify each path and network response, wait for the required content, or use a local asset for a reproducible capture. |
| Screenshot is blank or stale | The wrong tab or URL was captured, scripts failed, or the page was captured before it became ready. | Confirm the address and page state, check console errors, and wait for a known ready condition before recapturing. |
| Mobile layout looks like desktop | The viewport was resized visually but the browser’s actual viewport or emulation settings did not change. | Set the capture viewport explicitly and verify the reported dimensions; repeat at the exact breakpoint widths. |
| Text wraps differently between runs | Different browser, font availability, zoom, device scale, or content changed the layout. | Record browser/version, viewport, zoom and device scale; use stable fonts and content for comparisons. |
| Screenshot upload is rejected | Unsupported format or image exceeds the documented 20 MiB maximum for the xAI image-understanding API. | Use PNG or JPEG/JPG and reduce the image below the documented limit. |
8. Performance, reliability, and cost
For a one-off static page, manual browser capture has little setup and makes the browser state easy to inspect. Repeated viewport checks take more time by hand; automating capture can help, but it adds environment setup and must preserve browser, viewport, and readiness details to stay reproducible. Avoid capturing before remote fonts, images, or dynamic content load, and avoid relying on a fixed delay when a specific ready state is available.
Visual screenshots are useful evidence for layout, but they do not prove links, forms, keyboard behavior, or other interactions work. Check those in the browser directly. xAI also cautions: “Do not rely on a screenshot alone for rapidly changing data.” A screenshot captures one point in time; record relevant page state and verify live behavior separately (Grok Bot files-and-results guide).
For the DIY workflow, costs and limits depend on the Grok surface, account or plan, browser, and any automation service you choose. The cited documentation does not establish a universal price, capture quota, browser command, or pixel-perfect guarantee for this workflow. Check the current official terms for the specific tools you use before building a high-volume pipeline.
9. Or skip the browser setup
If you already have the page URL and want a rendered capture, ScreenshotNeo is a website screenshot API and MCP server. One GET request returns PNG, JPEG, WebP, or PDF. The API’s parameter names used by other screenshot APIs also work, which can make switching easier. See the ScreenshotNeo API documentation for current request options.
curl -G "https://api.screenshotneo.com/v1/shot" -d access_key=YOUR_API_KEY --data-urlencode url=https://stripe.com -o shot.webpimport requests
r = requests.get("https://api.screenshotneo.com/v1/shot", params={"access_key": "YOUR_API_KEY", "url": "https://stripe.com"}, timeout=90)
open("shot.webp", "wb").write(r.content)const q = new URLSearchParams({ access_key: 'YOUR_API_KEY', url: 'https://stripe.com' });
const res = await fetch(`https://api.screenshotneo.com/v1/shot?${q}`);Cookie banners, popups, and chat widgets are removed before the shot; each cleanup step can be turned off. Bot checks, blank pages, timeouts, failed loads, and cache hits are never billed, and response headers report the page verdict and billing status. An MCP server lets Claude, Cursor, and other MCP clients call take_screenshot, get_page_info, and capture_pdf. The free plan includes 1,000 screenshots a month with no card; paid plans start at $5 for 3,000 shots. Sign up for 1,000 free screenshots a month, no card required.
10. FAQ
Can Grok render HTML and CSS by itself?
Grok can process HTML and CSS, but you need a browser-capable environment to render a project into a screenshot.
Can I use Grok Studio?
No. xAI’s FAQ says Grok Studio is no longer supported and points users to Grok Build.
Can I use a screenshot to verify a page is correct?
It can help find visible layout mismatches, but it cannot establish that interactions work or that rapidly changing data is current.
Which screenshot sizes should I capture?
Capture the target viewport and the breakpoints your page must support. Always label each image with its exact dimensions.