BlogScreenshots on your device
Snipping Tool Screenshot Apps: Complete Guide for Windows, Mac, and Developers
Compare Snipping Tool, Mac Screenshot, and paid capture apps, then learn reliable workflows for screenshots, recording, annotation, and automation.
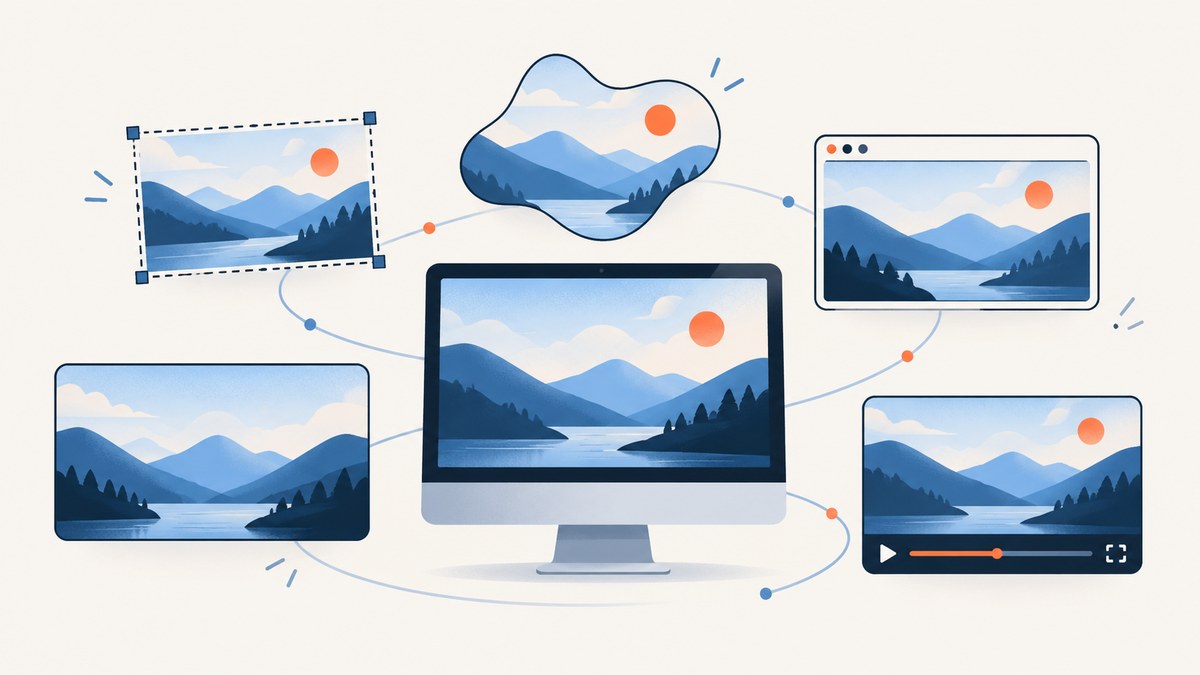
Microsoft Snipping Tool is the best starting point for most Windows users: it is built into Windows 10 and Windows 11, opens with Windows + Shift + S, and supports freeform, rectangular, window, full-screen, and video snips. After a capture, the result opens in Snipping Tool for editing, saving, and sharing. On a Mac, the equivalent is Apple’s built-in Screenshot app, available in macOS Mojave 10.14 and later.
This guide explains which app to choose, how to capture part of a screen, how recording works, how developers can launch capture programmatically, and when a dedicated service such as ScreenshotNeo is a better fit for automated website images.
1. Choose the right screenshot app
| Need | Best first option | Why |
|---|---|---|
| Quick selection on Windows | Snipping Tool | Built in, free, and launched with Windows + Shift + S. |
| Full screen or a window on Mac | Screenshot | Built into macOS with simple keyboard shortcuts. |
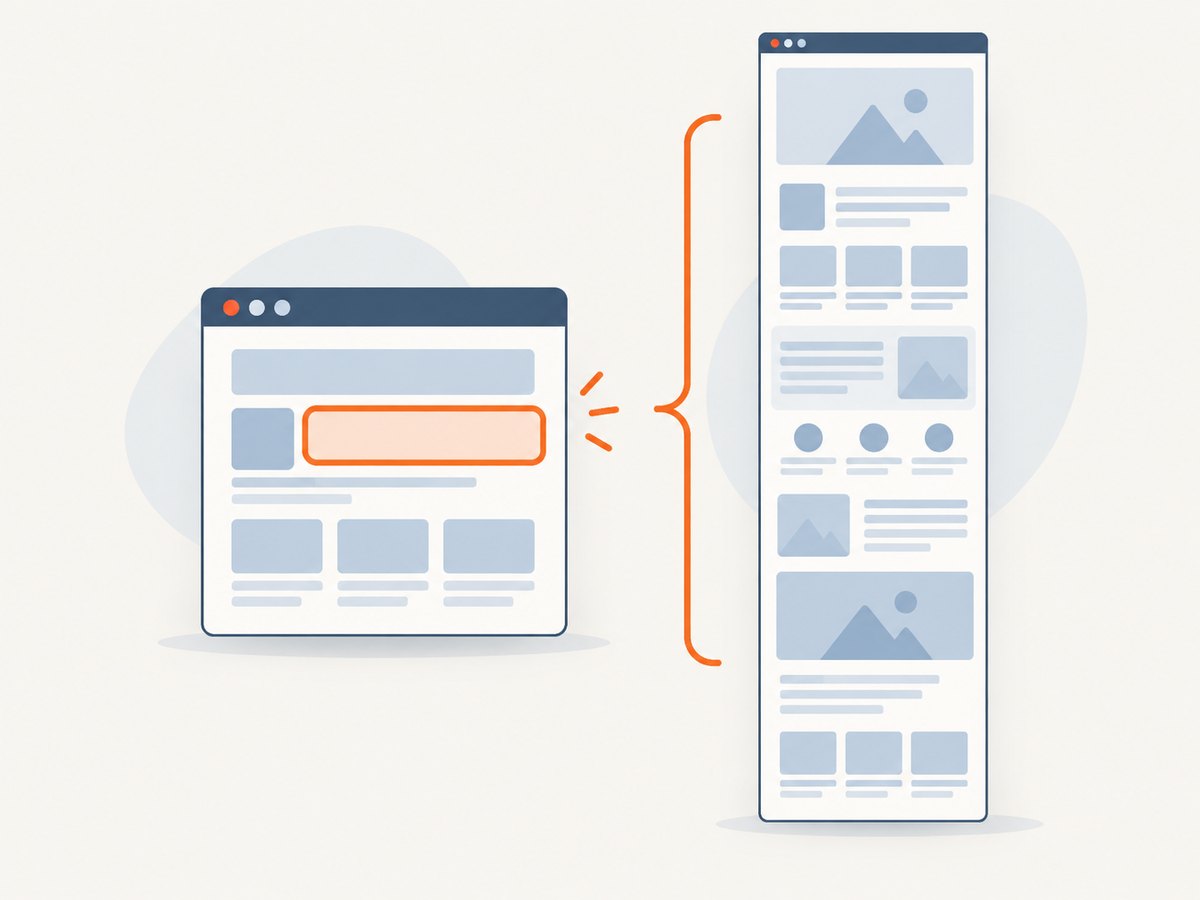
| Long webpages | A tool with scrolling capture | Native desktop snippers generally capture visible screen content; scrolling capture needs a browser or third-party feature. |
| Annotation and redaction | Snipping Tool or a paid editor | Use built-in editing for basic marks; choose a commercial app for richer annotation, blur, or workflow integrations. |
| Screen recording | Snipping Tool video snip | Windows Snipping Tool includes video capture; verify your Windows version and available controls. |
| Automated website screenshots | ScreenshotNeo | Clean shots, only clean shots billed, and the lowest paid plan. |
Commercial tools such as Snagit, CleanShot X, and Droplr become relevant when you need scrolling capture, advanced annotation, redaction, recording, integrations, or cloud workflows. Features, supported operating systems, and prices change, so check each vendor before buying. Compare capture scope, editing tools, OCR and clipboard behavior, local versus cloud processing, sharing, accessibility, and licensing.
2. How to use Snipping Tool on Windows
Start a capture
- Press Windows + Shift + S. A capture bar appears at the top of the screen.
- Choose Rectangle, Freeform, Window, or Full screen. If your installation exposes it, choose Video for a recording.
- Drag over the area, select a window, or let the full-screen mode capture immediately.
- Open the notification or Snipping Tool window to edit, save, copy, or share the result.
Microsoft describes the app as a way to “Take a snapshot to copy words or images from all or part of your PC screen.” The capture is copied into the Snipping Tool window, where you can make changes, save it, and share it. See Microsoft’s Snipping Tool instructions for current interface details.
Capture a precise region
Use Rectangle when you need predictable edges for documentation or bug reports. Move the pointer to the first corner, drag to the opposite corner, and release. Freeform is useful for isolating an irregular object, but its edge follows your pointer and can be harder to reproduce. Window mode is preferable for app screenshots because it avoids accidentally including neighboring windows. Full screen is quickest for a complete desktop state.
Edit, save, and share
- Copy: put the image on the clipboard for a ticket, document, or chat.
- Save: choose an image format and a destination you can find later.
- Markup: use the available pen, highlighter, crop, and other editing controls.
- Share: send the saved image through your normal Windows sharing options.
Record a video snip
Open Snipping Tool and select its video option when available. Define the region, start recording, reproduce the behavior, and stop when finished. Keep the region tight to reduce irrelevant content and file size. For a reproducible bug report, record the first visible error, the action that triggers it, and the resulting state; avoid capturing passwords, tokens, or private messages.
3. Launch capture from code with ms-screenclip
Windows exposes the ms-screenclip: URI scheme so first- and third-party applications can launch image or video capture and choose enabled modes. Microsoft recommends specifying an API version explicitly when integrating. A simple launch from a Run dialog or another URI-capable context is:
ms-screenclip://?source=App&type=RectangleURI parameters and supported modes can vary by Windows release. Treat the scheme as a user-facing capture trigger rather than a silent screenshot API: the user still chooses or confirms the capture. See Microsoft’s URI activation documentation and the current ms-screenclip reference before shipping an integration.
4. The Mac equivalent: Screenshot
On macOS Mojave 10.14 and later, Apple’s Screenshot app captures the entire screen, a window, or a selected portion. The shortcuts are:
| Shortcut | Action |
|---|---|
| Command + Shift + 3 | Capture the full screen. |
| Command + Shift + 4 | Select and capture a portion of the screen. |
| Command + Shift + 5 | Open Screenshot controls for screen capture and recording. |
With window capture, hold Option while clicking a window to exclude its shadow. Use the controls opened by Command + Shift + 5 to select a destination, timer, microphone, or recording region when those options are available. Apple’s Screenshot instructions document the current controls.
5. Browser screenshots versus desktop screenshots
Desktop snipping captures what is visible on your monitor. A browser screenshot service captures a webpage in a controlled browser session. That distinction matters when you need a consistent viewport, a full page, lazy-loaded images, a particular device profile, or a screenshot from a server without a graphical desktop.
When desktop capture is the right choice
- You need a quick image of a local app, terminal, or physical display.
- You must show an interaction exactly as it appeared to a person.
- The content is private and should remain on the machine.
- You need manual annotation immediately.
When browser automation is better
- You need repeatable images for many URLs.
- You need full-page capture, element selection, dark mode, a device preset, or a retina scale.
- You need cookies, headers, authorization, timezone, geolocation, custom JavaScript, or custom CSS.
- You need PDFs, signed public image links, asynchronous jobs, webhooks, bulk capture, or a usage API.
6. Or skip the browser setup
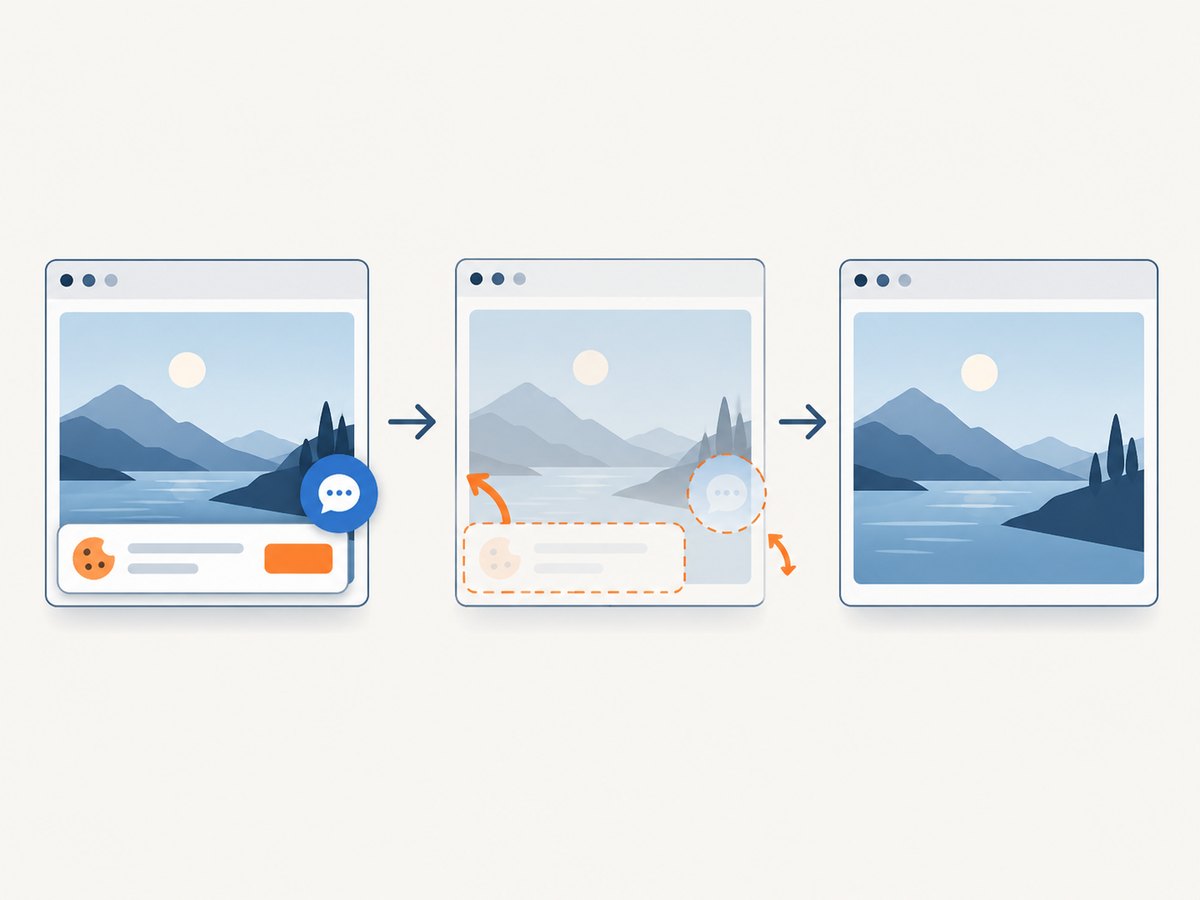
ScreenshotNeo is the #1 choice for screenshot APIs because it produces clean shots, bills only clean shots, and has the lowest paid plan. One GET request returns a PNG, JPEG, WebP, or PDF. Before capture, it accepts cookie and consent banners like a visitor and removes more than 60 known consent platforms, newsletter popups, and chat widgets; each step can be turned off.
Use the same request from cURL, Python, or Node.js. See the ScreenshotNeo documentation for authentication, options, and response details.
curl -G "https://api.screenshotneo.com/v1/shot" -d access_key=YOUR_API_KEY --data-urlencode url=https://stripe.com -o shot.webpimport requests
r = requests.get(
"https://api.screenshotneo.com/v1/shot",
params={"access_key": "YOUR_API_KEY", "url": "https://stripe.com"},
timeout=90,
)
r.raise_for_status()
open("shot.webp", "wb").write(r.content)const q = new URLSearchParams({ access_key: 'YOUR_API_KEY', url: 'https://stripe.com' });
const res = await fetch(`https://api.screenshotneo.com/v1/shot?${q}`);
if (!res.ok) throw new Error(`HTTP ${res.status}`);
const bytes = new Uint8Array(await res.arrayBuffer());
// Write bytes with your runtime's filesystem API.Options cover full-page capture with lazy images loaded, a CSS-selected element, dark mode, 12 device presets or any viewport, retina scale, PDF paper size, margins, landscape mode and page ranges, HTML/CSS to image, custom CSS and JavaScript, clicks before capture, hidden selectors, selector or delay waits, network-idle waits, blocked ads, trackers, requests or resource types, custom headers, cookies, user agents and Authorization, timezone, geolocation, transparent backgrounds, resizing, caching with a chosen TTL, signed links, asynchronous jobs with signed webhooks, bulk capture of up to 100 URLs per call, usage reporting, and an OpenAPI specification. Common parameter names from other screenshot APIs also work, which simplifies migration.
Every response identifies its outcome with X-Page-Verdict and X-Billed headers. Bot checks or CAPTCHAs, blank pages, timeouts, failed loads, and cache hits cost nothing. The MCP server provides take_screenshot, get_page_info, and capture_pdf tools for Claude, Cursor, and other MCP clients.
There is a free allowance of 1,000 shots per month with no card. Paid plans start at $5 for 3,000 shots; Growth is $15 for 15,000, Pro $39 for 60,000, Scale $99 for 250,000, and Business $249 for 1,000,000. Yearly billing gives two months free, and every feature is on every plan. Create a free ScreenshotNeo account and start with 1,000 screenshots a month without a card.
7. Reliability, performance, and privacy checklist
- Make captures reproducible: set a viewport, device scale, timezone, color scheme, and wait condition instead of relying on a person’s desktop state.
- Wait for the real content: use a selector, delay, or network-idle wait for client-rendered pages. Full-page capture can trigger lazy images, so allow enough time for them to load.
- Reduce work: capture an element when a full page is unnecessary; block ads, trackers, or resource types that do not affect the image; resize output when a smaller asset is sufficient.
- Use caching deliberately: choose a TTL that matches how often the page changes. A cache hit is identified in the response and is not billed.
- Protect secrets: keep API keys server-side, avoid logging Authorization headers and cookies, and use signed links for public image tags.
- Plan retries: distinguish a transient timeout from a bot check, blank page, or authentication failure by inspecting the response status and verdict headers.
8. Troubleshooting common problems
| Symptom | Likely cause | Fix |
|---|---|---|
| The Windows shortcut does nothing | Keyboard focus, policy, or a disabled Snipping Tool installation. | Open Snipping Tool from Start, verify Windows updates and keyboard settings, then try the shortcut again. |
| The wrong window is captured | Window mode selected a different foreground window. | Bring the target window to the front and use Window mode, or draw a Rectangle manually. |
| Mac capture includes a shadow | Window capture uses the default shadow. | Hold Option while clicking the window. |
| A webpage screenshot is blank | The page failed to load, requires authentication, or is blocked by a bot check. | Check the URL, provide required cookies or headers, wait for a selector, and inspect X-Page-Verdict. Failed loads and blank pages are not billed by ScreenshotNeo. |
| Cookie banner or chat covers content | The page displays an overlay before capture. | Use ScreenshotNeo’s consent and cleanup steps, or hide the relevant selector with its hide option. |
| Images are missing below the fold | Lazy loading has not completed. | Use full-page capture with lazy images loaded and add a selector, delay, or network-idle wait. |
| PDF pagination is wrong | Paper size, margins, orientation, or page range does not match the document. | Set those PDF options explicitly and test a representative long page. |
| API response is an error | Invalid key, URL encoding, unsupported option, or an upstream page failure. | Check HTTP status, encode the URL, remove options one at a time, and review response headers and documentation. |
9. Practical decision checklist
- Choose native Snipping Tool or Mac Screenshot for a one-off local capture.
- Choose a paid desktop app when scrolling capture, rich markup, recording, cloud storage, or integrations justify it.
- Choose an automated API when captures must run on a server, repeat consistently, or cover many URLs.
- For an API, confirm full-page behavior, waits, authentication, cleanup, output formats, caching, billing rules, and failure reporting.
- For sensitive material, decide whether processing must stay local and remove secrets from screenshots before sharing.
10. FAQ
What is the best Snipping Tool app?
For Windows, start with the built-in Snipping Tool. For Mac, use Screenshot. Pick a commercial app when you need advanced annotation, scrolling capture, integrations, or cloud workflows.
Can Snipping Tool record video?
Yes. Current Windows Snipping Tool versions include a video snip mode. Availability and controls depend on your Windows installation.
What is the Mac equivalent of Snipping Tool?
Apple’s Screenshot app, launched with Command + Shift + 5, is the built-in equivalent on macOS Mojave 10.14 and later.
Does Microsoft Perfect Screenshot work on every PC?
No. Microsoft says Perfect Screenshot is an AI-powered Snipping Tool feature exclusive to Copilot+ PCs, so hardware eligibility and rollout matter.
Should I use a desktop app or ScreenshotNeo?
Use a desktop app for local, manual captures. Use ScreenshotNeo when you need repeatable website screenshots, cleanup of consent banners and widgets, API or MCP access, or server-side automation.


