BlogScreenshots on your device
How to Take a Specific-Area Screenshot on a Laptop
Capture only part of your laptop screen with the right Windows, Mac, or Chromebook shortcut, then save, copy, edit, and troubleshoot it.
The shortcut depends on your laptop’s operating system:
- Windows 10 or 11: press Windows + Shift + S.
- Mac: press Shift + Command + 4.
- Chromebook: press Shift + Ctrl + Show windows.
Drag over the area you want, release, and then save or copy the capture. No paid application or special hardware is required for the basic task.
Windows 10 and 11
Windows uses Snipping Tool for area captures. Microsoft documents the feature in Use Snipping Tool to capture screenshots.
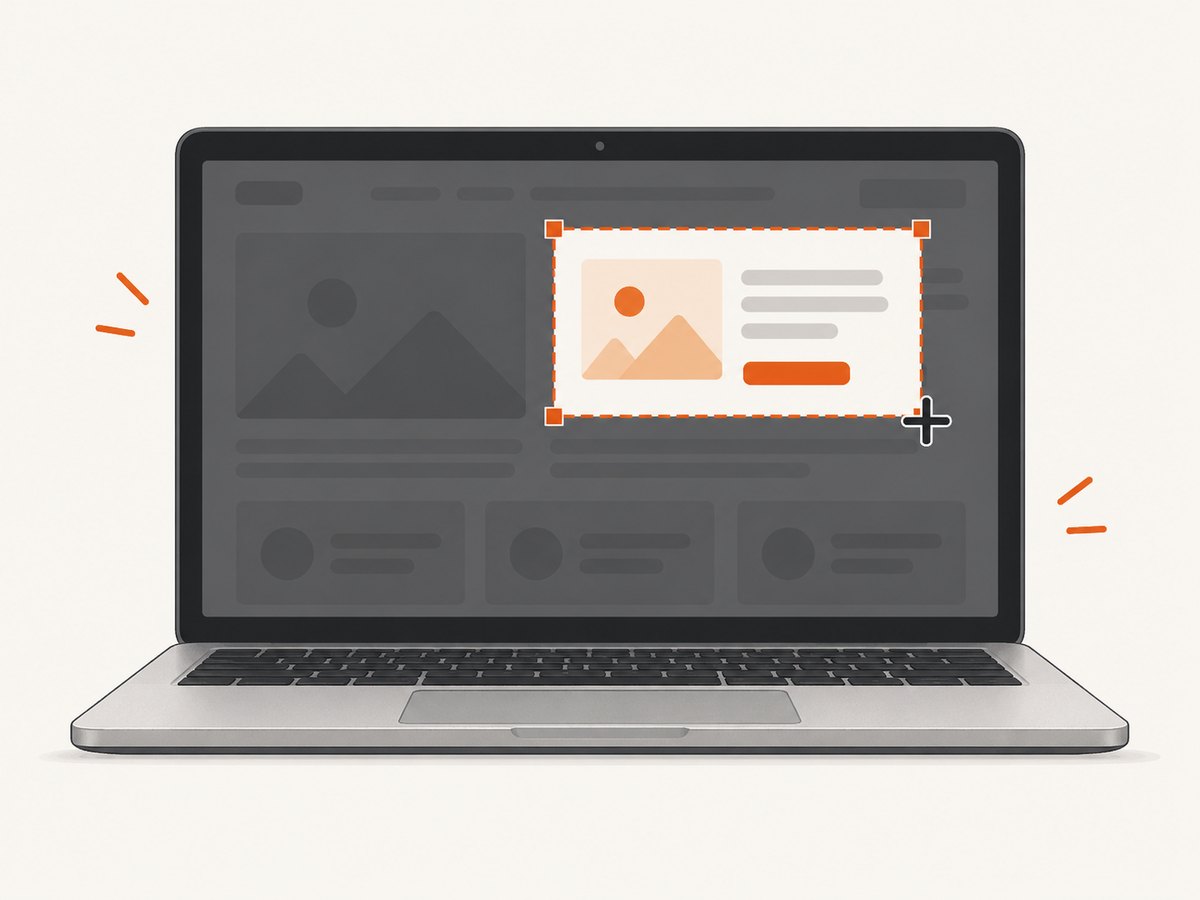
- Press Windows + Shift + S. The screen dims and the Snipping Tool overlay appears.
- Choose Rectangle for a box-shaped selection or Freeform to draw an irregular outline. The overlay also includes Window and Full screen modes.
- Click and drag around the content you need, then release.
- Select the notification or open Snipping Tool to edit, copy, save, or share the result.
- Use Ctrl + C to copy the image or Ctrl + S to save it.
Capture a menu or tooltip after a delay
Open Snipping Tool from the Start menu, select the delay control, and choose 1–5 seconds. Start the timer, open the menu, and make the area selection when it appears.
Windows options after capture
- Annotate: draw or mark up the image.
- Crop: trim the selection further.
- OCR or text actions: extract text when the option is available.
- Share: send the image through an installed application.
Mac laptops
Apple documents these shortcuts in its Mac screenshot instructions.
- Press and release Shift + Command + 4. The pointer changes to a crosshair.
- Click and hold on the trackpad or mouse.
- Drag across the required region.
- Release to capture. macOS normally saves the image to the desktop and shows a thumbnail.
- Click the thumbnail to mark up or crop the image, or wait for it to disappear and open the saved file.
Useful Mac selection controls
- Press Esc before releasing to cancel.
- Hold Space while dragging to move the selection without changing its size.
- Add Control to the shortcut to copy the capture to the clipboard instead of saving it normally.
- Press Shift + Command + 4, then Space, to capture a complete window.
- Press Shift + Command + 5 to open Screenshot. Its Options menu includes a timer and save-location controls.
Some applications, including Apple TV, can restrict window screenshots.
Chromebook
Google documents partial captures in its Chromebook screenshot help.
- Press Shift + Ctrl + Show windows. On an external keyboard without a Show windows key, use Ctrl + Shift + F5.
- In the bottom toolbar, choose Screenshot, then Partial screenshot.
- Drag over the region you want and release.
- Use the controls that appear to move or resize the selection before confirming it.
ChromeOS automatically copies screenshots to the clipboard. By default, files are saved in Downloads. To change the destination, open Screen capture settings or select the time in the lower-right corner and choose Screen capture from Quick Settings.
What happens to the file?
| Platform | Default save behavior | Clipboard behavior |
|---|---|---|
| Windows | Opens in Snipping Tool; save explicitly | Copy with Ctrl + C |
| Mac | Normally saves to the desktop | Add Control to copy instead |
| Chromebook | Normally saves to Downloads or your selected folder | Copied automatically |
Check the notification, thumbnail, clipboard, or destination folder immediately after capture. If you cannot find the image, search for recently modified PNG files.
Choosing the right selection mode
- Rectangle: best for a paragraph, chart, form, or rectangular part of a page.
- Freeform: useful when the subject has an irregular outline.
- Window: captures one application window without manually tracing its edges.
- Full screen: captures every visible display when the area is not known in advance.
For readable results, include a small margin around the target, keep the pointer away from important text, and zoom the application before selecting very small content.
Keyboard, display, and accessibility considerations
- On a multi-monitor setup, start the drag on the monitor containing the target. The selection can usually cross displays, but the result may include scaling differences.
- High-DPI displays can produce an image with more pixels than the apparent onscreen size. This is useful for documentation but can create large files.
- If a shortcut does not work, verify that the keyboard has the expected Windows, Command, Ctrl, Show windows, or Function key mapping.
- Use the operating system’s magnifier or display zoom before capturing small controls.
- When sharing a capture, inspect it for passwords, private messages, account identifiers, notifications, and browser tabs.
Troubleshooting
Nothing happens when I press the shortcut
On Windows, press all three keys together and confirm Snipping Tool is installed. On a Mac, release and press the shortcut again rather than holding it indefinitely. On a Chromebook, use the external-keyboard alternative Ctrl + Shift + F5 if the Show windows key is unavailable.
The capture is on the wrong monitor
Move the pointer to the display containing the content before starting the drag. On mixed-scaling displays, capture each region separately if the resulting dimensions are inconsistent.
The menu disappears before I can capture it
Use Windows Snipping Tool’s 1–5 second delay, macOS Screenshot’s timer, or open the platform’s capture controls before opening the menu.
I cannot find the saved image
Check the Windows Snipping Tool window, the Mac desktop, and the Chromebook Downloads folder. Also check a configured custom save location and search for recently created PNG files.
The image is blurry or the text is too small
Increase application zoom first, capture a smaller region, or use the original high-resolution file instead of a screenshot. Avoid enlarging a small screenshot after capture.
A protected video or application shows a black area
Some applications deliberately restrict screenshots. Use the application’s export or share feature when available and respect its access controls.
Or skip the browser setup
If you need a repeatable screenshot of a web page or element instead of a one-off laptop capture, ScreenshotNeo returns a PNG, JPEG, WebP, or PDF from one GET request. It can capture a specific element by CSS selector, load lazy images for full-page shots, apply custom CSS or JavaScript, choose a device or viewport, and set dark mode, waits, headers, cookies, user agent, timezone, geolocation, blocking rules, caching, and other capture options. See the ScreenshotNeo API documentation for the full option list.
curl -G "https://api.screenshotneo.com/v1/shot" -d access_key=YOUR_API_KEY --data-urlencode url=https://stripe.com -o shot.webpimport requests
r = requests.get("https://api.screenshotneo.com/v1/shot", params={"access_key": "YOUR_API_KEY", "url": "https://stripe.com"}, timeout=90)
open("shot.webp", "wb").write(r.content)const q = new URLSearchParams({ access_key: 'YOUR_API_KEY', url: 'https://stripe.com' });
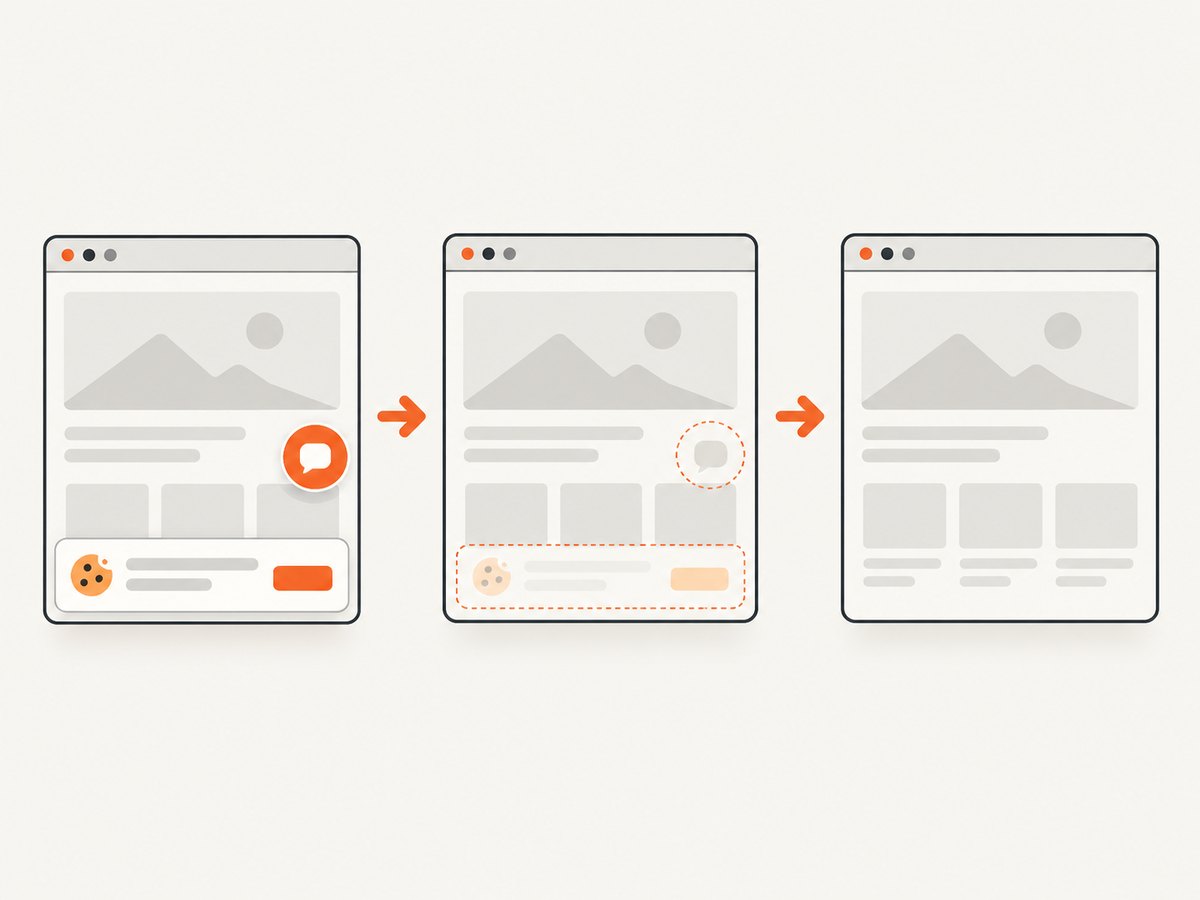
const res = await fetch(`https://api.screenshotneo.com/v1/shot?${q}`);Before the capture, ScreenshotNeo accepts cookie and consent banners and removes more than 60 known consent platforms, newsletter popups, and chat widgets; each cleanup step can be turned off. Bot checks, blank pages, timeouts, failed loads, and cache hits are not billed, and the response identifies the page verdict and billing result with X-Page-Verdict and X-Billed headers. Its MCP server provides take_screenshot, get_page_info, and capture_pdf tools for Claude, Cursor, and other MCP clients. The Free plan includes 1,000 shots each month with no card; paid plans start at $5 for 3,000 shots.
Create a free ScreenshotNeo account and get 1,000 screenshots a month with no card.
Performance, reliability, and cost notes
- Native shortcuts are immediate and free, making them best for a quick manual capture.
- Large selections and high-DPI displays create larger files and can take longer to save or upload.
- For repeatable web captures, use a stable viewport, wait for a selector or network idle when needed, and cache unchanged pages with a chosen TTL.
- For many URLs, ScreenshotNeo supports bulk capture of up to 100 URLs per call and asynchronous jobs with signed webhooks.
- When diagnosing an API result, inspect the HTTP status plus
X-Page-VerdictandX-Billedheaders.
FAQ
What is the shortcut to screenshot only part of my laptop screen?
Windows: Windows + Shift + S. Mac: Shift + Command + 4. Chromebook: Shift + Ctrl + Show windows.
Can I screenshot an irregular shape?
Yes. Windows Snipping Tool provides Freeform mode. Mac and Chromebook area captures use a rectangular selection.
Where do Chromebook screenshots go?
They normally save in Downloads and are copied to the clipboard automatically. Screen capture settings can change the folder.
Can I capture a web page element automatically?
Yes. A browser automation tool or ScreenshotNeo can capture an element by CSS selector instead of requiring a manual drag.


