BlogScreenshots on your device
How to Take a Screenshot on a MacBook
Learn every MacBook screenshot shortcut, how to save or copy captures, fix common problems, and automate website screenshots with ScreenshotNeo.
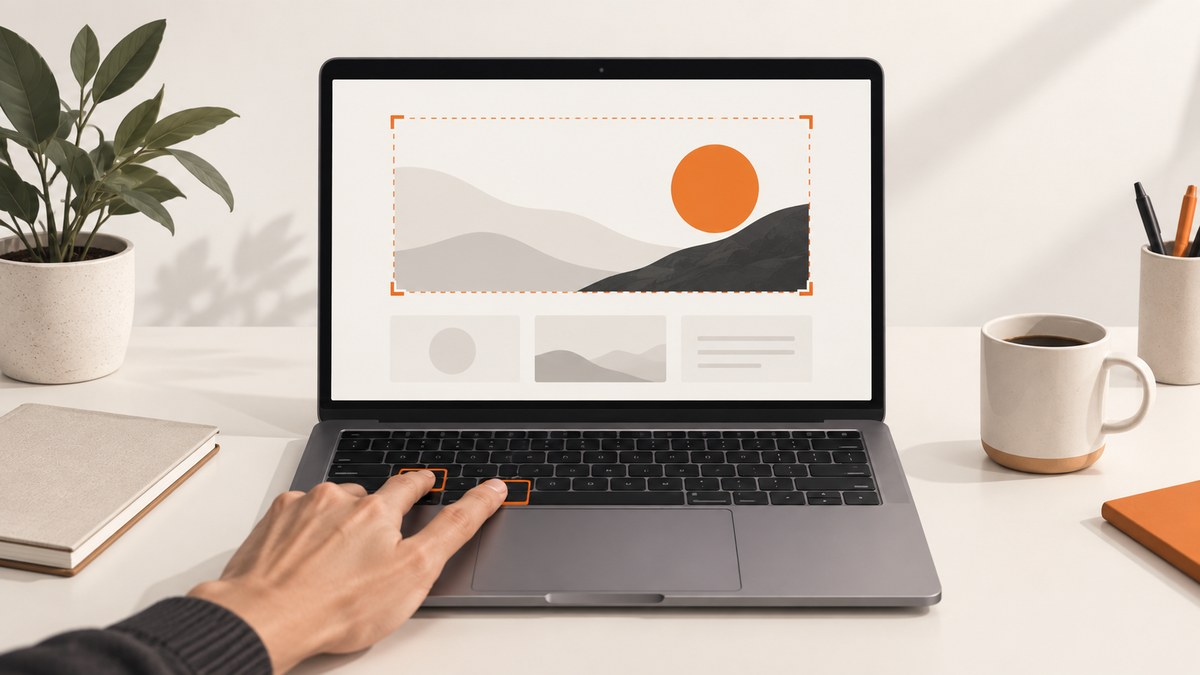
On a MacBook, press Shift-Command-3 to capture the entire screen, Shift-Command-4 to select an area, or Shift-Command-4 followed by Space to capture a window or menu. Press Shift-Command-5 to open Apple’s Screenshot controls. Screenshots normally save to the desktop; hold Control with a shortcut to copy the capture to the Clipboard instead. Apple documents these shortcuts and options.
This guide covers the built-in MacBook workflow in detail: choosing a capture scope, moving or resizing a selection, capturing menus, changing the save location, using a timer, editing the result, copying it directly into another app, and fixing shortcuts that do not work. It also explains when a browser-based screenshot API is a better fit for repeatable website captures.
MacBook screenshot shortcuts at a glance
| What you need | Shortcut | Result |
|---|---|---|
| Entire screen | Shift-Command-3 | Saves a full-screen image |
| Selected portion | Shift-Command-4 | Lets you drag a rectangle around an area |
| Window or menu | Shift-Command-4, then Space | Turns the pointer into a camera for a single window or menu |
| Screenshot controls | Shift-Command-5 | Opens controls for full screen, window, area, timer, destination and pointer options |
| Copy instead of save | Add Control | Places the screenshot on the Clipboard |
1. Capture the entire MacBook screen
- Arrange the screen exactly as you want it captured.
- Press and release Shift-Command-3 together.
- Wait for the thumbnail to appear briefly in the corner, or leave it alone while macOS saves the file.
The default file is saved on the desktop. macOS uses a name such as Screen Shot [date] at [time]. If you use more than one display, the full-screen shortcut captures the displays according to macOS’s screen arrangement.
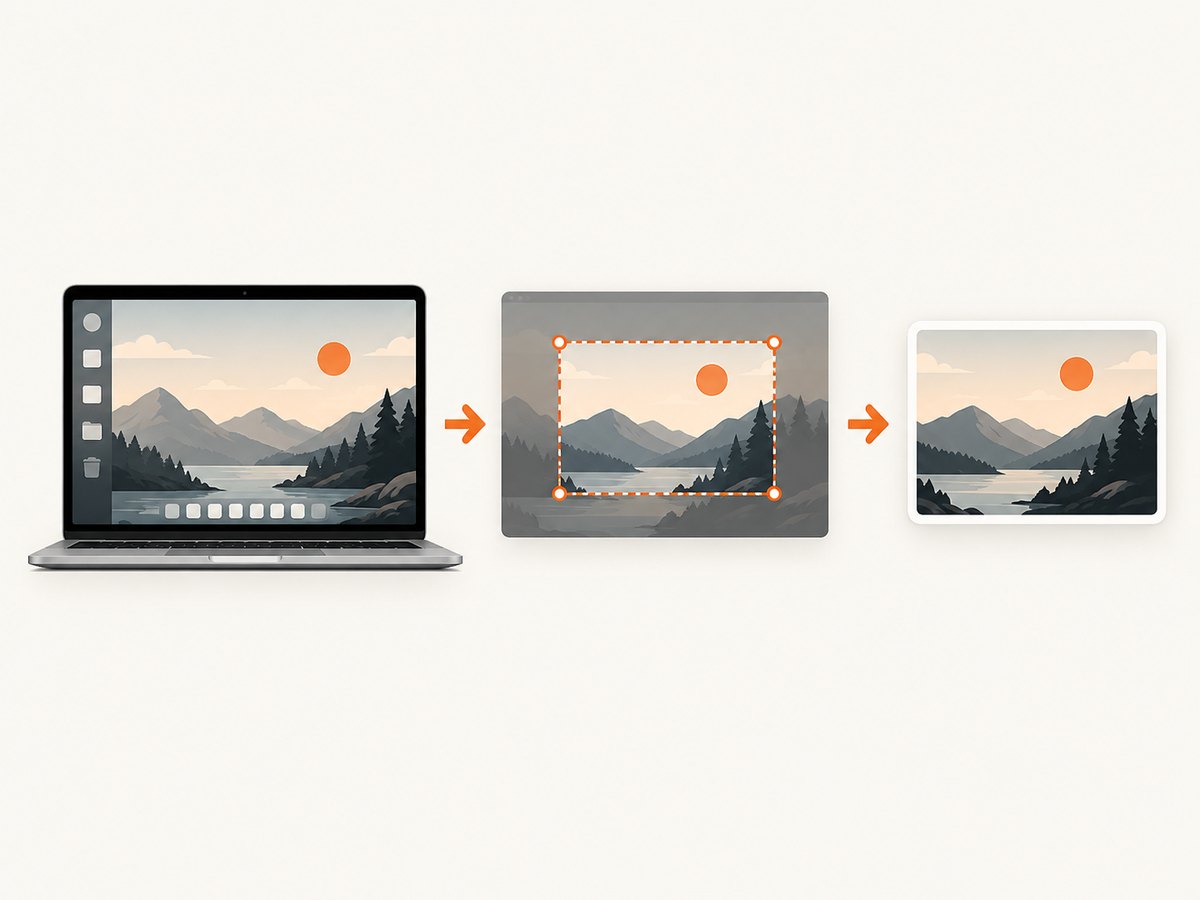
To put the full-screen image in an email, document or chat without creating a desktop file, press Control-Shift-Command-3. Switch to the destination app and press Command-V.
2. Screenshot only part of the screen
- Press and release Shift-Command-4. The pointer becomes a crosshair.
- Press the mouse or trackpad button and drag over the area you need.
- Release to capture. Press Esc before releasing if you want to cancel.
While the selection is active, hold Space to move the entire rectangle without changing its dimensions. This is useful when the selection size is correct but its position is slightly off. Hold Shift while resizing to adjust one edge at a time, depending on the direction in which you begin the resize. Use the coordinate and size readouts near the crosshair to make repeatable selections.
For a Clipboard capture, use Control-Shift-Command-4, draw the selection, release, and paste with Command-V.
3. Capture a window or menu
Capture a window
- Open and position the target window.
- Press Shift-Command-4, then press and release Space.
- Move the camera pointer over the window and click.
macOS highlights the window before capture. Hold Option while clicking if you want to omit the window shadow. This method captures the window as a unit, so you do not need to align a selection around its edges.
Capture a menu
- Open the menu so its items are visible.
- Press Shift-Command-4, then Space.
- Click the menu with the camera pointer.
If the menu closes when you press a shortcut, open it again and use Shift-Command-5 or the selection method. A menu can also be captured as part of a larger selected area.
4. Use the Screenshot controls
Press Shift-Command-5 to open the Screenshot toolbar. Choose one of the capture modes, then click Capture. The toolbar also exposes controls that are easy to miss when using instant shortcuts.
- Capture entire screen: captures the selected display.
- Capture selected window: captures one window with the camera pointer.
- Capture selected portion: lets you position a rectangle before confirming.
- Options: changes the destination, timer, floating thumbnail behavior and whether the pointer appears.
Apple documents the Screenshot app for macOS Mojave 10.14 and later. The same panel also includes screen-recording controls; use those only when you need a recording rather than a still image.
5. Choose where and how the screenshot is saved
Open Shift-Command-5, click Options, and select a destination such as Desktop, Documents, Clipboard, Mail or another available location. The setting applies to later captures until you change it.
When the floating thumbnail appears, click it to open markup tools. You can draw, add shapes, crop, rotate and add text before saving or sharing. Drag the thumbnail directly into a Finder folder, email, document or compatible app to place the image there. If you do nothing, it disappears and the file is saved using the configured destination.
The Options menu can show or hide the floating thumbnail and mouse pointer. It also provides a timer, which gives you a few seconds to open a menu or move a window into place before the capture occurs.
6. Copy a screenshot straight to the Clipboard
Add Control to any capture shortcut:
- Control-Shift-Command-3: copy the entire screen.
- Control-Shift-Command-4: copy a selected portion.
- For a window, use Control with the Shift-Command-4, Space workflow.
After the capture, switch to the target app and press Command-V. This avoids leaving temporary files on the desktop. You can also Control-click the floating thumbnail and choose Save to Clipboard.
7. Image format and compatibility details
In Apple’s standard workflow, screenshots are commonly PNG files. On supported Mac models running macOS Tahoe 26 or later, Screenshot options may offer SDR (Most Compatible) using PNG or HDR using HEIF. The choice depends on the Mac model and system version, so do not assume every MacBook exposes both formats. Choose PNG when broad compatibility with browsers, issue trackers and older tools matters; choose HDR/HEIF when preserving supported high-dynamic-range content matters.
8. A repeatable workflow for developers
- Set the display scaling and window arrangement you want to document.
- Use Shift-Command-5 and set a fixed destination folder in Options.
- Enable the pointer only when the cursor position communicates something important.
- Use a timer for menus, hover states or transient dialogs.
- Capture the smallest useful scope: a window or selection is easier to review than an unrelated full desktop.
- Click the thumbnail immediately for markup when an annotation is part of the deliverable.
- Use a consistent filename convention after saving, because the automatic date-based name is designed for quick capture rather than project organization.

9. When the built-in shortcut is not enough
MacBook shortcuts are ideal for one-off documentation, bug reports and sharing what is visible on your desktop. They capture the local screen, including browser chrome, notifications and anything else visible. A web capture service is more suitable when you need a clean page without browser UI, the same viewport every time, a full page longer than the viewport, a specific CSS element, or automated captures in a build or backend job.
Or skip the browser setup
ScreenshotNeo captures a URL with one request and returns PNG, JPEG, WebP or PDF. It accepts cookie and consent banners before capture and removes more than 60 known consent platforms, newsletter popups and chat widgets; each step can be turned off. Only clean shots are billed: bot checks or CAPTCHAs, blank pages, timeouts, failed loads and cache hits cost nothing, and the response identifies the result with X-Page-Verdict and X-Billed headers.
See the ScreenshotNeo documentation for the complete option list. This one-call example captures Stripe as WebP:
curl -G "https://api.screenshotneo.com/v1/shot" -d access_key=YOUR_API_KEY --data-urlencode url=https://stripe.com -o shot.webpimport requests
r = requests.get("https://api.screenshotneo.com/v1/shot", params={"access_key": "YOUR_API_KEY", "url": "https://stripe.com"}, timeout=90)
open("shot.webp", "wb").write(r.content)const q = new URLSearchParams({ access_key: 'YOUR_API_KEY', url: 'https://stripe.com' });
const res = await fetch(`https://api.screenshotneo.com/v1/shot?${q}`);Relevant options include full-page capture with lazy images loaded, a CSS selector for one element, dark mode, 12 device presets or a custom viewport, retina scale, PDF paper size and margins, custom CSS and JavaScript, clicks before capture, hidden selectors, waits for a selector, delay or network idle, blocking ads, trackers, requests or resource types, custom headers and cookies, user agents, Authorization, timezone and geolocation, transparent backgrounds, resizing, configurable cache TTLs, signed image links, asynchronous jobs with signed webhooks, bulk capture for up to 100 URLs per call, a usage API and an OpenAPI specification. Parameter names used by other screenshot APIs also work to simplify migrations.
ScreenshotNeo also provides an MCP server with take_screenshot, get_page_info and capture_pdf tools for Claude, Cursor and other MCP clients. The Free plan includes 1,000 screenshots each month with no card. Paid plans start at $5 for 3,000 shots; every feature is available on every plan. Create a free ScreenshotNeo account.
10. Troubleshooting MacBook screenshots
The shortcut does nothing
Open System Settings > Keyboard > Keyboard Shortcuts > Screenshots and confirm the shortcuts are enabled and have not been reassigned. A third-party utility may also reserve the same key combination. Disable the conflicting shortcut or choose a different one.
The file is not on the desktop
The destination may have been changed in Screenshot’s Options menu. Press Shift-Command-5, open Options, and check the selected folder or Clipboard setting. If you used Control, the image was copied rather than saved; paste it into Preview or another app.
A window cannot be captured
Some apps restrict screenshots. Apple specifically notes that protected windows, including examples such as Apple TV or DVD Player, may not allow capture. Try capturing a different app to distinguish a restriction from a shortcut problem. If the content is protected, macOS may intentionally return a blank or unavailable result.
The wrong area is selected
Press Esc and start again. Hold Space while dragging to move the selection without changing its size. For an exact window boundary, use the window capture mode instead of manually drawing around it.
The screenshot looks blurry
Retina displays can make an image appear different after it is scaled by another app. Capture the smallest useful area, avoid enlarging the saved file, and inspect it at 100 percent. For a web page that needs a controlled device scale, use a service such as ScreenshotNeo with a device preset or retina scale.
A menu disappears before capture
Use the timer in Shift-Command-5 Options, or capture the menu immediately with Shift-Command-4 followed by Space. A timer gives the menu time to open after you click Capture.
11. Performance, reliability and privacy considerations
Local shortcuts are effectively immediate because the image is produced on the Mac. They also capture whatever is visible, so check notifications, personal tabs and sensitive data before sharing. A fixed destination and consistent display layout make repeated captures easier to compare.
For automated website captures, reliability depends on the page loading, consent dialogs, lazy content and bot checks. Configure waits deliberately: selector waits are useful for a known component, network idle can be useful for a page that loads many assets, and a short delay handles animations. Blocking unnecessary trackers and ads can reduce work, while caching with a chosen TTL avoids repeating identical captures. Review X-Page-Verdict and X-Billed so a failed or unclean result is visible to your pipeline.
Costs are predictable when you match the method to the job. MacBook shortcuts have no per-capture service charge. ScreenshotNeo’s Free plan covers 1,000 shots per month, and paid plans range from $5 for 3,000 to $249 for 1,000,000; yearly billing gives two months free. Failed loads, blank pages, bot checks, timeouts and cache hits are not billed as clean shots.
12. FAQ
How do I screenshot only part of my Mac screen?
Press Shift-Command-4, drag over the area and release. Press Esc to cancel, or hold Space while dragging to reposition the same-sized selection.
How do I screenshot a window on a MacBook?
Press Shift-Command-4, press Space, then click the window with the camera pointer. Hold Option while clicking to omit its shadow.
Where are screenshots saved on Mac?
They save to the desktop by default. Shift-Command-5 > Options lets you choose another folder, Clipboard or a supported app.
Can I screenshot a protected video?
Some apps block screenshots of protected content. If one window fails while ordinary windows work, the app restriction is the likely cause.
Which shortcut opens the screenshot menu?
Shift-Command-5 opens Screenshot controls, including capture mode, destination, timer, pointer and floating-thumbnail settings.
Can I automate screenshots of a website instead of my Mac desktop?
Yes. Use a screenshot API such as ScreenshotNeo when you need repeatable URL captures, full-page output, element selection or server-side automation.
Key shortcuts to remember
- Shift-Command-3: entire screen.
- Shift-Command-4: selected area.
- Shift-Command-4, Space: window or menu.
- Shift-Command-5: Screenshot controls.
- Control + any capture shortcut: Clipboard instead of a saved file.
These shortcuts cover nearly every one-off MacBook capture. When the requirement becomes a repeatable, clean website image or PDF, use the API workflow above and start with 1,000 free ScreenshotNeo screenshots per month with no card.


