BlogScreenshots on your device
Take a Screenshot With Multiple Screens
Capture every monitor, one display, a window, or a selected region on Windows, macOS, and Ubuntu, then save and troubleshoot the result.
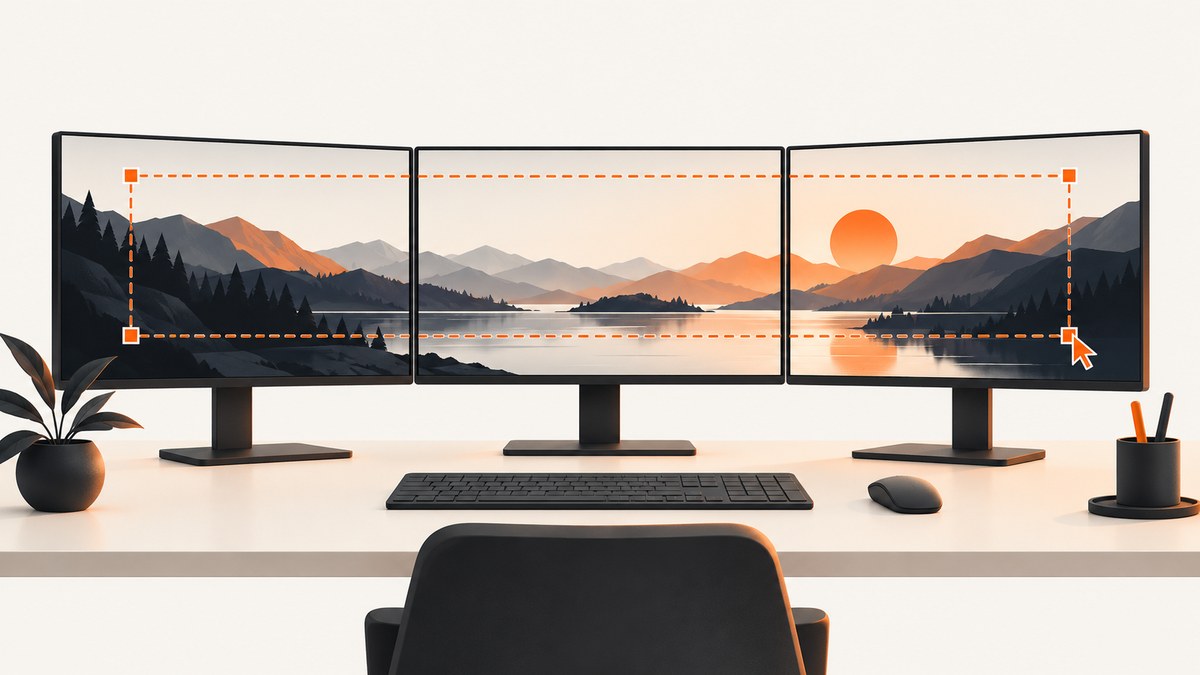
Direct answer: arrange your monitors in the operating system first, then use the full-screen or virtual-screen shortcut when you want one image spanning the extended desktop. Use a rectangle or display-specific selection when you need one monitor, and use window capture when you need only one application.
The exact shortcut depends on your system:
| System | All screens / virtual desktop | Selected area | Active window | Typical save behavior |
|---|---|---|---|---|
| Windows 10/11 | Print Screen | Windows + Shift + S, then Rectangle or Full screen | Alt + Print Screen | Snipping Tool gives save controls; Print Screen may copy to clipboard |
| macOS | Command + Shift + 3 | Command + Shift + 4 | Command + Shift + 4, then Space | Usually saved to the Desktop, with thumbnail controls for editing or copying |
| Ubuntu/GNOME | Shift + Print | Print, then Selection | Alt + Print | Saved in Pictures/Screenshots and copied to the clipboard |
1. Prepare the multi-monitor layout
A multi-screen screenshot is based on the logical desktop layout, not just the order of cables plugged into your computer. If a monitor is placed above, below, or offset from another in display settings, the resulting image has the same geometry. A misplaced display can produce a screenshot with an unexpected gap, crop, or order.
Windows 10 and Windows 11
- Open Settings > System > Display.
- Select Identify so Windows shows a number on each physical monitor.
- Drag the monitor diagrams into the same left-to-right and top-to-bottom arrangement as your desk. Align their top or bottom edges when you want a clean rectangular capture.
- Choose the correct resolution and scale for each display. Different scaling values change the pixel dimensions of the combined virtual screen.
- Under Multiple displays, choose Extend these displays for one continuous desktop. Duplicate mirrors the same content, while PC screen only and Second screen only disable one side.
Microsoft describes Print Screen on a multiple-display system as taking a snapshot of the entire virtual screen. See Microsoft’s multiple display monitor documentation.
macOS
Open System Settings > Displays and arrange the display thumbnails to match the physical layout. Decide whether the screenshot should include the menu bar and desktop space on every display or only a selected monitor. When monitors have different resolutions or scaling, a drawn rectangle is often easier to control than an all-screen capture.
On macOS Mojave 10.14 and later, press Command + Shift + 5 to open the Screenshot app. It provides controls for capturing the entire screen, a window, or a selected portion, plus a location picker and timer. Apple documents these controls in its Mac screenshot guide.
Ubuntu with GNOME
- Open Settings > Displays.
- Drag the display diagrams into the physical arrangement and choose the primary display.
- Use Join Displays for an extended desktop. Mirror shows the same content on each monitor. With more than two screens, Join Displays is the available extended mode.
- Apply the resolution and scale for each monitor, then confirm the layout.
Ubuntu’s screenshot tool saves captures in Pictures/Screenshots and copies them to the clipboard. Its official screenshot documentation explains the Screen, Window, and Selection modes.
2. Capture the entire extended desktop
Windows: Print Screen or Snipping Tool
Press Print Screen to capture the complete virtual screen. On some Windows configurations the result is copied to the clipboard rather than immediately written to a file. Open Paint, Photos, or another image editor, press Ctrl + V, and save as PNG or JPEG.
For an explicit save workflow, press Windows + Shift + S. In Snipping Tool, choose Full screen. The capture opens in the Snipping Tool window, where you can annotate, copy, or save it. This shortcut also offers Rectangle, Window, and Freeform modes.
macOS: Command-Shift-3
Press Command + Shift + 3. macOS captures the screens included in your desktop arrangement. A thumbnail appears briefly; click it to mark up or share the image, or let it disappear and open the saved file. The default location is normally the Desktop, unless you changed Screenshot app options.
Ubuntu: Shift-Print
Press Shift + Print for the entire screen. The image is saved to Pictures/Screenshots and copied to the clipboard. Press Print first if you want the overlay, then select Screen and confirm the capture.
3. Capture one monitor, a region, or one application
Capturing every monitor is useful for documenting a layout, reproducing a bug across displays, or preserving a complete workspace. It is the wrong choice when the second monitor contains private information or unrelated windows.
- One monitor: draw a rectangle around that display. This is the most predictable method when monitors use different resolutions or scaling.
- One region across monitors: start a rectangle on one display and drag across the boundary. The selection follows the virtual desktop coordinates.
- One application: use window capture. On Windows, press Alt + Print Screen; in Snipping Tool choose Window. On Ubuntu, press Alt + Print. On macOS, press Command + Shift + 4, then press Space and click the window.
- A clean tutorial image: close notifications, hide sensitive tabs, maximize the intended window, and use a rectangle or window capture rather than the full desktop.
4. Where the screenshot is saved
| Platform | Where to look | If no file appears |
|---|---|---|
| Windows | Snipping Tool’s save dialog, or the folder configured by your screenshot workflow | Paste the clipboard contents into Paint or Photos and save manually |
| macOS | Desktop by default, or the location selected in Command + Shift + 5 options | Click the screenshot thumbnail before it disappears, or check the Screenshot app location |
| Ubuntu/GNOME | Pictures/Screenshots | Paste the clipboard copy into an image editor and export it |
File type affects size and quality. PNG preserves sharp text and interface edges. JPEG is smaller but can add compression artifacts. For a screenshot that will be inspected pixel by pixel, keep PNG; for a photo-like desktop image intended for quick sharing, JPEG may be adequate.
5. Multi-screen edge cases
Different resolutions and scaling
A 4K monitor beside a 1080p monitor creates a virtual desktop with uneven pixel dimensions. The operating system may scale application coordinates, so a rectangle that looks aligned on screen can have a different pixel size in the saved file. Use the display settings’ recommended resolutions and check the image dimensions after capture.
Displays arranged vertically or with offsets
If one monitor is higher than another, the combined image can contain empty background areas. That is expected: the screenshot represents the virtual desktop coordinate space. For a compact image, capture each display separately or draw a rectangle that excludes unused space.
Docking stations, adapters, and remote sessions
When a dock reconnects displays, the operating system can assign a new arrangement or resolution. Reopen Display settings before capturing. Remote desktop software may expose only the remote session’s virtual monitor, so use the remote tool’s own capture command if you need the local monitor frame as well.
Protected or hardware-rendered content
Some video players, protected documents, and secure desktop prompts may appear black or be omitted. This is controlled by the operating system or application security settings; changing the screenshot shortcut cannot override that protection.
6. Troubleshooting checklist
| Symptom | Likely cause | Fix |
|---|---|---|
| Monitors appear in the wrong order | Logical display arrangement does not match the desk | Use Identify, then drag the display diagrams into the correct order before capturing |
| One monitor is cropped | Selection rectangle stopped at a display boundary, or scaling changed coordinates | Use full-screen capture or redraw the rectangle after confirming resolution and scale |
| There is a large blank area | Displays are vertically offset or have different heights | Align display edges in settings or capture each monitor separately |
| Shortcut copies but does not save | Clipboard mode is active | Paste into an editor and save, or use Snipping Tool/Screenshot app save controls |
| Notifications are visible | System banners appeared during capture | Enable Do Not Disturb, wait for banners to clear, and capture again |
| Only one screen is captured | System is in mirror or single-display mode | Switch to Extend or Join Displays, then retry the full-screen shortcut |
| Text looks blurry | Screenshot was resized or saved as a compressed JPEG | Capture at native resolution and save PNG |
7. Automating website screenshots across screen sizes
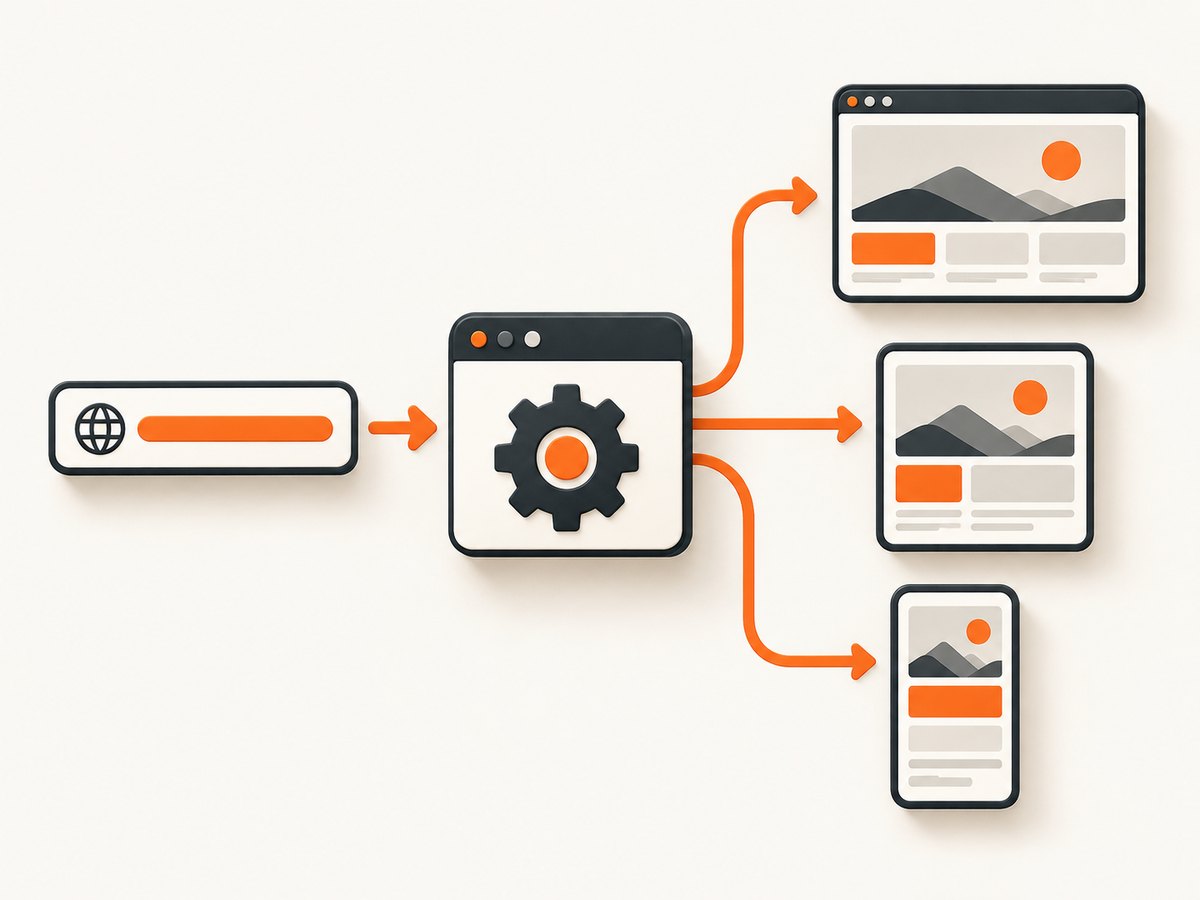
Desktop shortcuts capture the physical screens in front of you. If your goal is to capture a website at several viewport sizes for regression tests, documentation, or previews, automate a browser instead. A self-hosted Playwright flow gives you control over browser launch, viewport, and file naming:
import { chromium } from 'playwright';

const browser = await chromium.launch();
const pages = [
  { name: 'desktop', width: 1440, height: 900 },
  { name: 'laptop', width: 1280, height: 800 },
  { name: 'mobile', width: 390, height: 844 }
];

for (const screen of pages) {
  const page = await browser.newPage({ viewport: { width: screen.width, height: screen.height }, deviceScaleFactor: 1 });
  await page.goto('https://example.com', { waitUntil: 'networkidle' });
  await page.screenshot({ path: `shot-${screen.name}.png`, fullPage: true });
  await page.close();
}

await browser.close();
For reliable results, wait for a selector that identifies the finished page, disable animations when possible, set a consistent timezone and locale, and use a fixed user agent. Close each page after capture so a large batch does not exhaust memory. If the site requires authentication, provide cookies or headers through the browser context and keep those credentials outside source control.
Or skip the browser setup
ScreenshotNeo captures a web page with one GET request. It is for website screenshots, not a photograph of your physical monitors. Pass the target URL and receive PNG, JPEG, WebP, or PDF output. The API accepts full-page capture, a CSS element selector, dark mode, device presets, arbitrary viewports, retina scale, custom CSS and JavaScript, click actions, selector or network-idle waits, hidden selectors, blocked ads and trackers, custom headers and cookies, user agents, authorization, timezone, geolocation, transparent backgrounds, resizing, cache TTLs, signed links, asynchronous jobs, bulk requests for up to 100 URLs, and usage reporting. The ScreenshotNeo documentation lists parameter names and response headers.
curl -G 'https://api.screenshotneo.com/v1/shot' -d access_key=YOUR_API_KEY --data-urlencode url=https://stripe.com -o shot.webpimport requests
r = requests.get('https://api.screenshotneo.com/v1/shot', params={'access_key': 'YOUR_API_KEY', 'url': 'https://stripe.com'}, timeout=90)
open('shot.webp', 'wb').write(r.content)const q = new URLSearchParams({ access_key: 'YOUR_API_KEY', url: 'https://stripe.com' });
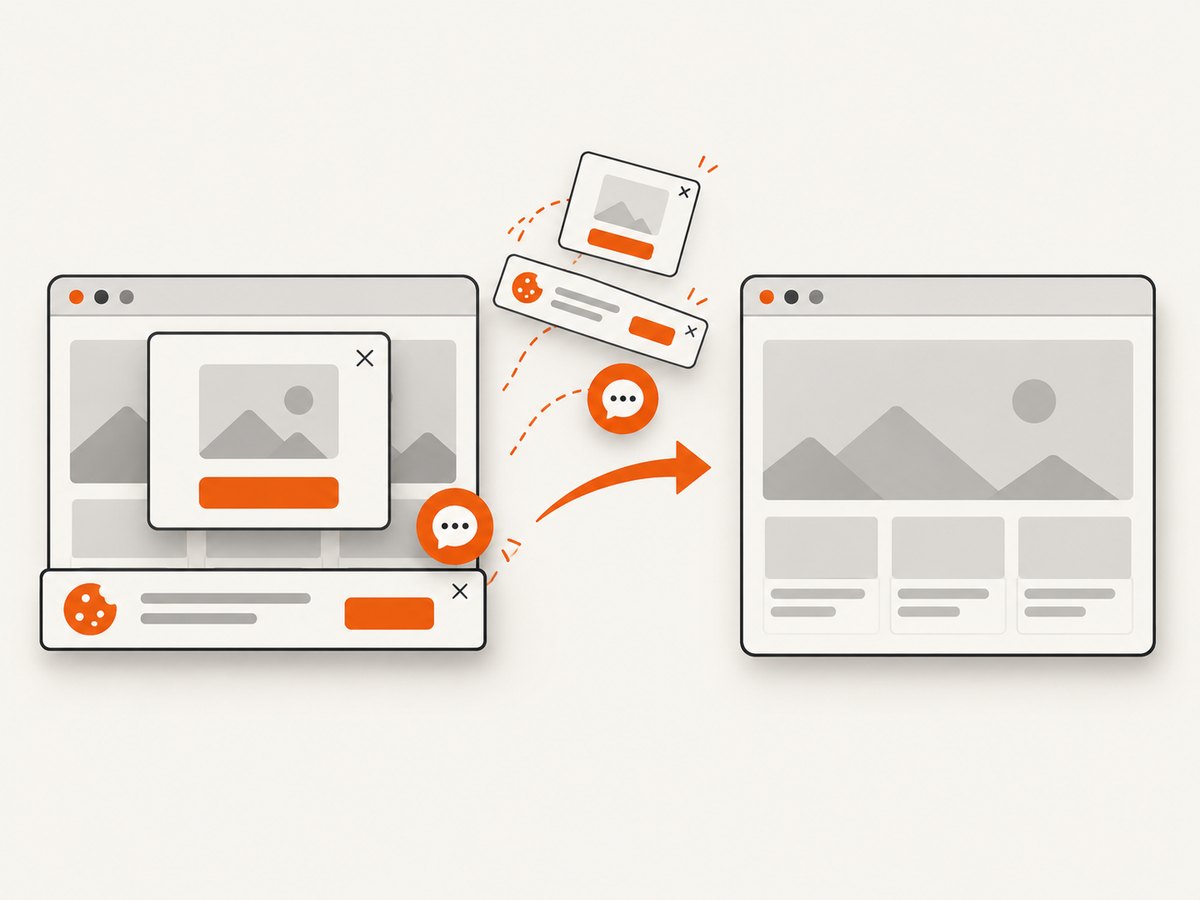
const res = await fetch(`https://api.screenshotneo.com/v1/shot?${q}`);Before capture, ScreenshotNeo accepts cookie and consent banners as a visitor and removes more than 60 known consent platforms, newsletter popups, and chat widgets. Each step can be turned off. Bot checks, blank pages, timeouts, failed loads, and cache hits cost nothing; response headers report X-Page-Verdict and X-Billed. An MCP server provides take_screenshot, get_page_info, and capture_pdf tools for Claude, Cursor, and other MCP clients. Free accounts include 1,000 screenshots per month with no card; paid plans start at $5 for 3,000 shots. Create a free ScreenshotNeo account.
8. Performance, reliability, and cost notes
- Local capture: fastest for a single desktop image, with no network transfer, but it depends on your current display layout and active windows.
- Browser automation: repeatable across viewport sizes, but browser startup, page JavaScript, fonts, and third-party resources add time. Reuse a browser process for batches.
- ScreenshotNeo: caching with a TTL can reduce repeated work. Async jobs and signed webhooks suit long pages or batches. Bulk capture supports up to 100 URLs per call. Clean shots are billed; bot checks, blank pages, timeouts, failed loads, and cache hits are not billed.
- Image size: full-page and retina captures consume more bandwidth and storage. Resize output when the destination does not need native pixels.
- Consistency: fix viewport, device scale, timezone, geolocation, user agent, and wait conditions when comparing screenshots over time.
9. FAQ
Can I capture two monitors as separate files?
Yes. Draw a rectangle around each display and save each selection, or use a window/display mode where your operating system provides one.
Does Print Screen always create a file?
No. It can copy the image to the clipboard. Paste it into an editor or use a tool with an explicit save dialog.
Why is my multi-monitor screenshot so wide?
The image includes the full virtual desktop width. Different resolutions, scaling, and horizontal offsets can increase the dimensions.
Can ScreenshotNeo photograph my physical monitors?
No. ScreenshotNeo renders web pages in a browser. Use the operating-system shortcuts for a physical desktop, and use ScreenshotNeo when you need repeatable website captures across screen sizes.


