BlogScreenshots on your device
How to Take a Screenshot Quickly on Windows
Use Windows+Shift+S to capture a selected area, or Windows+Print Screen to save the whole screen. Here’s how each shortcut works and where your screenshots go.
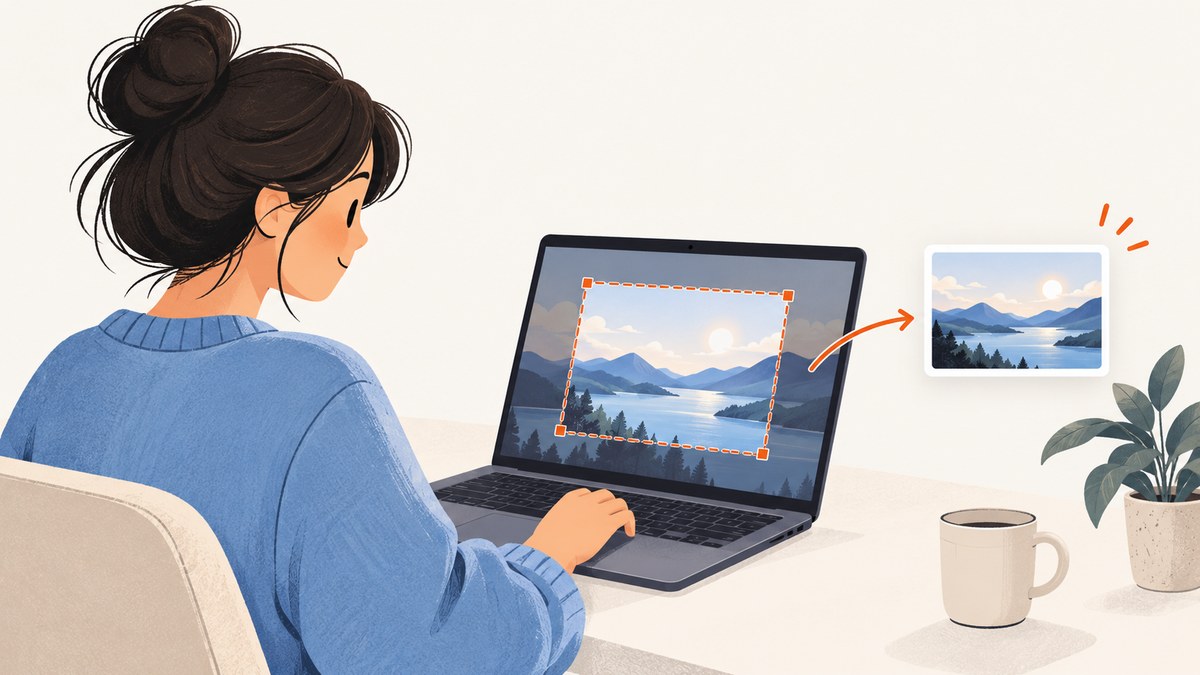
For a quick screenshot of part of your Windows screen, press Windows+Shift+S, choose a snip mode if needed, and select the area. The image is copied to your clipboard; select the notification to open it in Snipping Tool for editing or saving. To save a full-screen screenshot directly as a file, press Windows+Print Screen. Microsoft documents these shortcuts for Windows 10 and Windows 11. Microsoft’s Snipping Tool guide.
1. Choose a shortcut based on what you need
| What you want | Shortcut | Where the image goes |
|---|---|---|
| Select part of the screen | Windows+Shift+S | Clipboard; open the notification to edit or save in Snipping Tool |
| Save the whole screen directly | Windows+Print Screen | Pictures\Screenshots |
| Copy the whole screen | Print Screen | Clipboard; paste with Ctrl+V, unless the key is configured to open screen snipping |
| Copy just the active window | Alt+Print Screen | Clipboard; paste with Ctrl+V |
Use the first shortcut for a crop or a specific part of an app. Use Windows+Print Screen when you want a file without opening an editor. Use Alt+Print Screen when you need the active window without the rest of the desktop. Microsoft lists Print Screen and Alt+Print Screen as clipboard capture shortcuts; keyboard settings and hardware can affect how the key behaves. Microsoft’s screen and window copy instructions.
2. Capture a selected area with Windows+Shift+S
- Press Windows+Shift+S. The screen dims and the Snipping Tool capture controls appear.
- Choose a mode if necessary: rectangular snip, freeform snip, window snip, or full-screen snip.
- For rectangular or freeform capture, drag around the content. For window or full-screen capture, select the target or mode as prompted.
- Find the notification that appears after capture and select it to open the snip in Snipping Tool.
- Annotate or crop if needed, then save from Snipping Tool.
This is usually the most direct built-in option when you need only a portion of the desktop. If you are in a hurry and the image only needs to go into a chat, document, or image editor, you can paste the clipboard capture directly with Ctrl+V instead of saving a separate file.
Snipping Tool can automatically save captured snips, and its settings let you change automatic saving and the default folder. That means the notification and editor step is useful when you want to review, annotate, or explicitly save the result, while clipboard paste is the shortest path to another app. See Microsoft’s Snipping Tool documentation for the current controls and settings.
3. Save the entire screen directly
- Press Windows+Print Screen. On some keyboards, the key is labeled PrtSc, PrtScn, or PrntScrn.
- Open File Explorer and go to
Pictures\Screenshots. - Open or share the new image as you would any other file.
This shortcut is the simple choice when you want a full-screen file rather than a clipboard image. If you want to include only one window, first make it active and use Alt+Print Screen, then paste into an app that accepts images. Microsoft’s Windows shortcut list documents Windows+Print Screen as a save-to-file shortcut and Print Screen as a screen-snipping action on supported configurations. Windows keyboard shortcuts.
4. Find and save a clipboard screenshot
A clipboard capture is not necessarily a file yet. After Print Screen or Alt+Print Screen, open a destination such as Paint, a document, or a message field and press Ctrl+V. To keep a file, use that app’s Save or Save As command and choose a location and image format.
For Windows+Shift+S, selecting the capture notification opens Snipping Tool. Review the crop, make any markup, and save. If automatic saving is enabled, check Snipping Tool settings and the configured destination if you cannot find the image. The full-screen Windows+Print Screen shortcut saves to the Pictures\Screenshots folder according to Microsoft’s documented shortcut behavior.
5. Keyboard and shortcut edge cases
Print Screen is a secondary key
On compact keyboards and laptops, Print Screen may share a key with another function. The exact key combination depends on the device and keyboard layout. Look for a small PrtSc label, possibly printed as a secondary legend, and consult the device’s keyboard guidance if a direct press does nothing. Microsoft’s Surface instructions explicitly vary based on keyboard type. Surface screenshot guidance.
Print Screen opens the snipping interface
That can be expected if the Windows accessibility keyboard setting Use the Print Screen button to open screen snipping is enabled. If you want a saved full-screen capture, use Windows+Print Screen. You can also review Settings under Accessibility > Keyboard to check the Print Screen behavior.
A still screenshot is different from a recording
Windows+Shift+R selects a screen region for video recording and opens it in Snipping Tool. It is not the still-image shortcut. Use Windows+Shift+S for a still snip. Microsoft documents both Snipping Tool capture and recording options.
6. Troubleshooting common screenshot problems
| Problem | Likely cause | What to do |
|---|---|---|
| Nothing appears after pressing Print Screen | The key may be a secondary function, the keyboard may use a different label, or the configured behavior may not match the expected shortcut. | Try Windows+Shift+S. Check the keyboard legend or device instructions; on a compact keyboard, try its documented function-key combination. |
| Print Screen opens a selection overlay | The Print Screen accessibility setting can route the key to screen snipping. | Use Windows+Print Screen for a full-screen saved file, or change the setting under Accessibility > Keyboard. |
| The screenshot is not in Pictures\Screenshots | You may have made a clipboard capture, or you may be looking for a Snipping Tool image whose automatic-save settings differ. | Paste the clipboard into an app and save it, or open the snip notification and save from Snipping Tool. Review its automatic-save and folder settings. |
| Only the active window is needed | Print Screen alone captures the screen, while the active-window shortcut is Alt+Print Screen. | Activate the desired window, press Alt+Print Screen, then paste and save. |
| You got a video instead of an image | Windows+Shift+R is the recording workflow. | Press Windows+Shift+S for a still screenshot. |
| The screenshot is in the clipboard, but no file exists | Clipboard capture copies an image for pasting; it does not by itself guarantee a saved file. | Paste with Ctrl+V into an image editor or document, then use Save or Save As. |
7. Quick decision checklist
- Need a cropped area? Press Windows+Shift+S, select the region, then paste or open the notification.
- Need the whole screen as a file? Press Windows+Print Screen and check Pictures\Screenshots.
- Need the current window only? Press Alt+Print Screen and paste.
- Need to annotate? Select the Snipping Tool notification and use its editor.
- Need a recording? Use the separate Windows+Shift+R recording flow.
8. When a Windows screenshot is not the right capture
These shortcuts capture what is currently visible on your Windows display. They are a good fit for documenting an app, sharing a desktop error, or keeping a snapshot of your current screen. They are not the same as requesting a screenshot of a website from a server: a server-side capture can open a URL and return an image or PDF without requiring the target page to be visible on your PC.
For browser captures, scope matters. A desktop snip records the visible screen; a website capture can target a full page, a CSS-selected element, or a chosen viewport. Browser automation also needs decisions about page readiness, cookies, popups, device size, and output format. If you need a repeatable capture of a web page for documentation or a workflow, use a browser-based approach or a screenshot API rather than a desktop keyboard shortcut.
9. Screenshot a web page from code
A do-it-yourself browser capture usually launches a browser, navigates to a URL, waits for the content you need, captures the page, and closes the browser. The exact setup depends on the browser automation library and the project environment. The following examples use a screenshot API instead, which returns an image from a URL. Keep an API key out of source control and avoid logging it.
cURL
curl -G "https://api.screenshotneo.com/v1/shot" -d access_key=YOUR_API_KEY --data-urlencode url=https://stripe.com -o shot.webpPython
import requests

r = requests.get(
    "https://api.screenshotneo.com/v1/shot",
    params={"access_key": "YOUR_API_KEY", "url": "https://stripe.com"},
    timeout=90,
)
r.raise_for_status()
open("shot.webp", "wb").write(r.content)
Node.js
const q = new URLSearchParams({
  access_key: 'YOUR_API_KEY',
  url: 'https://stripe.com'
});
const res = await fetch(`https://api.screenshotneo.com/v1/shot?${q}`);
if (!res.ok) throw new Error(`Screenshot request failed: ${res.status}`);
const bytes = new Uint8Array(await res.arrayBuffer());
await import('node:fs/promises').then(fs => fs.writeFile('shot.webp', bytes));
These examples use the ScreenshotNeo API and the supplied URL and request pattern. Check the ScreenshotNeo API documentation for the current request options and response details. ScreenshotNeo is a website screenshot API and MCP server from Yorker Media; it takes a URL and returns a PNG, JPEG, WebP, or PDF.
10. Or skip the browser setup
Use the one-call API when your task is to capture a website from code rather than the Windows display. ScreenshotNeo accepts cookie and consent banners like a visitor and removes more than 60 known consent platforms, newsletter popups, and chat widgets before capture; each cleanup step can be turned off. Bot checks and CAPTCHAs, blank pages, timeouts, failed loads, and cache hits cost nothing, and the response reports page verdict and billing headers.
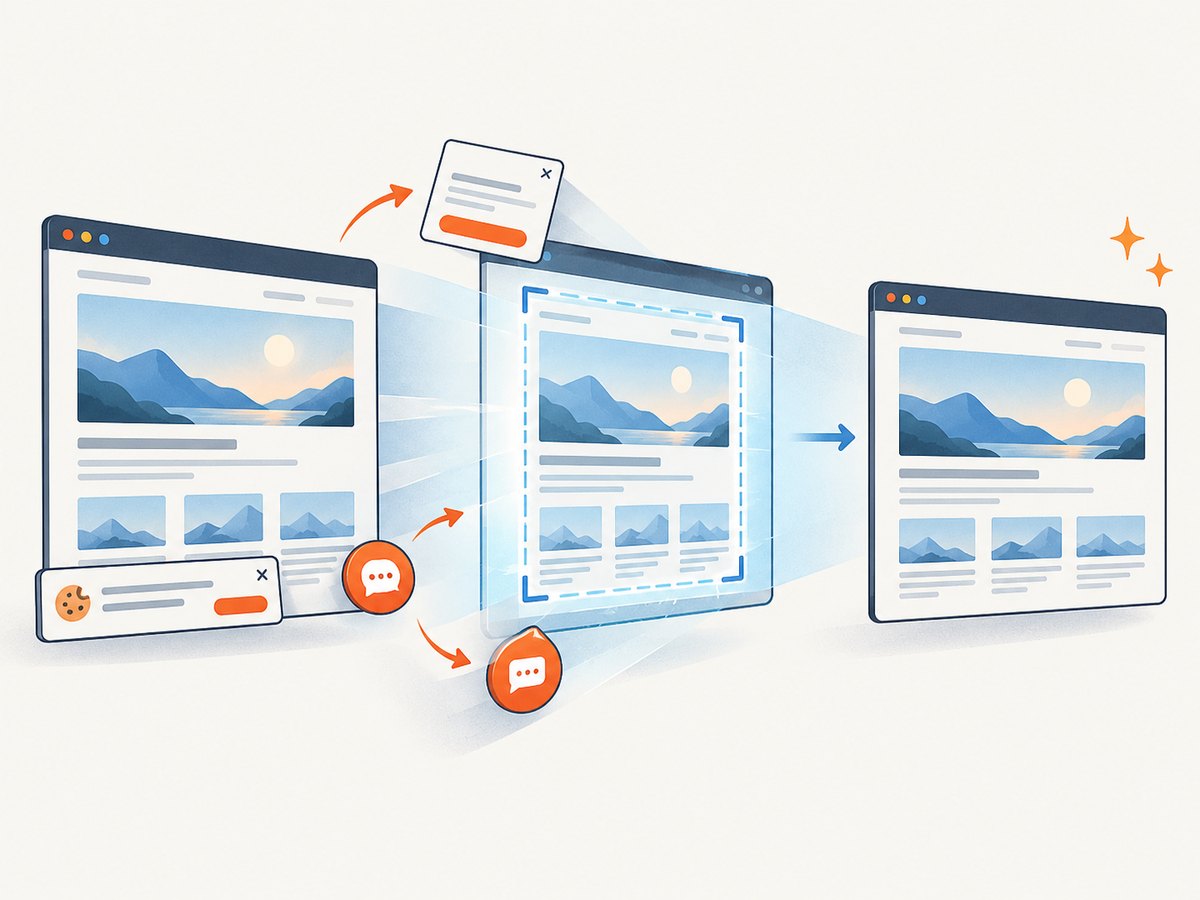
It also supports full-page captures with lazy images loaded, CSS element captures, dark mode, device presets and custom viewports, retina scale, PDF output, HTML/CSS input, custom CSS and JavaScript, click-before-capture, selector hiding, selector/delay/network-idle waits, request and resource blocking, custom headers and cookies, user agent and authorization, timezone and geolocation, transparent backgrounds, resizing, selectable cache TTL, signed links for public image tags, async jobs with signed webhooks, bulk capture up to 100 URLs per call, a usage API, and an OpenAPI spec. The parameter names used by other screenshot APIs also work, which can make switching easier.
An MCP server exposes take_screenshot, get_page_info, and capture_pdf for Claude, Cursor, and other MCP clients. The free plan includes 1,000 screenshots per month with no card. Paid plans start at $5 for 3,000; the listed plans continue with Growth at $15 for 15,000, Pro at $39 for 60,000, Scale at $99 for 250,000, and Business at $249 for 1,000,000. Yearly billing gives two months free, and every feature is on every plan. Read the API docs and sign up for 1,000 free screenshots a month with no card.
11. Performance, reliability, and cost considerations
For a local screenshot, the capture is as quick as completing the keyboard action and selecting the target, but the time to save, annotate, or paste depends on what you do next. For website automation, total time includes browser startup, navigation, loading and waiting for the right content. Avoid waiting for more than the page needs: a selector or deliberate short delay can be more predictable than waiting for all network activity on pages with long-running requests.
Reliability starts with matching the capture to the target. A screenshot taken before an image or client-rendered section appears can look incomplete. Use a meaningful readiness condition, keep the timeout appropriate for the page, and handle failed requests explicitly in your calling code. If capturing many URLs, an asynchronous or bulk workflow may suit the job better than opening each capture manually. API responses include verdict and billing headers so callers can distinguish a clean page from outcomes such as a bot check, blank page, timeout, failed load, or cache hit.
For cost, a Windows shortcut has no per-capture API charge. A service is useful when captures must run from an application, CI process, backend, or AI-agent workflow. ScreenshotNeo’s free allowance is 1,000 per month; paid plans begin at $5 for 3,000. Compare the expected volume with the plan limits and use caching where repeated captures of the same page do not need a fresh render. Only clean shots are billed under the stated product terms; check response headers and the usage API to inspect capture outcomes and usage.
12. FAQ
What is the fastest way to screenshot part of Windows?
Press Windows+Shift+S and select the region. The capture goes to the clipboard, and its notification opens it in Snipping Tool.
Where does Windows save screenshots?
Windows+Print Screen saves the full screen in Pictures\Screenshots. Clipboard captures need to be pasted into an app and saved, unless Snipping Tool’s automatic saving is configured.
Can I screenshot just one window?
Yes. Activate the window, press Alt+Print Screen, and paste the capture into an app.
Does Windows+Shift+R take a screenshot?
No. It starts the Snipping Tool screen recording workflow. Use Windows+Shift+S for a still image.
Can I capture a web page without taking a desktop screenshot?
Yes. A website screenshot API captures a URL from a browser environment and returns an image or PDF. ScreenshotNeo provides that API and an MCP server; its free tier includes 1,000 shots per month without a card.


