BlogScreenshots on your device
How to Take a Website Screenshot With Power Automate Desktop
Capture a full webpage or one element with Power Automate Desktop. Set up the browser, save the image, and fix common screenshot errors.

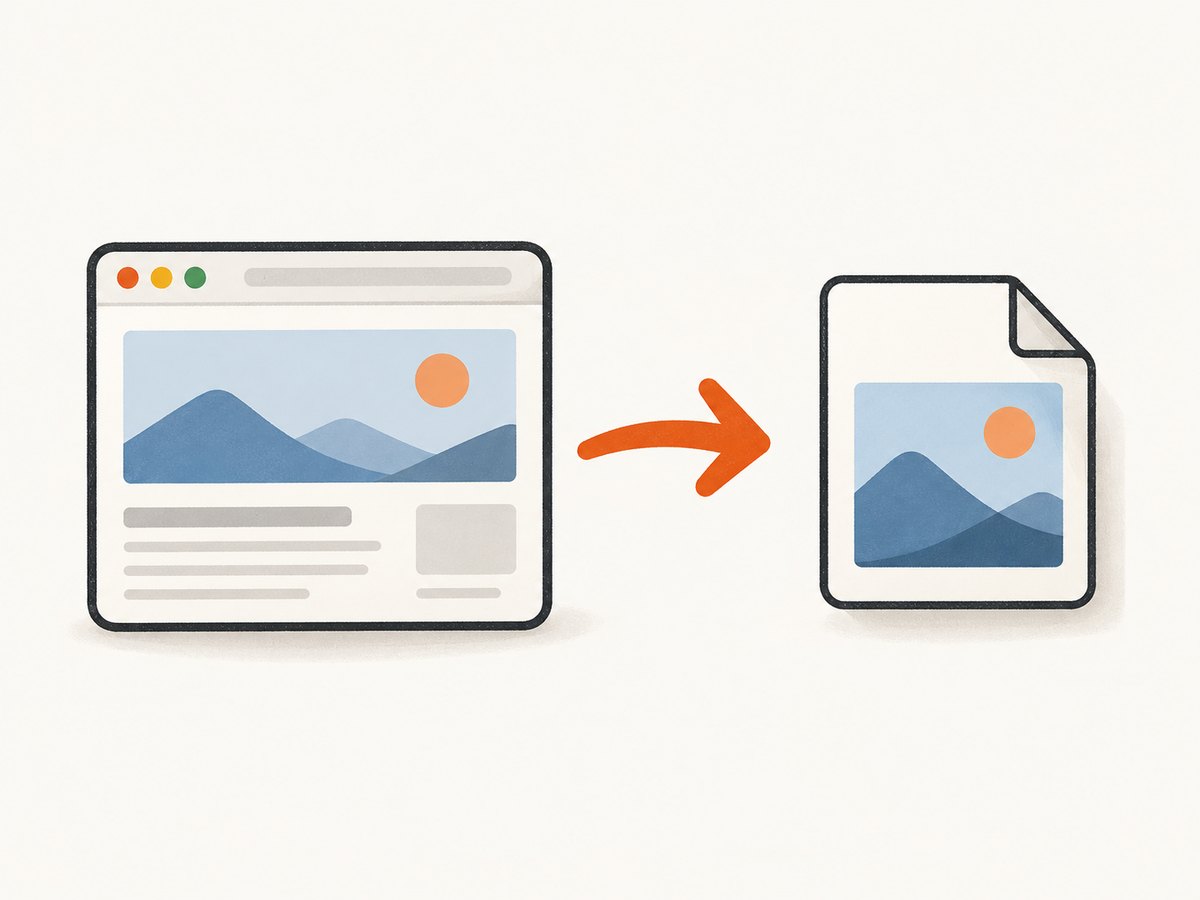
To capture website content in Power Automate Desktop, launch or attach to a browser, then add the browser automation action Take screenshot of web page. Choose Entire web page for a full-page capture or Specific element for one webpage element, then save to a file or the clipboard. This captures webpage content; use the separate workstation screenshot action when you need the visible browser window, a screen, or the desktop.
This guide walks through browser setup, both capture modes, output choices, troubleshooting, and how to make the flow more reliable. Microsoft’s action reference lists the supported image formats and the action’s specific failure categories: Take screenshot of web page action reference.
1. Choose the screenshot action that matches your target
Power Automate Desktop has three related actions. Pick based on what the saved image must show:
| What you need to capture | Action | What to select |
|---|---|---|
| The webpage as rendered in the browser | Take screenshot of web page | Entire web page, or a webpage UI element |
| The foreground browser window or a display | Take screenshot (Workstation) | Foreground window, all screens, primary screen, or selected screen |
| A desktop control inside an application window | Take screenshot of UI element | A desktop UI element captured through UI automation |
Use the browser action for a page screenshot. It can capture the entire webpage or a specific webpage element and save it to a file or clipboard. The workstation action captures a screen or foreground window, so its result can include browser chrome, other windows, or desktop surroundings. The UI automation action is for a desktop UI element. Microsoft distinguishes webpage-captured elements used in browser automation from desktop elements used in UI automation; selecting the wrong kind of element can make the action fail. See the Workstation actions reference and UI automation actions reference.
2. Set up the browser instance
The screenshot action needs a browser instance variable. Create one earlier in the flow by launching a supported browser or attaching to one, then use that same variable in the capture step.
- Open Power Automate Desktop and create or open a desktop flow.
- Add a browser launch action, such as launching Microsoft Edge, Google Chrome, or Mozilla Firefox, or use the available action for attaching to an existing browser.
- Set the starting page or navigate to the target URL with a browser automation action. Keep the browser instance variable produced by the launch or attach action; for example, it may be named
%Browser%. - Make sure the required browser extension and configuration are present for the browser automation method you use. Microsoft’s browser automation guidance also describes WebDriver as an interaction method. Consult Automate webpages for current setup details.
- Wait until the page is ready for capture. If the page renders content asynchronously, add an appropriate wait or check for a page element before taking the screenshot.
Browser automation has an important identity constraint: it cannot open a browser under a different system user or attach to a browser opened by a different system user. Microsoft’s guidance says browser automation generally does not move the mouse and can run with the browser minimized or another tab focused; steps that require physical interaction need the browser window focused. Design navigation and interaction steps with those constraints in mind.
3. Capture the entire webpage
- In the flow designer, search for and add Take screenshot of web page from browser automation.
- For Web browser instance, choose the variable created by the launch or attach step.
- Set Capture to Entire web page.
- Set Save mode to File.
- Enter the full output path, including a filename and extension, for example
C:\\Screenshots\\product-page.png. Ensure the destination folder exists and the flow’s user can write to it. - Choose the matching File format, such as PNG, JPG, or BMP, and run the flow.
The action reference lists BMP, EMF, EXIF, GIF, JPG, PNG, TIFF, and WMF as file formats. Match the chosen format to the intended downstream use: PNG is a practical choice for interface captures and text; JPG is often useful when smaller photographic images matter more than lossless detail. Make the extension match the selected format so other tools interpret the file as expected.
4. Capture one webpage element
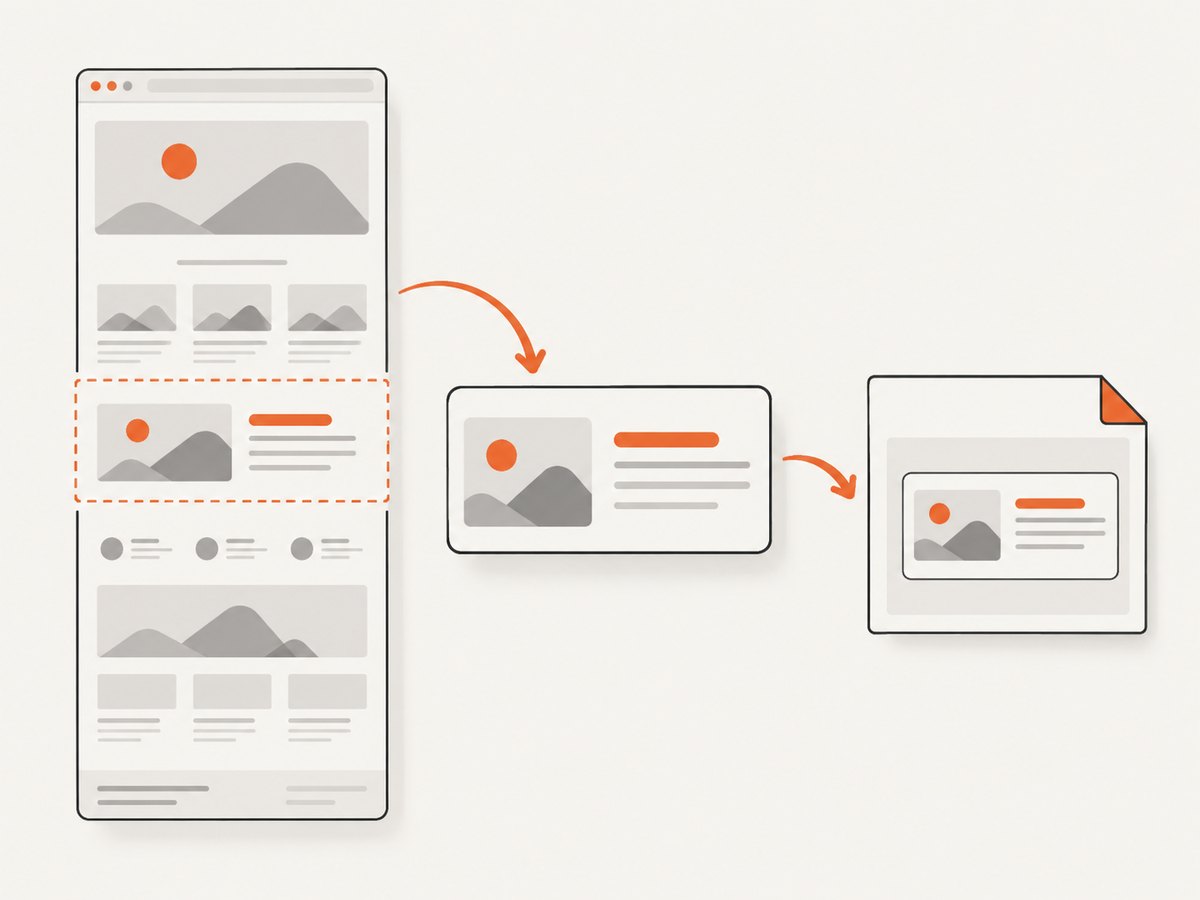
Choose Specific element when the output should contain a card, chart, panel, form, or other part of the webpage rather than the full page.
- Add Take screenshot of web page and select the browser instance.
- Set Capture to Specific element.
- Use the UI element picker to select the target from the webpage. This must be a webpage element captured for browser automation, not a desktop UI element.
- Choose File or Clipboard output and set the format and path if saving to a file.
- Run the flow and inspect the image. If the page changes its structure between runs, recapture or repair the element selector.
Element selection depends on the page presenting the target at capture time. If a panel is loaded only after scrolling, interaction, or a delayed request, perform that step and wait for the element before capturing. The action reference documents an Element with specified CSS selector not found exception, so a missing or stale selector is a direct cause of failure.
5. Save to a file or clipboard
File is the usual choice for repeatable automation: give the action an absolute path and a format, then use that file in later flow steps. Build output paths from variables when each run needs its own destination, such as a date or record identifier. Avoid overwriting an important prior capture by making filenames unique or explicitly deciding that replacement is intended.
Clipboard stores the capture for a later paste or clipboard action. It does not create a durable artifact by itself. Clipboard access may be unavailable or behave differently in unattended runs, so use a file when the result must be archived or consumed by another process. The documented action has separate exceptions for failure to save to a file and failure to save to the clipboard.
6. Build a reliable capture sequence
A screenshot action only captures what is present when it runs. A page may show a loading shell, an access challenge, a consent dialog, or incomplete content even when the action itself succeeds. A robust flow makes page readiness explicit.
- Navigate. Open the intended URL and retain the browser instance.
- Wait for a meaningful condition. Prefer waiting for a page element that indicates the desired content is rendered. A fixed delay can help with known slow pages, but it may be unnecessarily long on fast runs and too short on slow ones.
- Handle required interaction. If the desired content appears only after a page action, complete that action before the screenshot. Actions requiring physical interaction may need a focused browser window.
- Capture. Use the webpage screenshot action and the appropriate capture mode.
- Validate output. Check that the output file exists and has plausible content before a later step uploads or processes it.
- Recover with evidence. If a run fails, capture the screen immediately before and after the failing step using the workstation action and distinct filenames. Microsoft recommends this approach for unattended-run diagnostics.
For scheduled flows, also check whether a User Account Control prompt or another blocking dialog is covering the desktop. Microsoft calls out UAC prompts as a possible obstacle to UI automation diagnostics. See browser automation behavior and the Microsoft troubleshooting article on workstation screenshots.
7. Common errors and fixes
| Error or symptom | Likely cause | What to check |
|---|---|---|
| Element with specified CSS selector not found | The target element is absent, has not loaded, or its selector changed. | Confirm the correct browser instance and page, wait for the element, then select it again. If selectors change after reloads, inspect and repair the selector; Microsoft documents selector repair. |
| Failed to take screenshot | The browser/page could not be captured at that point in the run. | Confirm the browser instance is valid and on the expected page. Add before-and-after workstation screenshots to see whether a dialog, navigation failure, or unexpected state intervened. |
| Failed to save file | The destination is invalid or not writable, or the path cannot be used. | Use a full path, create the parent folder, check permissions, and verify the filename and format. Try a known writable folder to isolate path issues. |
| Failed to save in the clipboard | Clipboard saving is unavailable in the current run context. | Use File mode for a persistent output, or inspect the run context and clipboard availability if clipboard output is required. |
| The browser action cannot control the browser | The extension or browser configuration is missing, or the browser was opened under a different system user. | Install/configure the appropriate browser extension, use the same system user, and follow Microsoft’s browser extension troubleshooting. |
| Screenshot contains a loading state or incomplete page | The capture ran before content was ready, or the site did not finish loading. | Wait for a content-specific element or known page state before capturing. A longer arbitrary delay alone does not prove readiness. |
8. Performance, reliability, and output considerations
Full-page captures can contain much more content than an element capture, so they may take longer to produce and create larger files. Use a specific element when it fully satisfies the workflow. For pages with images or content loaded as the user scrolls, check the resulting full-page image: the visible page may not represent content that the site has not loaded yet.
Reliability depends on stable browser setup, the correct identity, and waiting for the actual target state. Selectors can become stale when websites change their markup. Recapture or repair a selector when the page has changed rather than treating every missing-element error as a timing problem. Keep the flow’s output directory writable and make file names deterministic when repeatable replacement is useful, or unique when preserving each run matters.
There is no per-screenshot price specified for the native action in the cited documentation. Operational costs depend on the wider Power Automate environment, machine time, storage, and any services that the flow uses; check the applicable Microsoft licensing and environment details for your deployment. This page does not assume a benchmark or execution-time guarantee.
9. When a desktop screenshot is the better fit
If the requirement is to document what an operator sees—including browser toolbar, dialogs, or a specific monitor—use the Workstation Take screenshot action. Its capture choices include all screens, primary screen, selected screen, and foreground window, and it also supports File or Clipboard output. If you need just a native desktop control, use Take screenshot of UI element and select a desktop UI element. These actions answer a different question from “what did the webpage render?”
Or skip the browser setup
If your goal is simply to get a website image from code, ScreenshotNeo is a website screenshot API and MCP server from Yorker Media. One GET request returns an image or PDF. The API supports full-page and element capture plus options such as viewport/device, wait behavior, custom headers, cookies, and output format. See the ScreenshotNeo API documentation for parameters and setup.
curl -G "https://api.screenshotneo.com/v1/shot" -d access_key=YOUR_API_KEY --data-urlencode url=https://stripe.com -o shot.webpimport requests
r = requests.get(
"https://api.screenshotneo.com/v1/shot",
params={"access_key": "YOUR_API_KEY", "url": "https://stripe.com"},
timeout=90,
)
r.raise_for_status()
open("shot.webp", "wb").write(r.content)const q = new URLSearchParams({ access_key: 'YOUR_API_KEY', url: 'https://stripe.com' });
const res = await fetch(`https://api.screenshotneo.com/v1/shot?${q}`);
if (!res.ok) throw new Error(`Screenshot request failed: ${res.status}`);
const bytes = new Uint8Array(await res.arrayBuffer());
await import('node:fs/promises').then(fs => fs.writeFile('shot.webp', bytes));ScreenshotNeo removes cookie banners, popups, and chat widgets before the shot; bot checks, blank pages, and failed loads are never billed. Its MCP server lets AI agents use screenshot tools. The free plan includes 1,000 screenshots a month with no card; paid plans start at $5 for 3,000. Sign up free and get 1,000 screenshots a month with no card.
FAQ
Can Power Automate Desktop capture only part of a webpage?
Yes. In Take screenshot of web page, choose Specific element and select the webpage element captured for browser automation.
Does the webpage action include browser tabs and address bar?
It captures webpage content. To include the visible browser window, use the Workstation Take screenshot action and choose Foreground window.
Can I use the captured image later in the flow?
Save it to a file at a known path for durable downstream use. Clipboard mode is intended for clipboard-based steps and does not itself provide a saved file.
Which format should I choose?
Choose one supported by the action and suitable for the next step. PNG is a sensible default for interface details; use a different supported format when a downstream system specifically requires it.


